HOW TO BUY AND SELL NFTs ON POLYGON
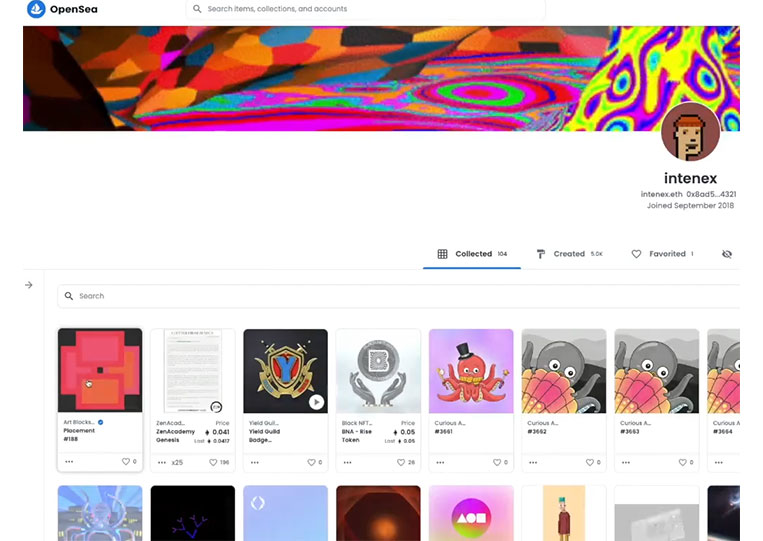
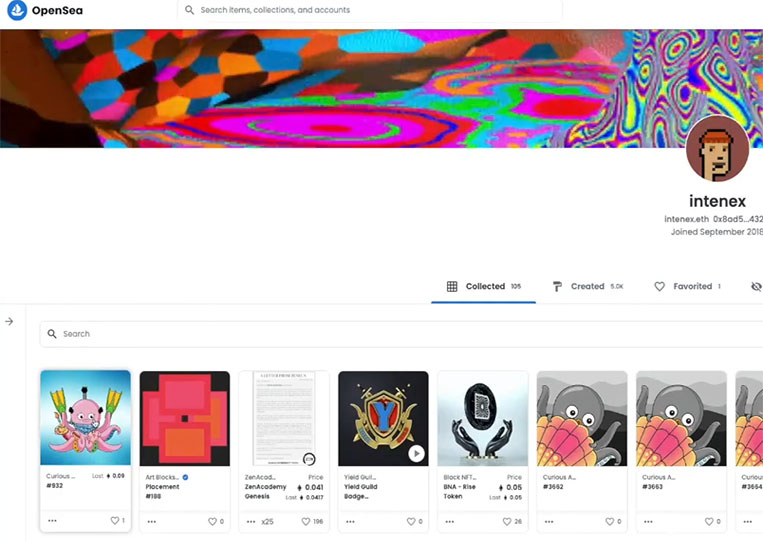
First, let’s go to OpenSea, which is the largest marketplace for all NFTs and a marketplace for both Ethereum-based on-chain NFTs and also polygonal NFTs. If I go to my profile here, we can see a lot of different NFTs that have been bought and sold.

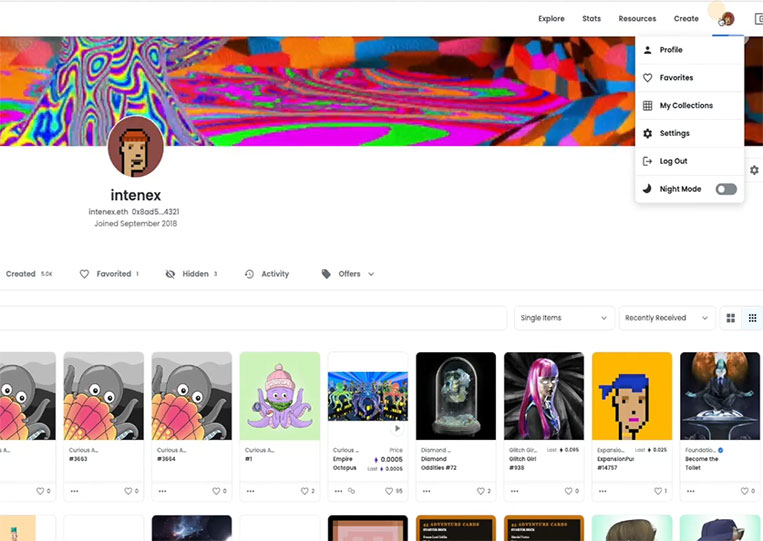
For three years, I have never listed on NFT for sale. I have never sold any NFTs. First, I’ll show you how to buy it because that’s what I love to do. I love buying them and keeping them forever. It is an art collection that I created with the co-founder and CEO of our company Curious Addy’s.
It’s a slightly different collection than other projects in the space.

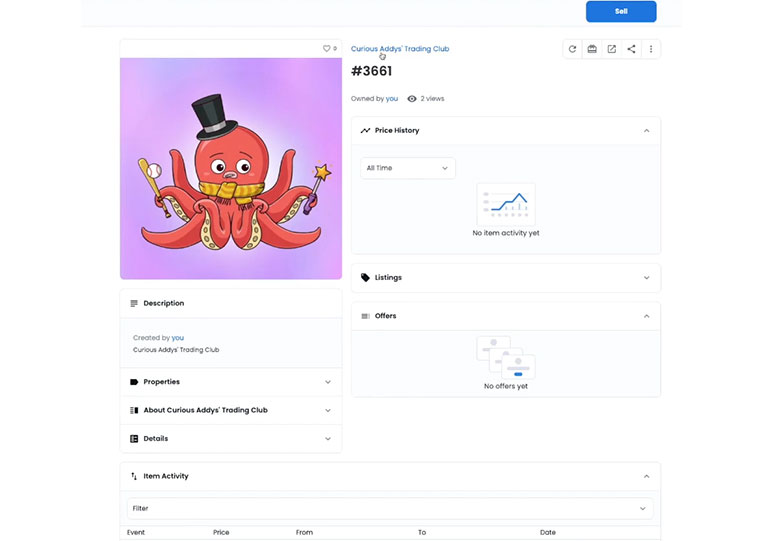
You can think of this as a membership token to an educational portal that we are creating where our goal is to be the primary default access that anyone can access and learn about the crypto NFTs. If you can tell it is very overwhelming in space, we make it easier for people over time, and what we did is we created 5,000 of these NFTs. These NFTs are designed not to be sold to newcomers because we realize that 95% of people who get into crypto or NFTs don’t do it just by reading a 30-second page or landing page. Do they get into it because friends tell them about it? We can replace the power of a friend telling you about crypto or NFTs. What we realize is NFTs are powerful not just because it’s a great way to create a new collection and be able to sell them for actual money but because this is the first time that we have so many powerful community-building tools and the most powerful thing is in just a few months we have been able to create a community of 30,000+ people, who want to help each other grow and learn together. Hopefully, we will grow over time, and the membership will gain more utility for everyone who is part of it because we’re able to learn anyone else part of this. The idea is this first token goes to the people, who are first into NFTs, and then they use this to essentially invite friends and give them early access to this platform and teach them very things as we go through. So, if we go to the site, we can see a lot of different NFTs for sale. All of them are different. Each one is unique. I liked that before too, and we’ll talk more about how to find a good deal. How to find one that can be what you want? But for now, we will show you how to buy any NFT. So we choose the one that looks pretty adorable, and nice. I like this.
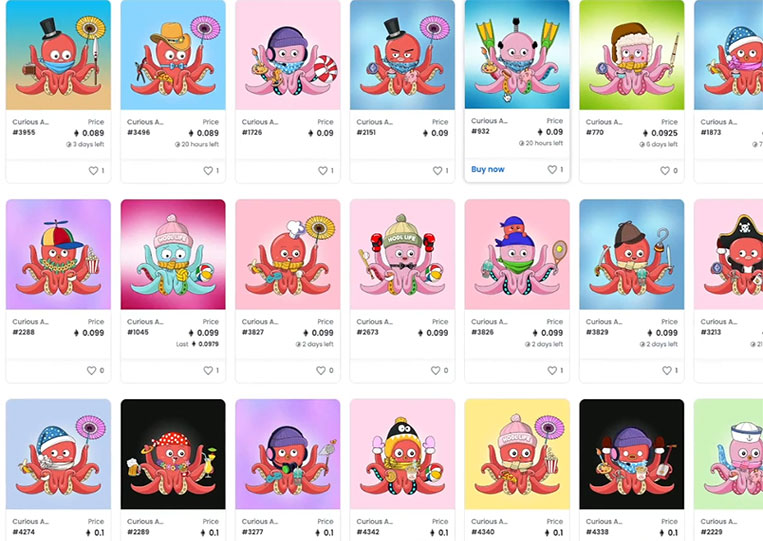
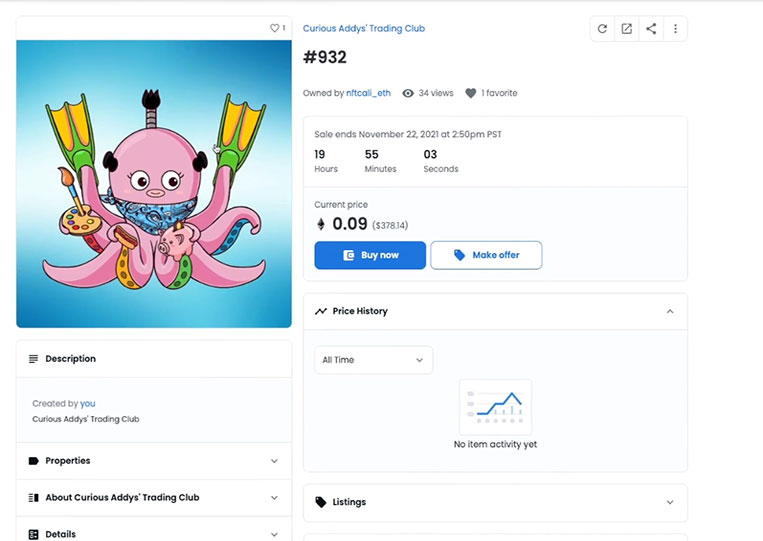
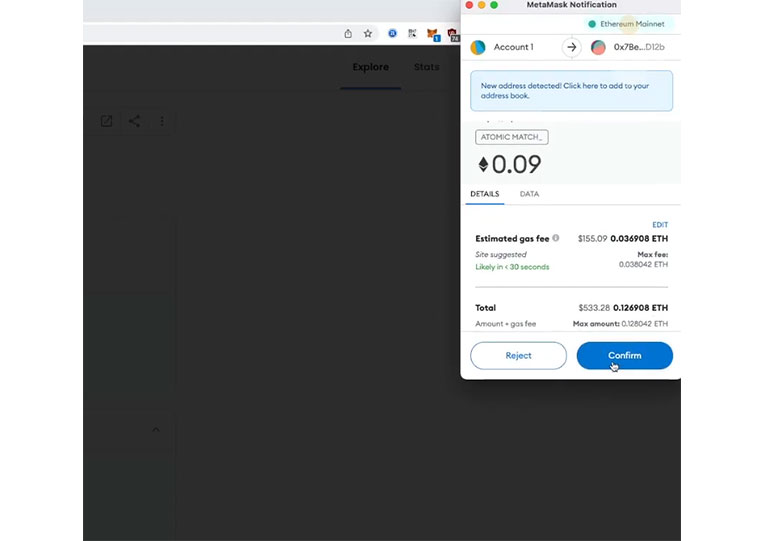
That has flippers, and it’s all over the place. It has an artist palette, hotdog, piggy bank, and weird hair. It has a lot of things. I like it. We’ll click on it and see this person selling it in 19 hours, 54 minutes, and 55 seconds. Now, it is only 0.09 ETH. Great! That’s more than the mint price but not so much. It is a new collection that came out ten days ago. Now, I click the ‘Buy Now’ button, and there are several things here.
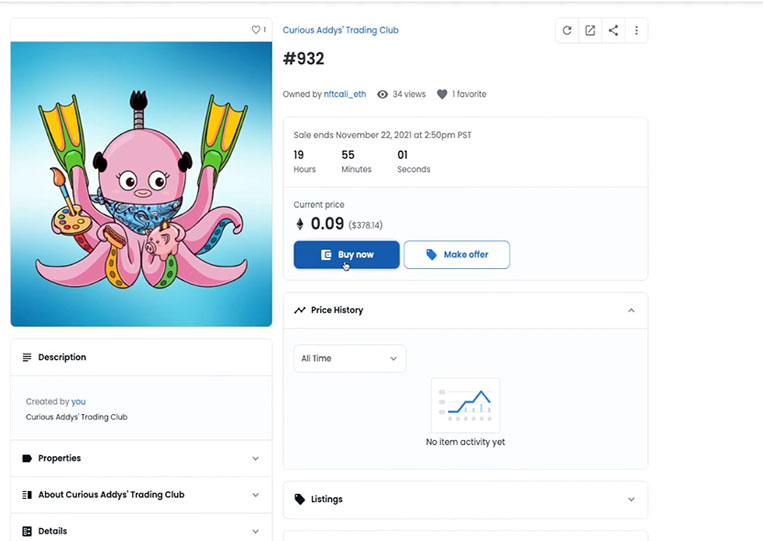
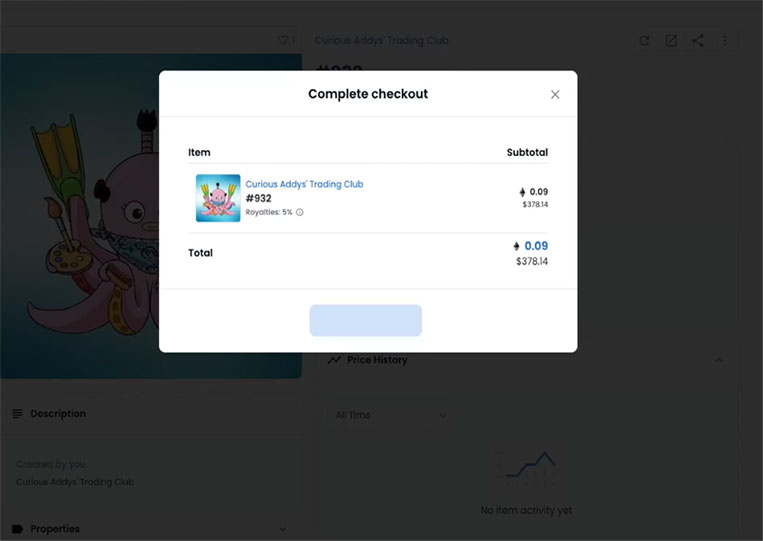
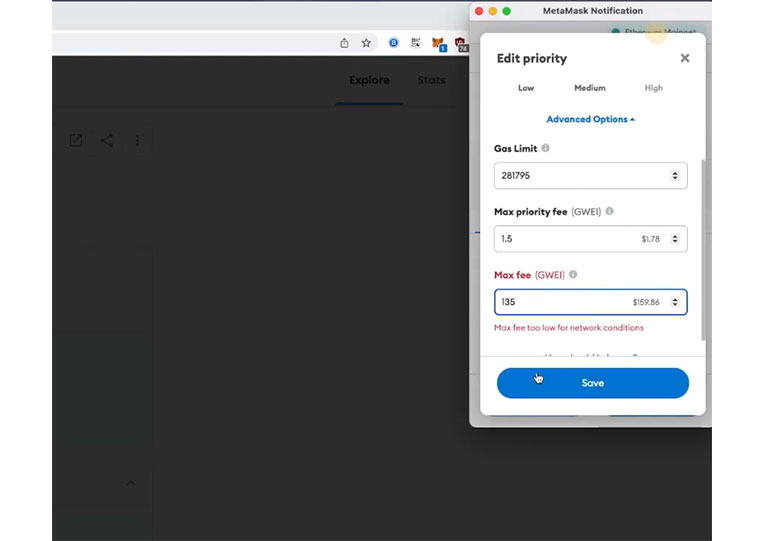
The price is 0.09 ETH, and it’s pretty familiar. It has an estimated gas fee. I can come here and change gas if I want.

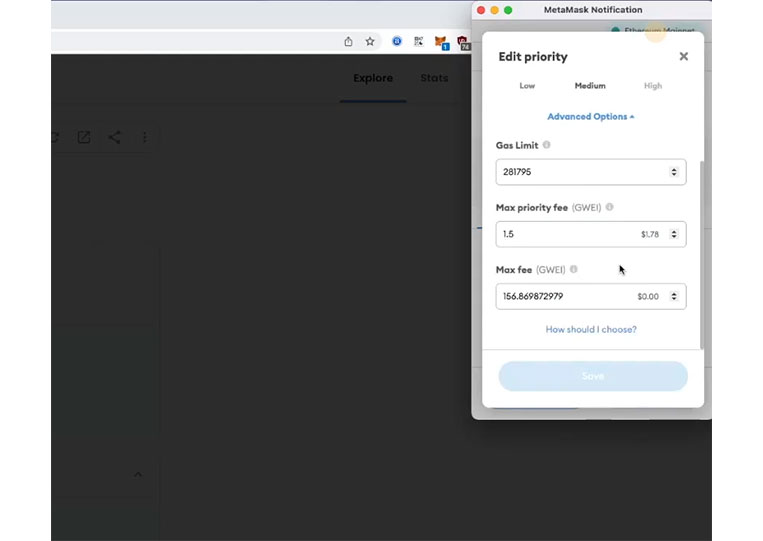
Reasonable gas. It has increased. Let me make that a little lower. You can set that gas yourself.

We will talk more about that. I hit ‘Confirm’ here.
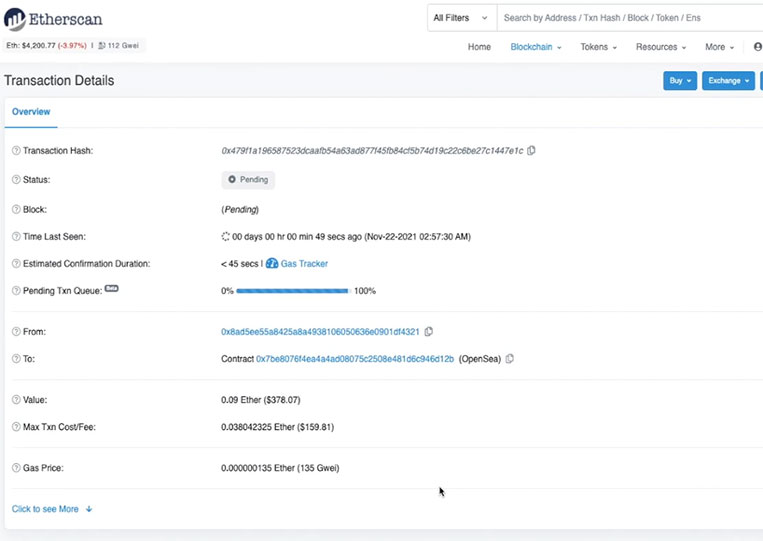
Now, we see this on the next page. ‘Your purchase is processing! You just purchased #932. It should be confirmed on the blockchain shortly’. There’s a transaction hash.
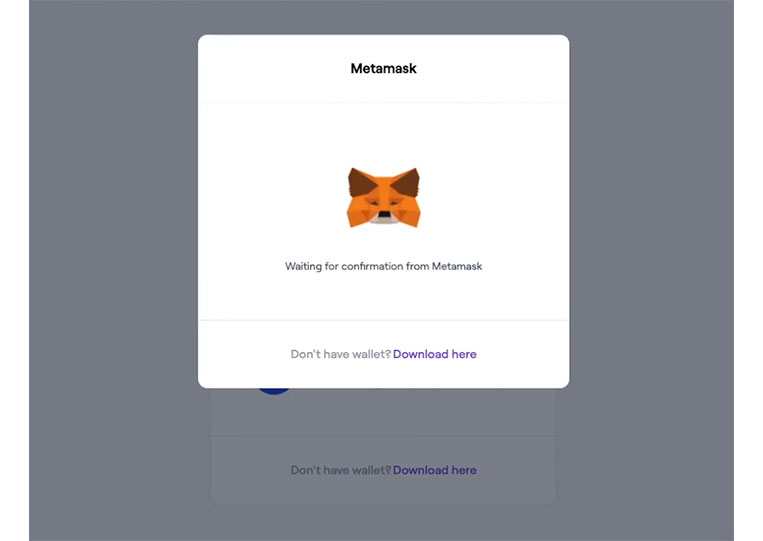
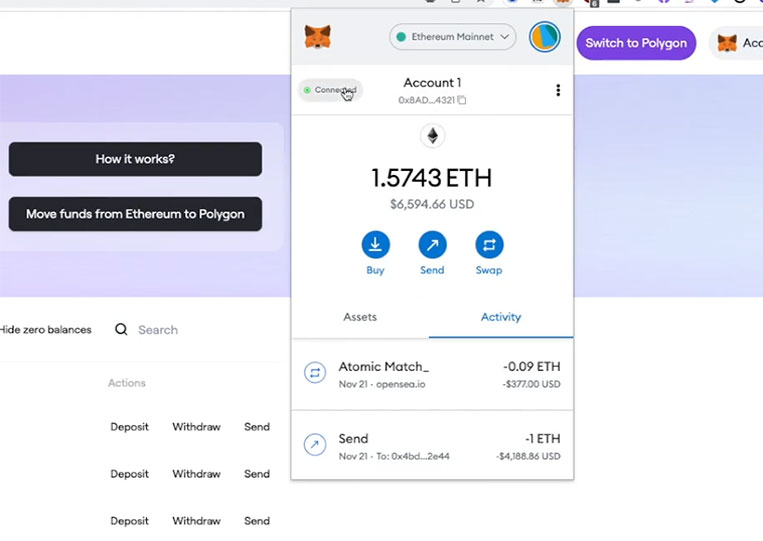
If we click ‘Processing’. Remember, it is the same as the minting process. We can go to your MetaMask wallet, click on it and see.
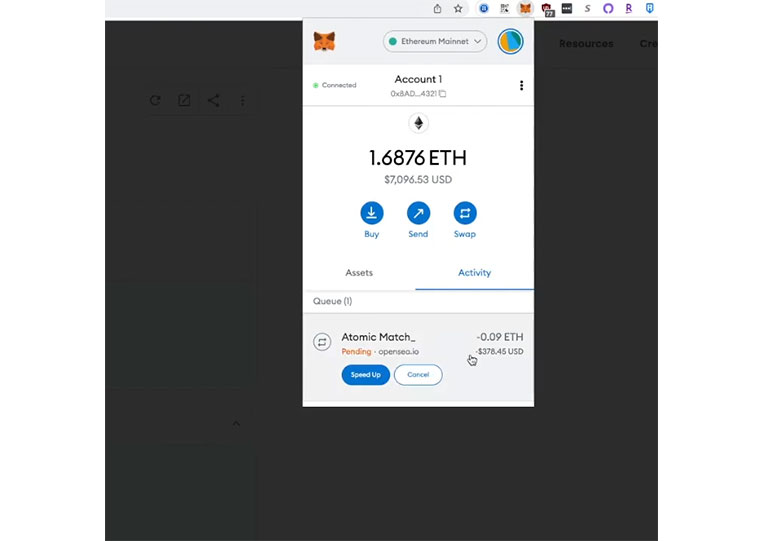
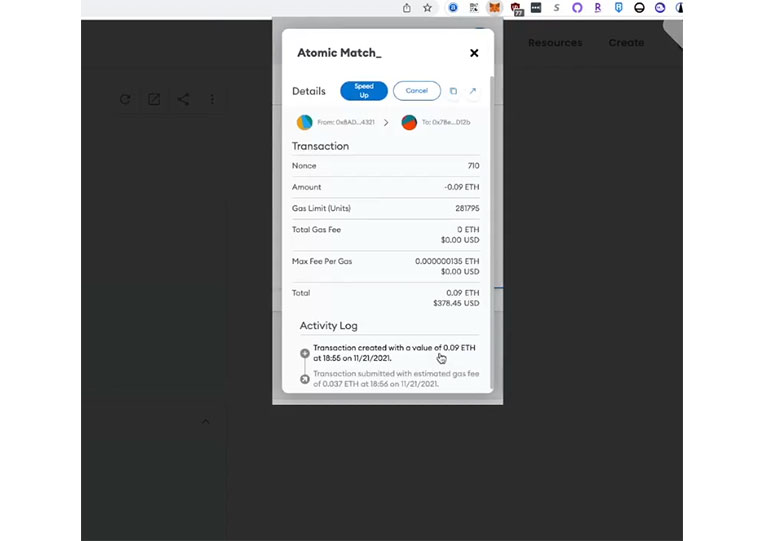
There is an atomically matched transaction. Atomic matching is just a matching function that OpenSea uses smart contracts to let you do escrow through code without any middlemen. Usually, when you buy a piece of art, you have to go to the gallery. You have to find someone to take your money then also on the other side, they take the art. They make sure that you don’t lose your money. You’ll get that artwork because you trust this party like Christie’s. If the auction houses provide this trusted third-party escort service to you, and in this case, we no longer need it. We are paying your money here, this transaction fee is free and not free, but escrow with no third party in between. Just guaranteed by code, there’s no way this transaction goes through that you don’t get your piece if you paid the money. The power of this smart contract is it can start replacing real-life things that we need, and with the middle man like escrow in real life. We can do it now for the first time, using a smart contract.
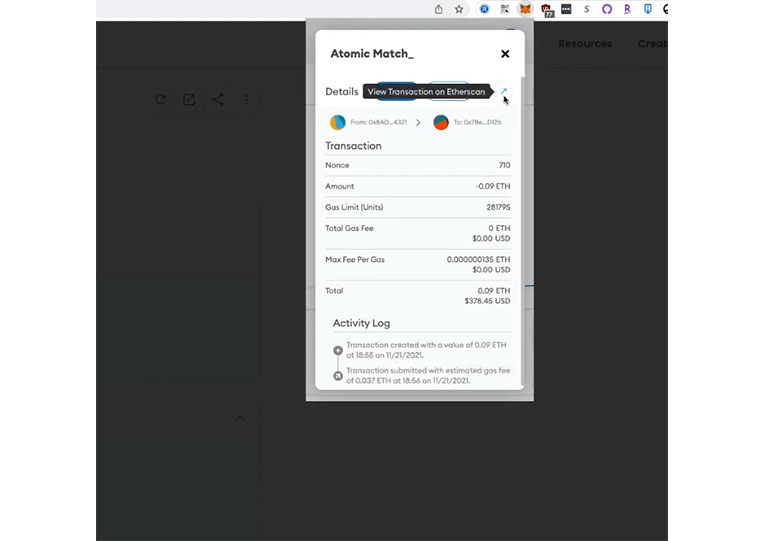
Now, a hundred Gwei, this one will get through quickly because the price of gas is much lower than the gas price specified as the maximum. The max specified is 135 Gwei.
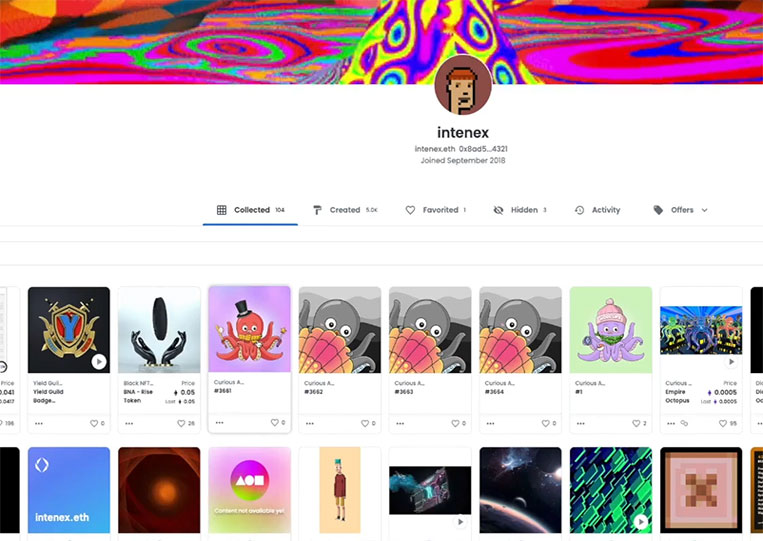
It’s going through in the next ten to twenty seconds or so. Now I own this, Curious Addy, that I just bought. If I go back and click on my profile.
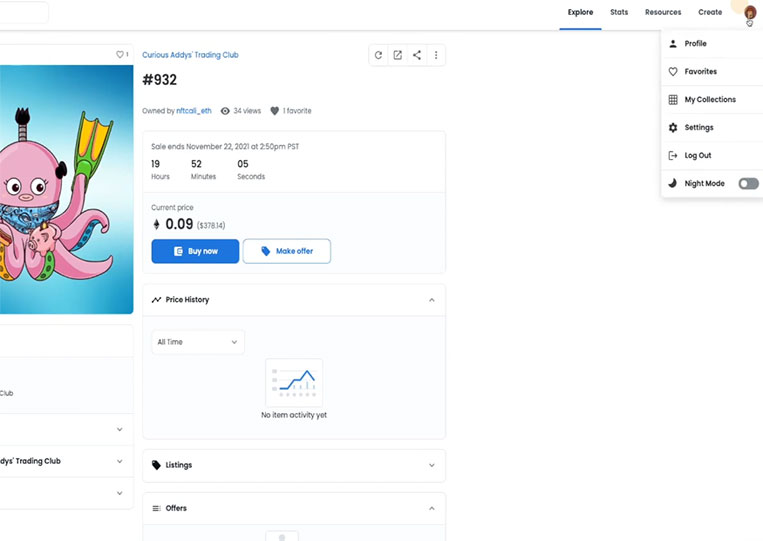
We see nothing shows up, the last token I’ve bought.
The placement is as a piece, but now we go back here, and let’s see if this confirms.
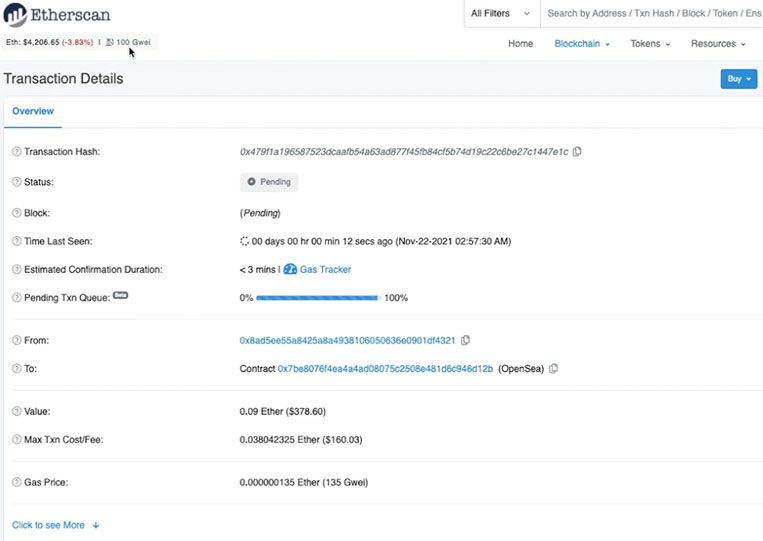
It takes a while. It’s not just the price alone also depends on where your transaction has gotten in the mining pool. The pending transaction queue is all around the world. But now, it has been confirmed. Let’s take a quick look. Everything looks the same as before. The maximum gas fee I want to pay is 135 Gwei, but all I need to pay is 110 Gwei.
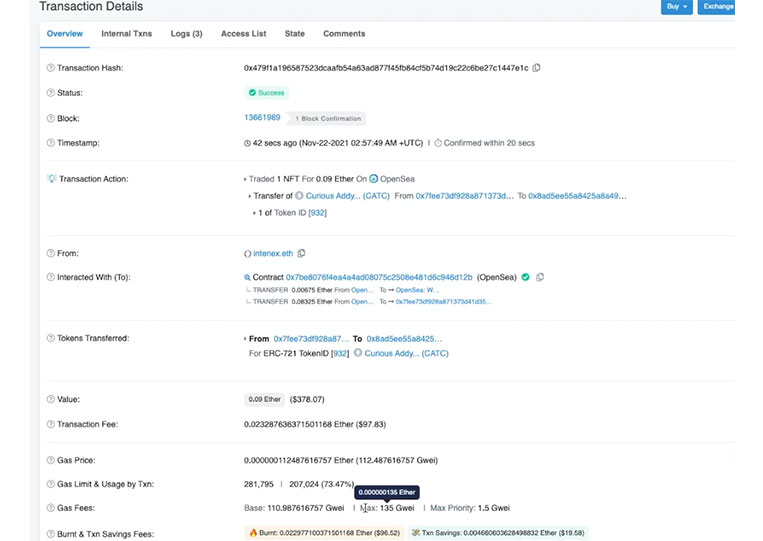
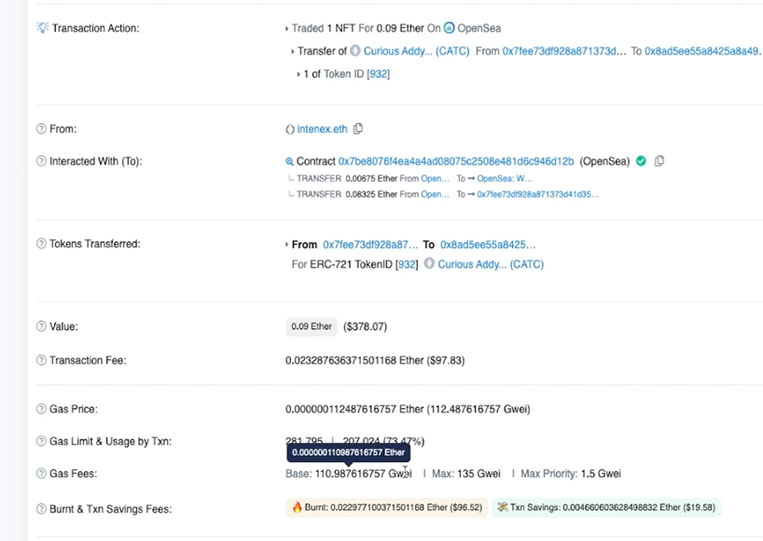
Because gas prices have dropped. I deposited 0.09 ETH to get this Curious Addy, and I paid a transaction fee of about a hundred dollars to do it.
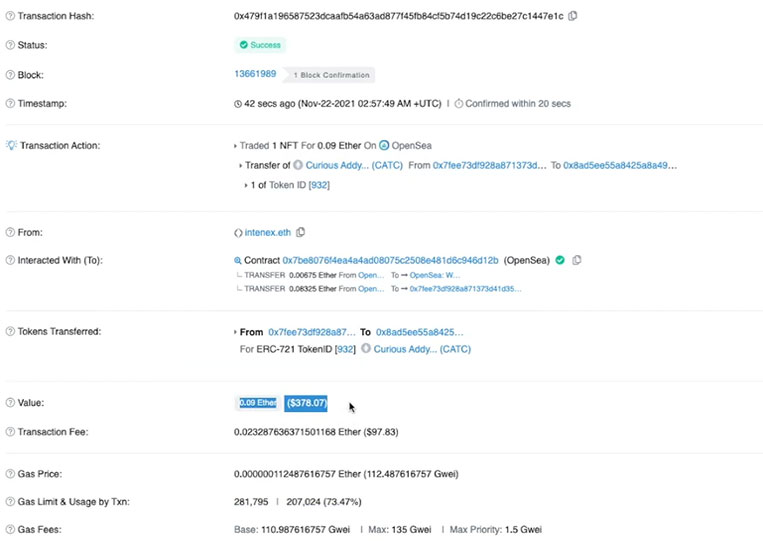
A lot less than I thought because I’m willing to pay 25% more of the actual gas limit and 25% of the actual gas price.
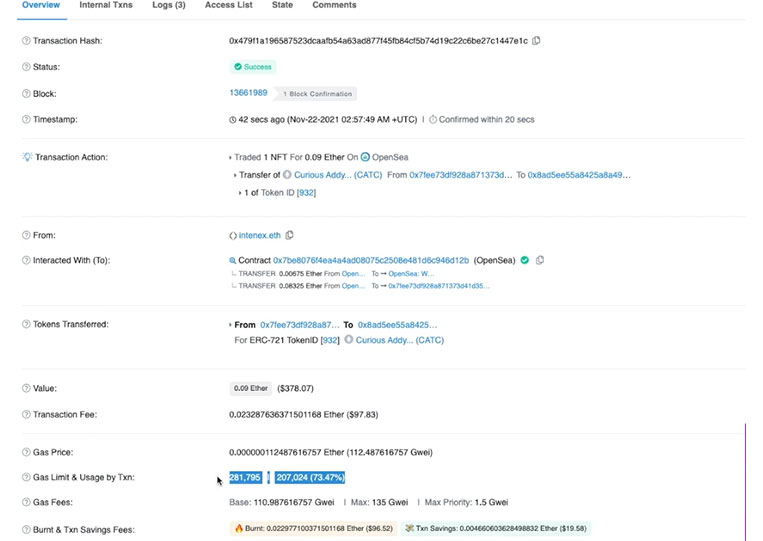

Both of those things are a lot less, so I have to pay a hundred bucks for this.
But we can see that’s a pretty large percentage of the actual price of Curious Addy NFT. That’s 97 out of 378. That’s huge!
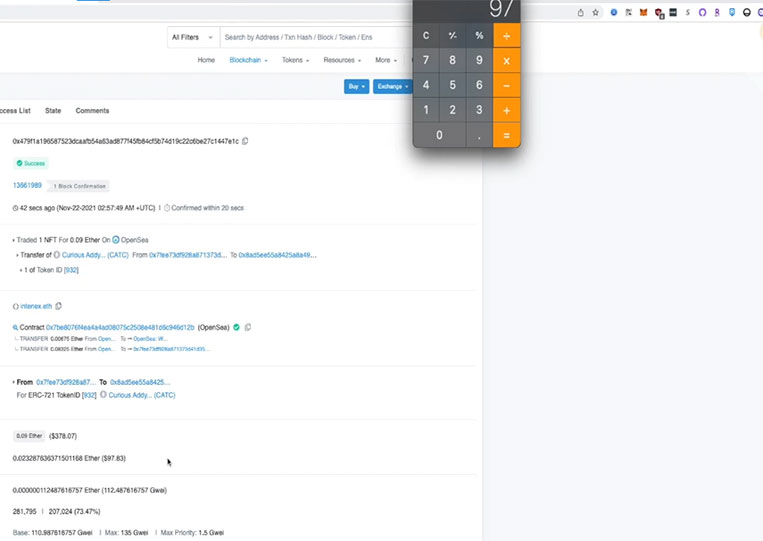
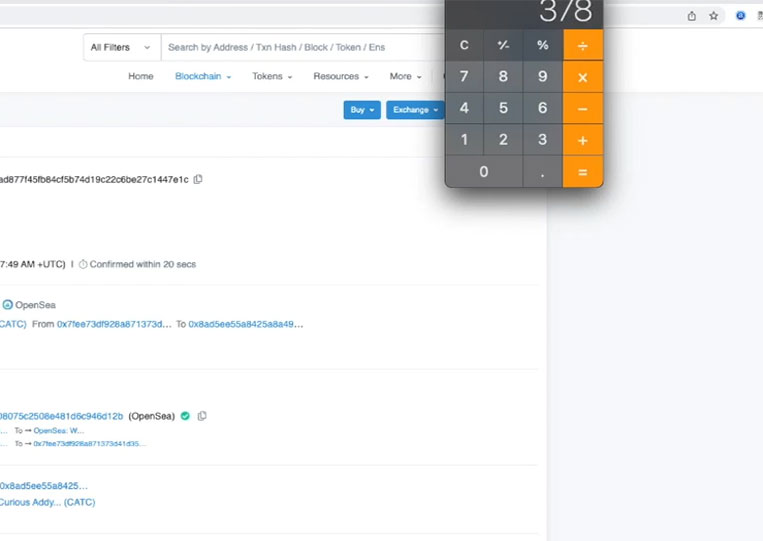
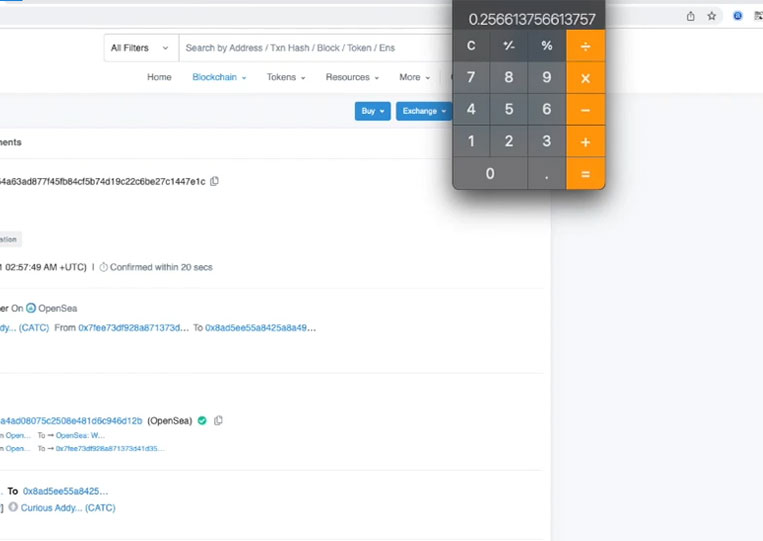
That’s about 25%. We only have to pay a transaction fee to do this. In this case, I refresh my OpenSea account, and this pretty well. We have a Curious Addy piece, and if I look here.
It sold for 0.09 Ethereum. That’s what you paid. Now, it is owned by me.
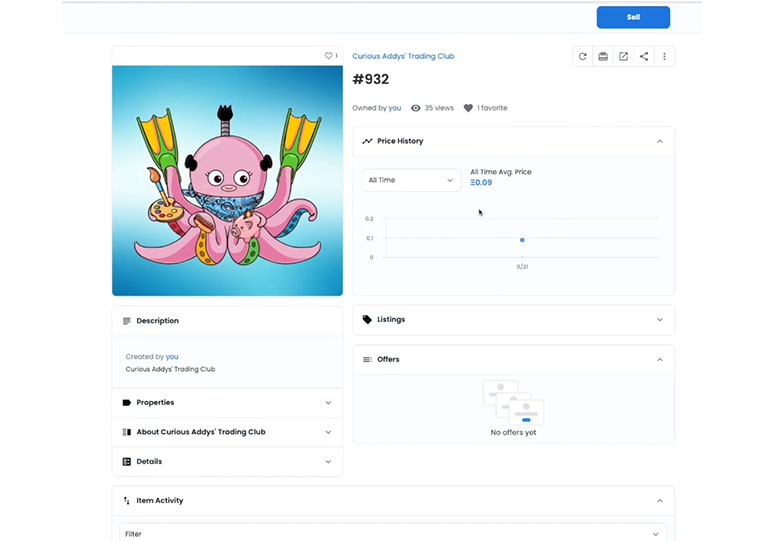
We can see the full transaction history here.
It was minted for the person I bought it from about 12 days ago. Four hours ago, they finally listed it for this price and then sold it to me amazing!
Let’s talk about how you can do the same thing for the same transaction fees of this Polygon. There’s some trade-off of using layer two solutions that we are talking about. One of the trade-offs is that you need to roll up your money into Polygon from Ethereum. That’s still going to cost your money, so let’s go through that and see how that process is a bit more complex than the process that we just did. That helps us learn how to start doing a free test mint ourselves. We have to be any money to learn this process.
HOW TO BUY POLYGON ASSETS-PART 1
First, we go to OpenSea again and go to polygon.technology.
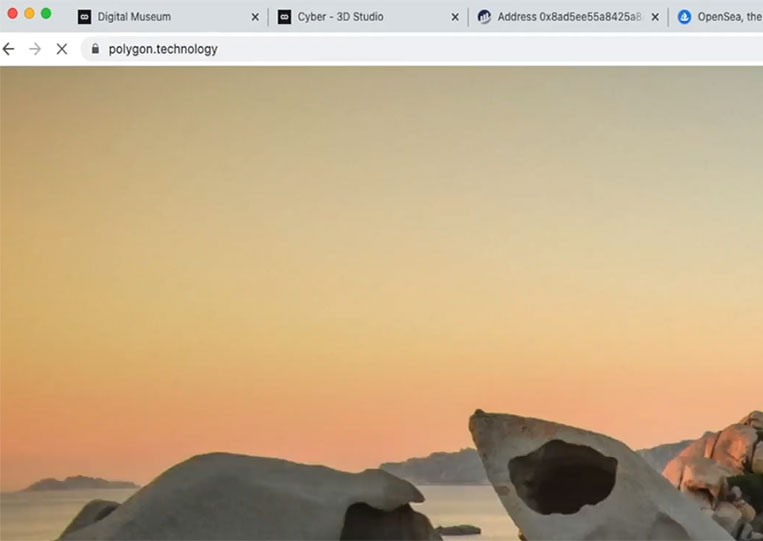
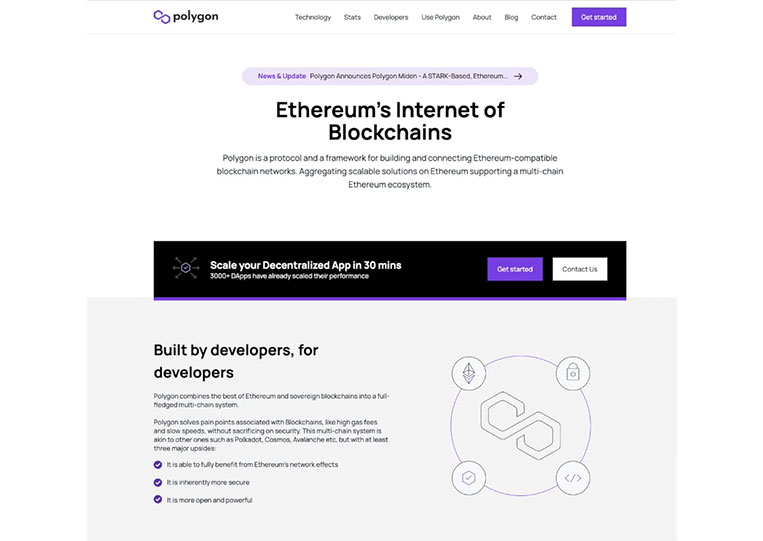
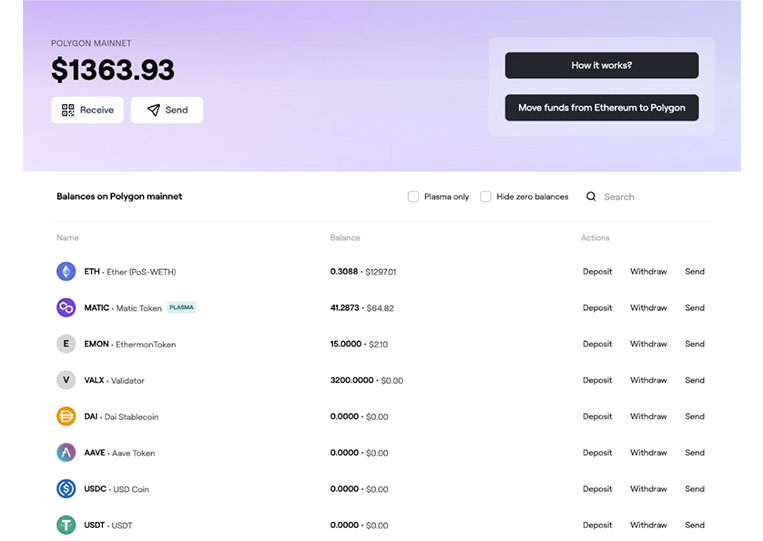
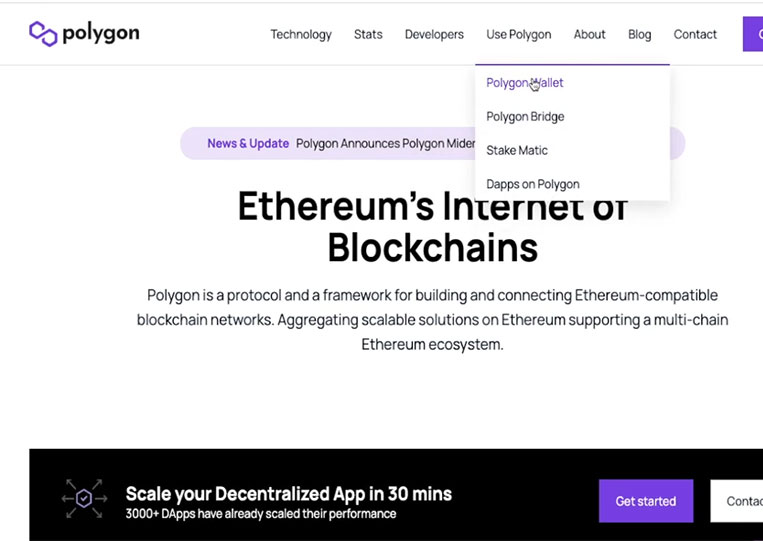
It is a website where you can transfer your funds from the Ethereum Blockchain to the layer two side chain that Polygon has created. We go to ‘Use Polygon’ and click ‘Polygon Wallet’
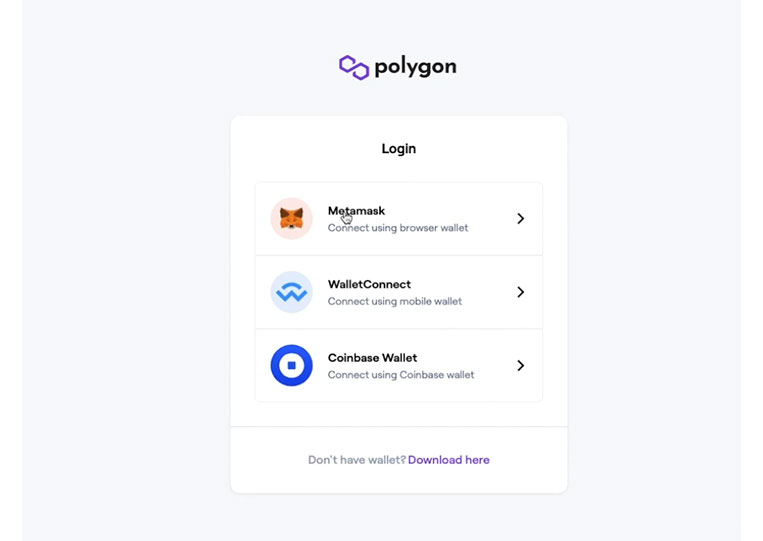
At first, you may think, this is a bit different from my Ethereum Wallet. It’s different and the same. MetaMask is the Ethereum base layer, but it uses various networks on MetaMask. Therefore, there is the Ethereum original network. Ethereum is from what people think of Ethereum. They think of the main net but look here. It’s going to connect Polygonfrom MetaMask
Here is my Polygon main network.

What I have to do here is change my MetaMask to this account.
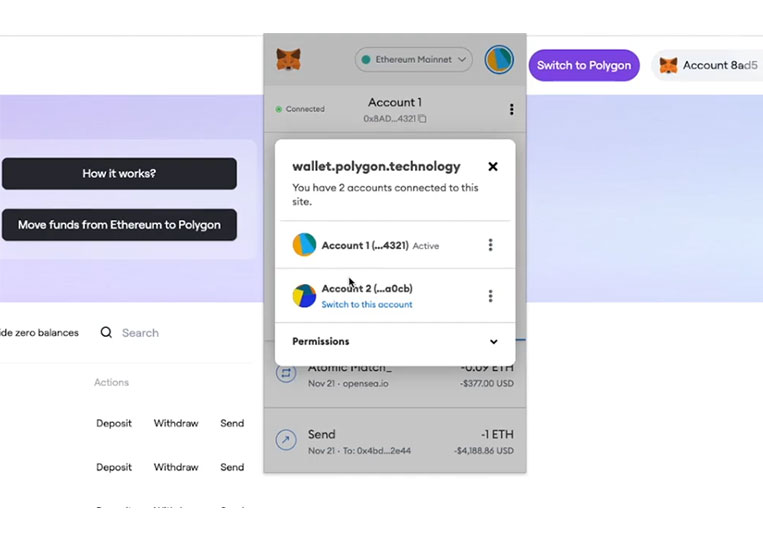
It is the right account. I need to switch the Polygon.
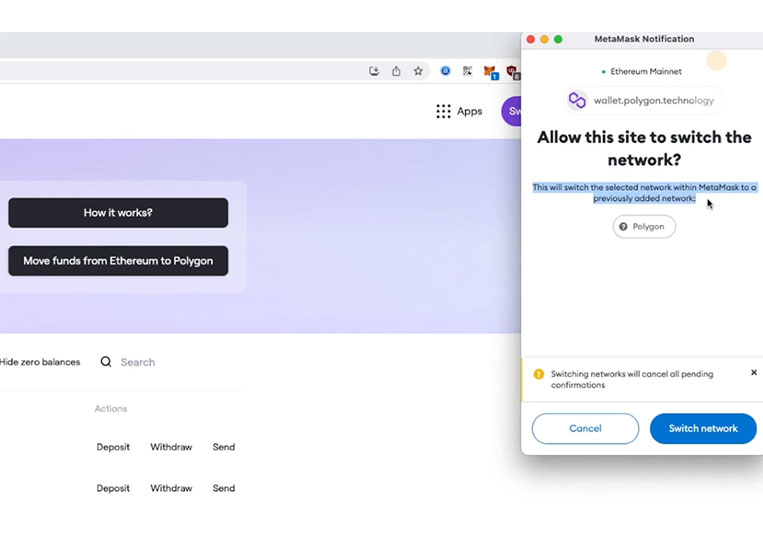
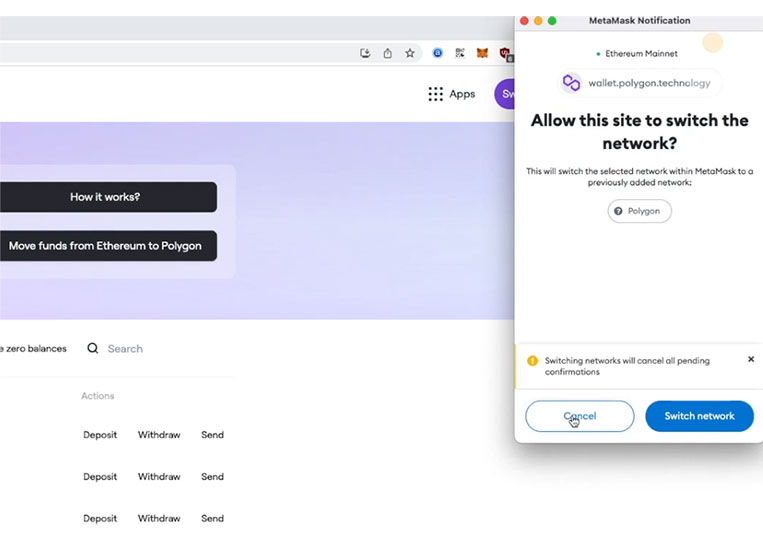
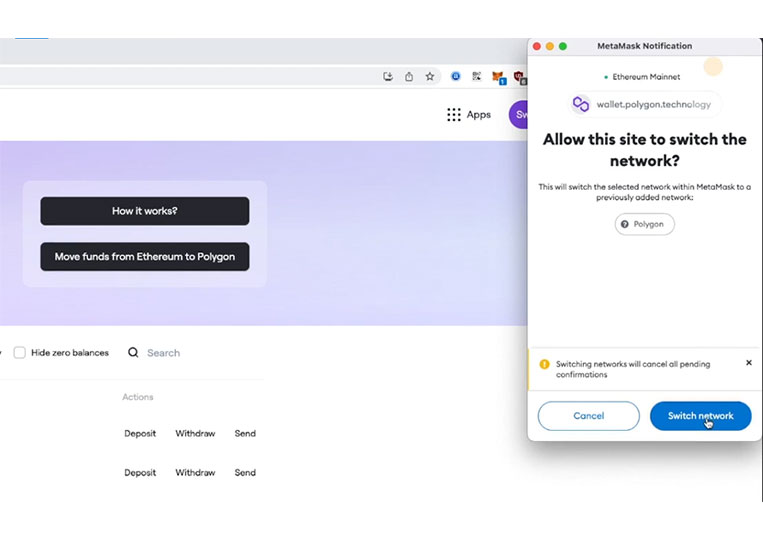
If I click that button, it shows as ‘Allow this site to switch the network? This will switch the selected network within MetaMask to a previously added network’. I already added Polygon to my actual MetaMask. I’ll remove that so we go through the entire process from the beginning.
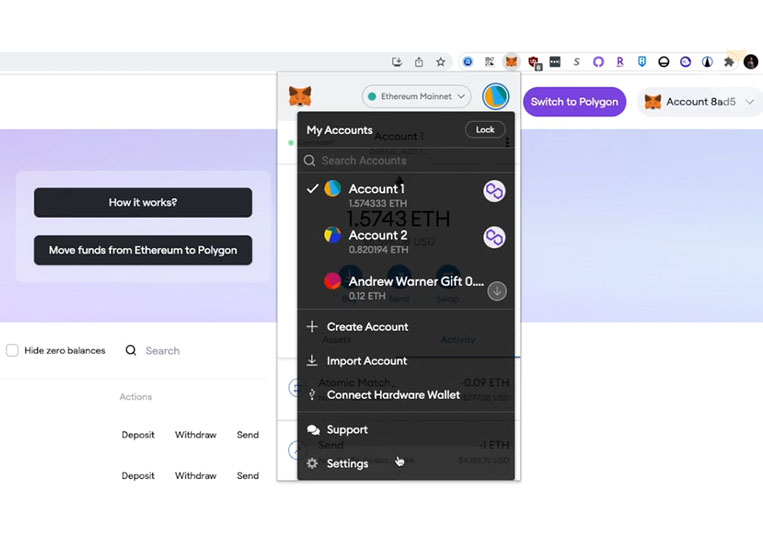
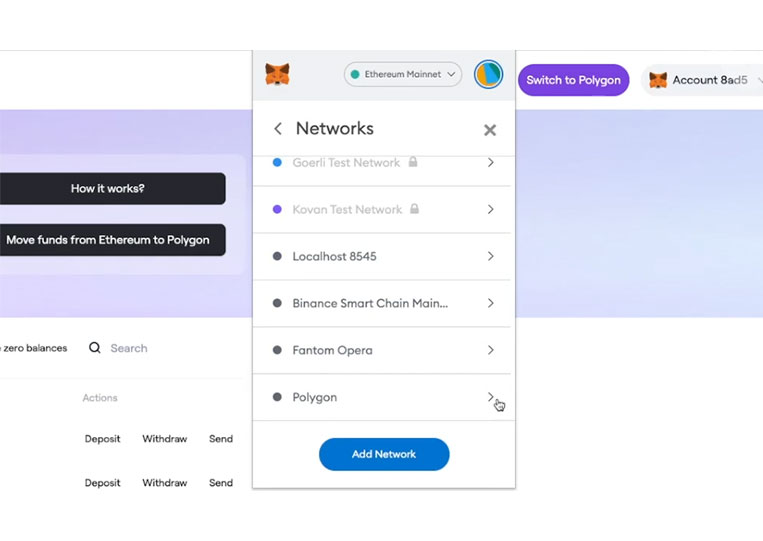
We go to my networks.
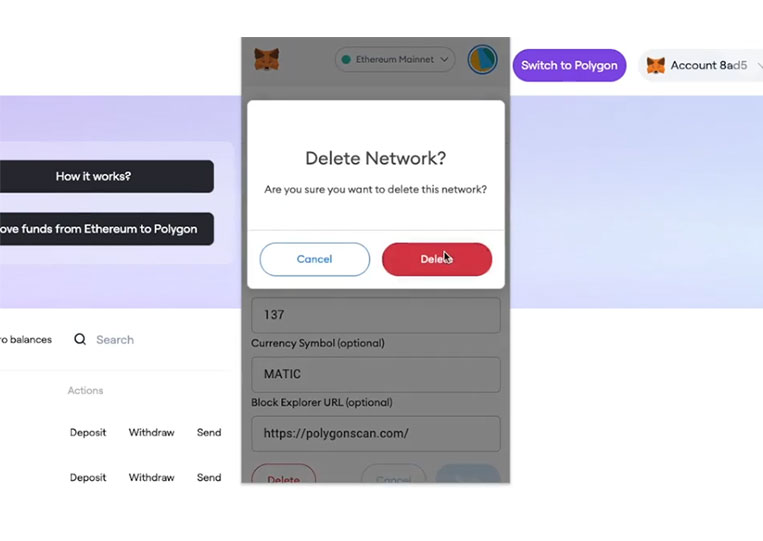
I’ve added a few networks myself. I’m going to remove Polygon.
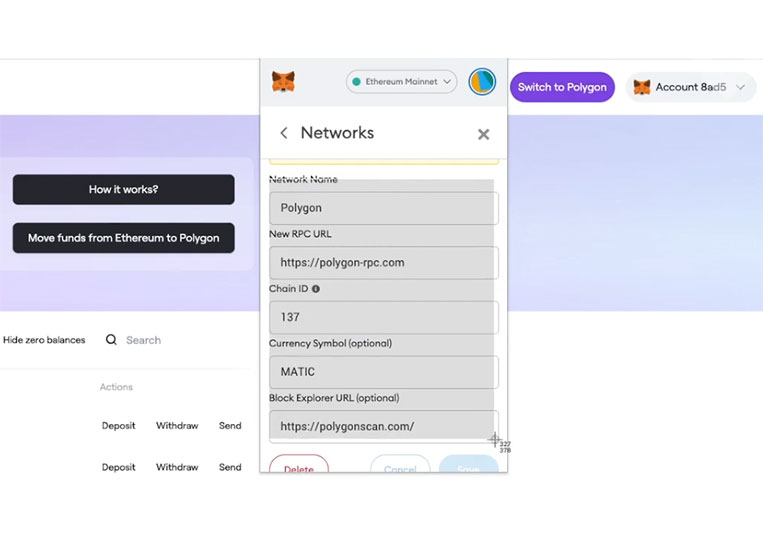
This information is essential. I’ll record this.
I came back here and deleted it.
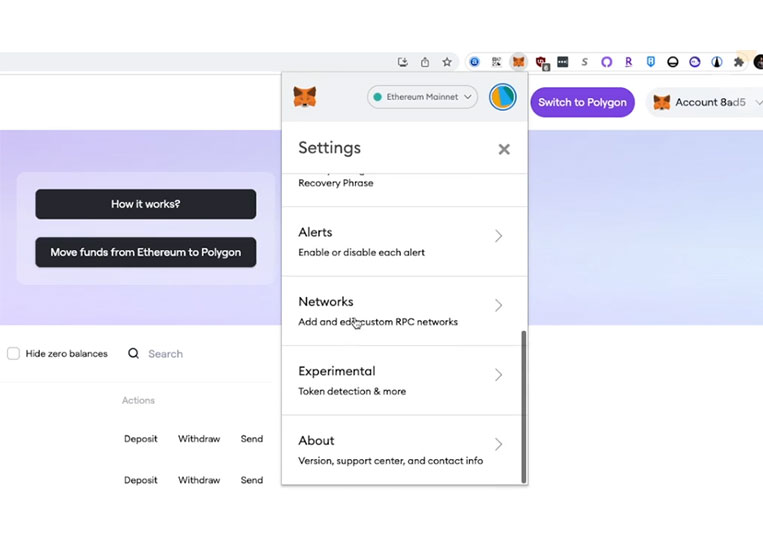
Now, this is what I’m talking about, the Ethereum main network.
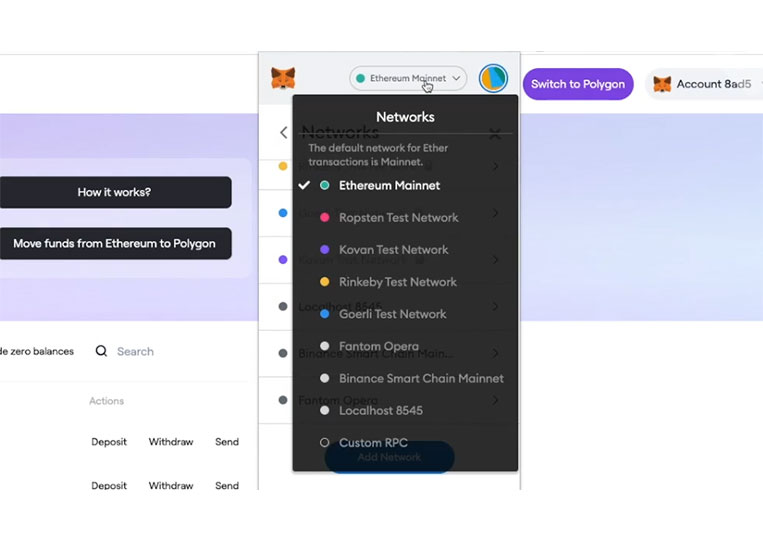
Many other networks here are built-in, some of which only support MetaMask, ‘Ropsten Test Network, Rinkeby Test Network, Goerli Test Network, etc.’ We’ll talk about Rinkeby in a second. These are all Test Networks, which means it’s an essential platform for developers to test new things safely and cheaply.
Anything that goes into Ethereum costs a lot of money. You want a way to test it without paying that amount. The test network is like that. However, you can add a ‘Custom RPC’
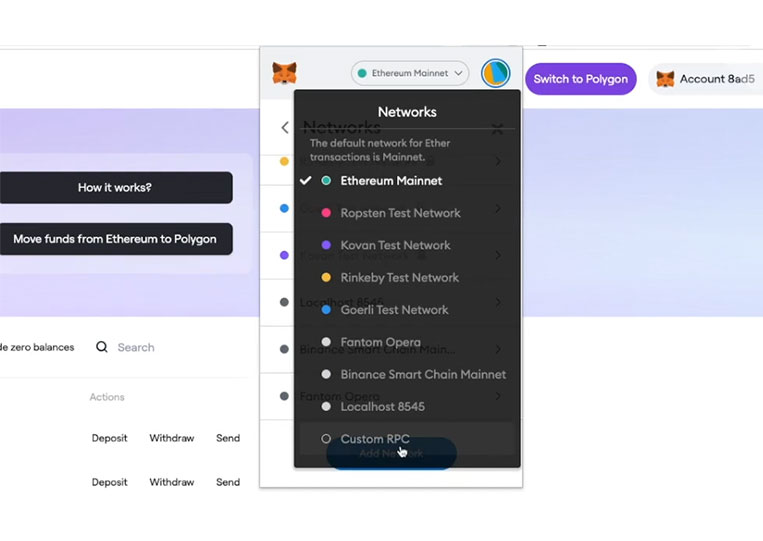
If you do that, you will interoperate with other networks you use, called the Ethereum Virtual Machine (EVM).
Ethereum Virtual Machine compatible Blockchains mean using the same programming language and the same type of executable code to operate the Blockchain, which means it can be compatible with MetaMask, so you don’t need a new wallet address. You don’t need to install anything other than MetaMask to be able to work with Ethereum Virtual Machine compatible Blockchain or side chain or layer two solutions. In this case, we are working with a two-layer solution that is compatible with the Ethereum Virtual Machine and uses the same code. Therefore we have to move our funds over there by switching our network. First, we click the ‘Convert to Polygon’ button again.
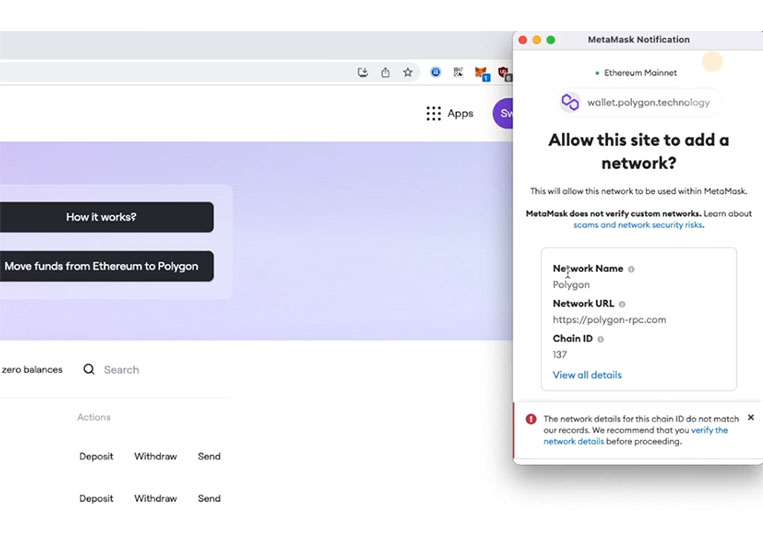
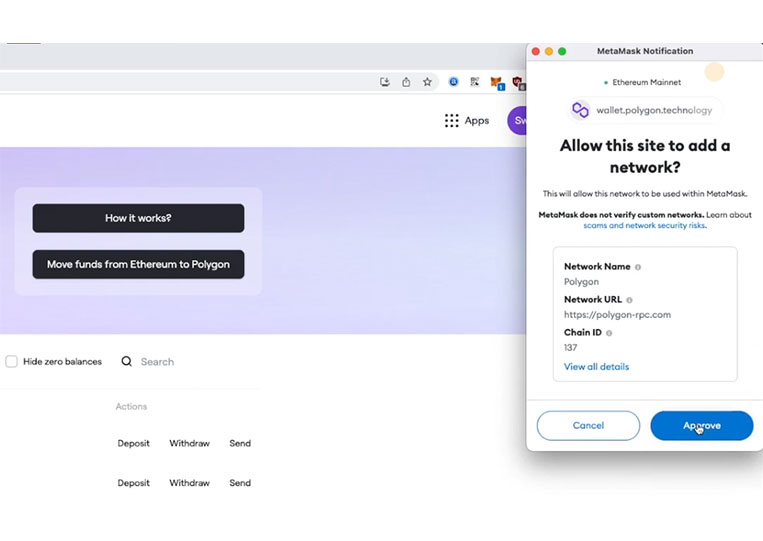
Because I removed the network, it will add this new network that will allow us to interact with Polygon, directly from MetaMask. ‘This will allow this network to be used in MetaMask’. Now we are named Polygon, https://polygon-rpc.com or String ID 137, ‘Network details for this string ID do not match your profile’ That’s fine because this isn’t in the official Ethereum network. So we click the ‘Approve’ button.
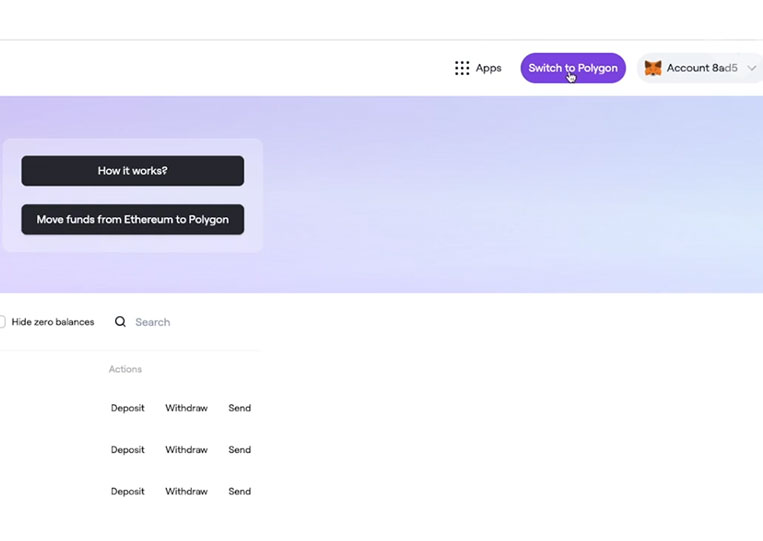
Then it shows ‘Allow this site to switch the network?’ We have added the network. Now, we switch to it.
Now we are at Polygon so put the money into my Ethereum wallet on Polygon.