


INTROCUCTION TO CONSTRUCT 3
In this material, we will review how ‘Construct 3’ works. First thing, you add your own Scarra account or your construct through the account.

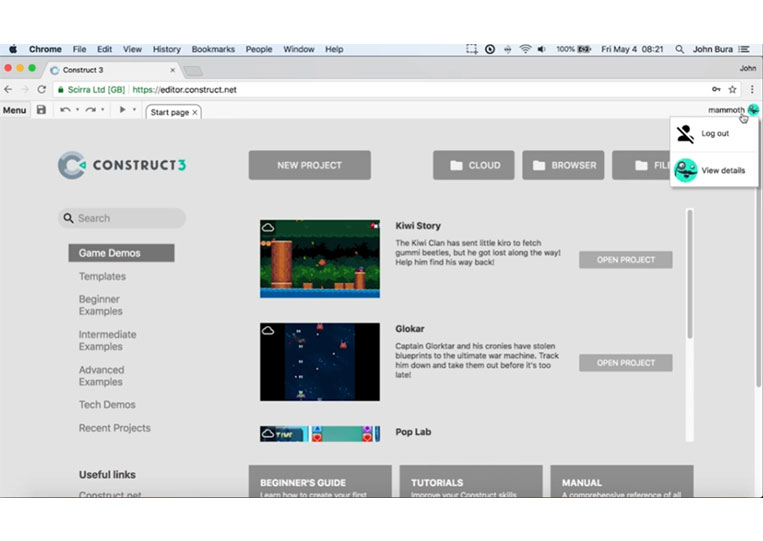
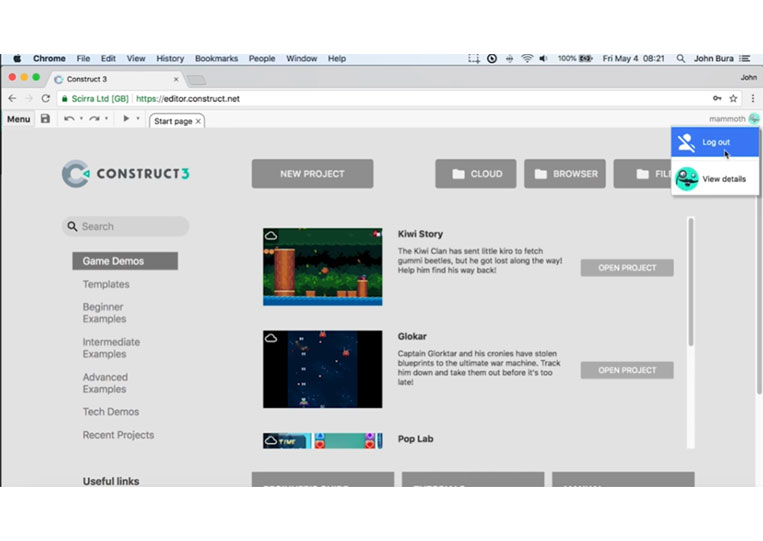
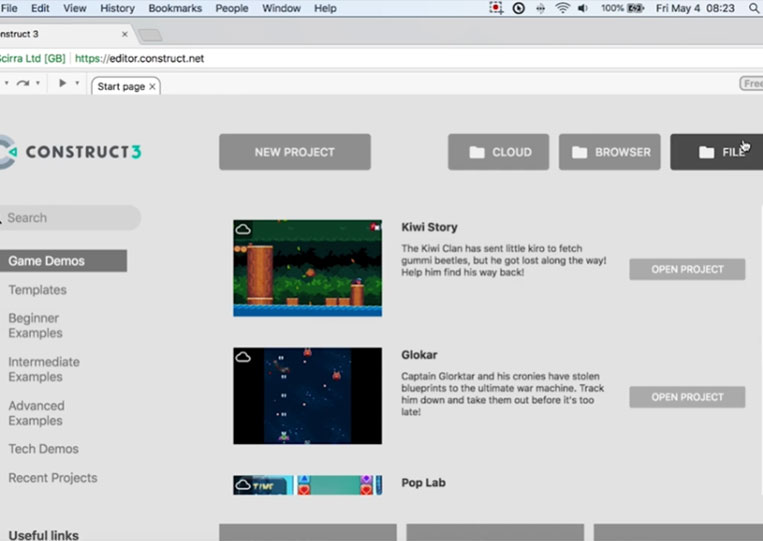
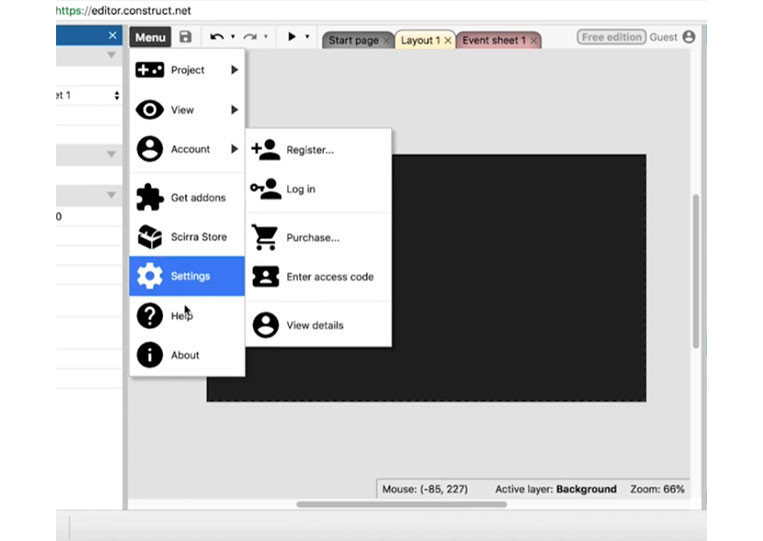
You access editor.construct.net
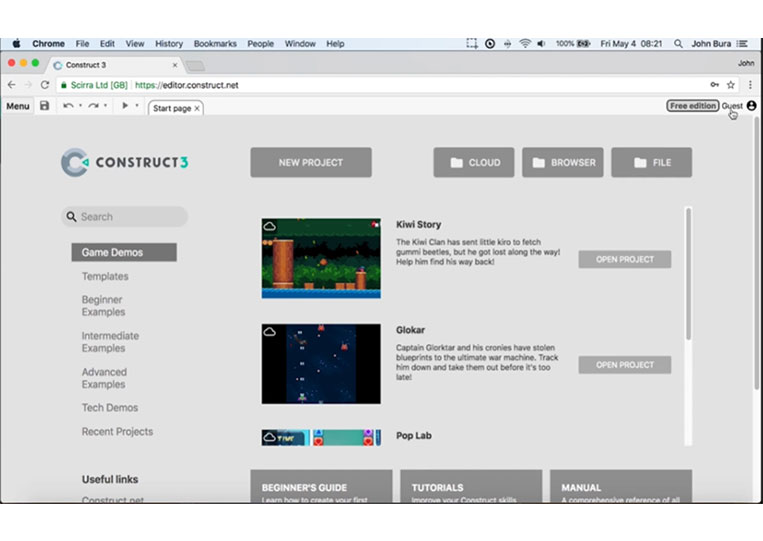
On this page, what’s awesome is that it works in the browser. You can work on Linux or your tablet. You can also use this on Chrome OS. You can use it anywhere. It’s great. Let’s look at some of these examples here.
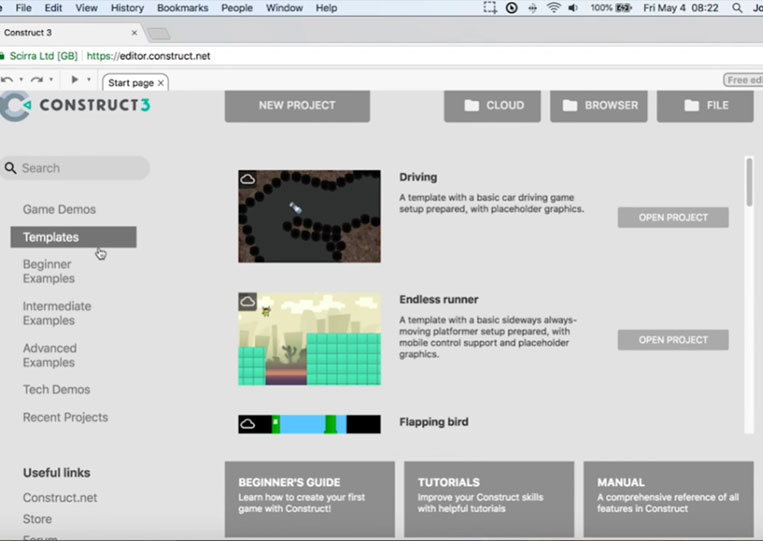
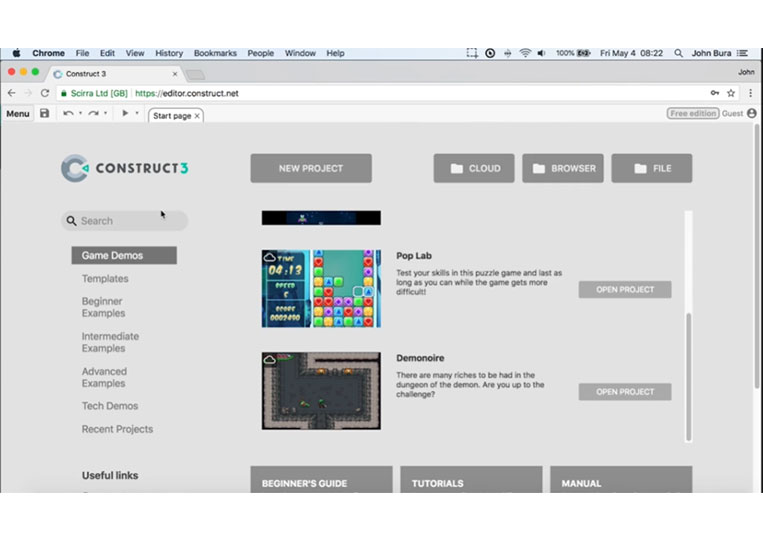
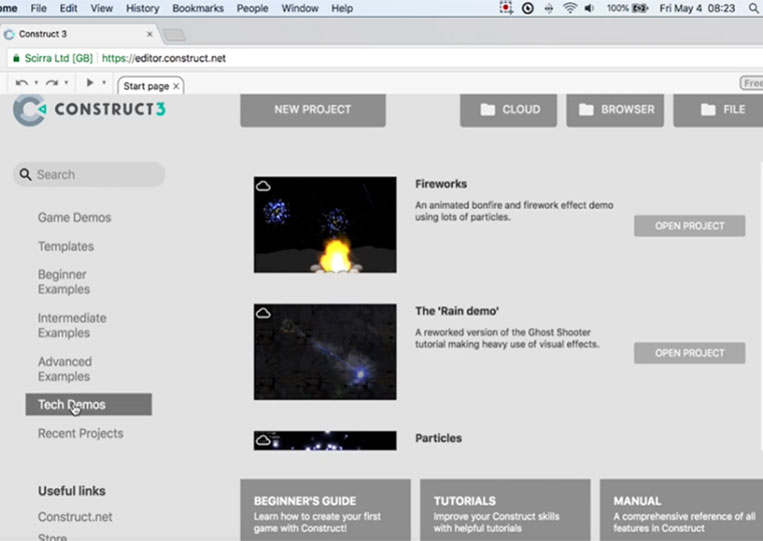
These are pretty in-depth examples, but there are also templates for you to check out. I highly recommend looking at one of these and reading reverse engineer all the mechanics. That may sound silly! But when you look at an example and reverse engineer, you learn quite a bit. Now in other branches not in the computer science field, you do this a lot.
For example, if you’ve ever been in an English class, you have analyzed literature. In Great Works of literature, there’s more than just what is read. You’ll read between the lines here, and in a mechanical sense, we are technically making a machine the same as a game using code or event, depending on what you want to call it. You reverse engineer it. Some developers are good enough to add the reading in between the lines between the mechanics to make their whole picture even a further deep experience. You look at all these here.
Some of these are awesome. You can add that here. The great part of ‘Construct 3’ is that you can save it to the ‘Cloud’.
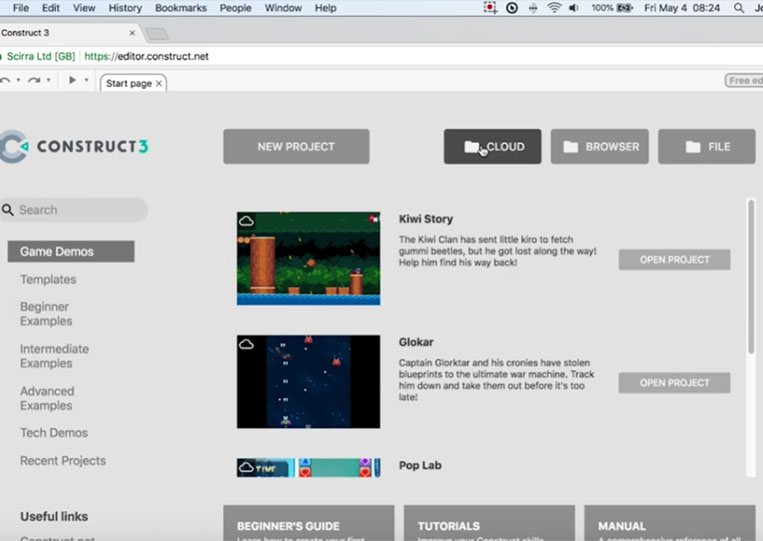
If I click on the ‘Cloud’, it automatically connects to my google drive. That’s where I store pretty much all my projects.
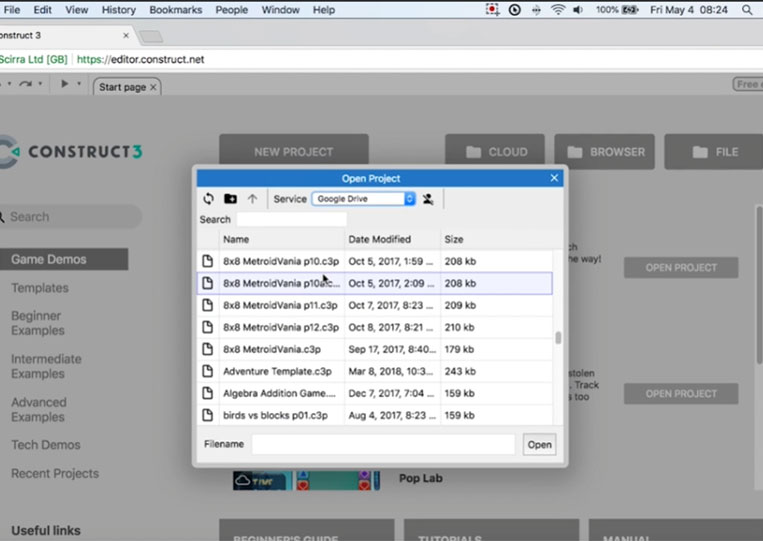
You can add a Dropbox or the one drive here. There are a lot of projects that I have worked on over the years. We want to save to the cloud as much as we can. But we will also save. You can open up a file here.
I have some of the stuff that I’ve been making here. For the most part, you want to save to your hard drive and the cloud. I’m not sure how to do that. But first, we create a project.
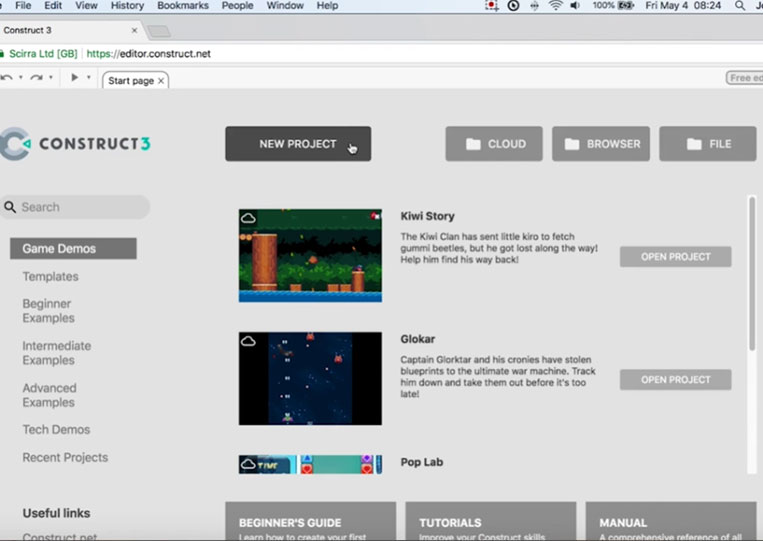
Let’s go ahead and create a new project here. Now there are many different options if we look at all these options here.
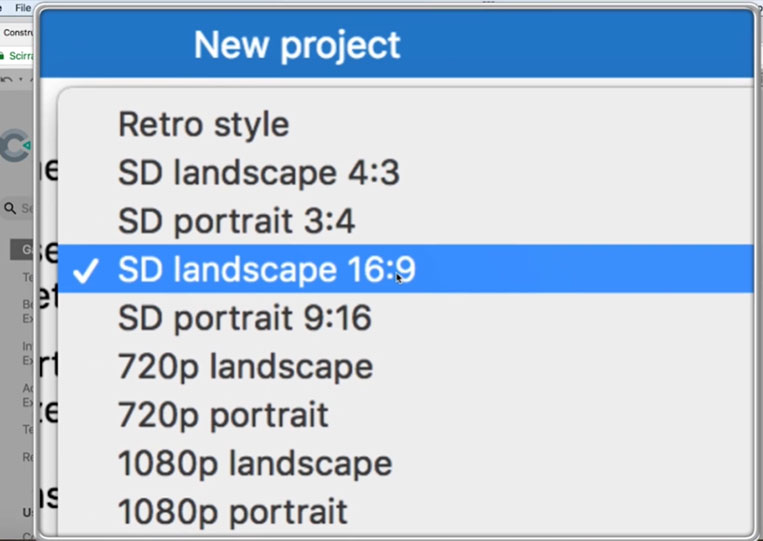
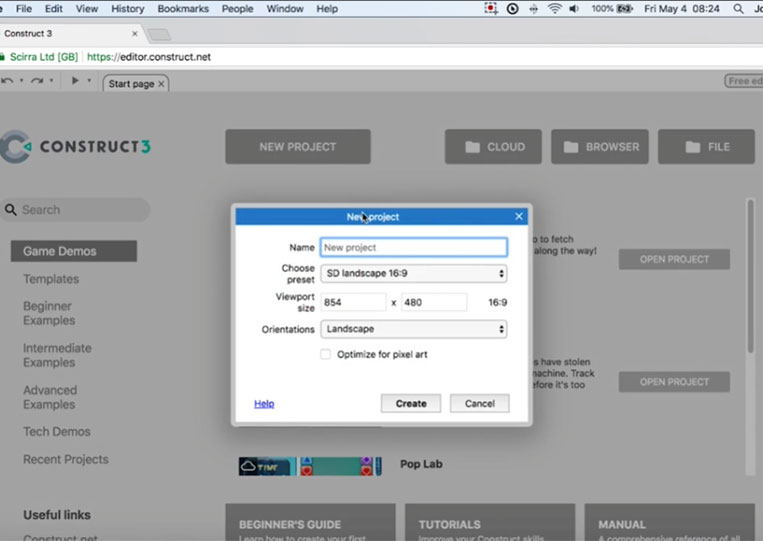
We have all different types of projects, each of which is of a different size. SD stands for standard distance definition. There’s no HD here, but HD is technically 10 ADP. The difference between all these is that the higher you go, the fewer pixels there are. I recommend staying in the middle of the top half of this list because you want to create a more retro and indie-style game first. If you’re playing to make an RPG, you’re probably having a difficult time. It’s maybe not going to work. One of the products I wanted to do in the 90s made a 3D RPG in my bedroom and didn’t work. I dream too high, and I have to come back to reality. The only thing you need to know is the example in the SD. Here we have 16:9 and 4:3. A landscape is like your computer screen, and a portrait is like you’re holding your phone upright. If you’re making a mobile game on your phone and it’s vertical like in these portraits, you can do either one of these items here. I usually use the SD landscape. It also looks good!
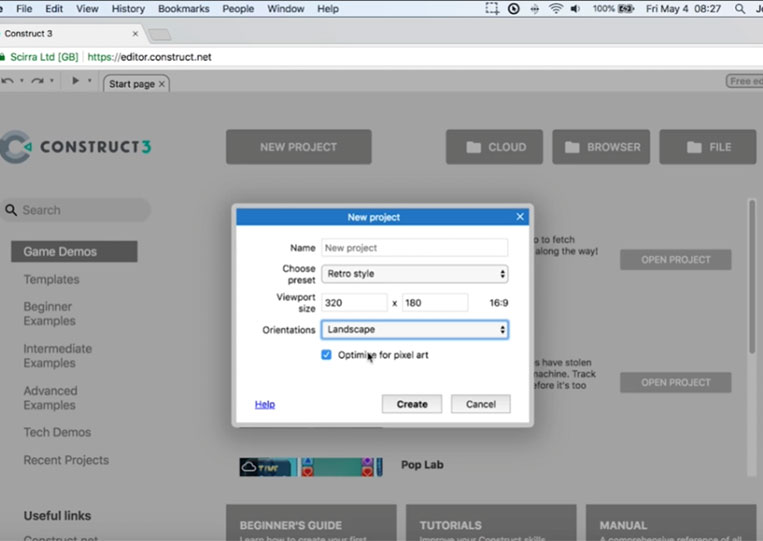
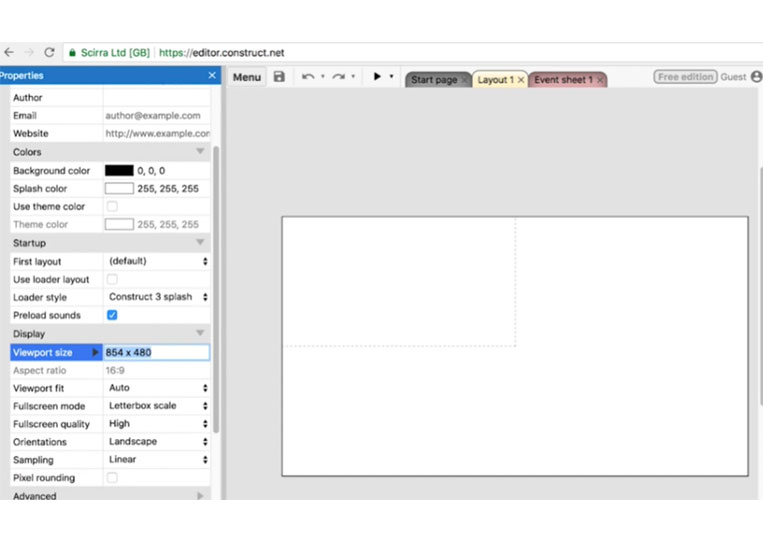
You have the viewport size. If I change these, it gets to be quite a bit bigger. The retro style is pretty nice. I like that a bit too!

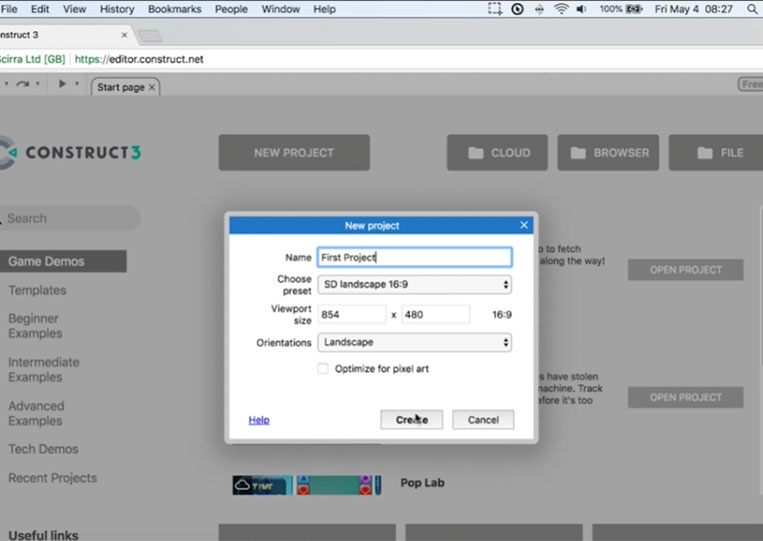
If you want to have it in landscape or portrait mode, it makes all the difference to the phone. Because with an X code and an Android Studio, there are options only to place your device in a specific orientation. That’s important because if the player moves phones, it might mess up your game. Let’s make an SD landscape here 16:9. We call this the first project. You want to make sure that the name of your project is here.
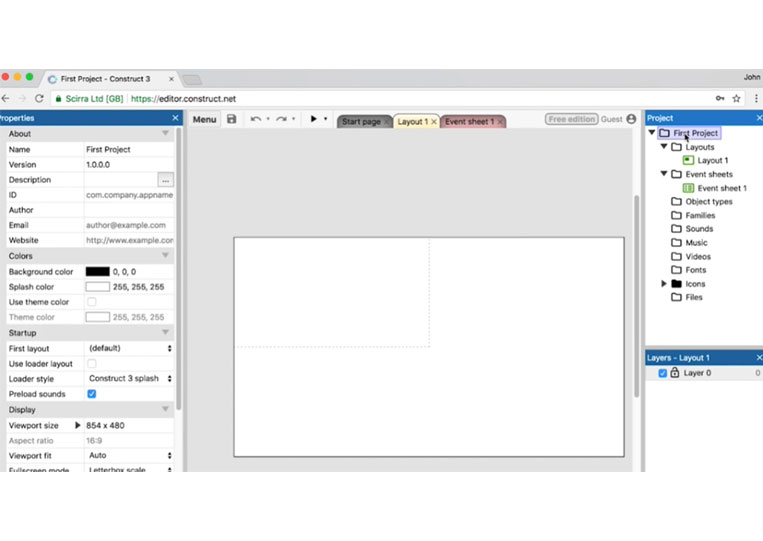
Look at this, and you’ll notice that a lot is happening here, and the question is that you need to know what every single thing does here. If access to other forms of development like IOW development or Android development, or any kind of development. There are a lot of settings you’ll never use. I’ve been using X code for six-seven years now, and there are settings that I have never touched and never used in ‘Construct 3’
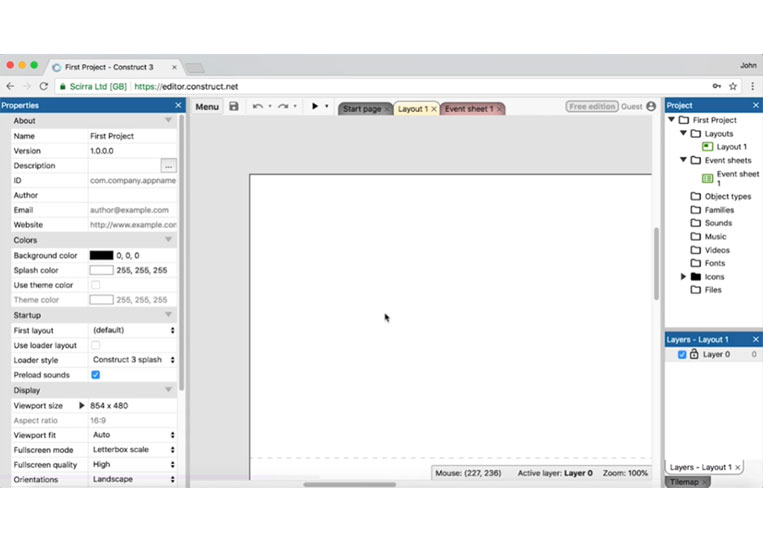
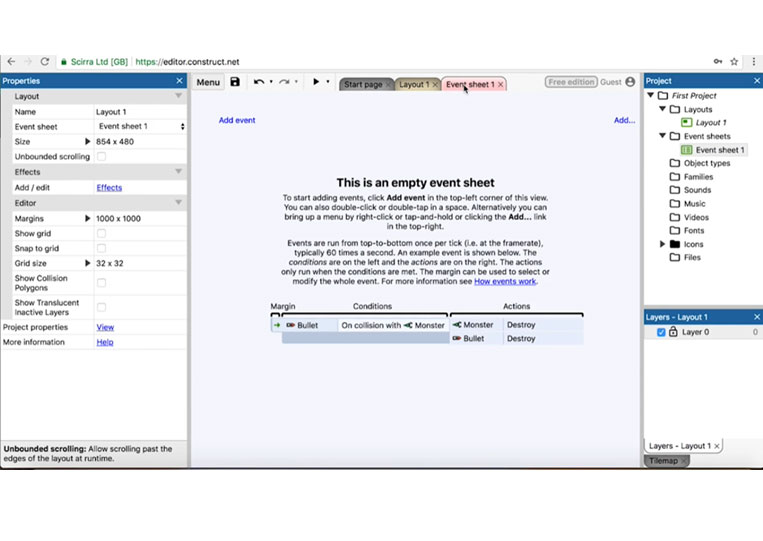
Let’s take a look at some of the items here. We have the ‘Properties’
All the different types of properties are related to the layout here.

There are many various items, and we’ll talk about them. We have a project tree on the side, and the layout is the visual representation of the game. If you’re making your game, you’ll see the layout here.
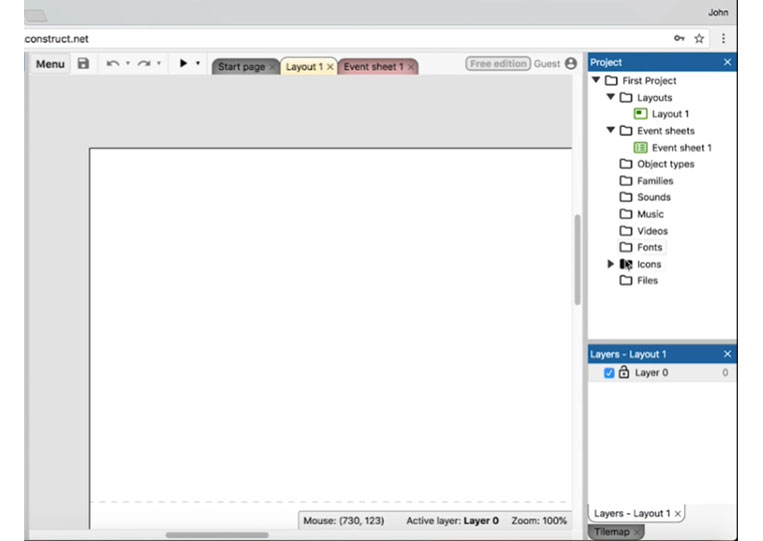
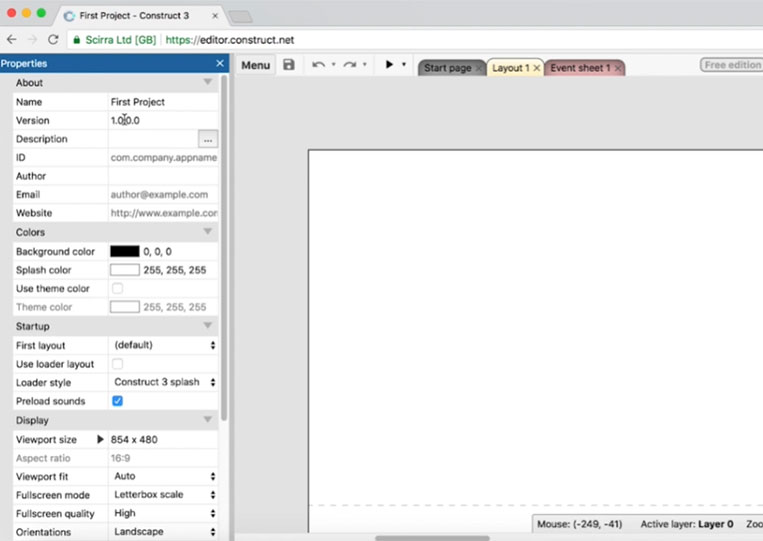
If I click on the project, the properties change.

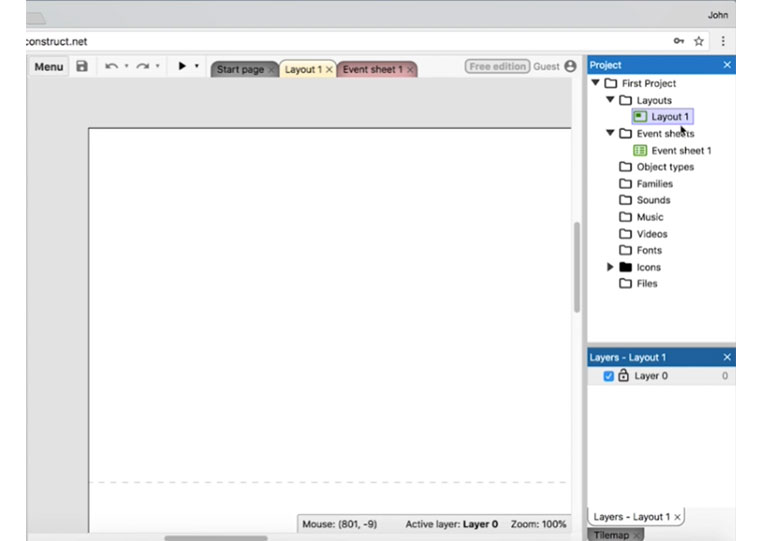
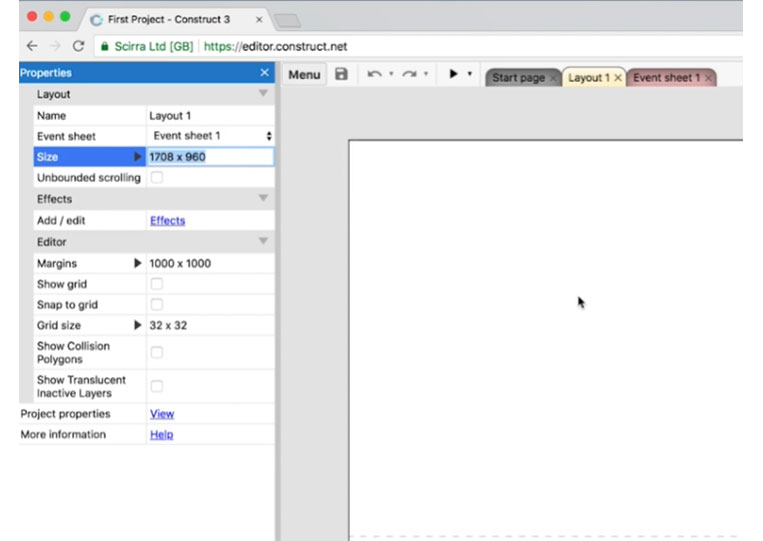
Because the properties for the ‘Layout’ or the ‘Event sheets’ can be a little different. I like to change the size of the layout.
You’ll see this kind of dotted line.
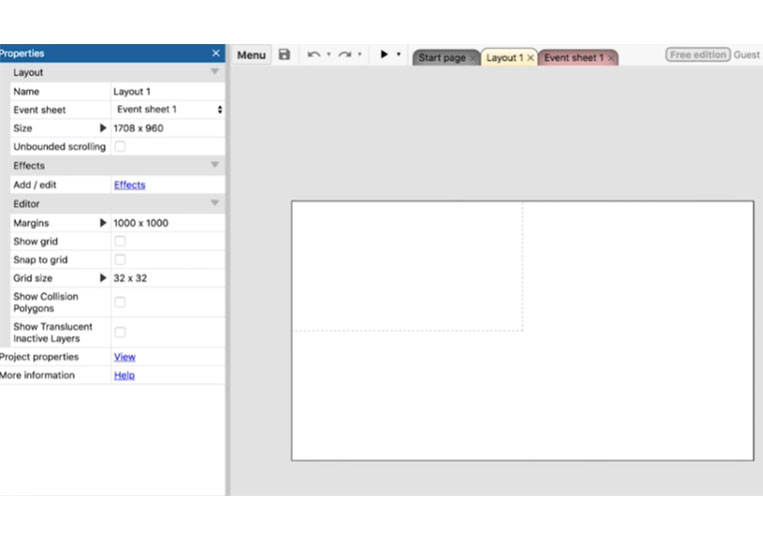
If you think of a game like Super Mario, it’s not just one screen that you can move throughout the level, and that’s what this is doing here. I like to make game one-room games as often as possible. Thus, I’ll copy this viewport size as the first project.
I change it to the size copy and paste that in there, and this is the size.
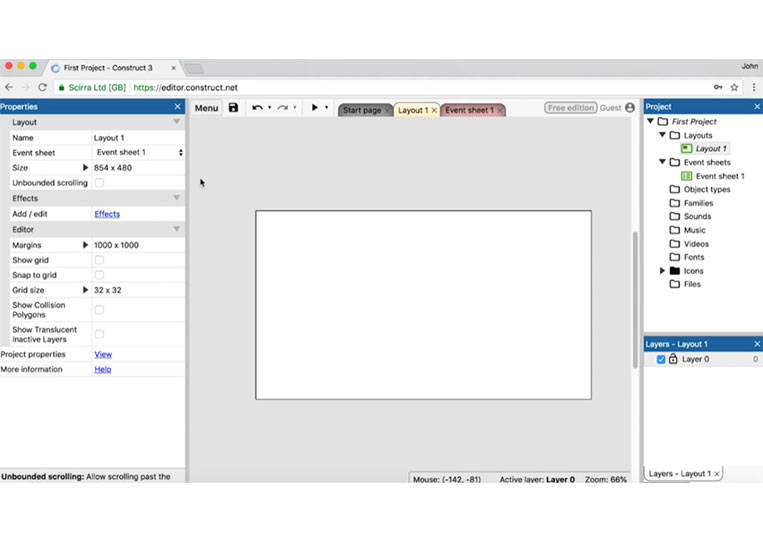
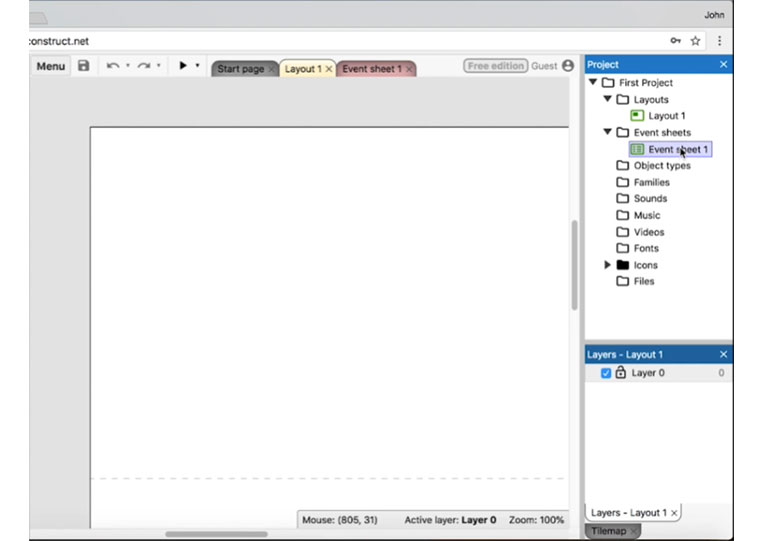
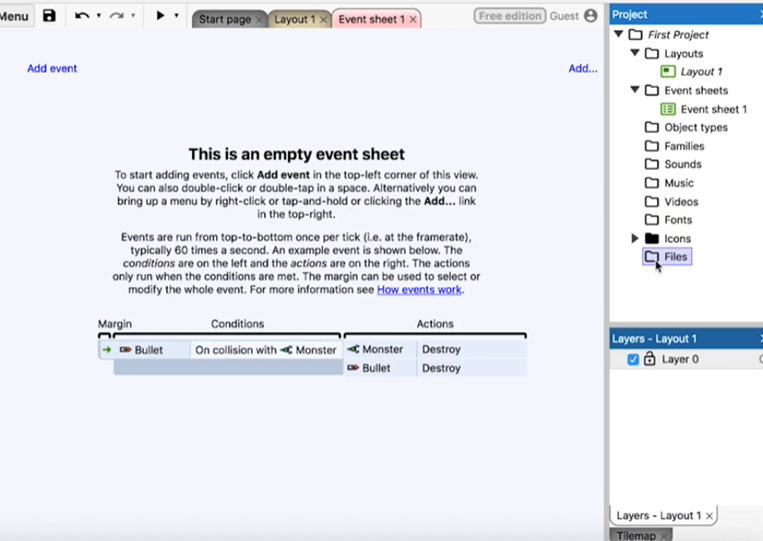
I’ll talk about the rest of these windows and how things work. Now that we have our layout, here is a visual representation. Now the ‘Event sheets’ is where all the magic happens. ‘Event sheet 1’ gives you a good example.

It is where all the quote-unquote code or events or all logic happens. Now ‘Construct 3’ is a non-coding game engine. A non-coding game engine means you don’t type out code. There’s some stuff you still have to type out, but it’s mostly not coded. I find the workflow in ‘Construct 3’ the best and easiest I’ve seen in the game. I’ve been in game development since the 90s, and ‘Construct 3’ came out. It’s like a breath of fresh air. It’s awesome! Let’s take a look at how this works. You have an object like a bullet.
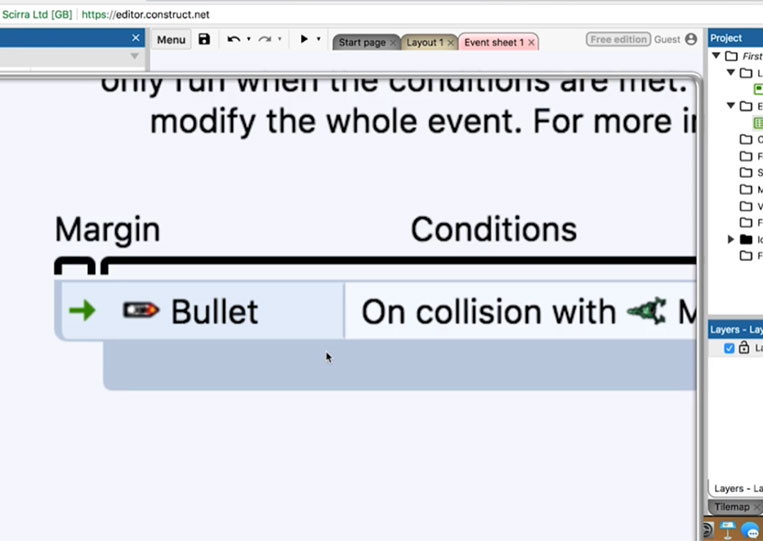
It’s on collision with a monster. Then, the monster and the bullet will get destroyed.
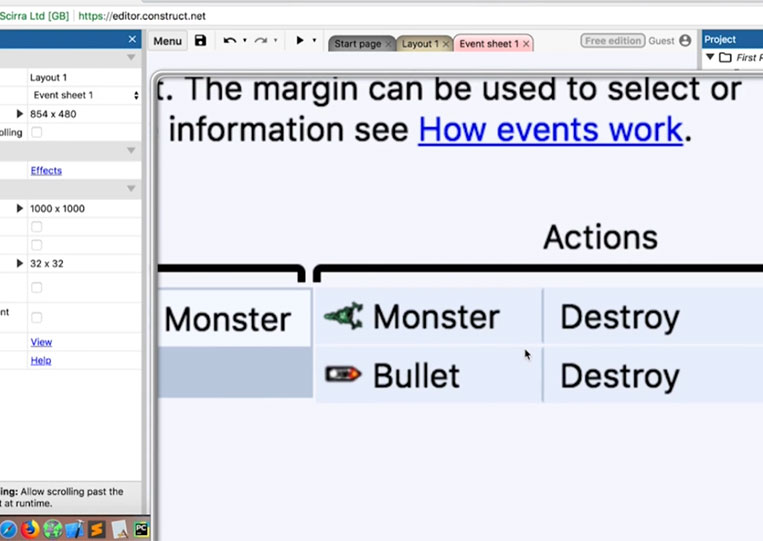
That’s how the event sheet works.
As time goes on, you’ll set up the condition and the actions here. Thus, it’s a condition that happens in an action. It highlights one of the strengths of ‘Construct 3’ about game development. You have to set up these conditions, and if this happens, what is the result. That’s very low-level programming in the high-level of programming is math oriented. That’s possible in ‘Construct 3’.
However, some things are harder to do in ‘Construct 3’. This tutorial is a brief overview of how ‘Construct 3’ works. When we look at the rest of this project, you’ll have object types.

Families allow you to group objects and encode them.
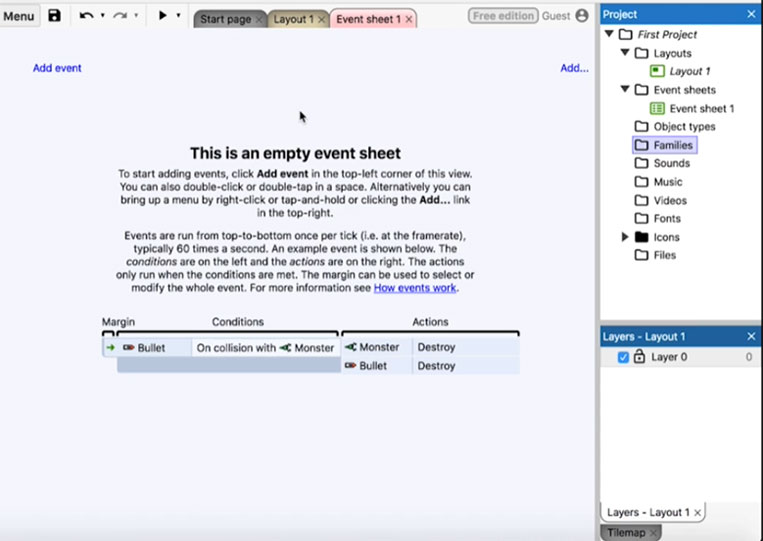
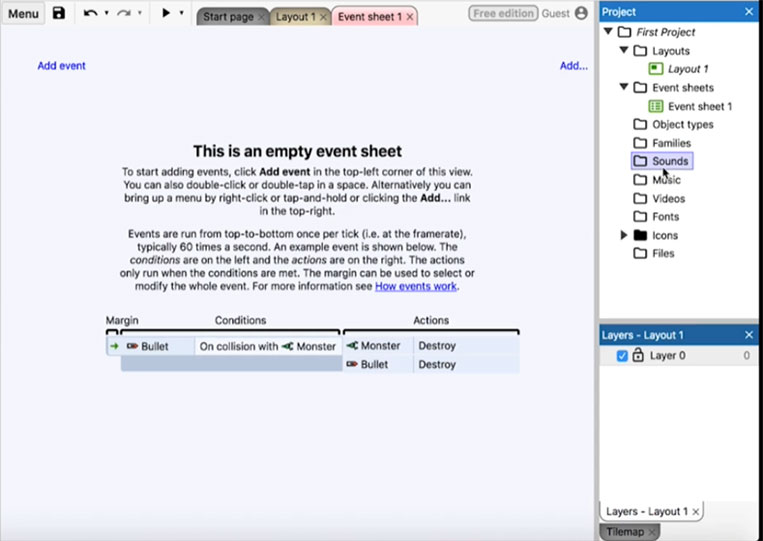
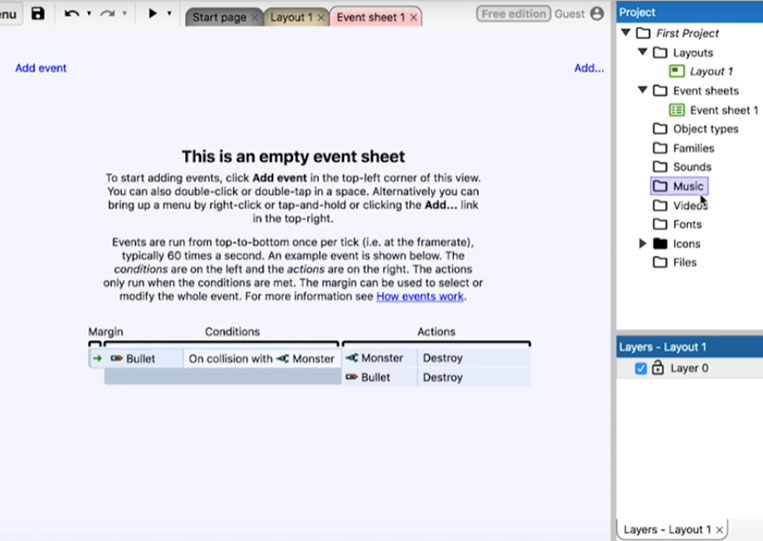
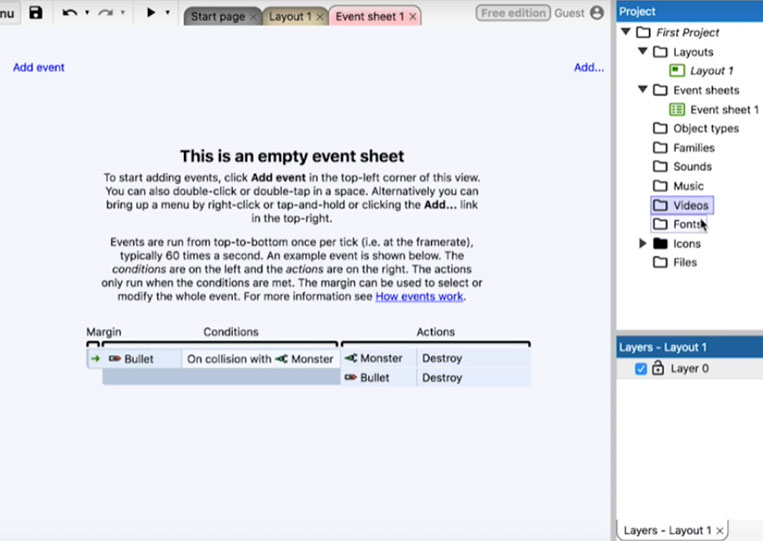
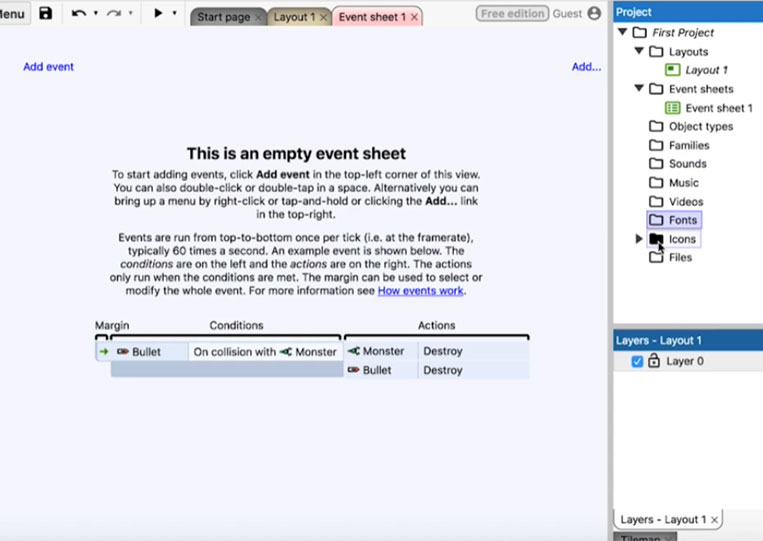
It’s a non-coding engine, and it gets a bit confusing. I like to think of this as code, but it’s visual code. Whenever I say code, it stands for visual code. We have great sounds, music, videos, fonts, and icons, and you also have extra files here.
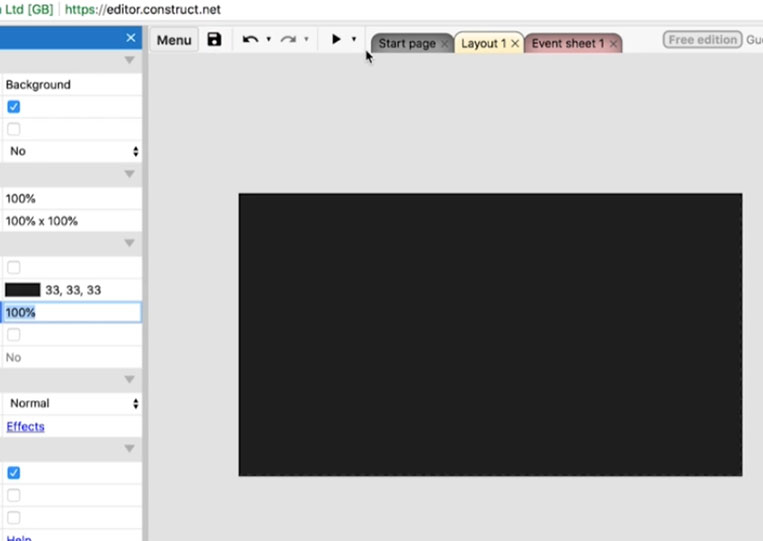
That’s pretty much all the menu properties have. We also have ‘Layers’
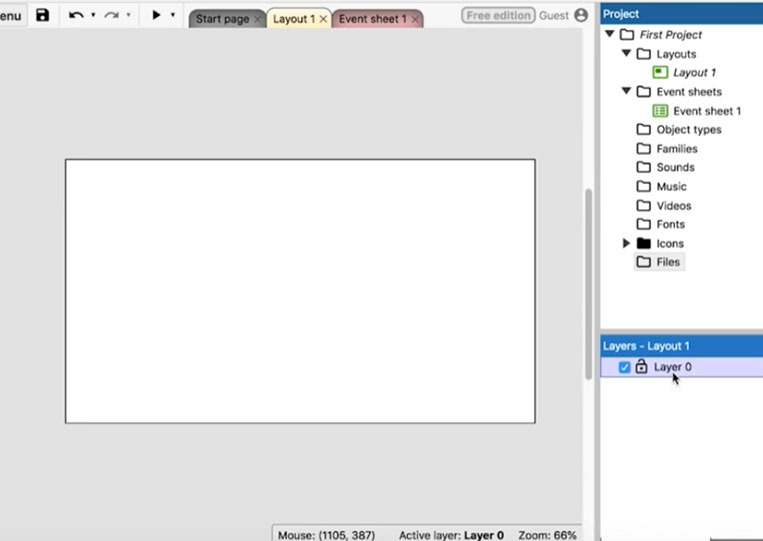
If you think of this as two pieces of paper and you have a background piece of paper, then the mountains and hills are where all the gameplay and all the action takes place. That’s ‘Layers’
It shows ‘Add layer at top’ or ‘Add layer at bottom’
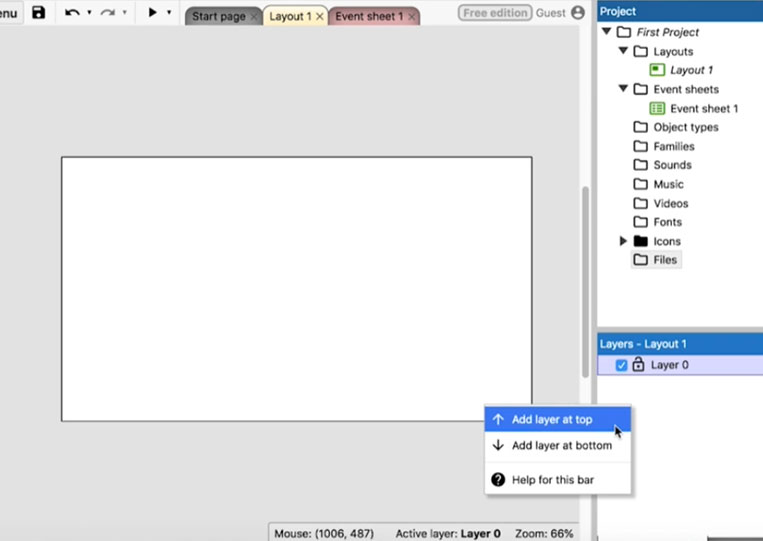
I always like to add at the top. You can click on this object and change it to the ‘Background’
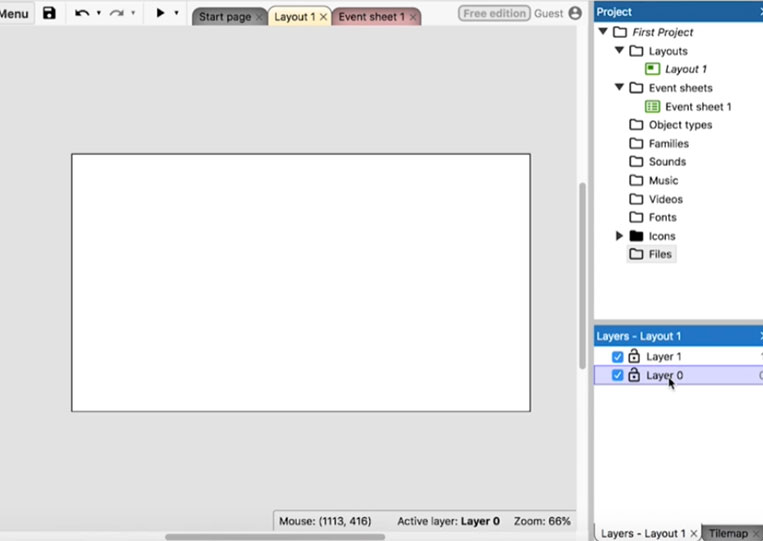
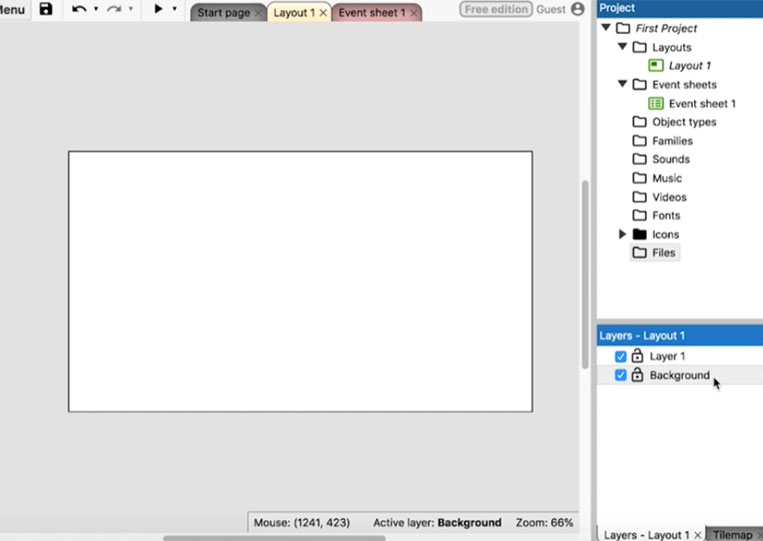
You notice that ‘Layers’ have different numbers, you can reference those numbers in the code here, and we can call ‘Player Layer’


I always make sure that I reference the actual layer itself. That’s what ‘Layers’ are here. The most important thing you need to understand about ‘Layers’ is that some of them are transparent.
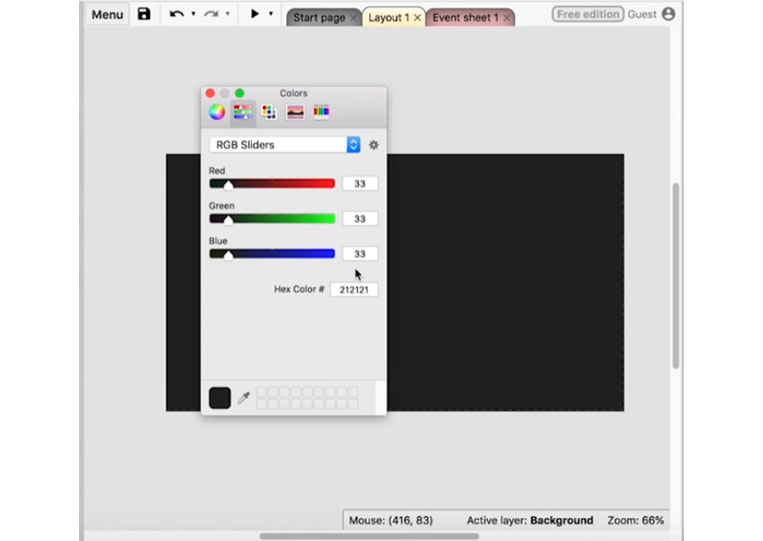
You go over to the ‘Properties’ menu, some of them are also transparent, and you can change the background color.
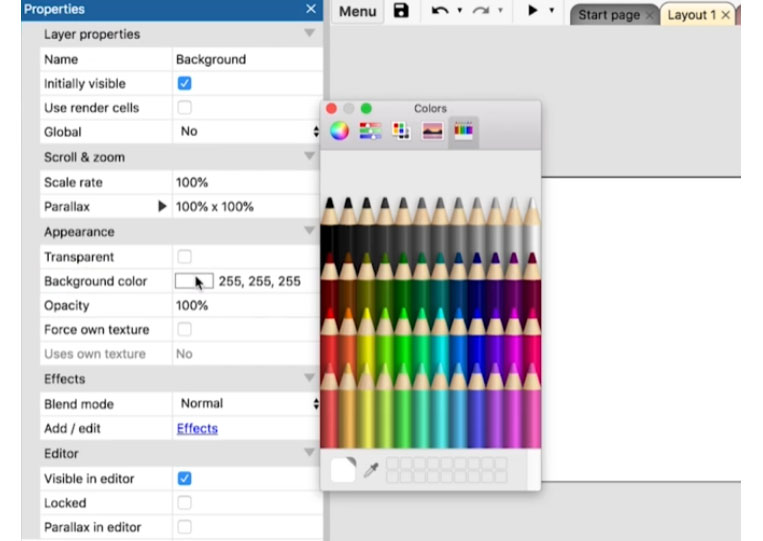
You click on this. You don’t see this color because it’s the palette and color window that Mac OS already has in the tax code. This crayon box is good.
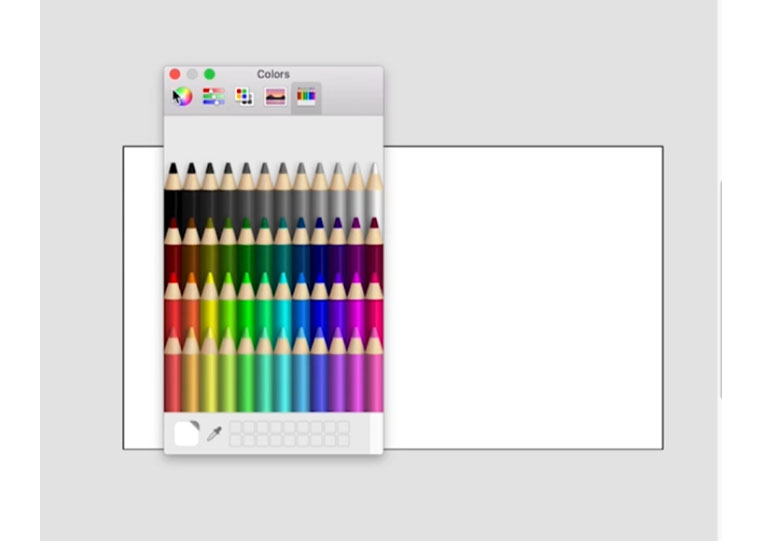
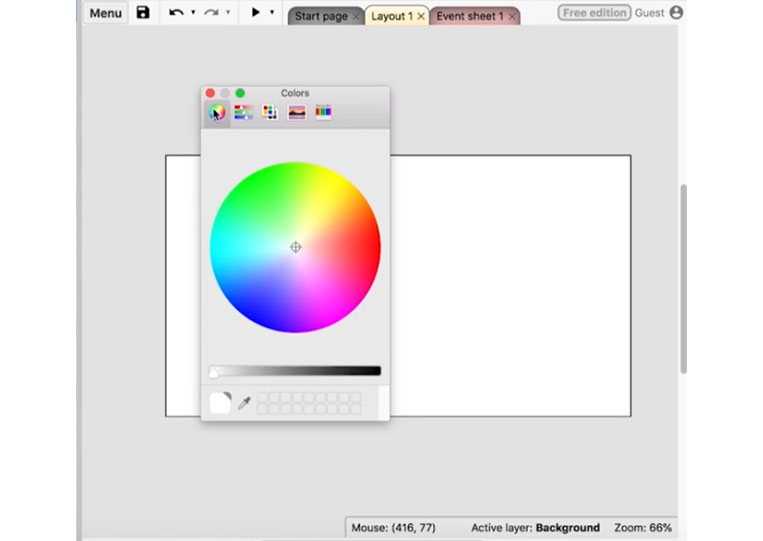
However, when I talk about colors, I usually would like to use the RGB values.
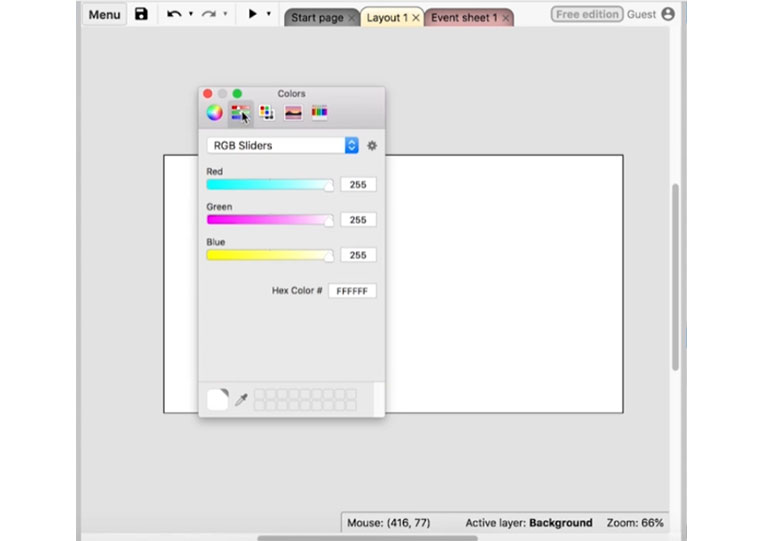
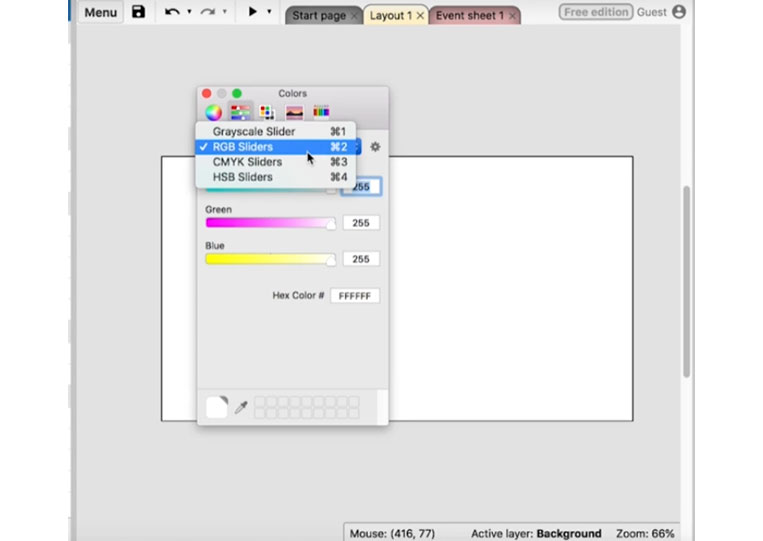
There are different ways to create colors, but RGB is my favorite. I’ll be mostly referencing RGB colors or using the crown box. It is pretty bright orange!
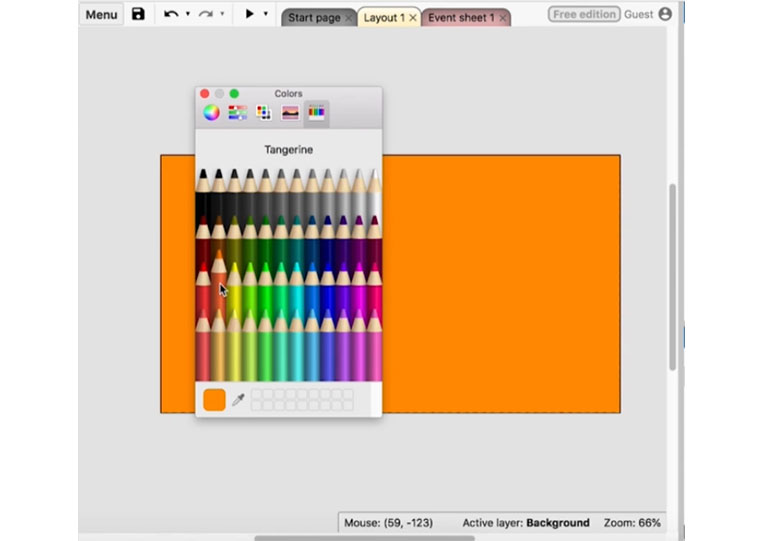
It is good too!
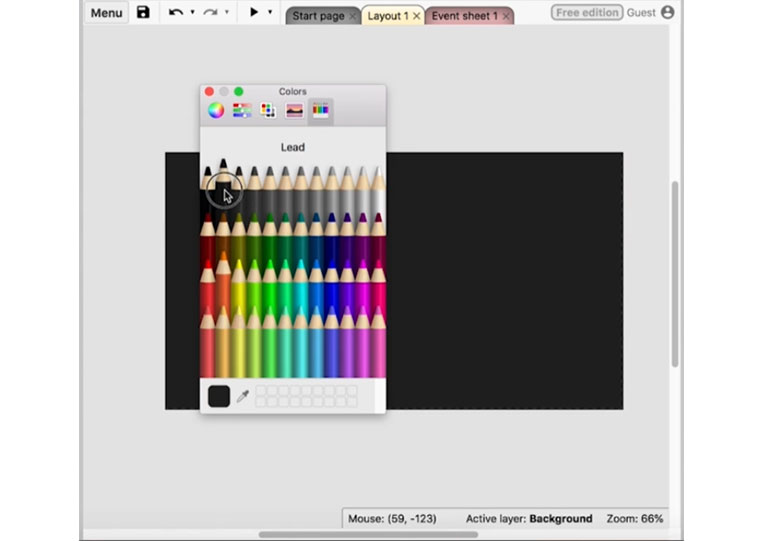
I usually use these colors here. The other thing is you can change transparency here so that you can change the background to whatever you want.
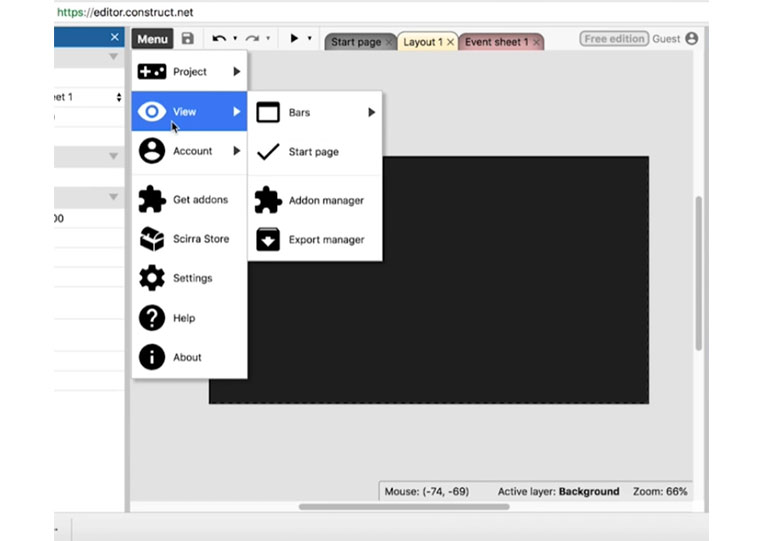
Now let’s look at a few other items here.
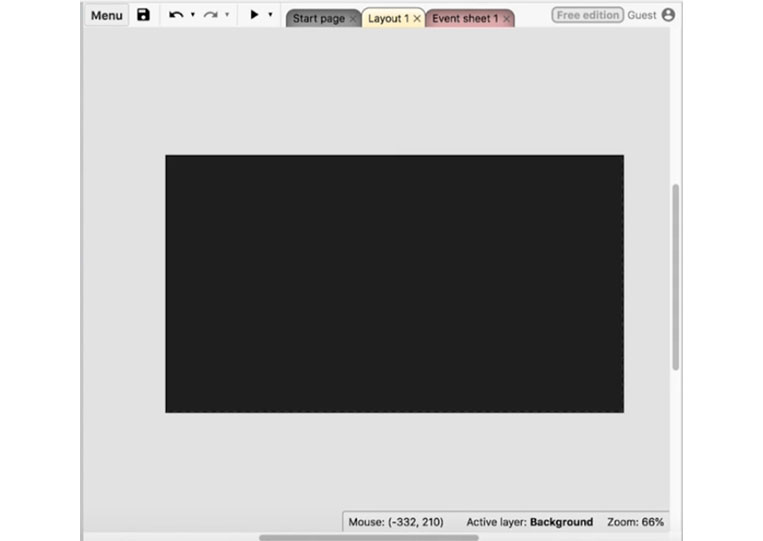
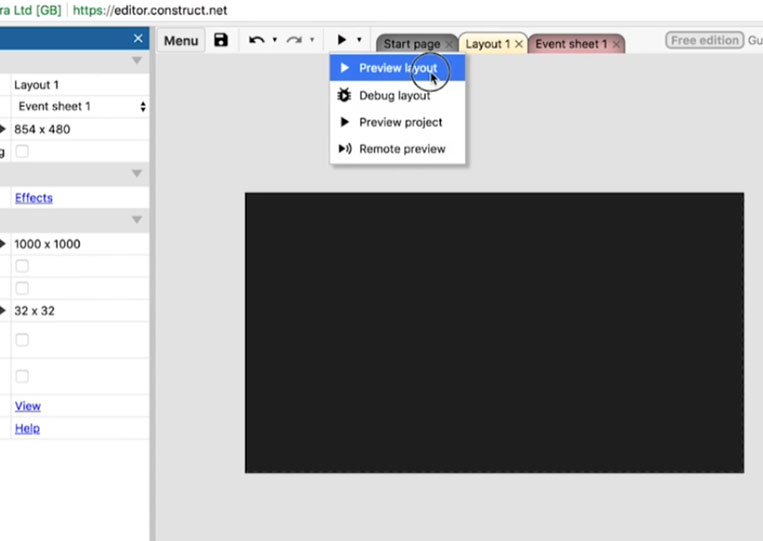
In ‘Construct 3’, we have the option of ‘Preview layout’
If we run the game well, we have a nice square box.
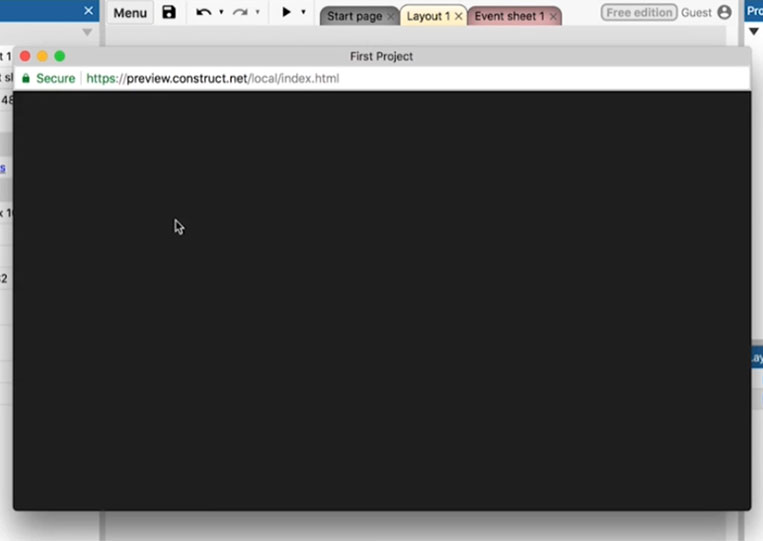
It looks great. You also have a ‘Debug layout’
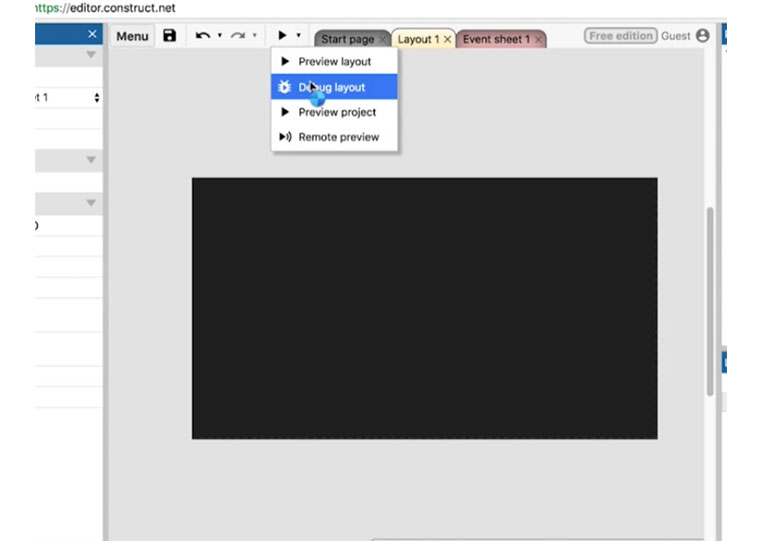
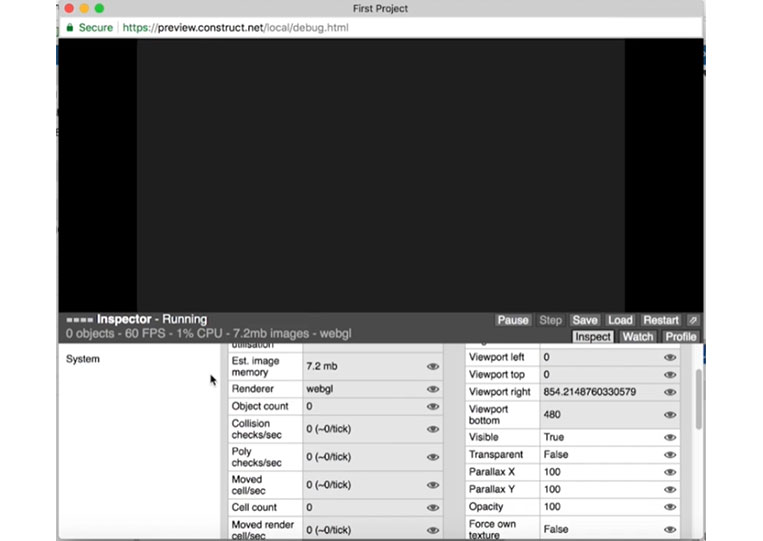
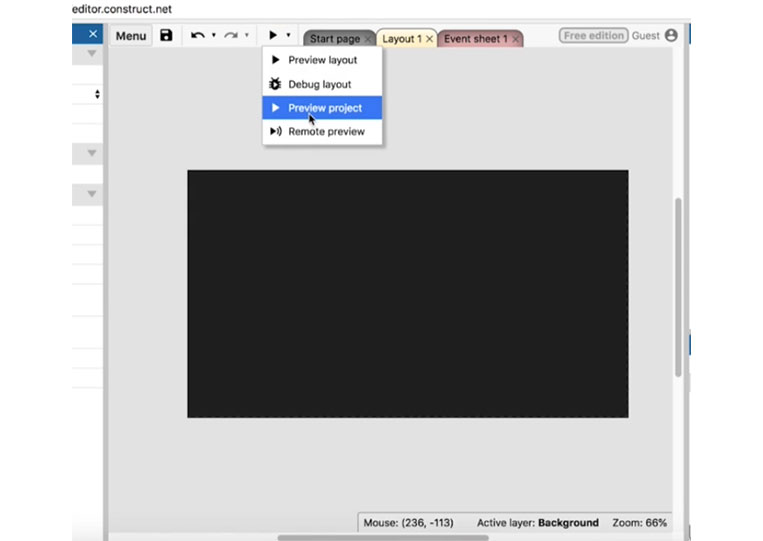
‘Debug layout’ will tell you how many frames per second are going on. They give you all these statistics and let you figure out problems. Sometimes, I will code when something is not working quite right. I want to use ‘Debug Layout’ to discover problems when coding something that doesn’t work the way I want it to. I go to ‘Debug Layout’ and fix it. That’s what happens during development. I am doing everything step by step here. You can read a preview layout. Say you have a lot of games with 100 levels, you can preview a specific layout, or you can preview the project game from scratch.
My favorite feature is a ‘Remote preview’
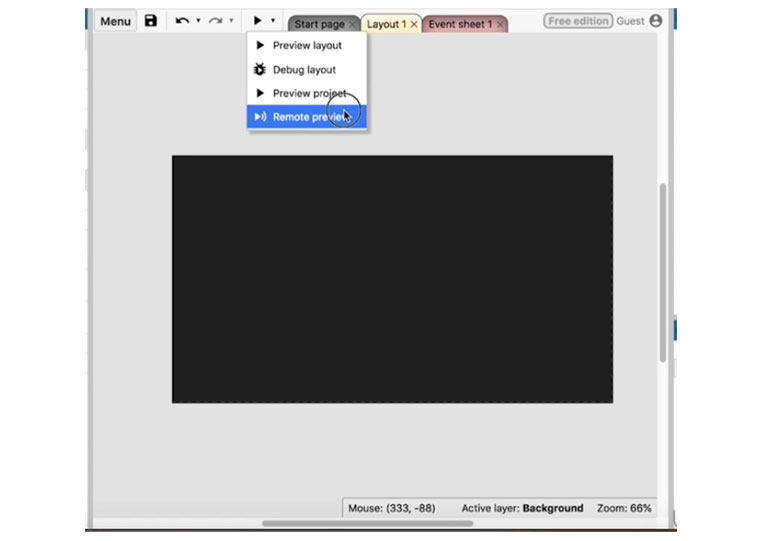
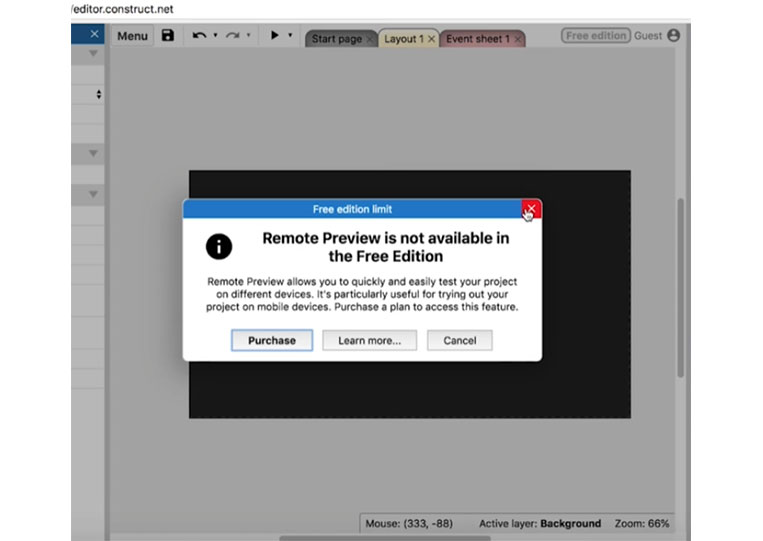
You can’t use it in the free additions, but what the ‘Remote preview’ does is pull up a QR code, then all you have to do is pull your cart and your smartphone camera up to the QR code to run it on your mobile device. If you’re making a mobile game, I highly recommend that you use the ‘Remote preview’ on a mobile device as much as you can. X code doesn’t do this. I’ve never seen any other software that does this. It is unbelievable. It’s one of those things that makes ‘Construct 3’ better than any other game engine out there.
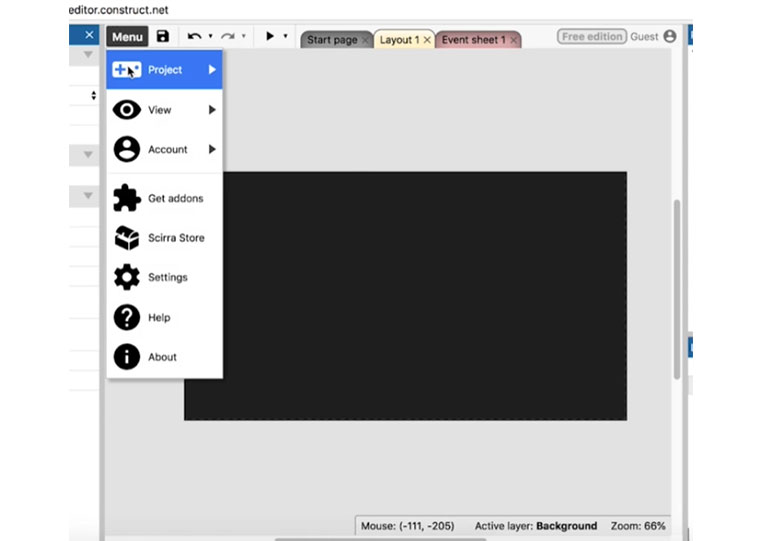
You go to ‘Menu’ and save it.
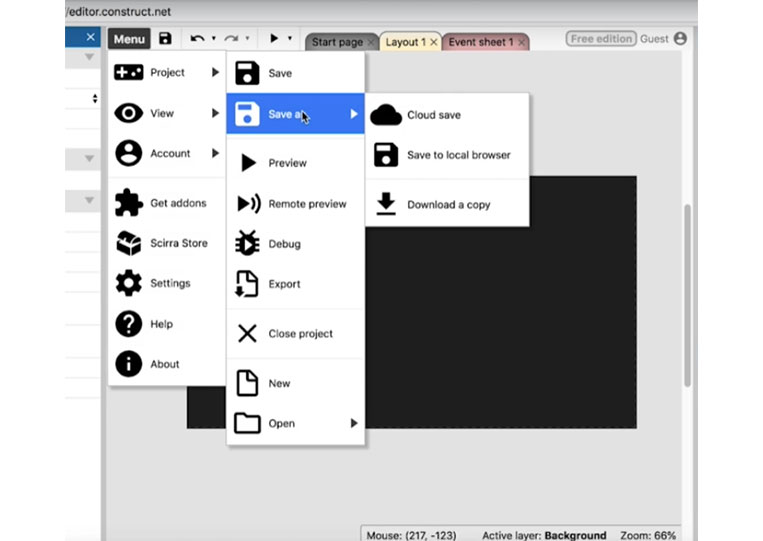
It will go to the last save, or you can save as ‘Save to Cloud’, ‘Save to local browser’ or ‘Download a copy’. If I select ‘Download a copy’
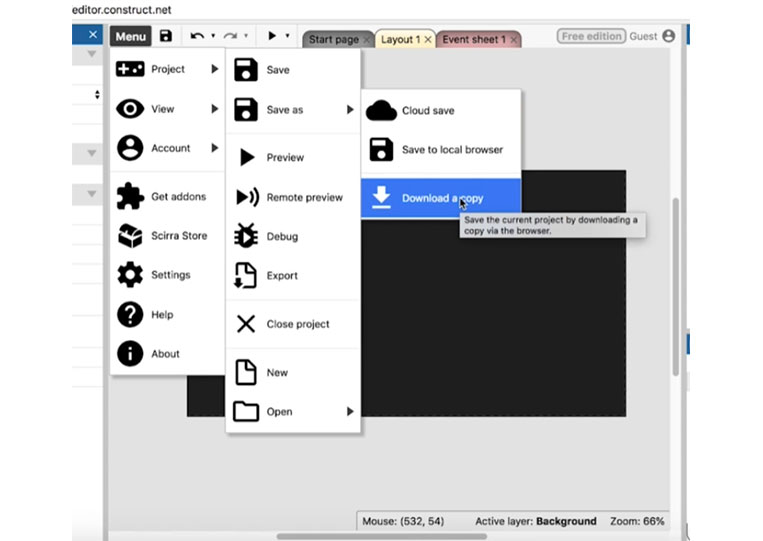
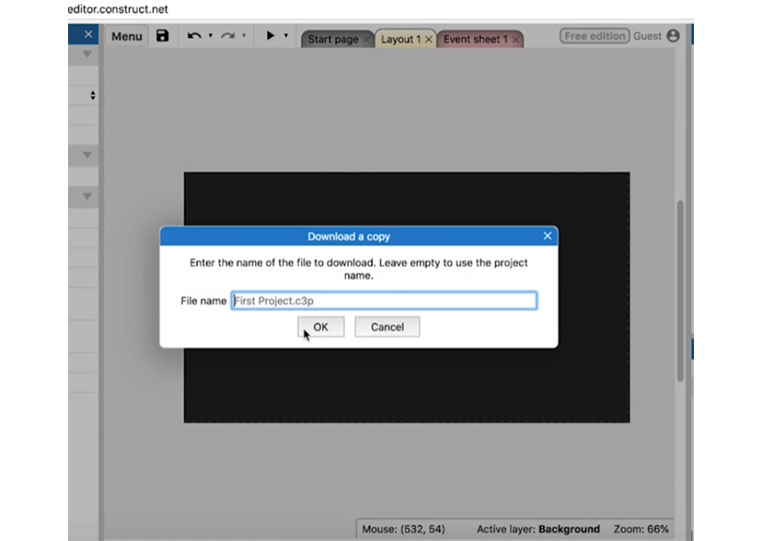
There are other options here.
That’s an overview of how ‘Construct 3’ works. We will talk more about all these different features and how to make the game as fast as possible.


