


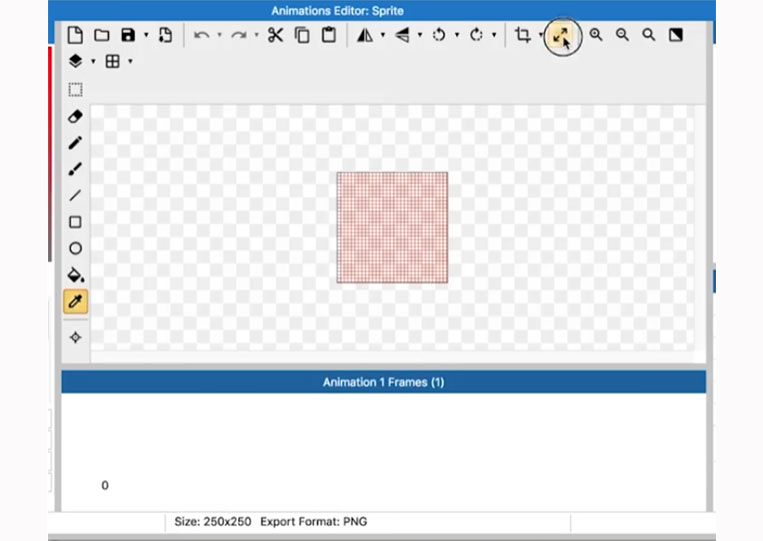
CREATE 16×16 CHARACTERS

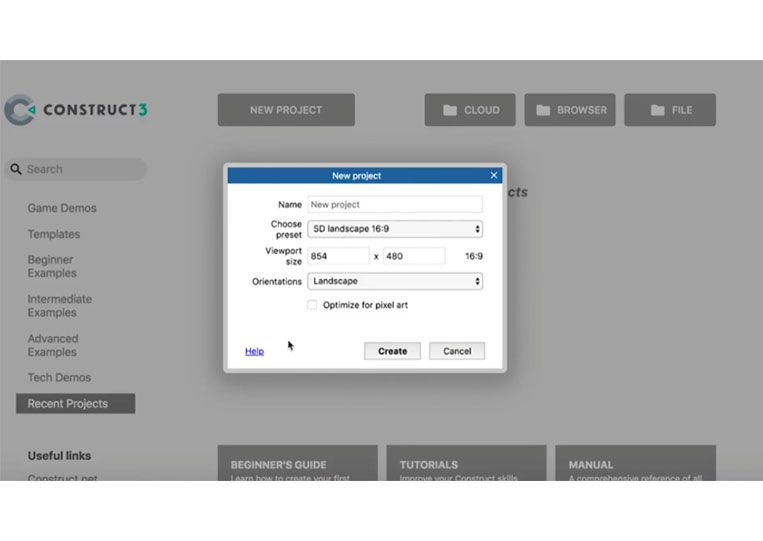
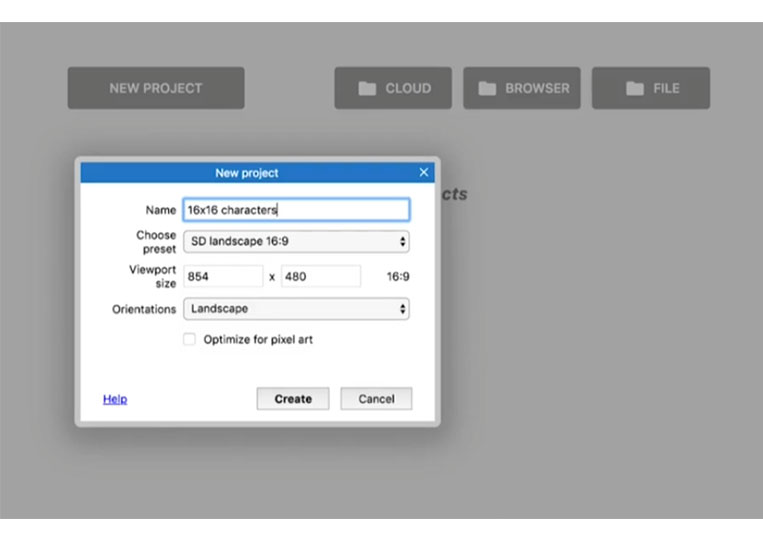
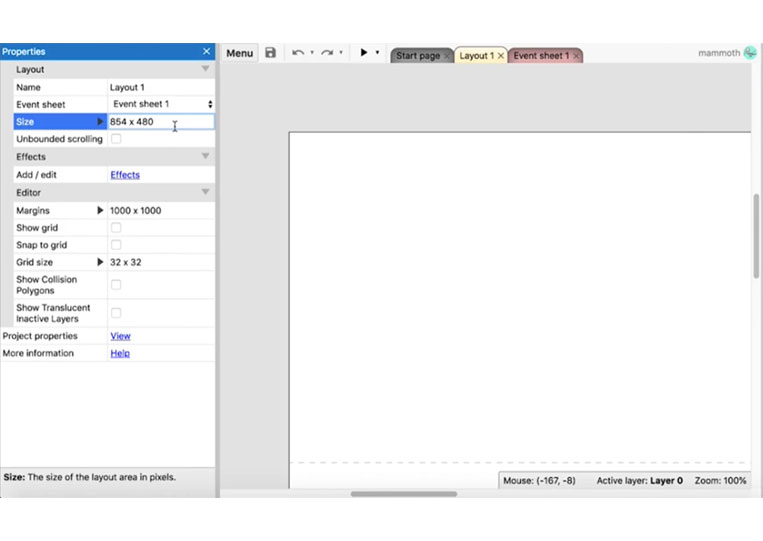
In this section, we will look at 16×16 characters. Let’s create a new project.
For the most part, we create a Layout here.

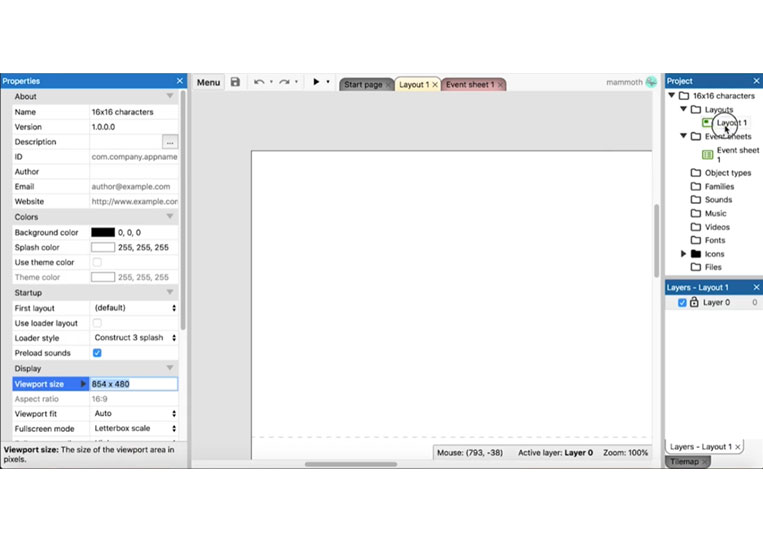
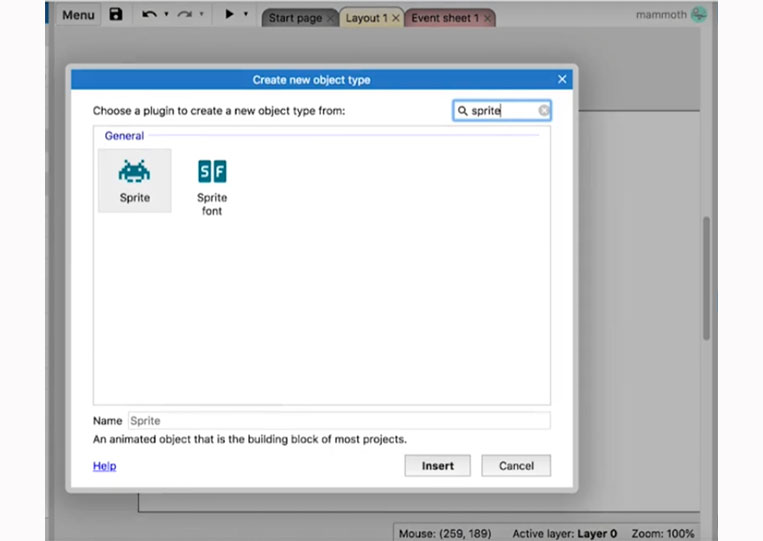
Of course, we add a Sprite.
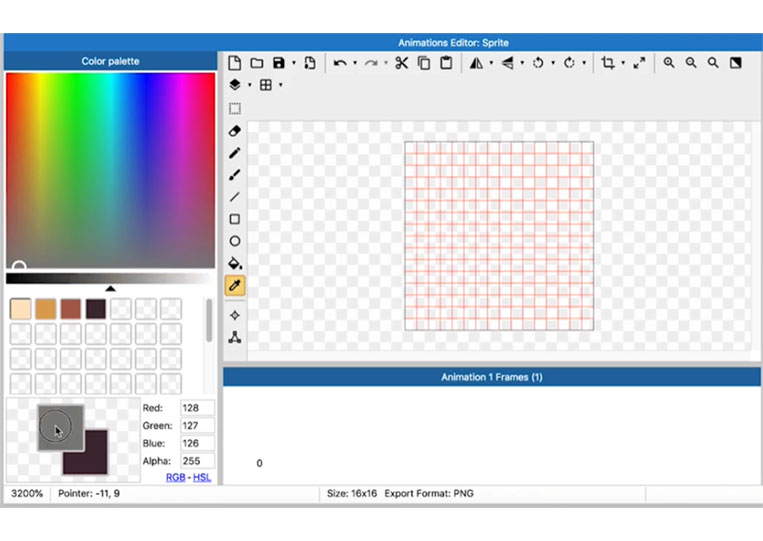
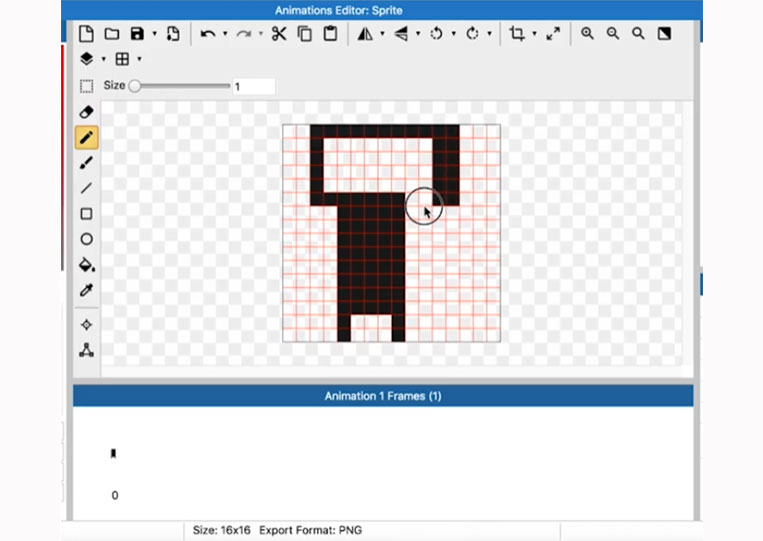
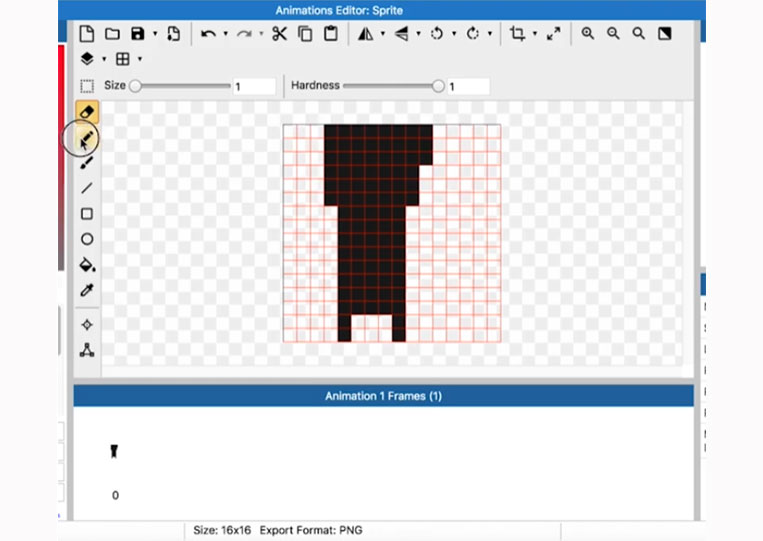
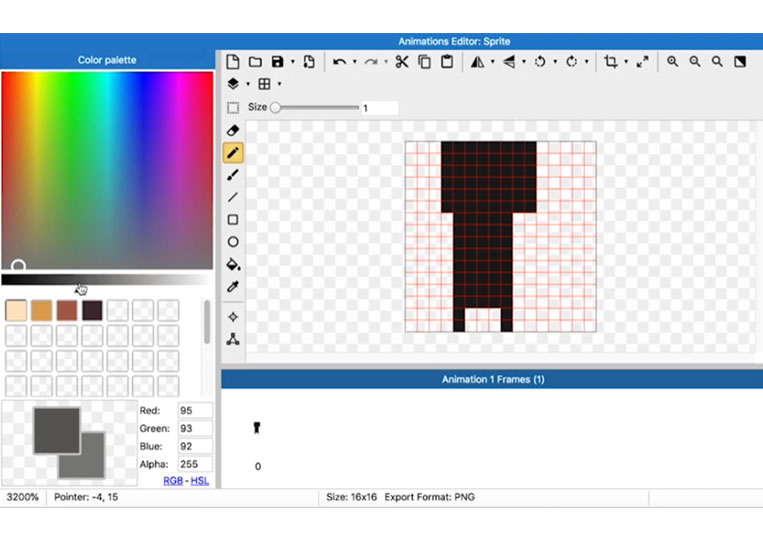
Let’s create this 16×16.
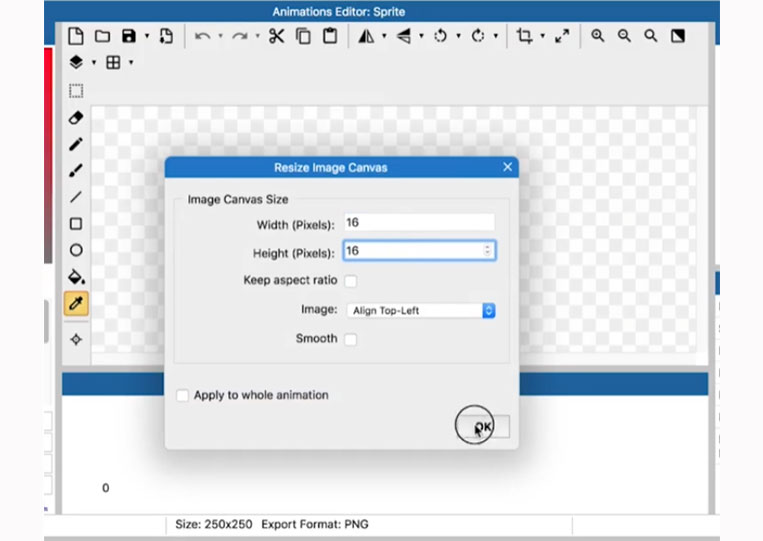
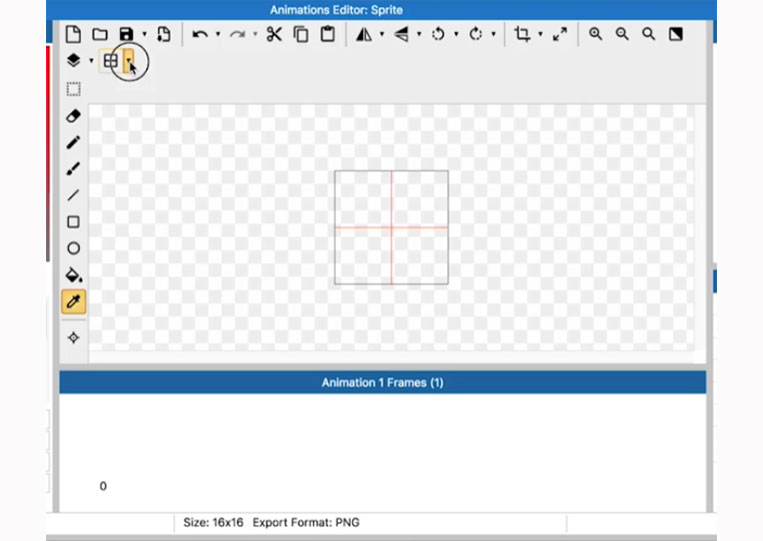
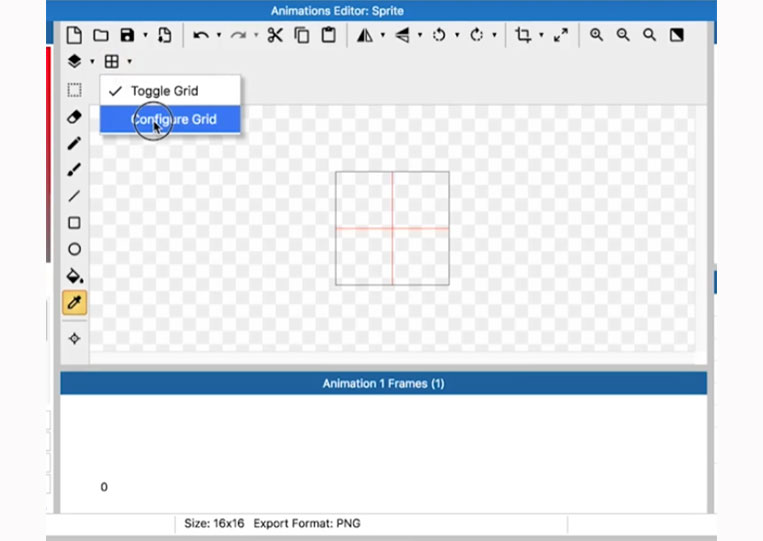
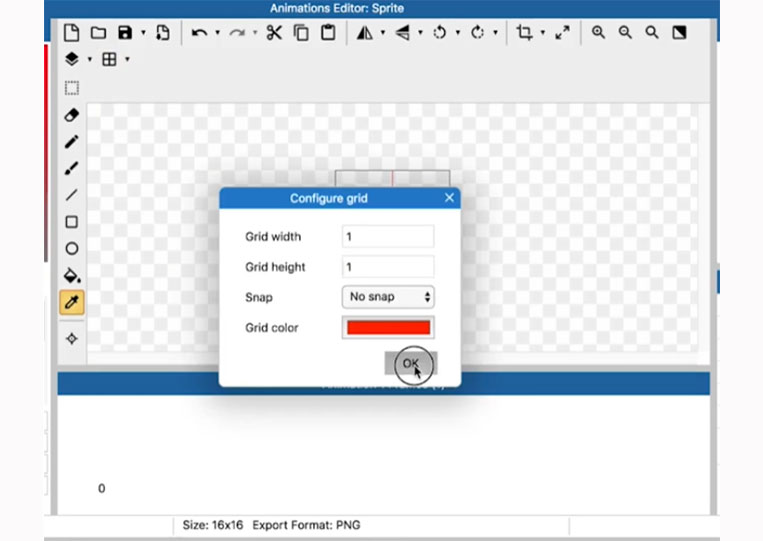
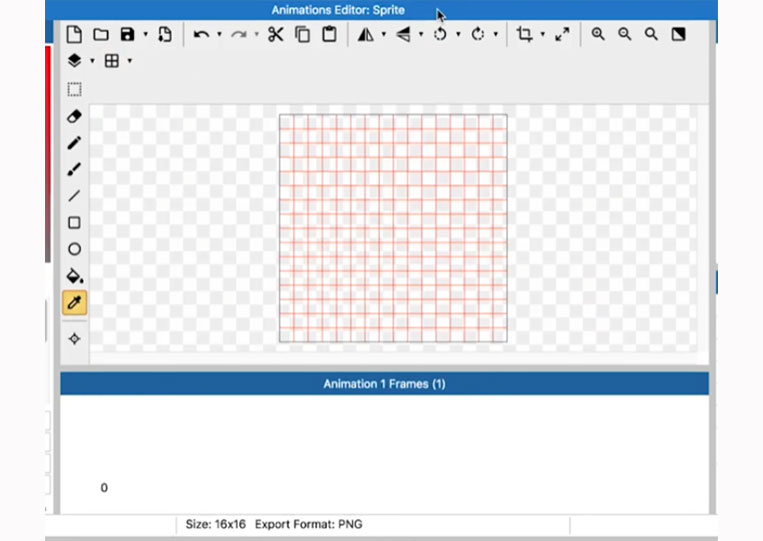
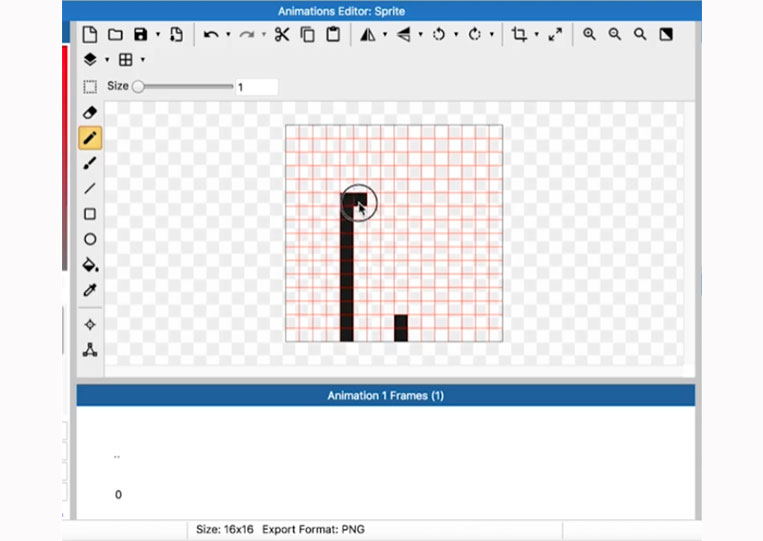
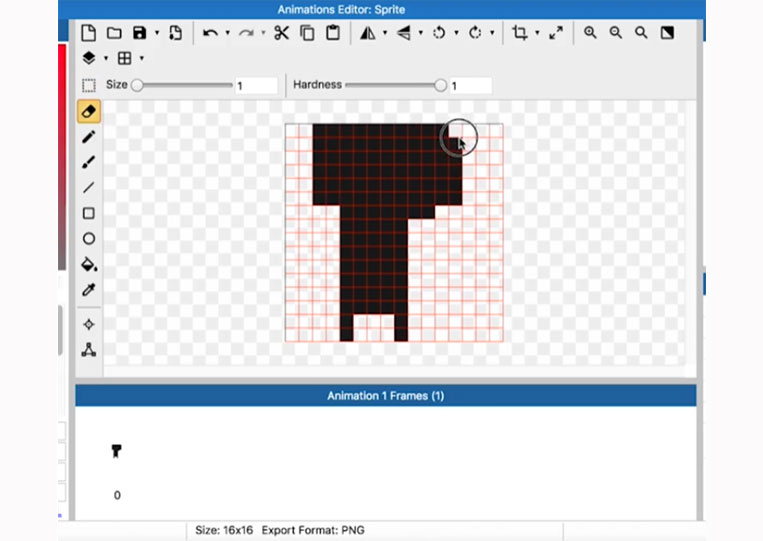
Begin! We will configure the grid to have 1×1 pixels and move it up.
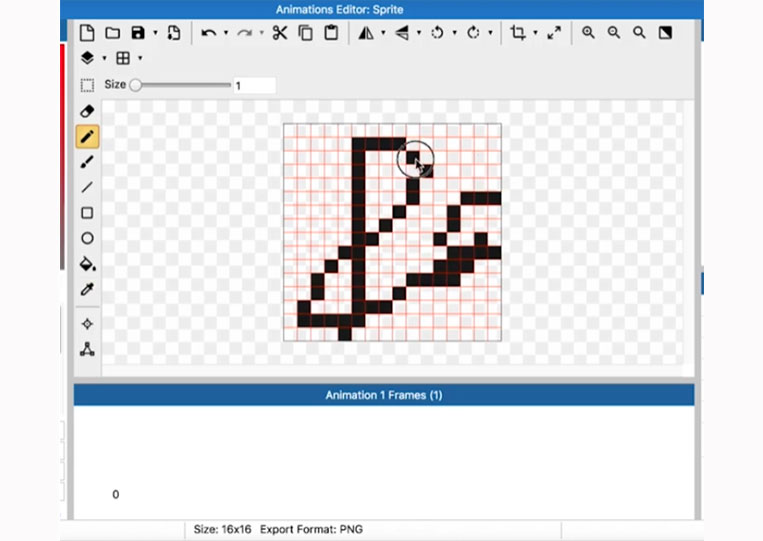
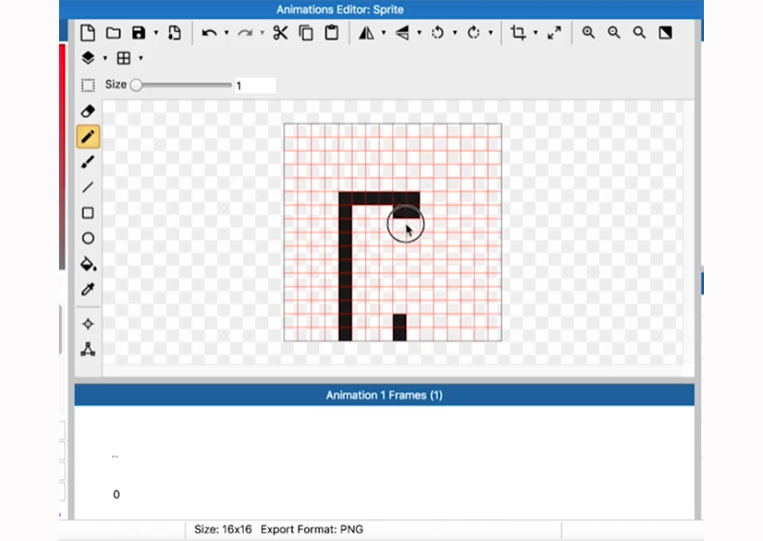
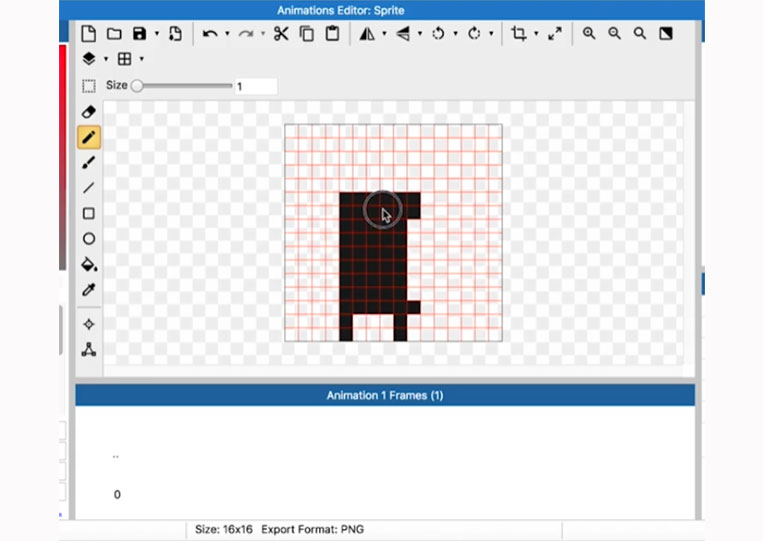
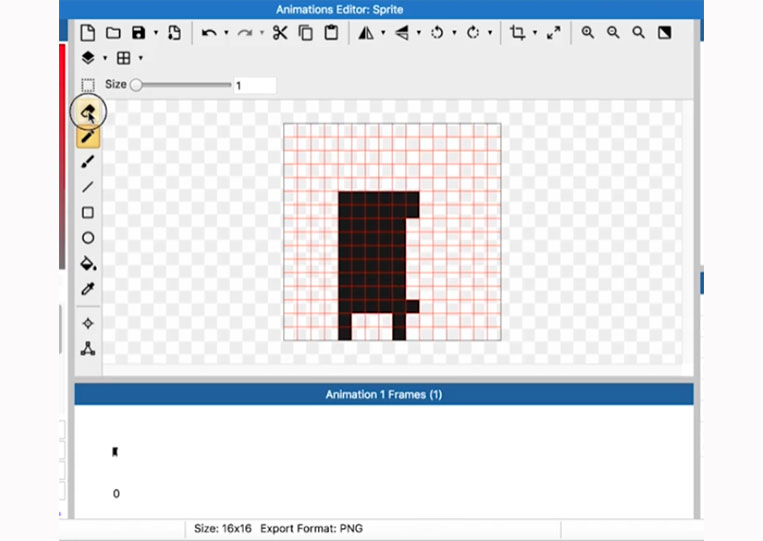
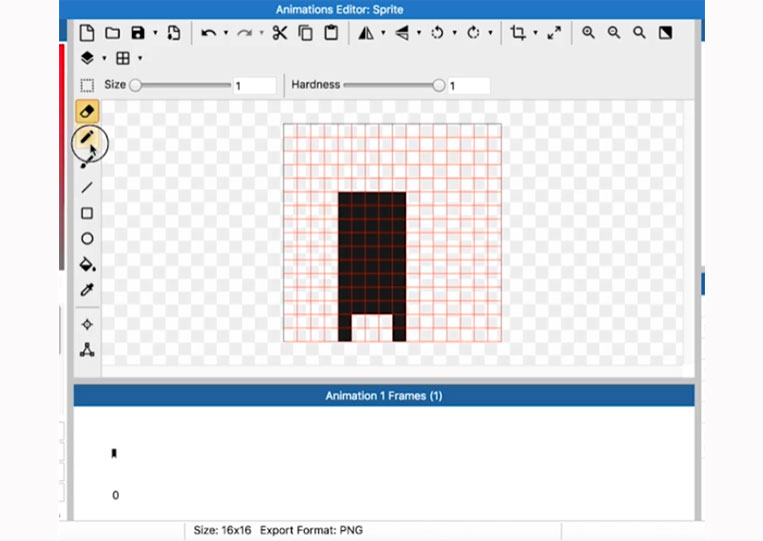
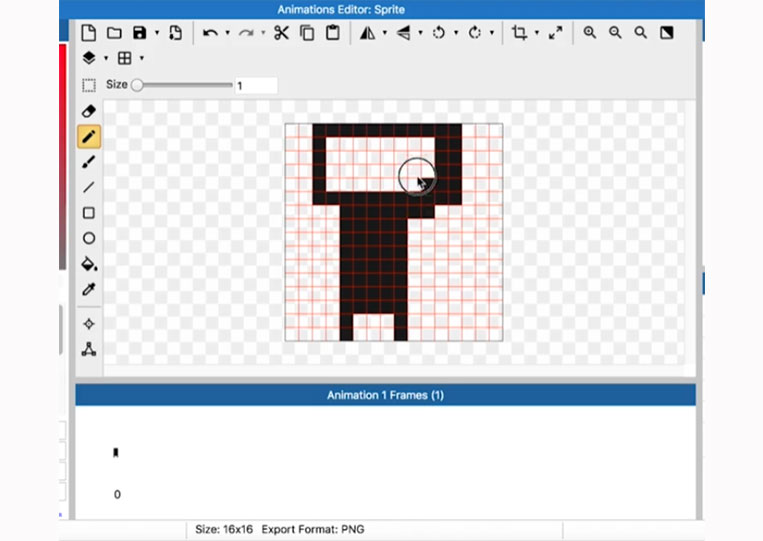
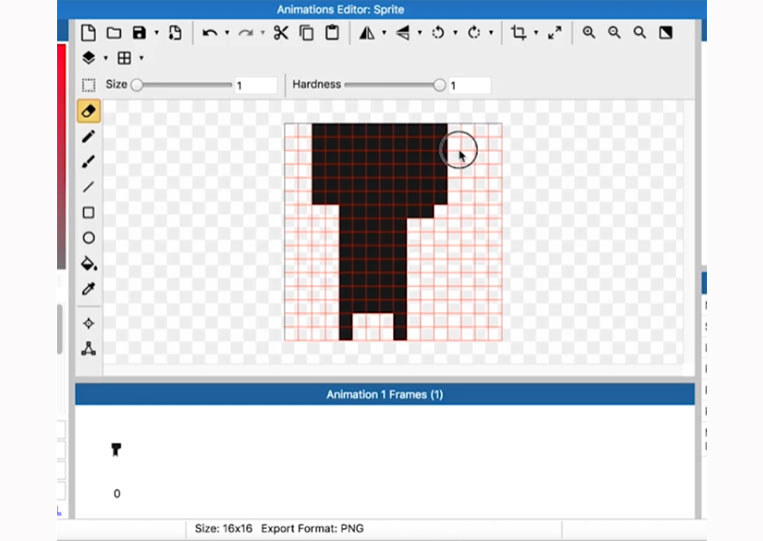
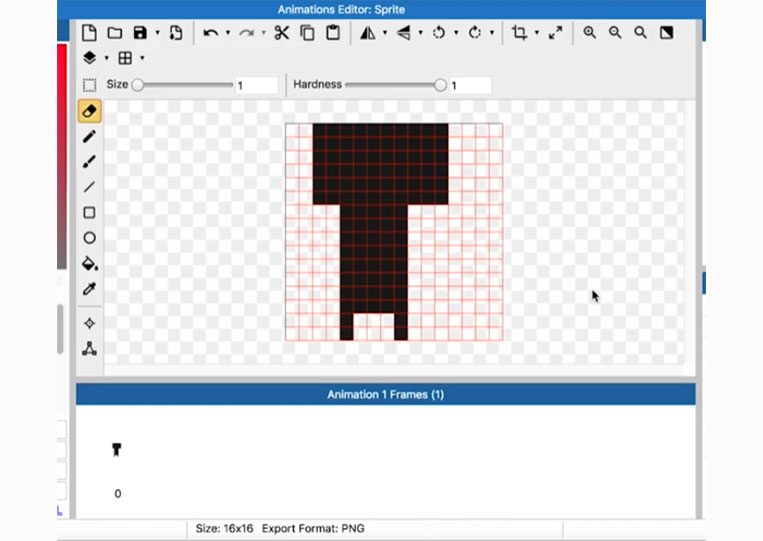
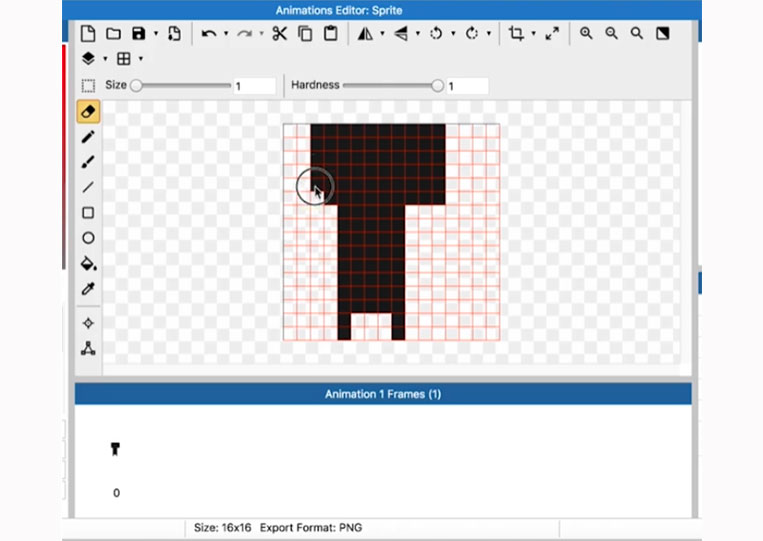
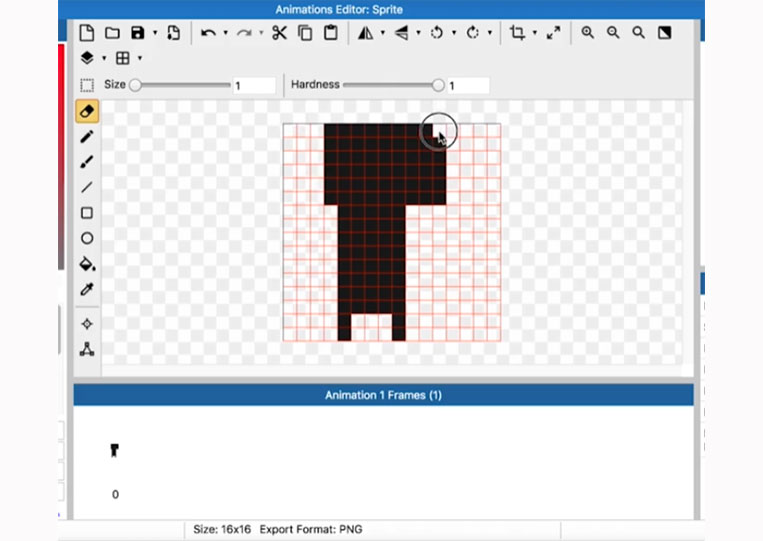
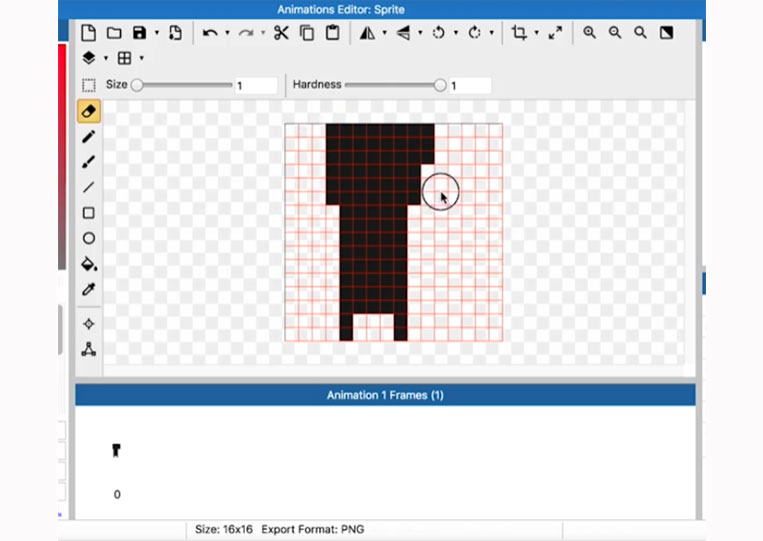
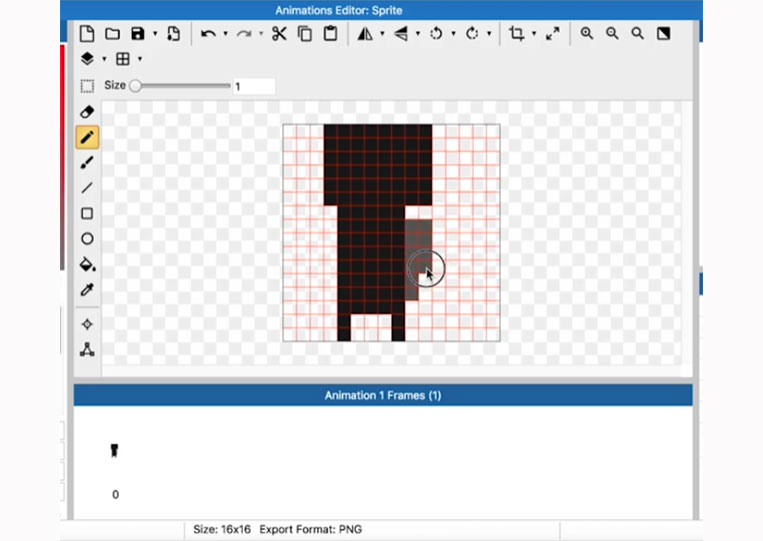
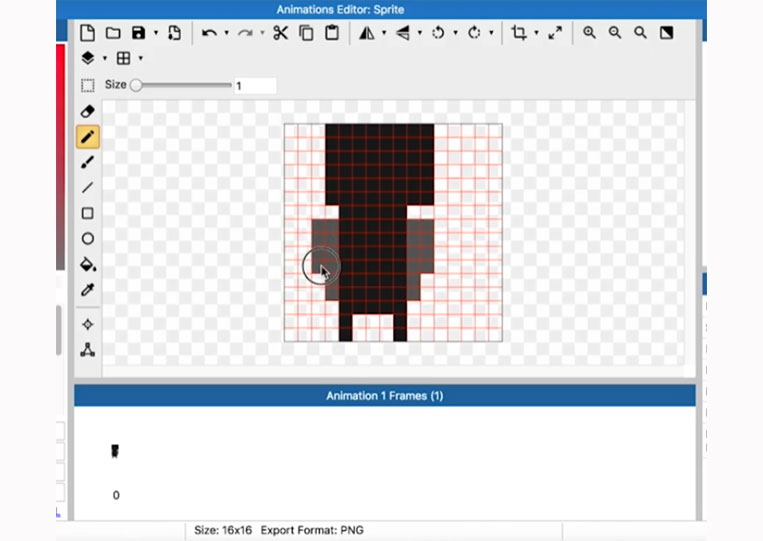
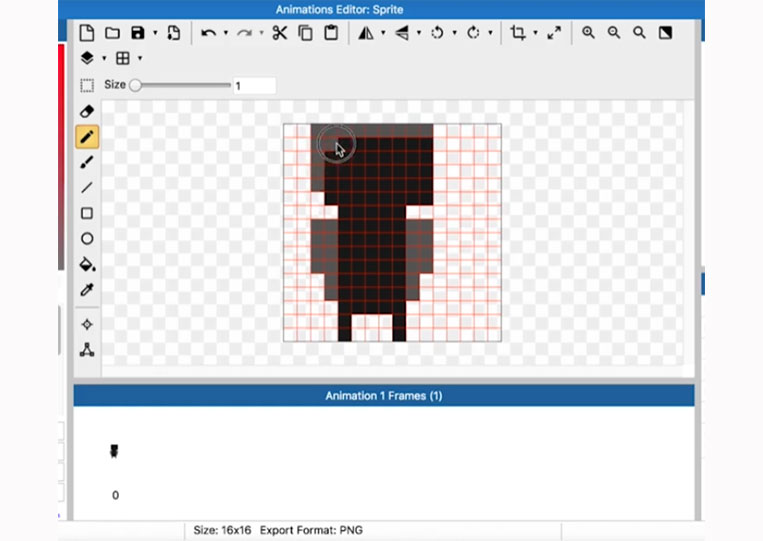
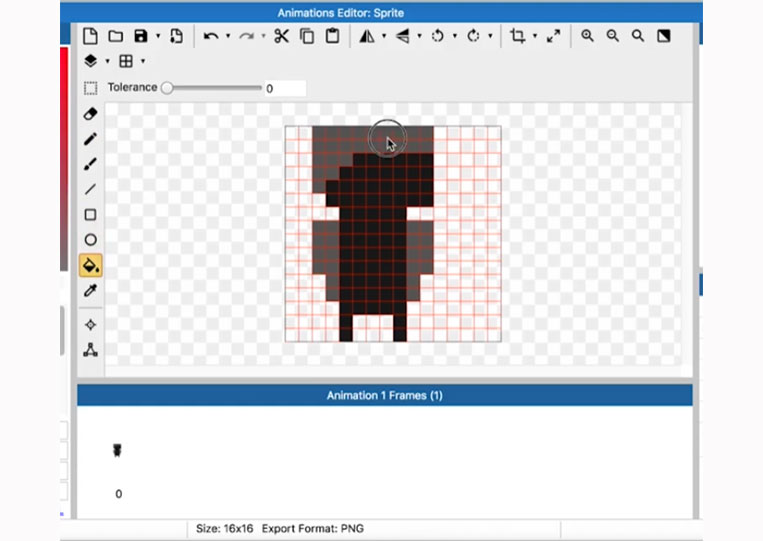
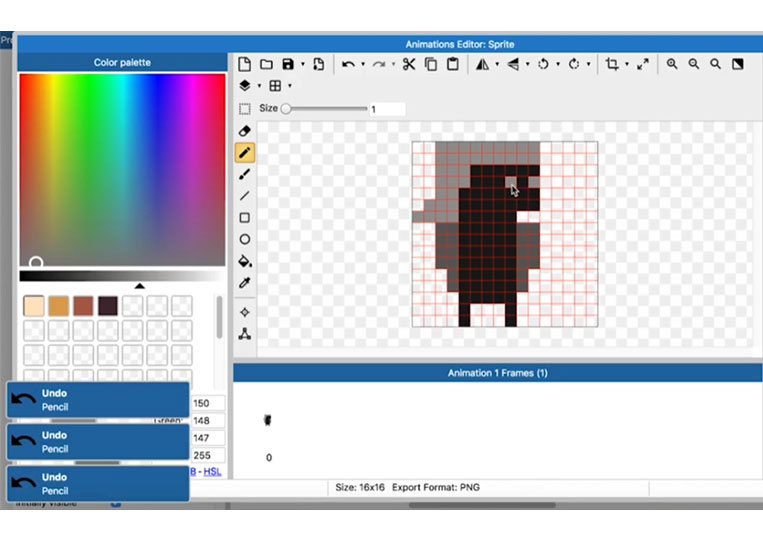
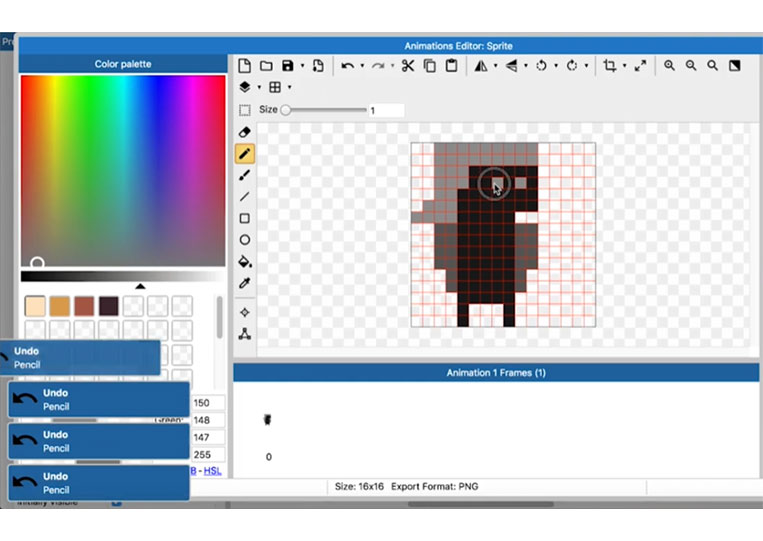
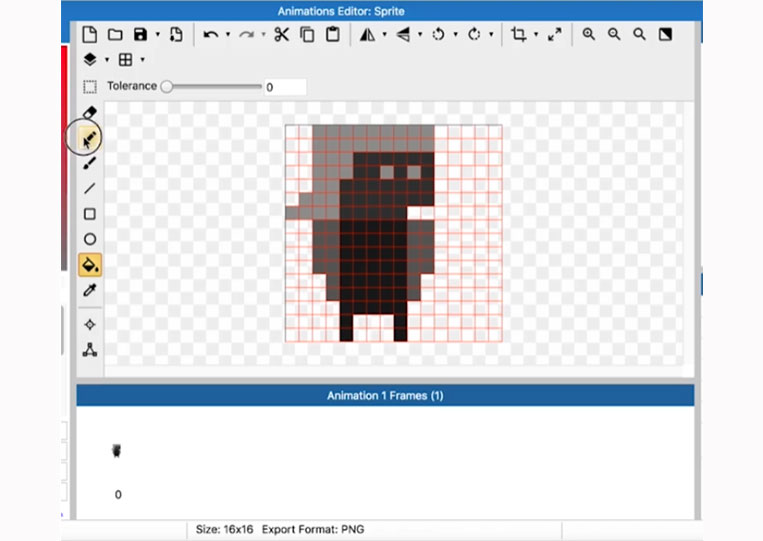
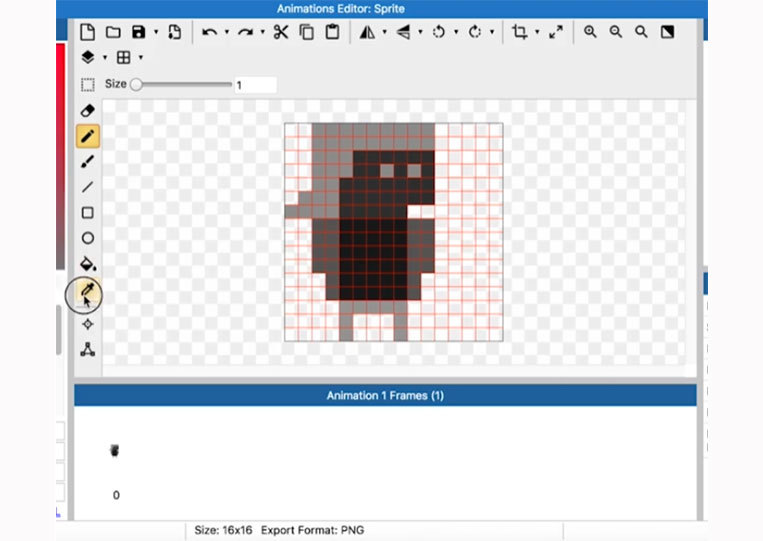
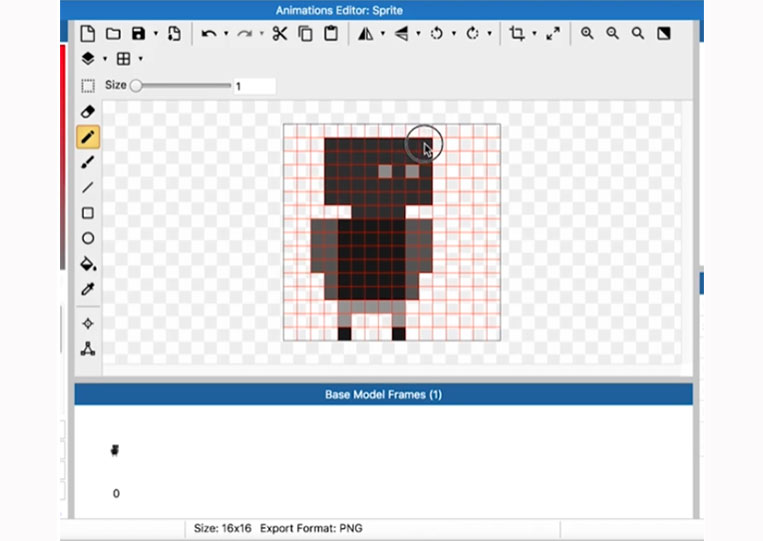
As I mentioned, 8×8 is a suitable place to start. Now I don’t know whether to start with 8×8 or 16×16. Both have pros and cons, but for the most part, one of the things you need to understand is that the more details you add, the longer it will take. One of the things about 16×16 is the longer execution time. Let’s add a dark color around here.
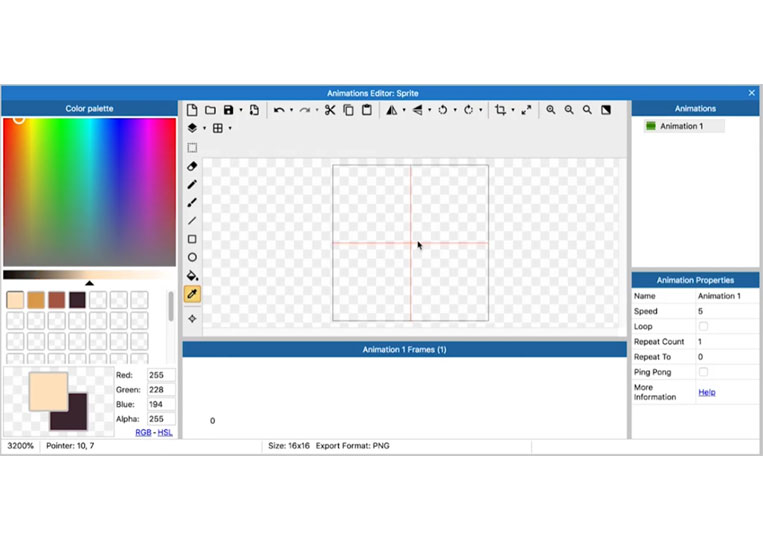
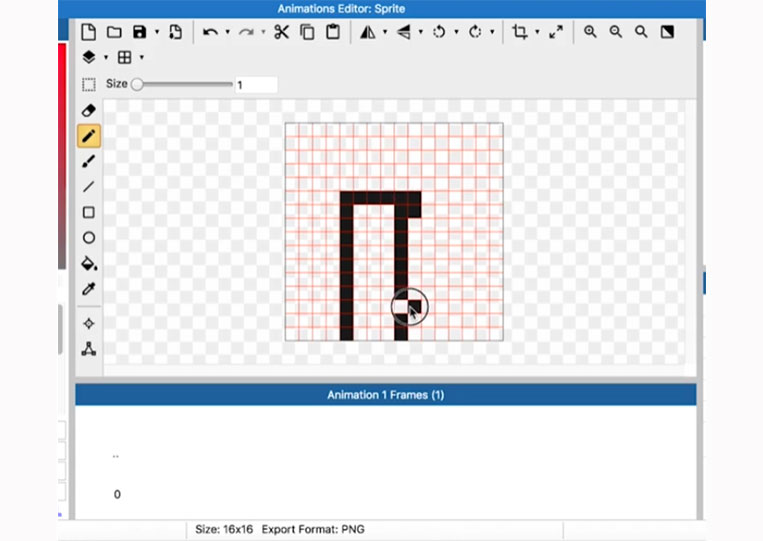
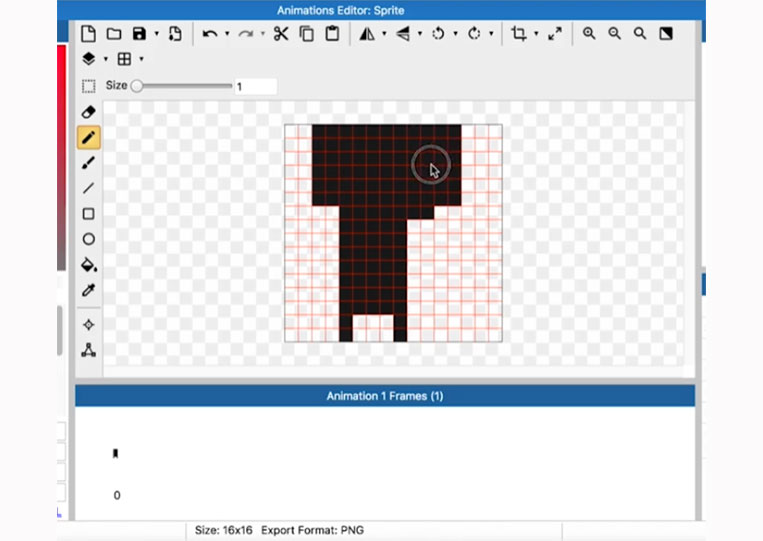
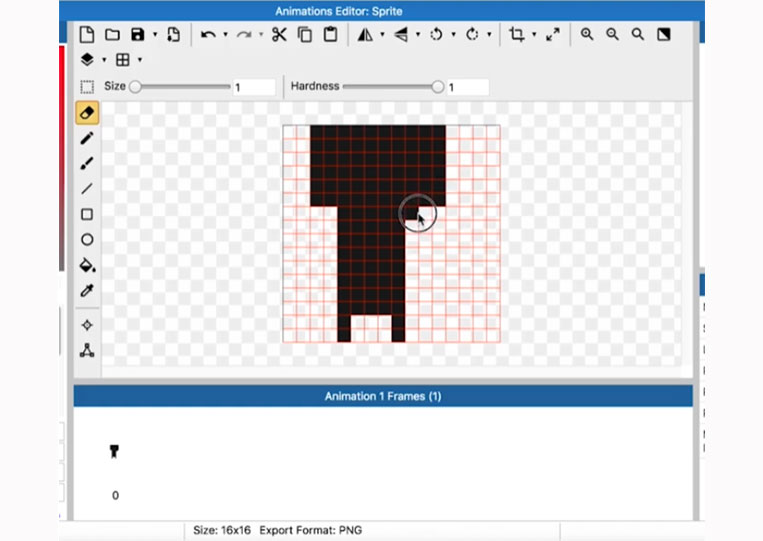
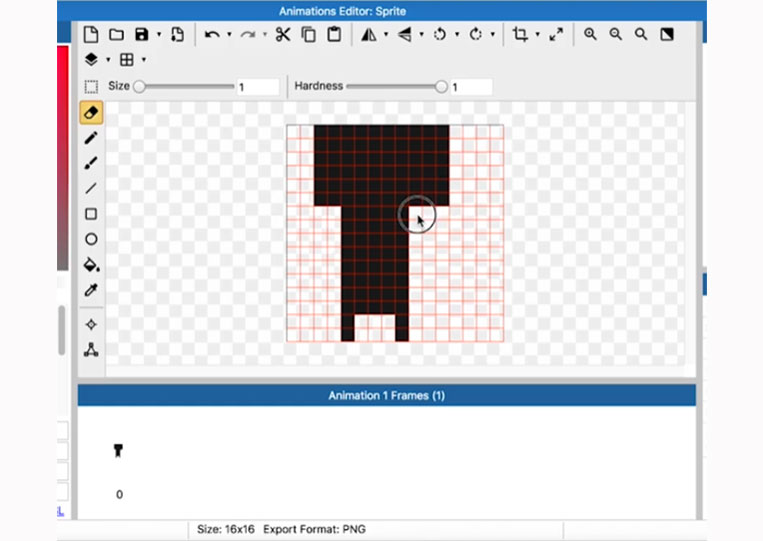
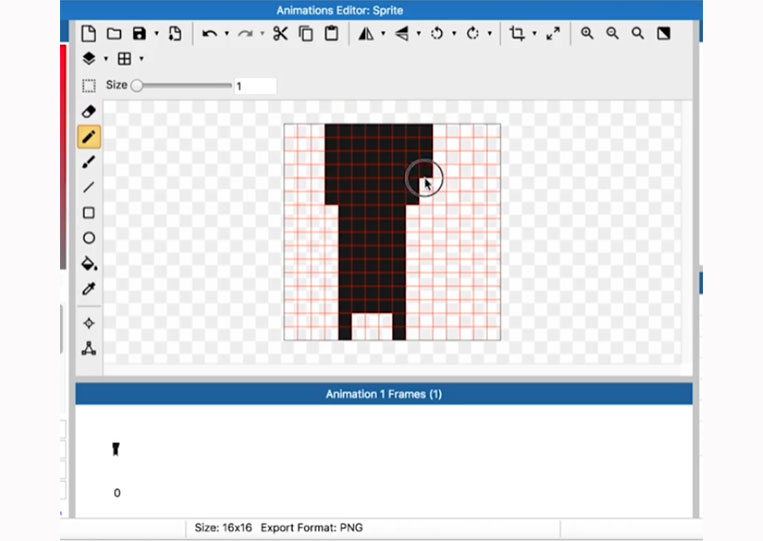
We look at this, and that’s your 16×16 character.
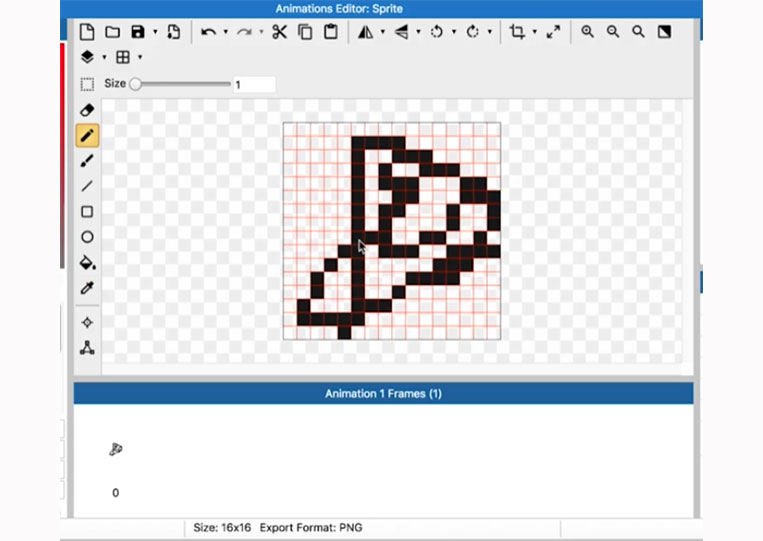
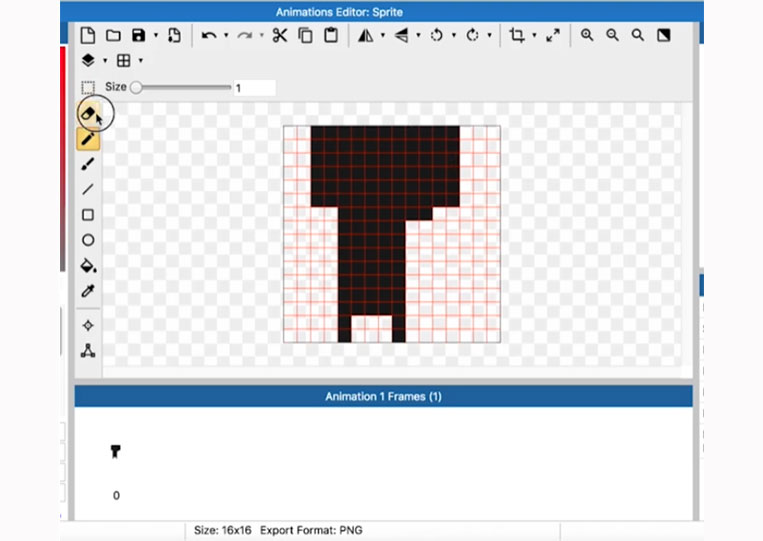
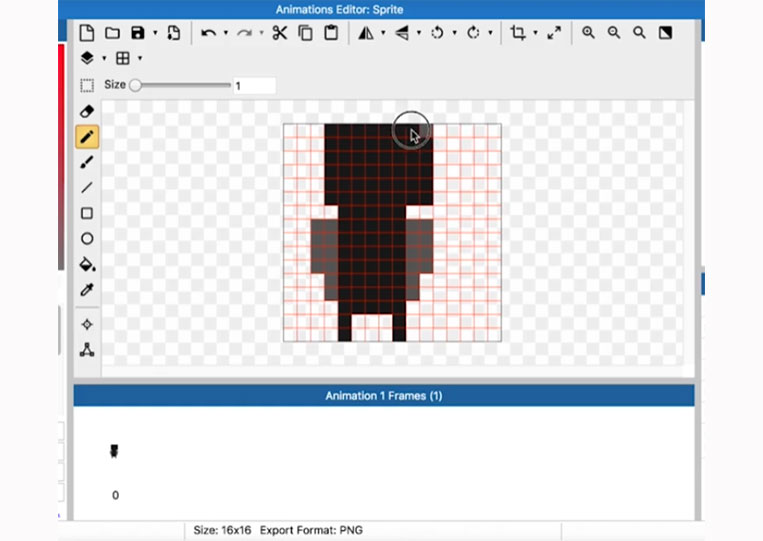
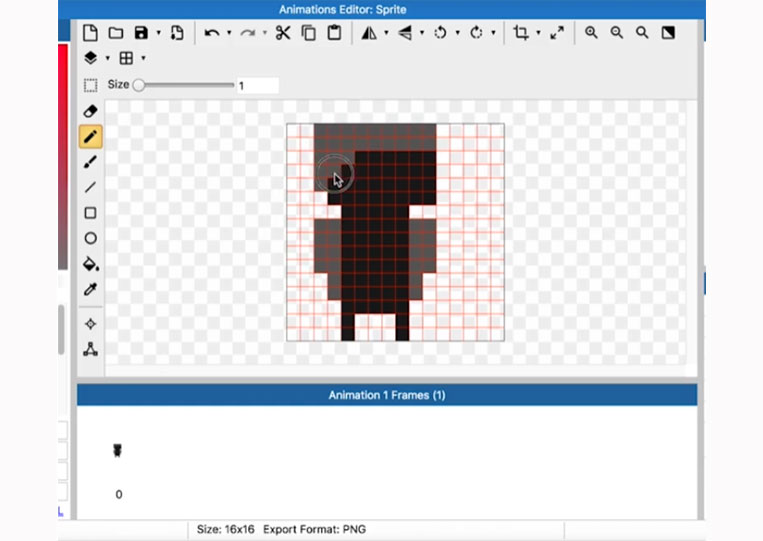
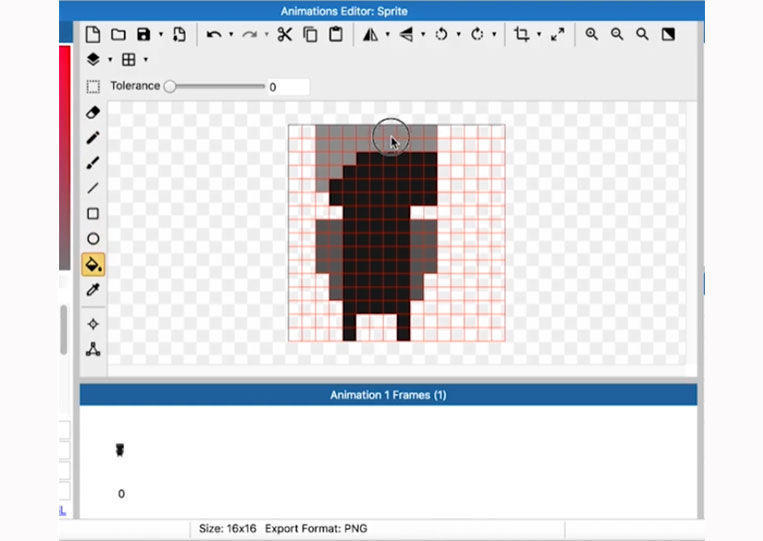
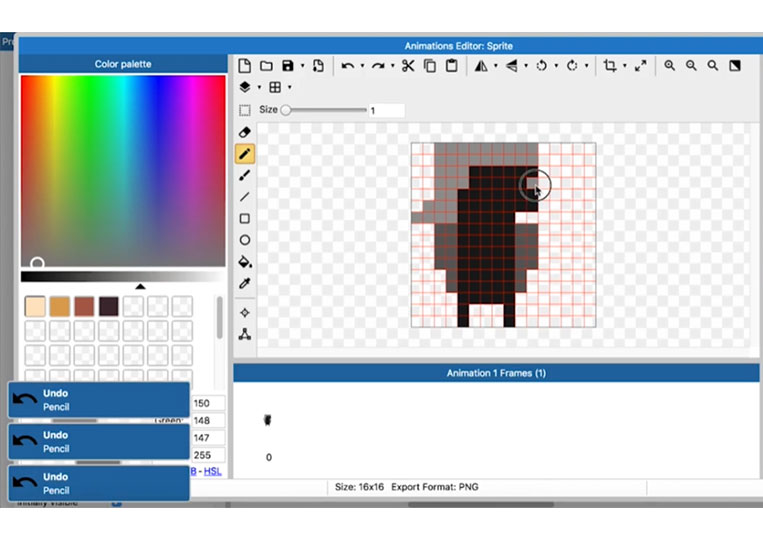
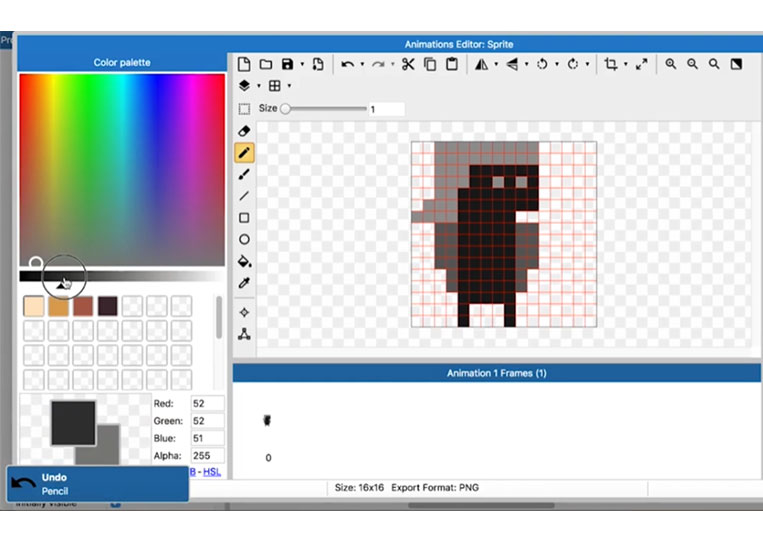
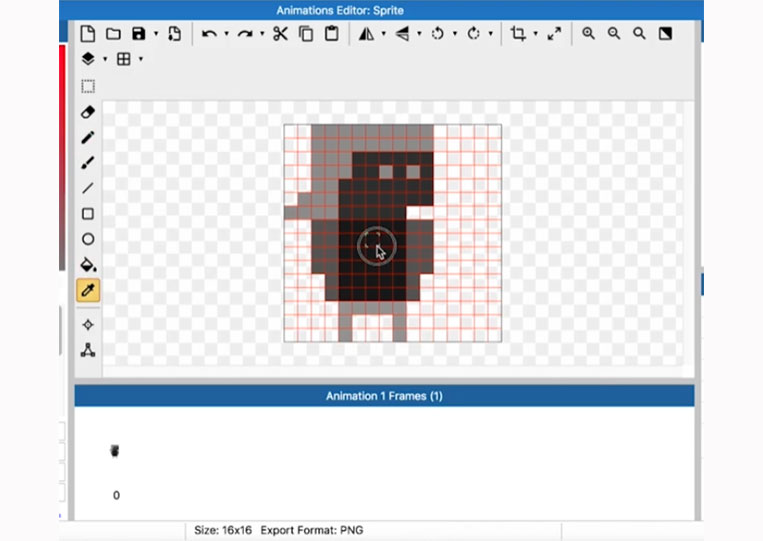
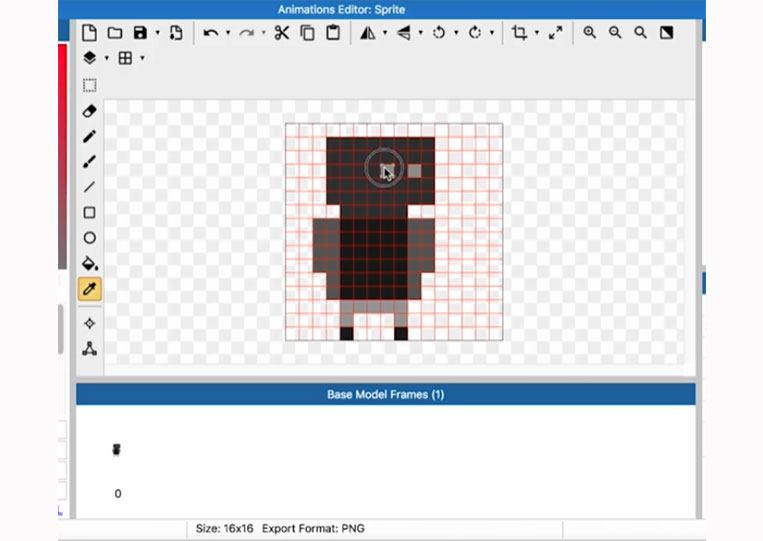
Now we can start simply with 16×16 characters. It can be something like this.


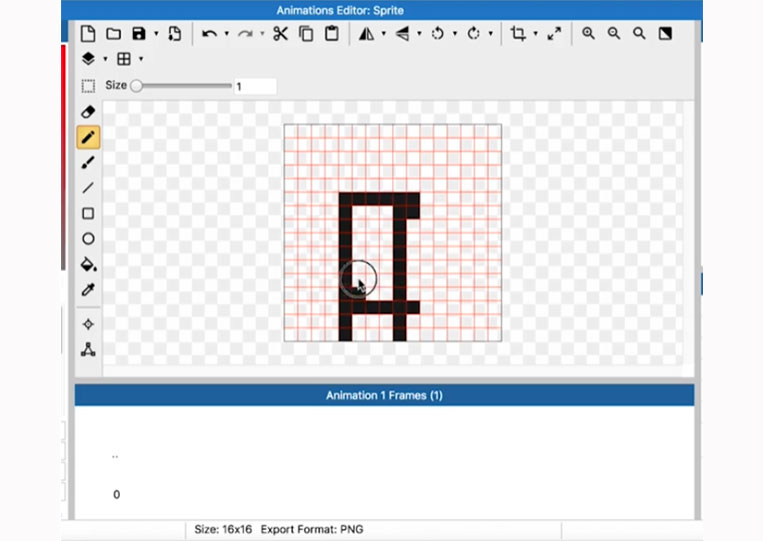
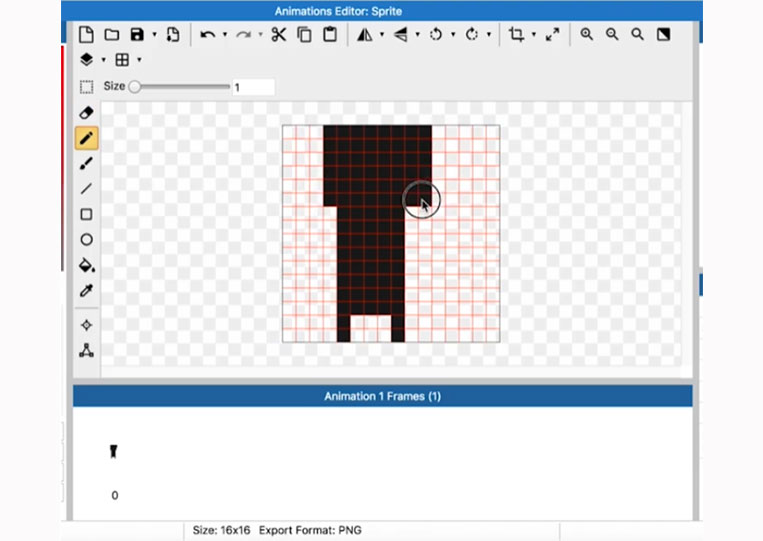
Remember that with 16×16 characters, you can get a more cartoonish look.


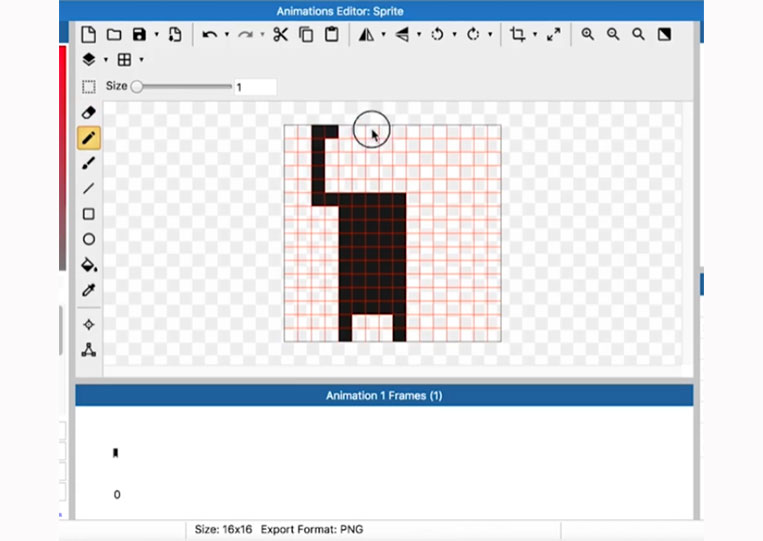
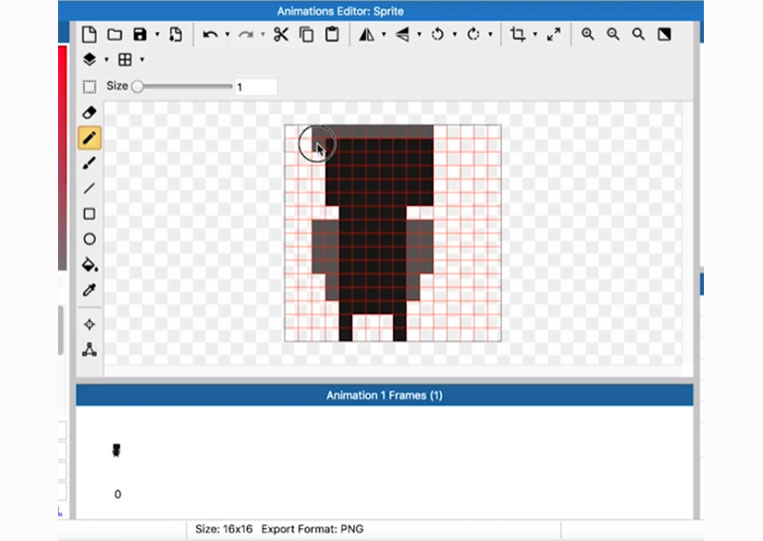
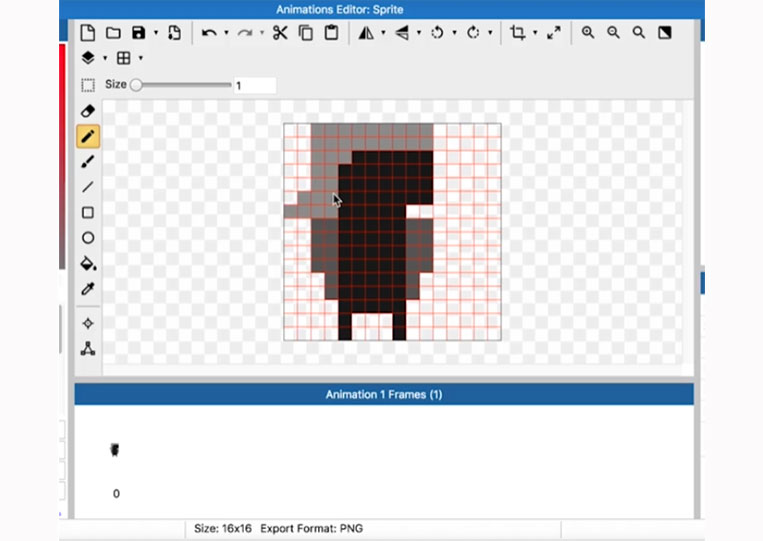
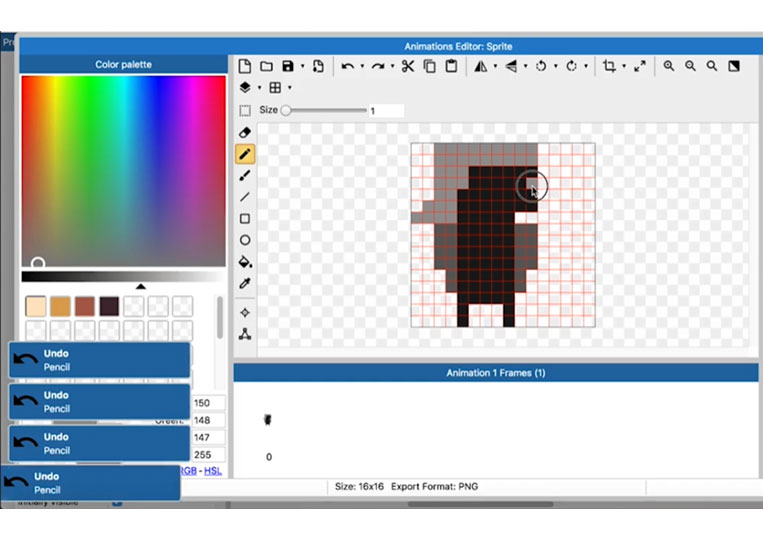
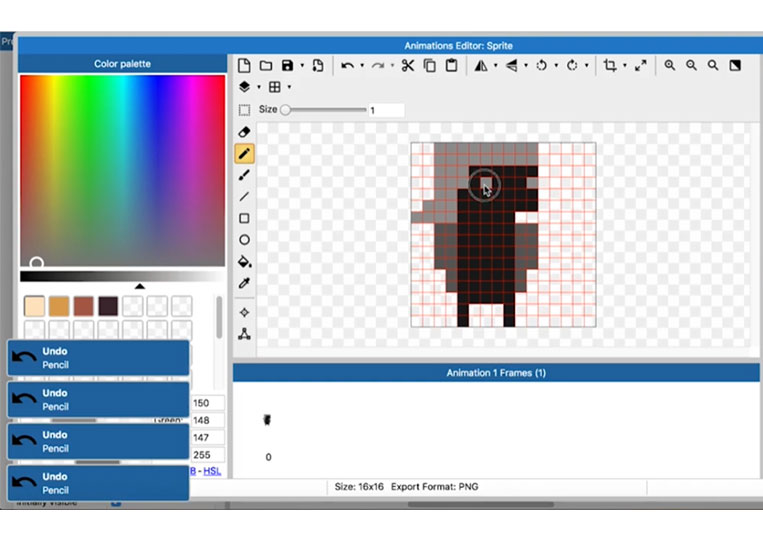
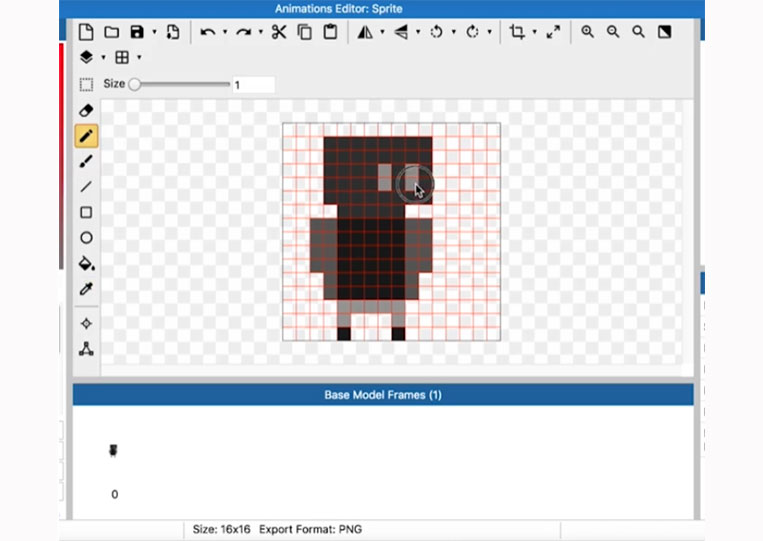
We will add a head.

I have an app for my iPad called Pixar high.
It’s a good app. I like that app.
The only problem is that I forced users to buy Pixar high, and I have to say that doing the pixel art with an actual brush is a lot better, in my opinion.

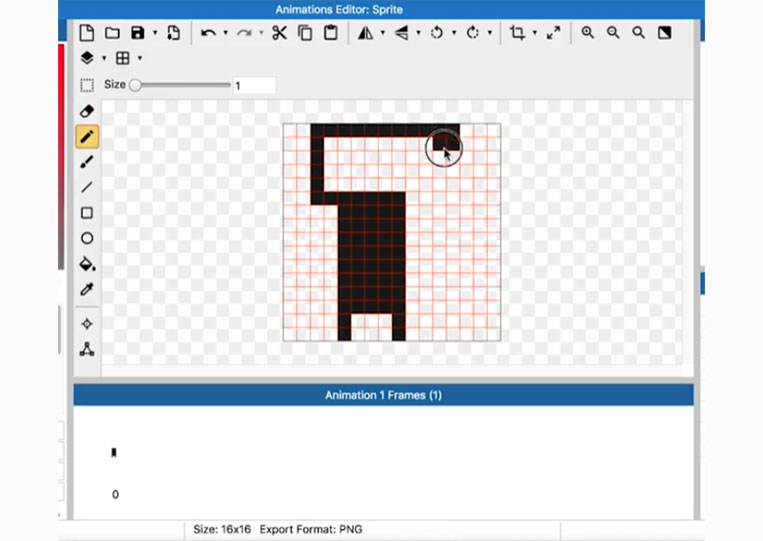
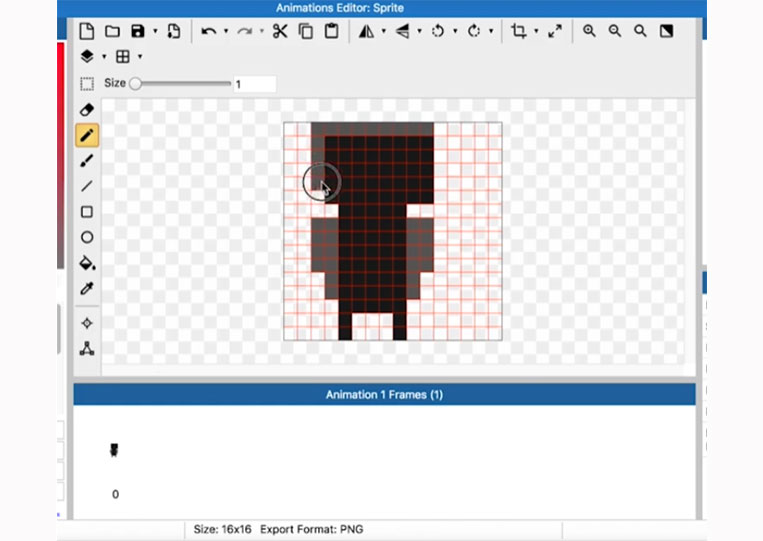
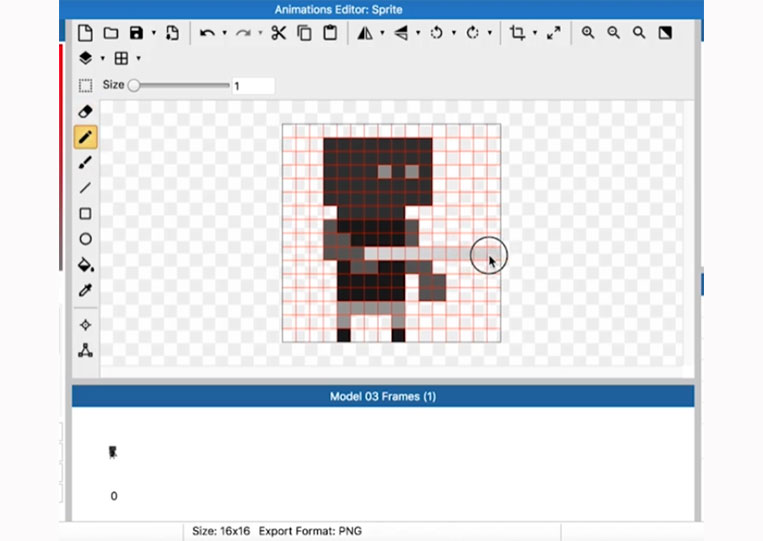
Let’s add some arms here.
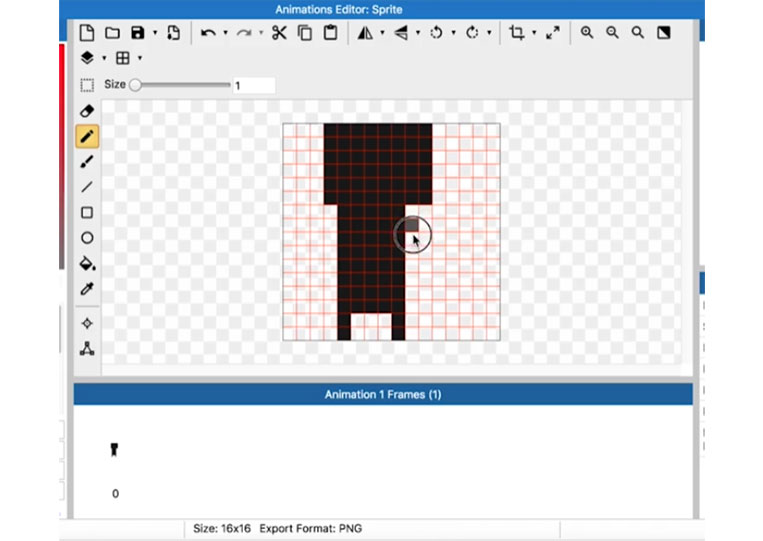
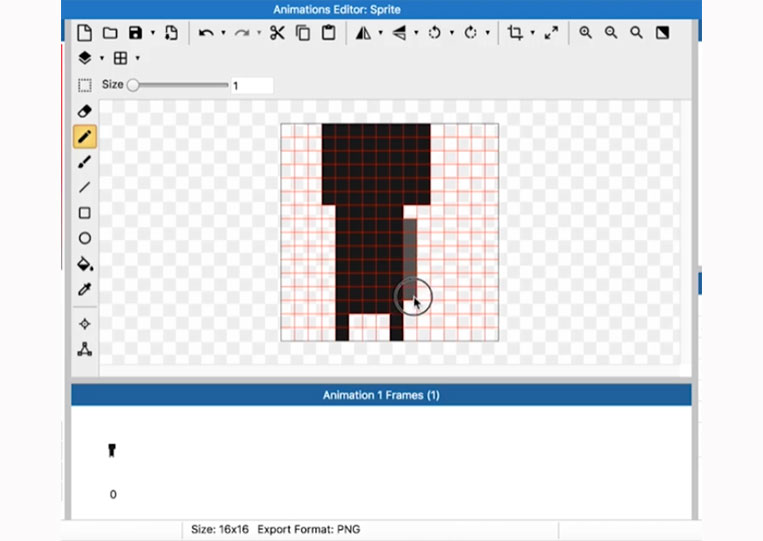
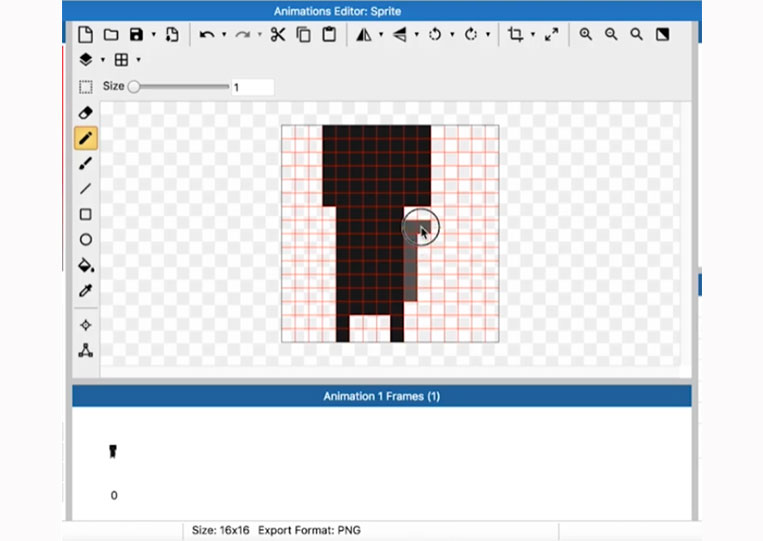
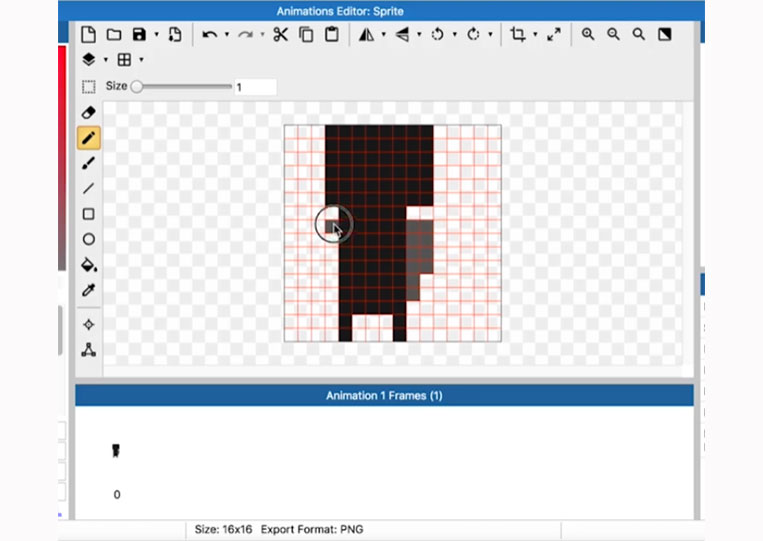
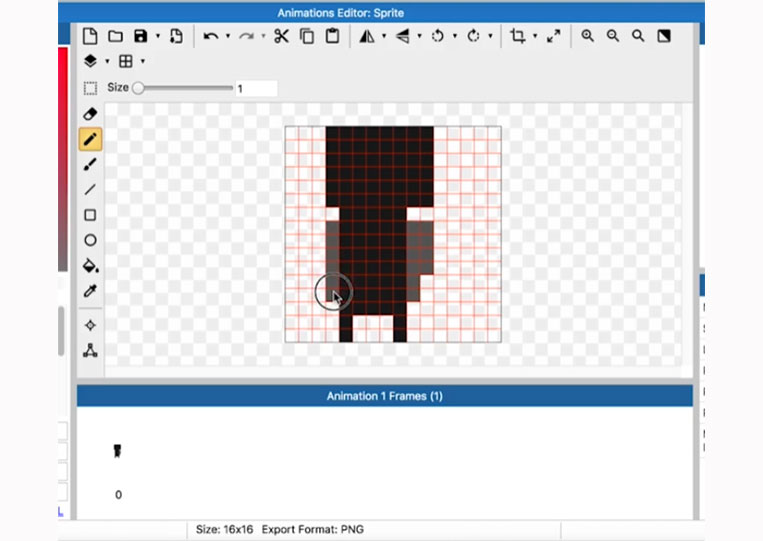
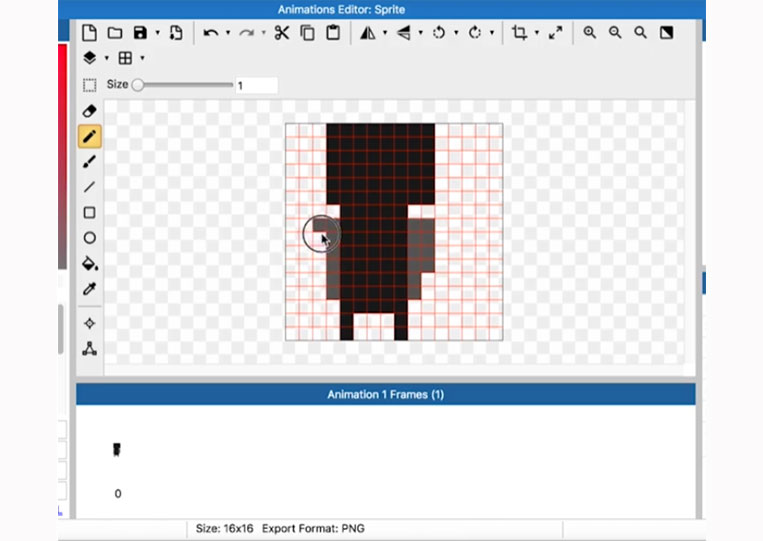
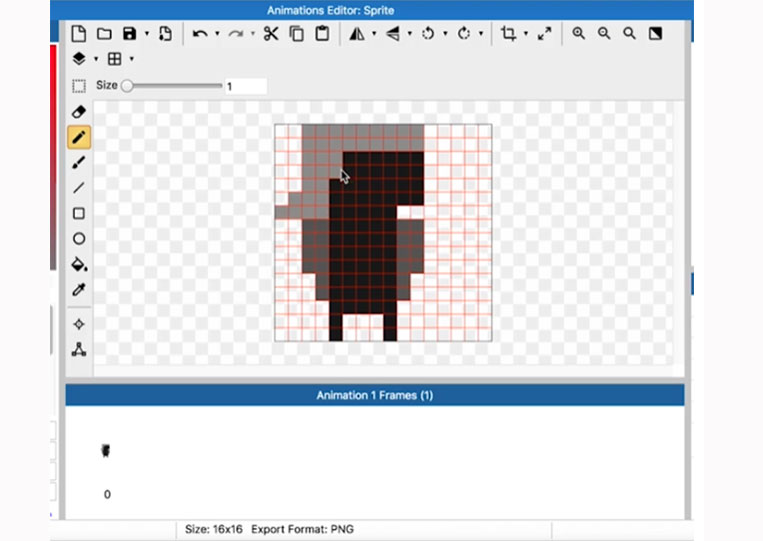
We can add arms like this and animate them.


I can make this color slightly different.
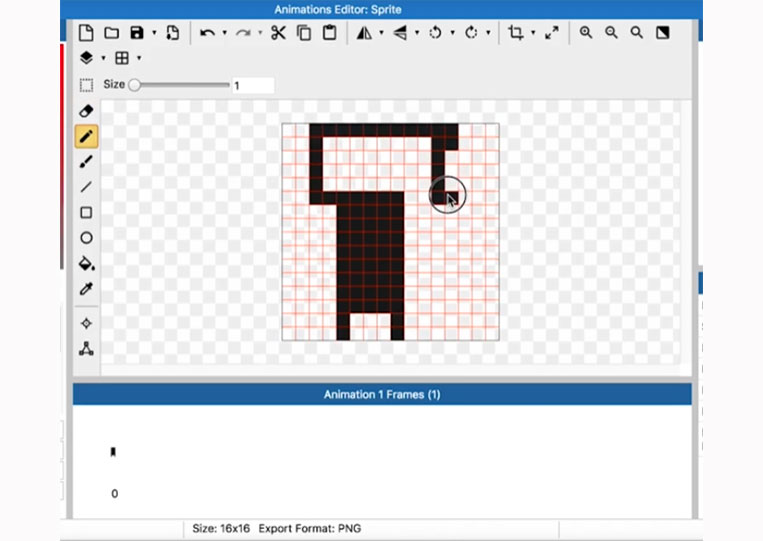
As you can see here, we can create a person with long hair.


Let’s add two eyes and one mouth.


You can try it!

The eyes are here.
It depends on you!

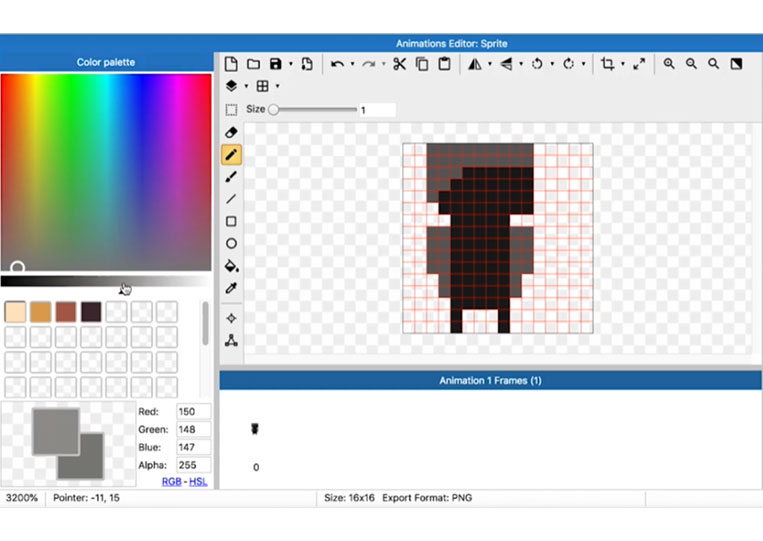
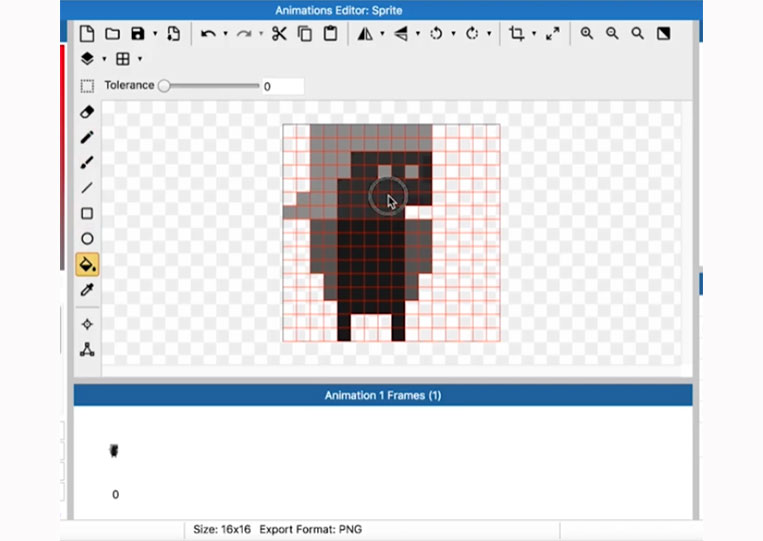
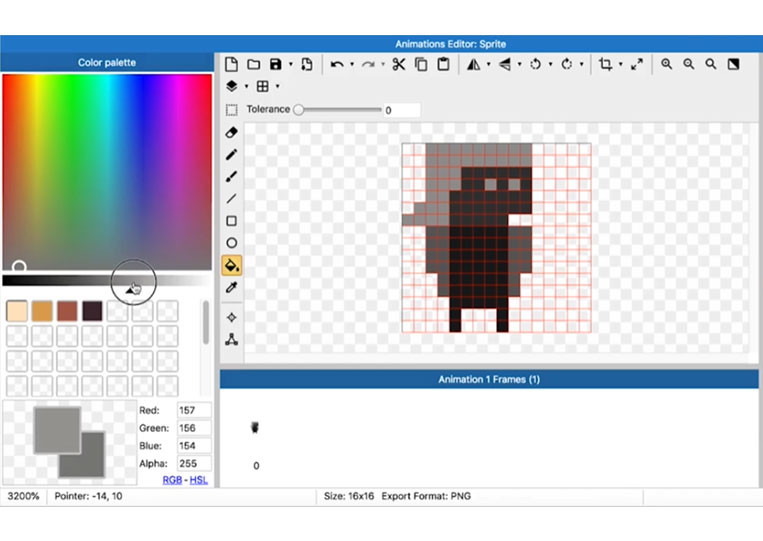
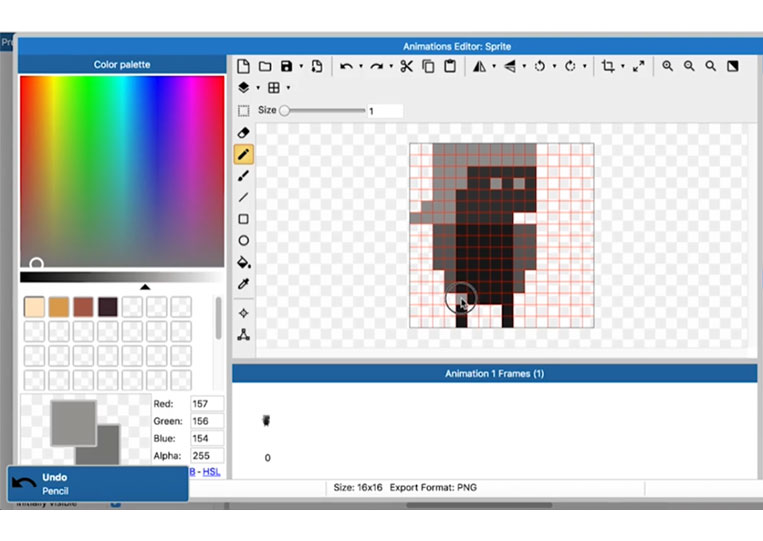
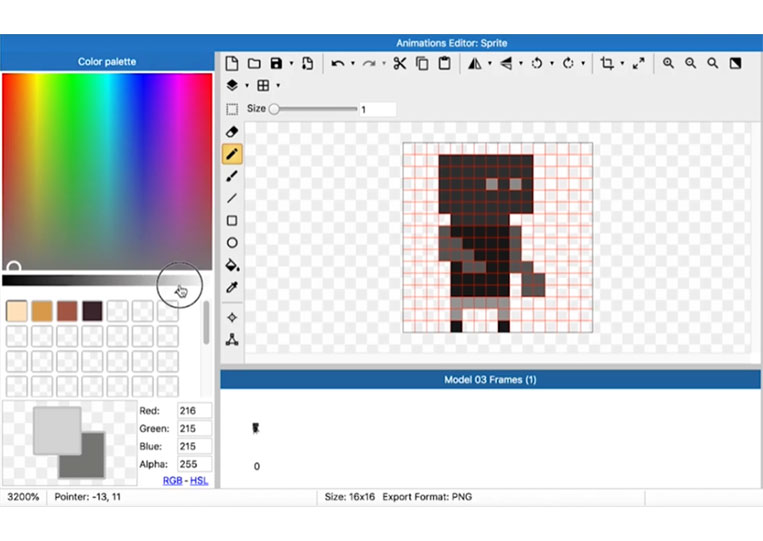
I think this looks pretty good. Let’s change to a different gray to transform the head, and just a trick if you make the line, you can easily convert it.


You can add some shorts or some trousers.


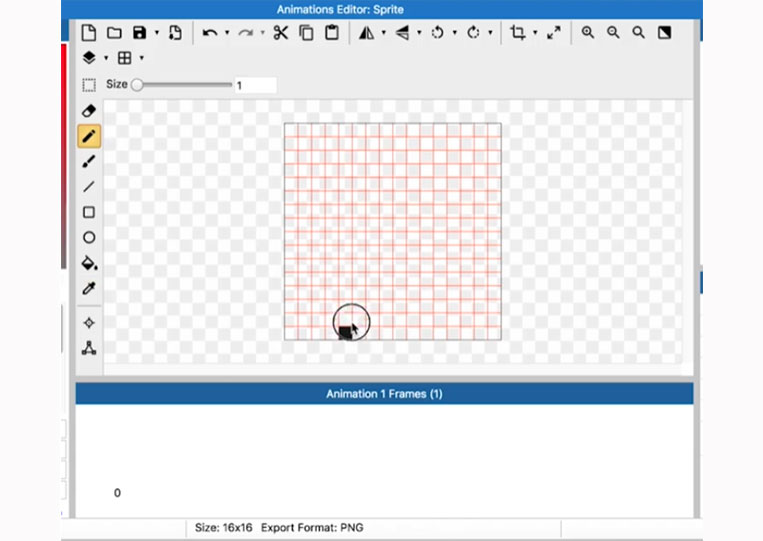
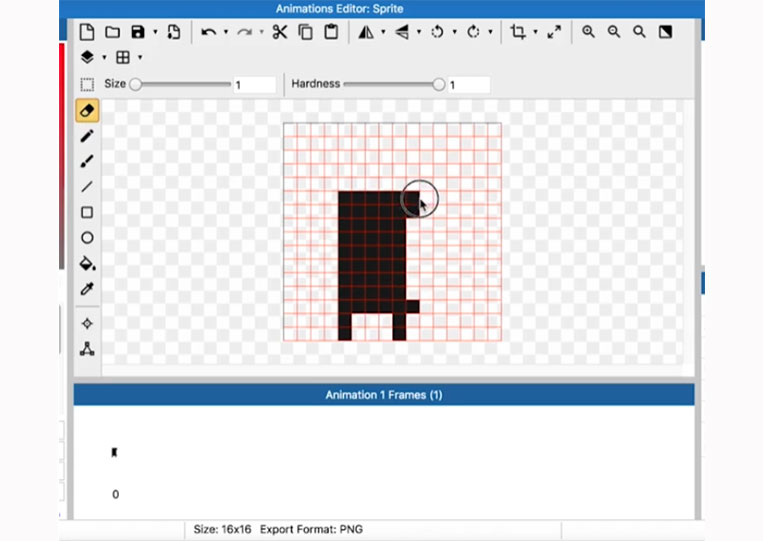
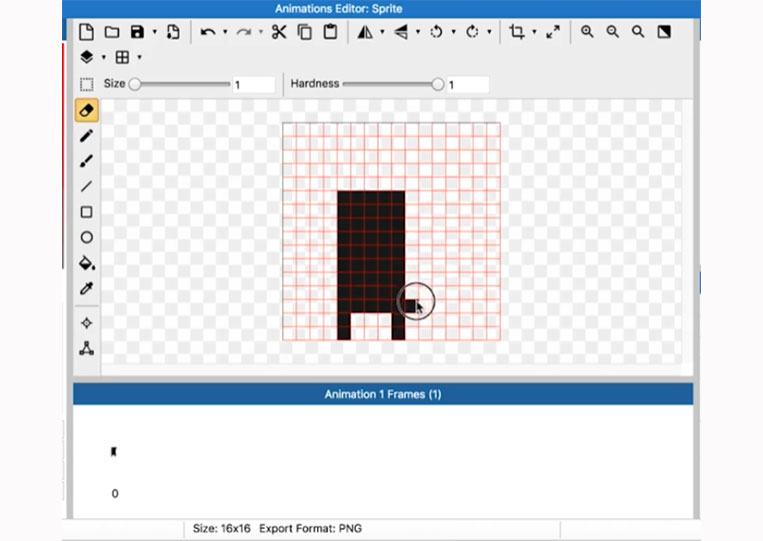
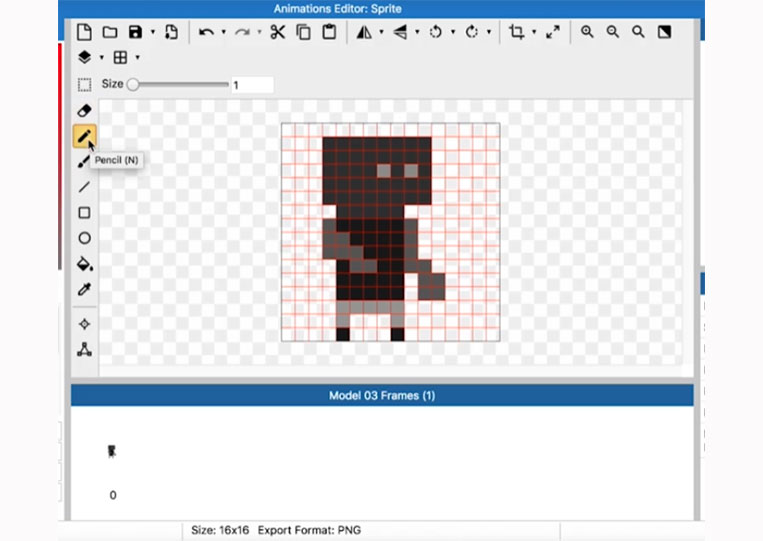
Anyhow, go back to the Brush tool. Using a pencil and a tablet is much easier than using your mouse.

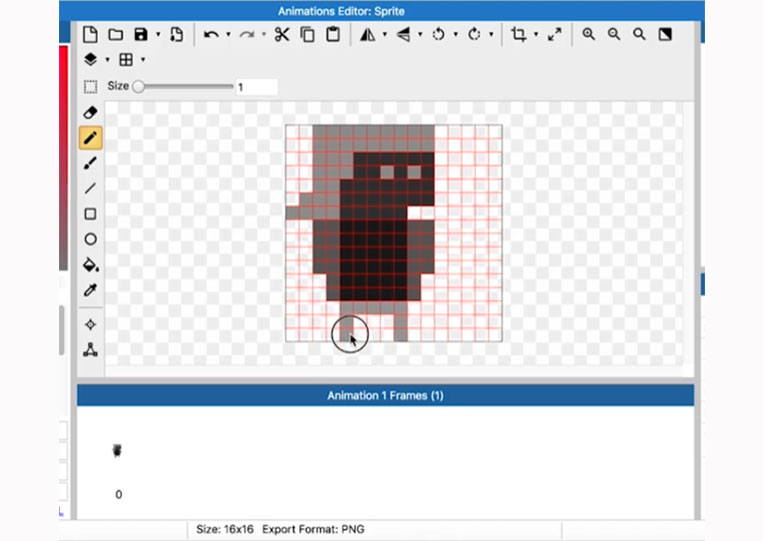
You can end the foot like this.


You can mix and match colors too!
I give this person a pair of shoes.


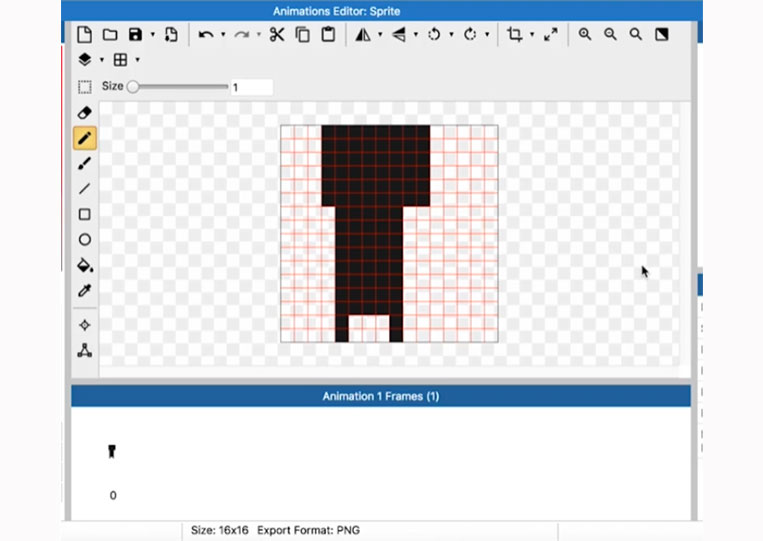
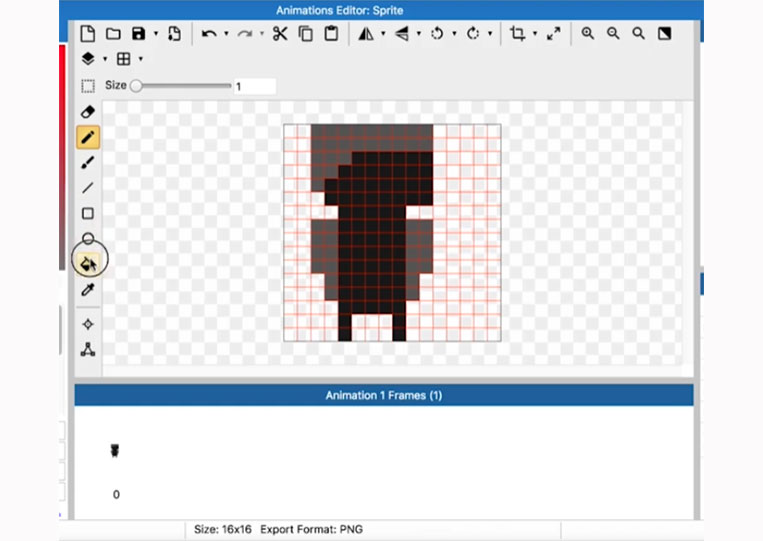
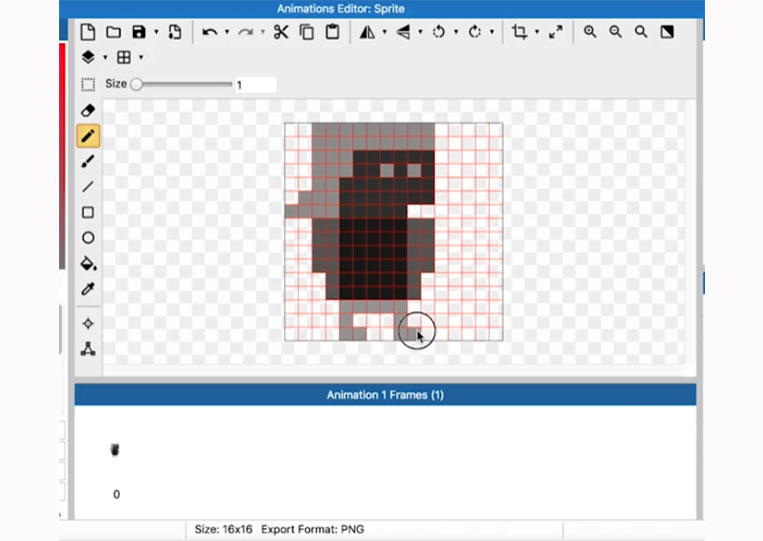
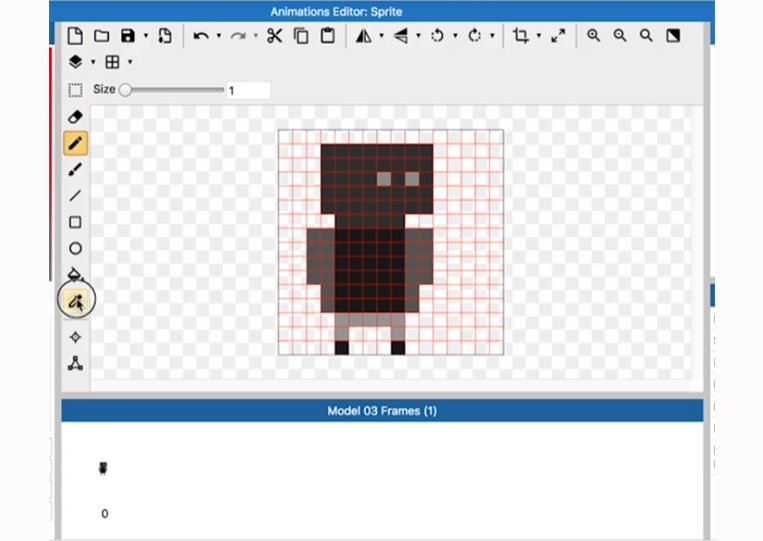
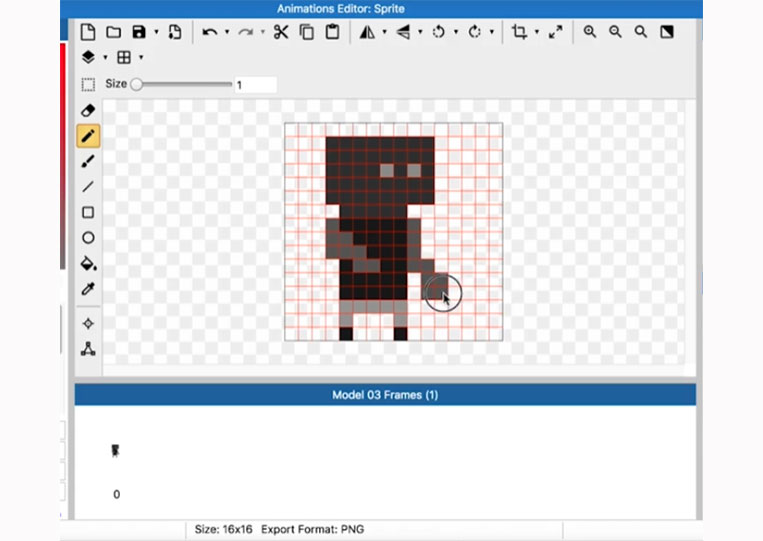
I guess that is a bit like the silhouette of a 16×16 character, but for the most part, this goes pretty well.


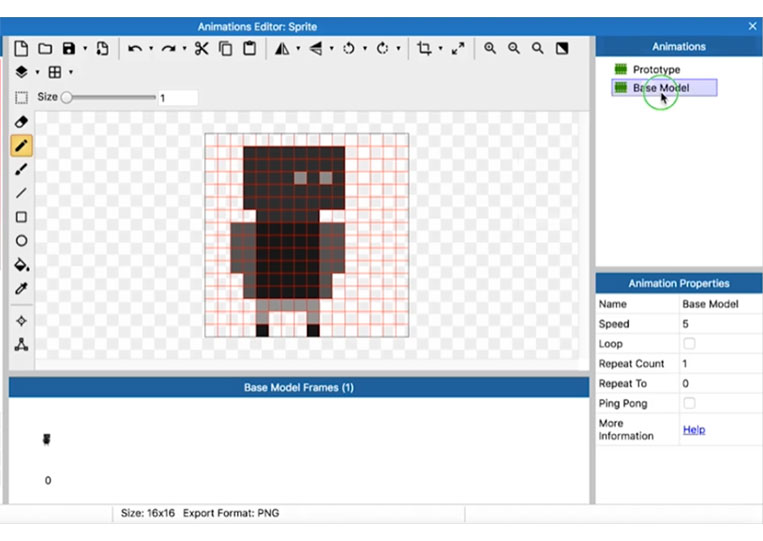
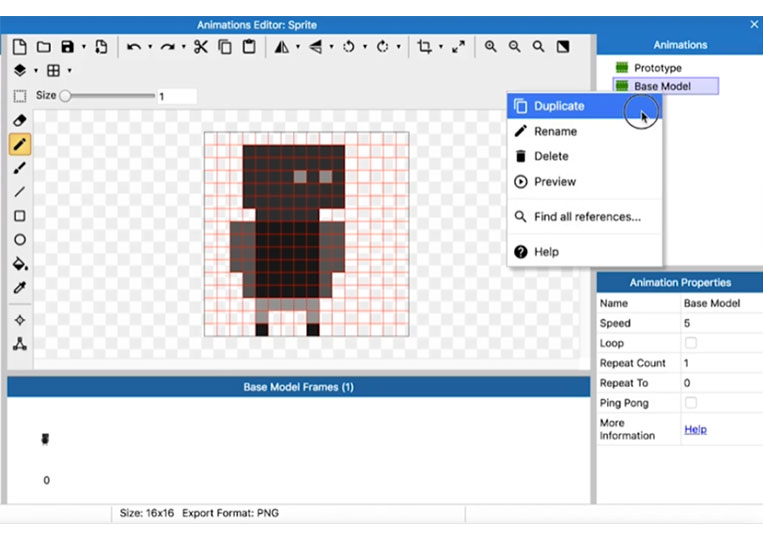
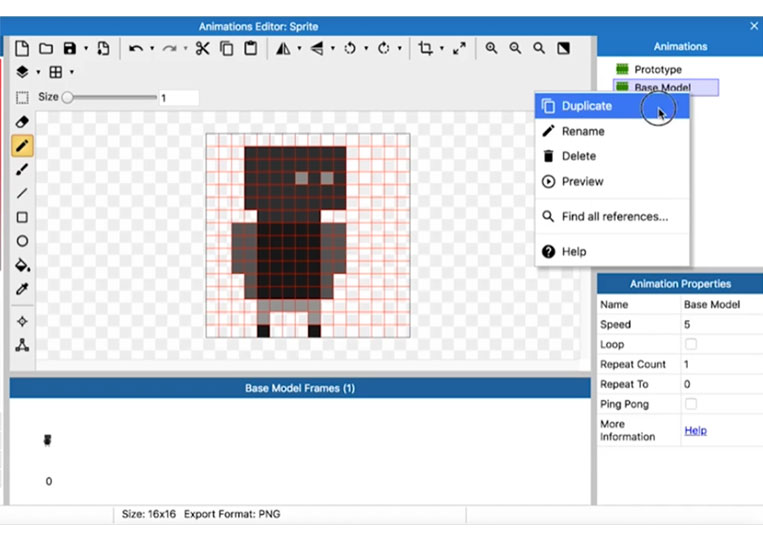
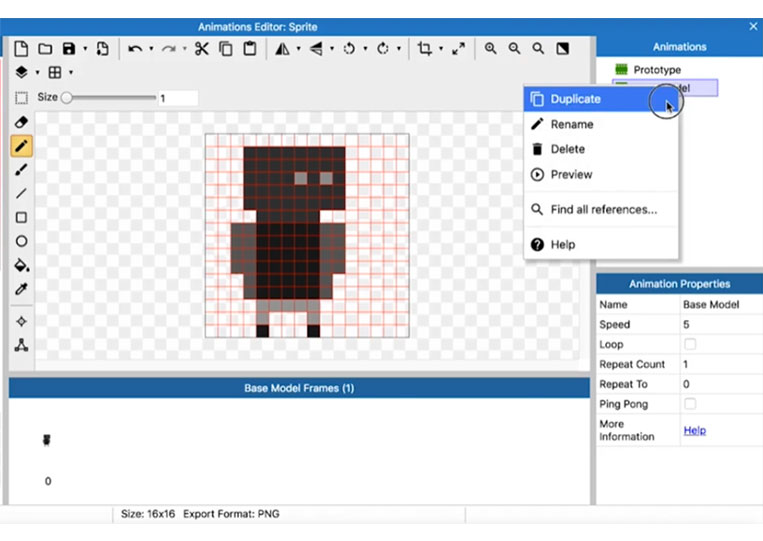
At least we have a one-pixel art character. Let’s duplicate this.
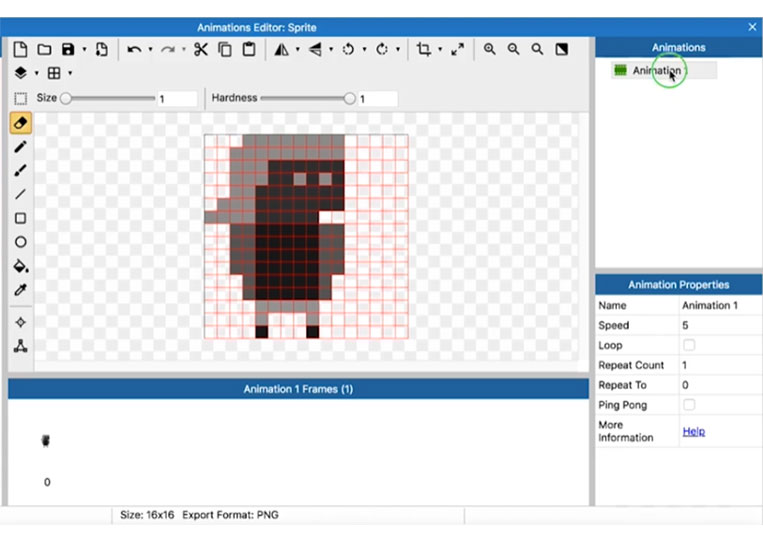
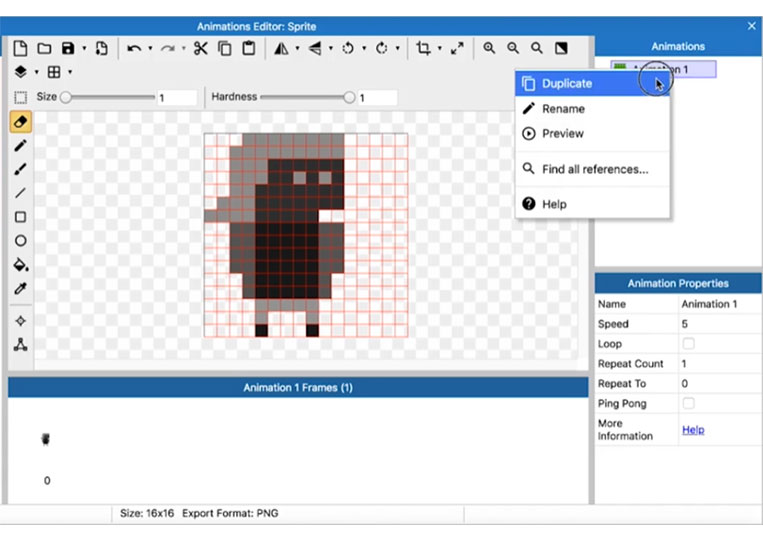

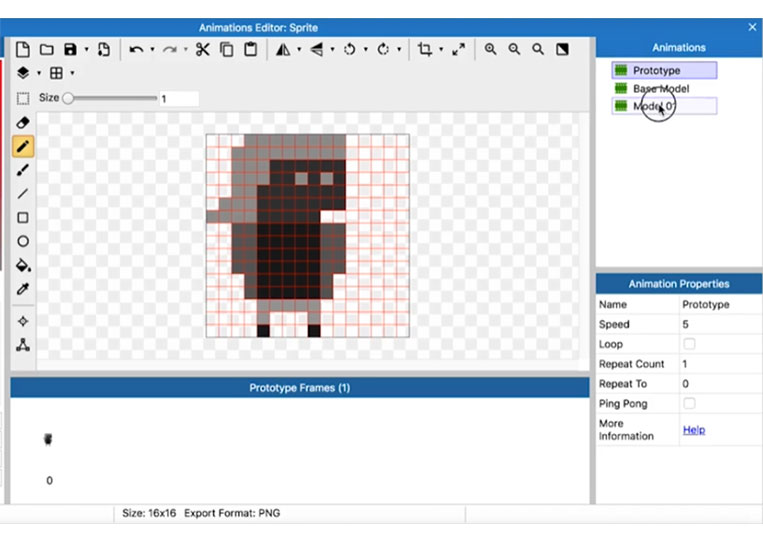
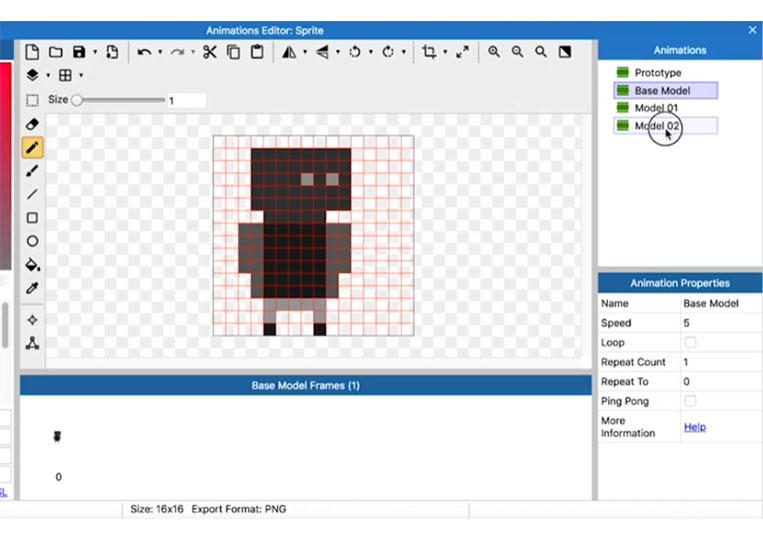
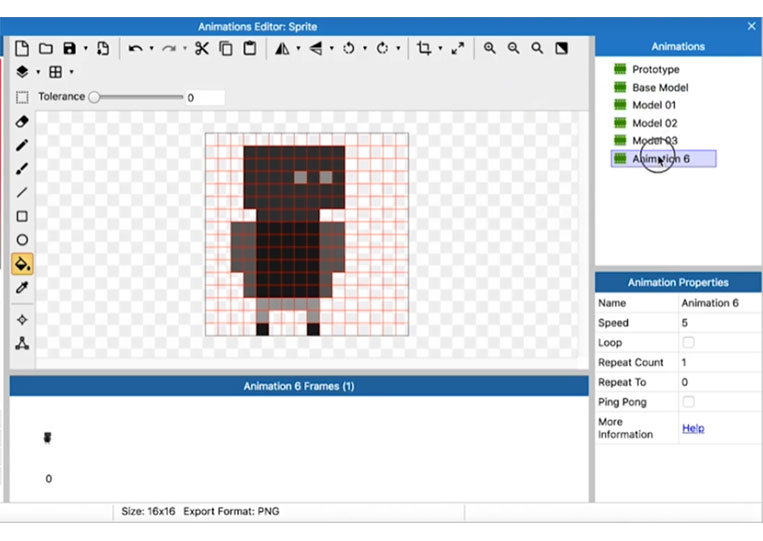
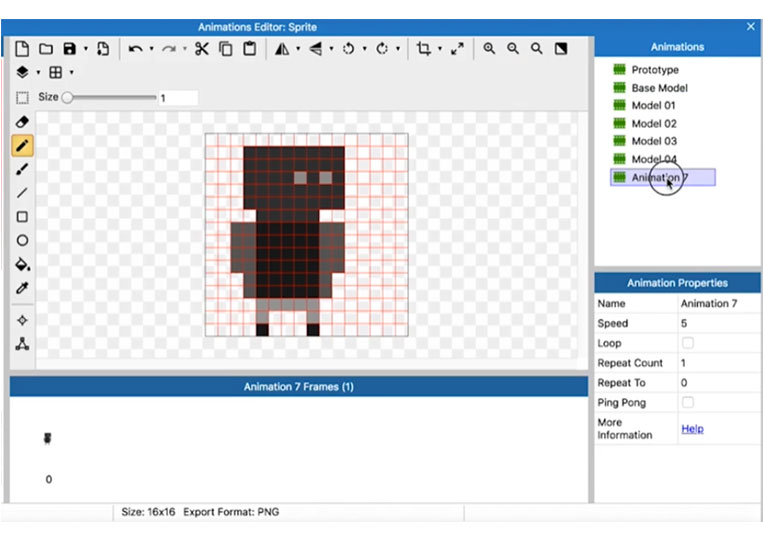
We will call Animation 1 a Test or Prototype.


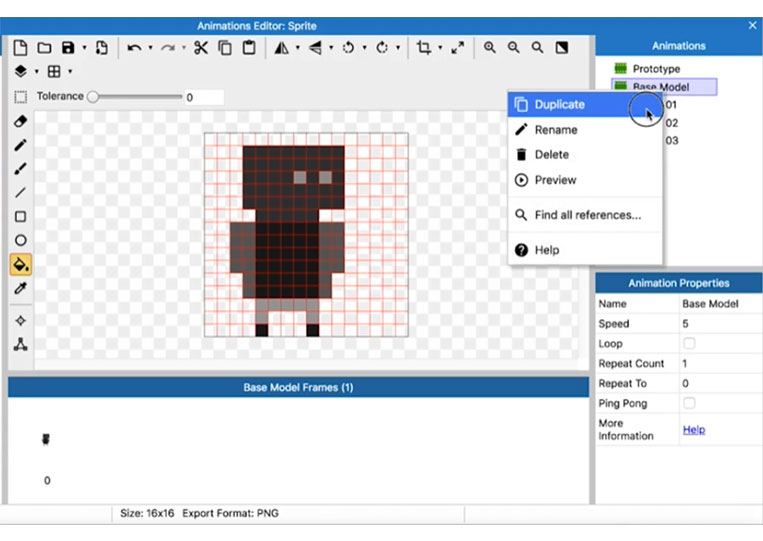
Then Animation 2 is the Base Model.


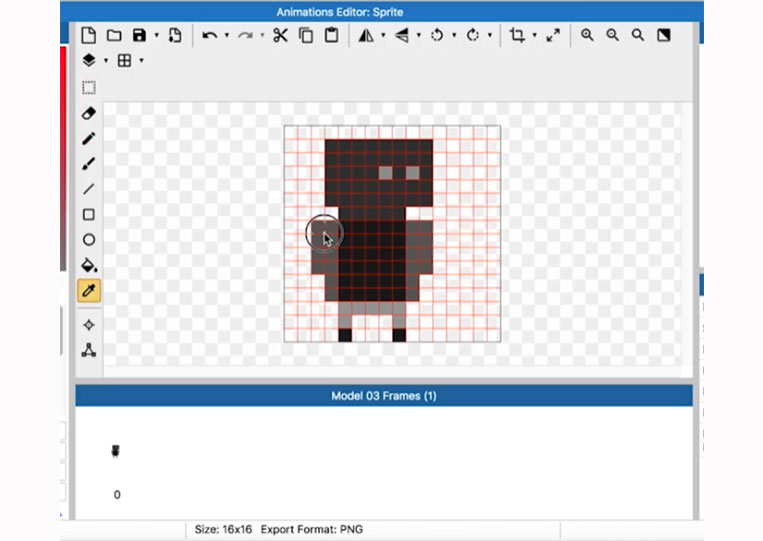
It is not thought to have any sort of distinguishing feature.

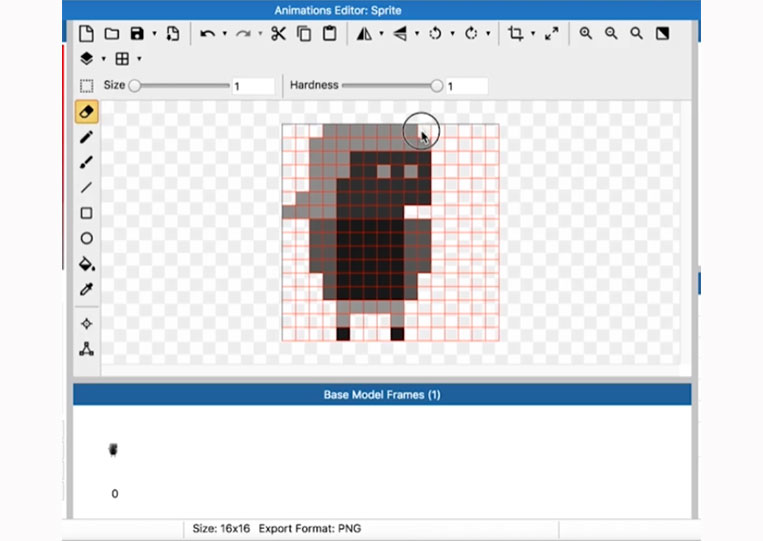


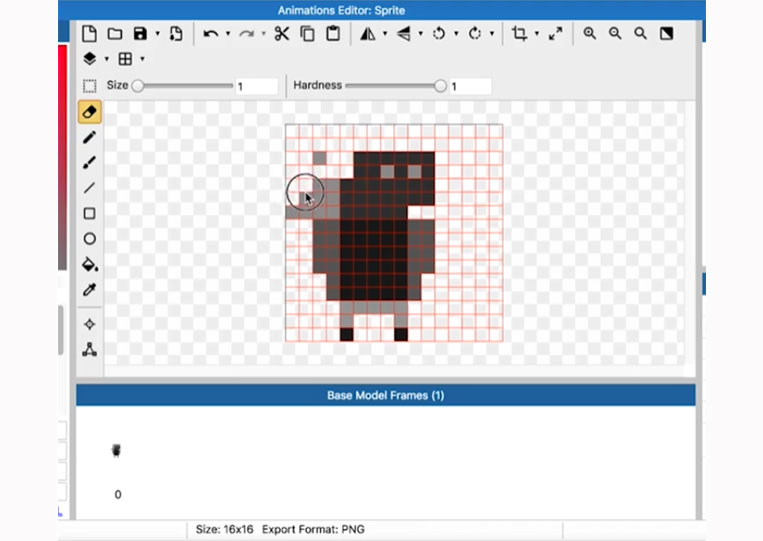


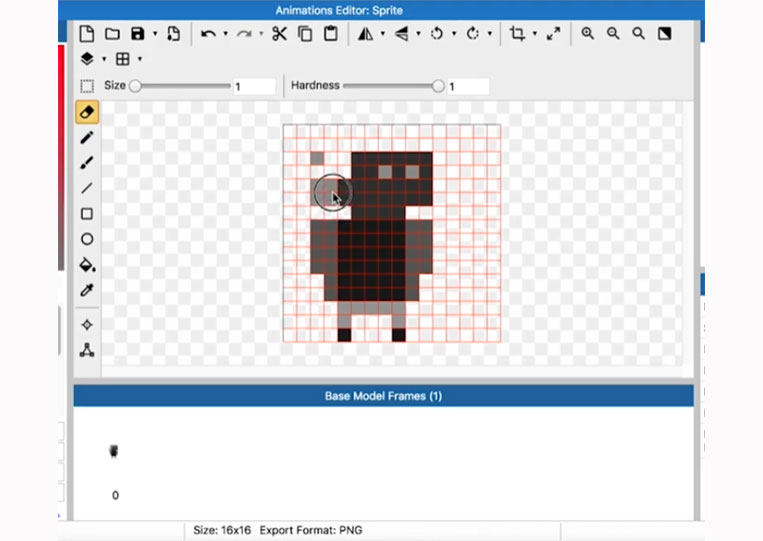
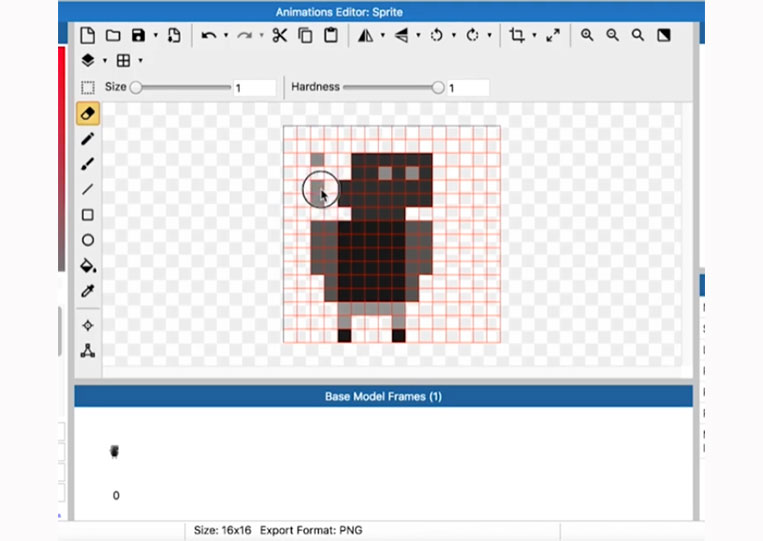
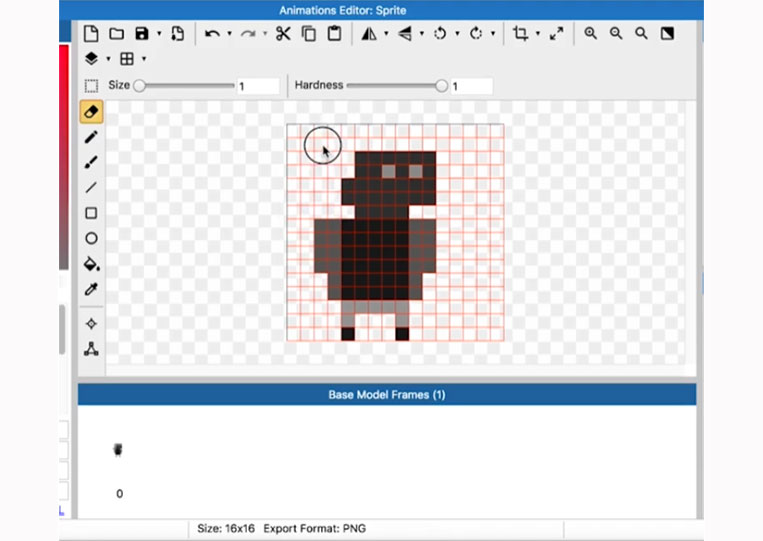
Now, like with 8×8, I will draw here.
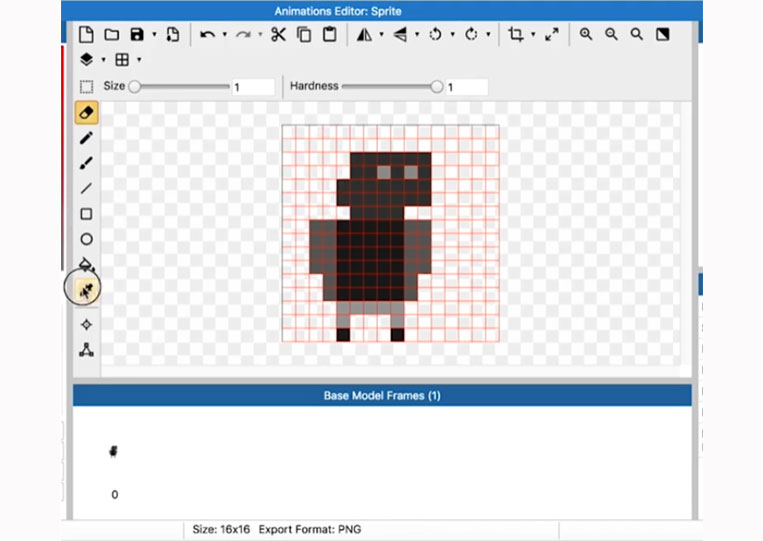


That is the Base Model.

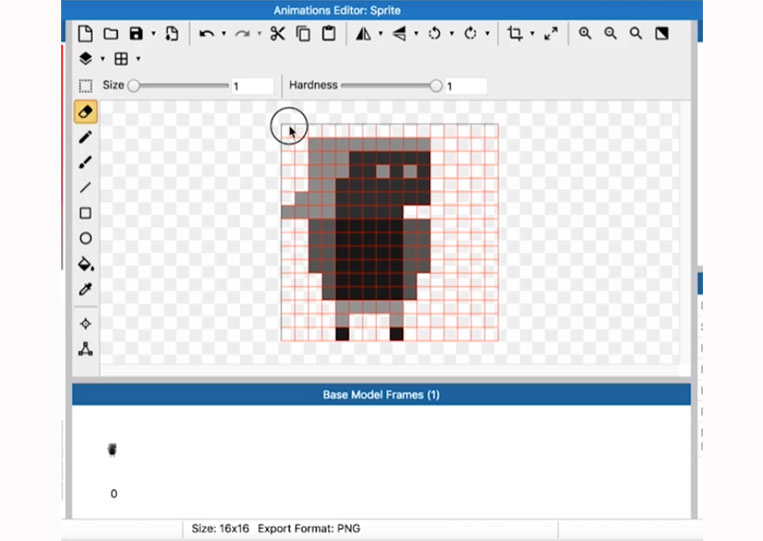
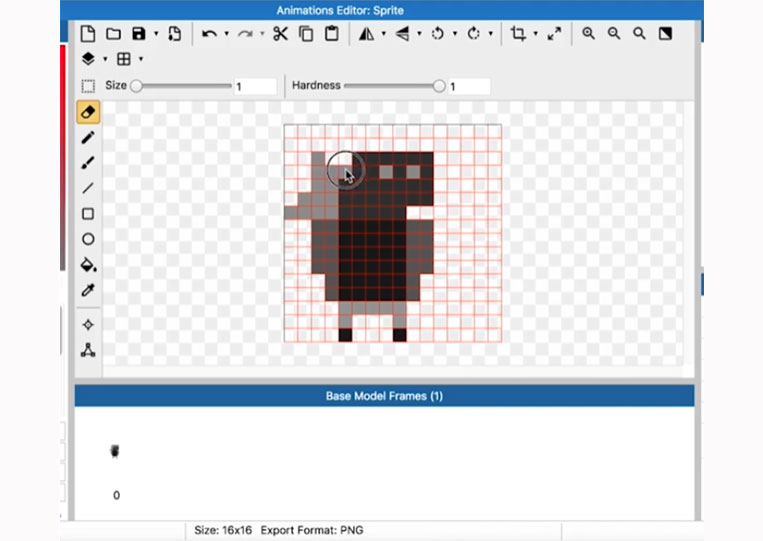
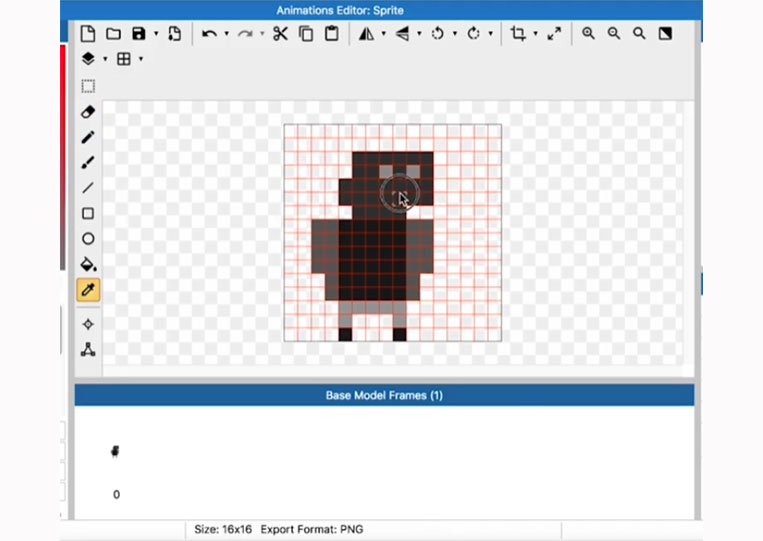
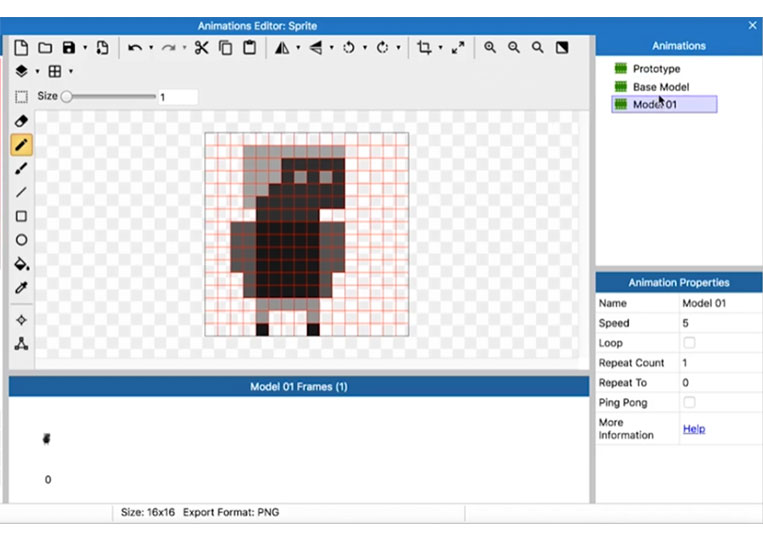
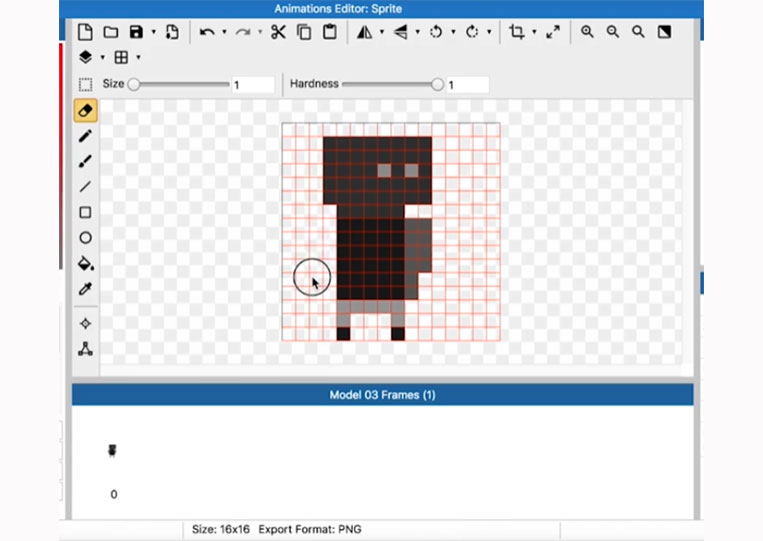
From here, we can add different poses or anything like that. Sometimes, in the 8×8 model, we have to scale it like 10×8 or 10×10. It’s still the same as our 8×8 character. Although, it’s not technically 8×8. With 16×16, you can have the same thing. However, with 16×16, you can fit anything in there. That works pretty well for the Base Model. Now one of those things you can always test and always want to test.


Your eyes can be here.

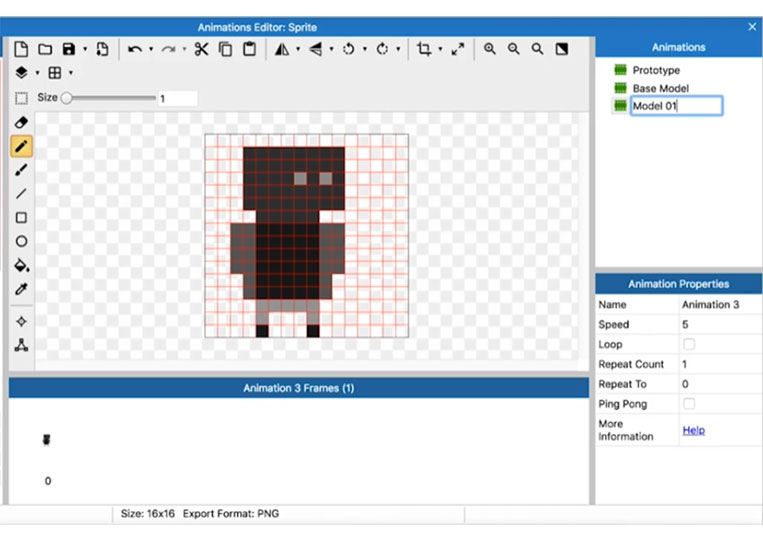
It’s up to you! I think this looks pretty good. We can add as many different hairstyles as we like. We duplicate this.

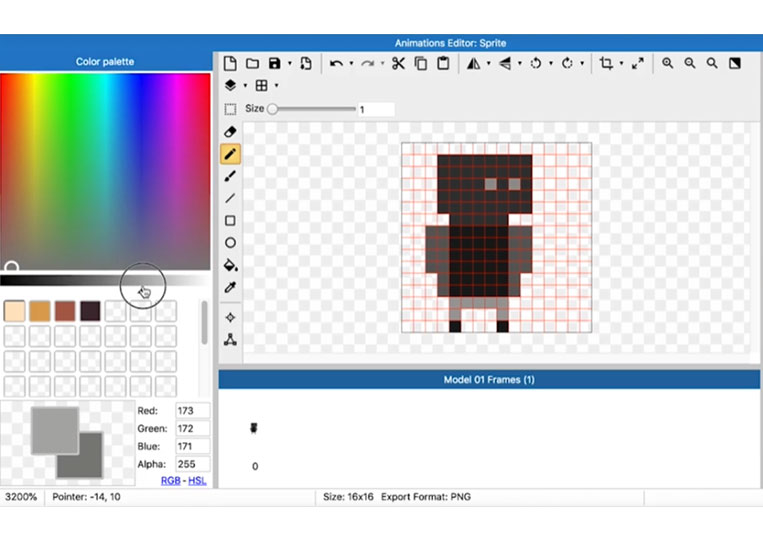
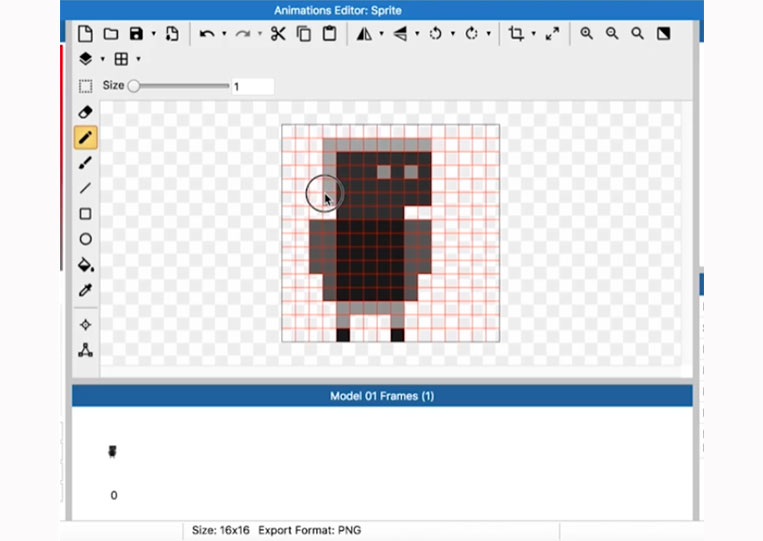
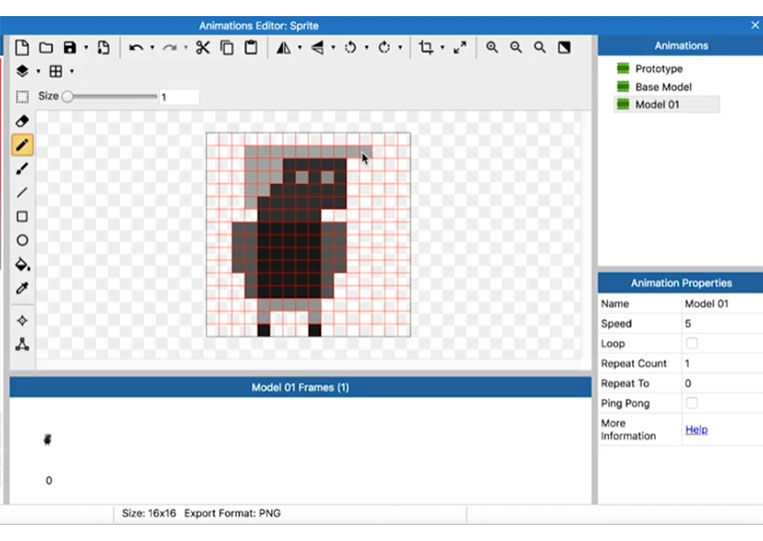
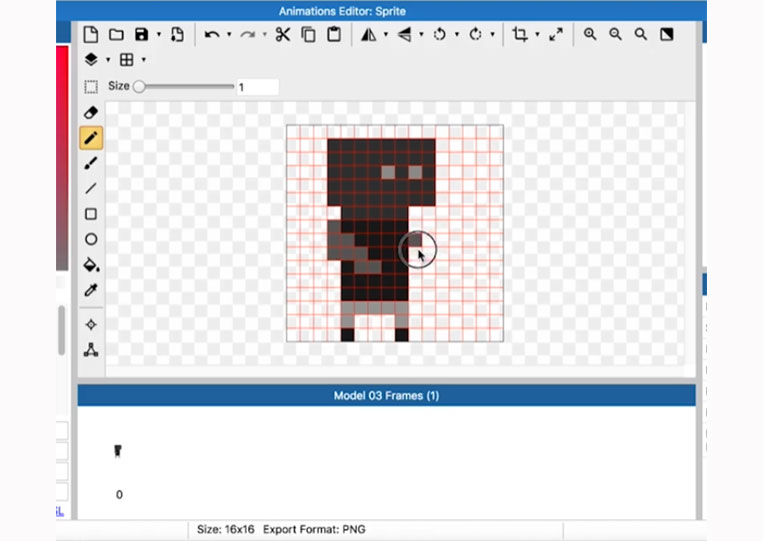
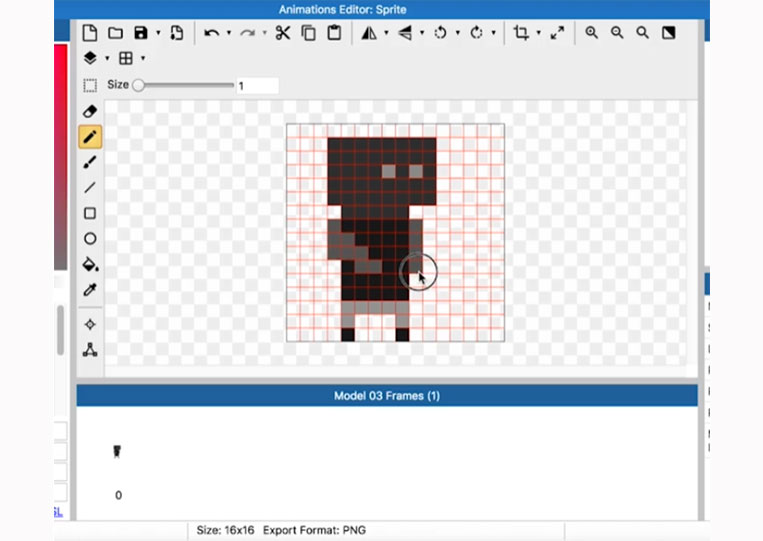
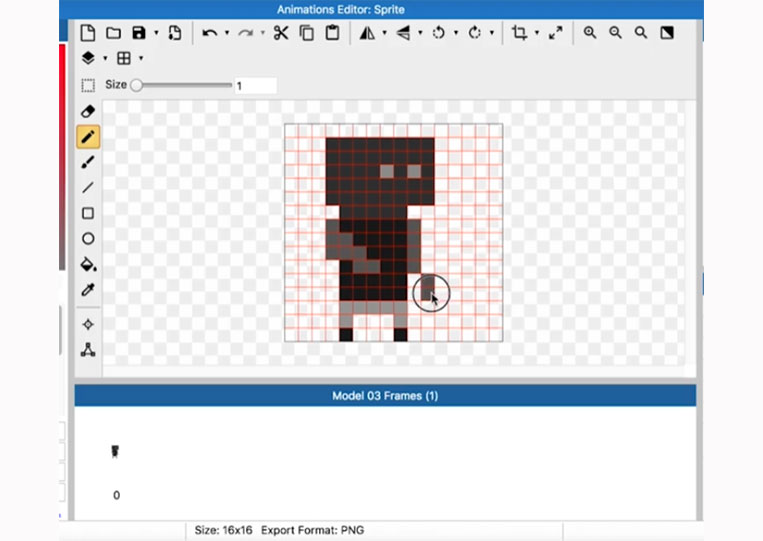
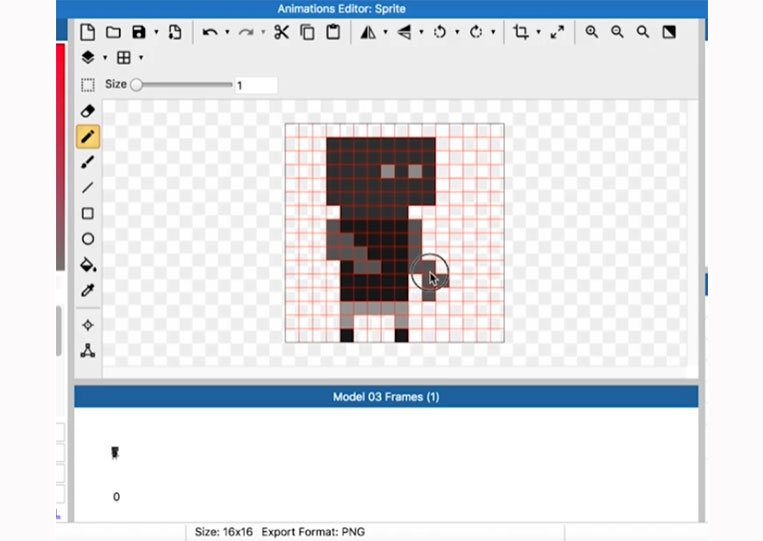
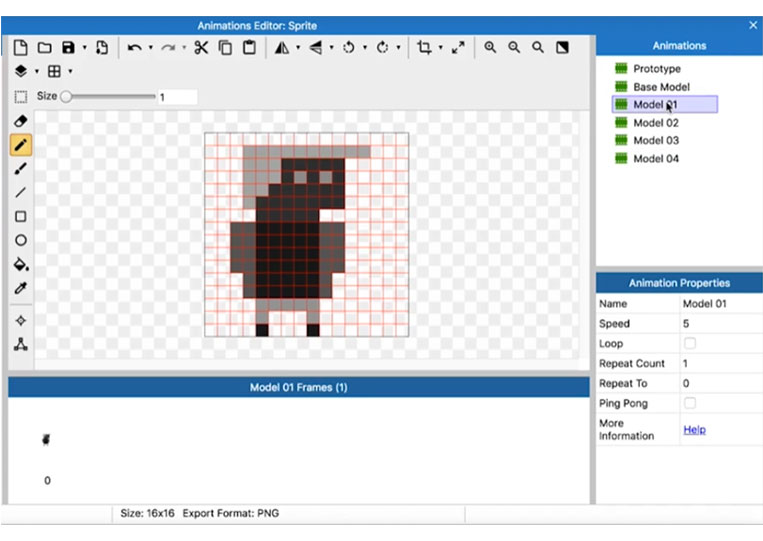
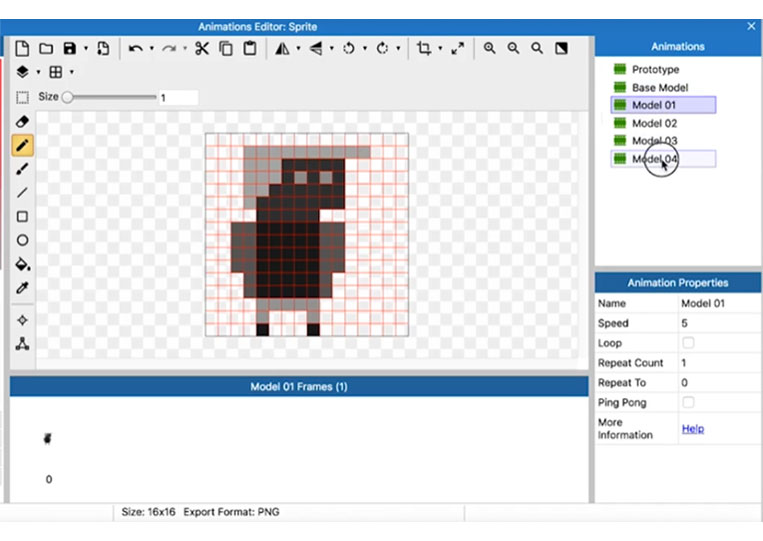
I call it Model 01.

Let’s add another hairstyle.


We can add something like a person with short hair that looks different from this.


Then you can keep your hair short and see how it looks. It is entirely up to you!
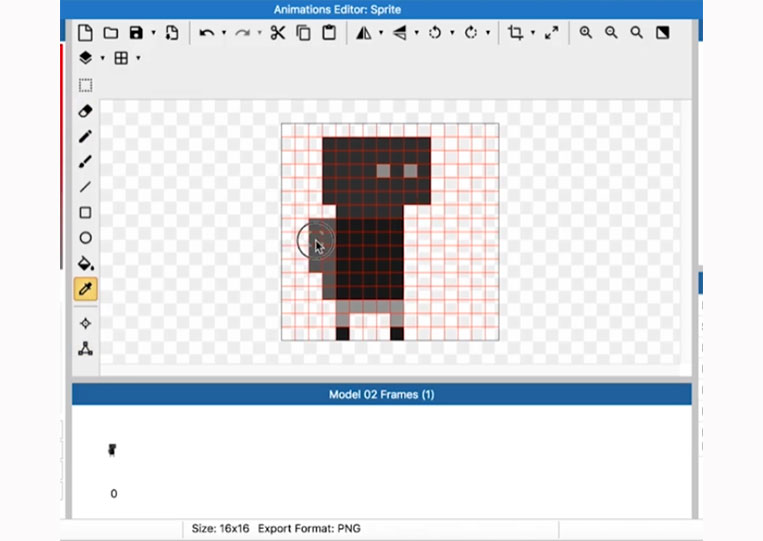
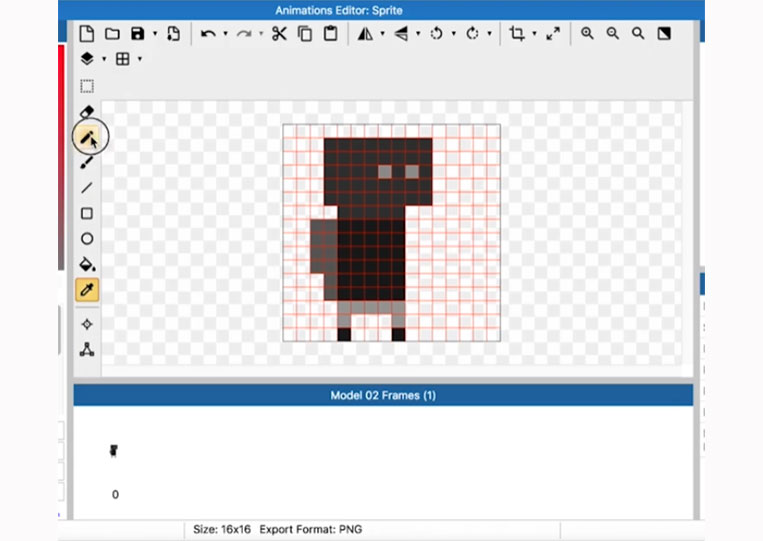
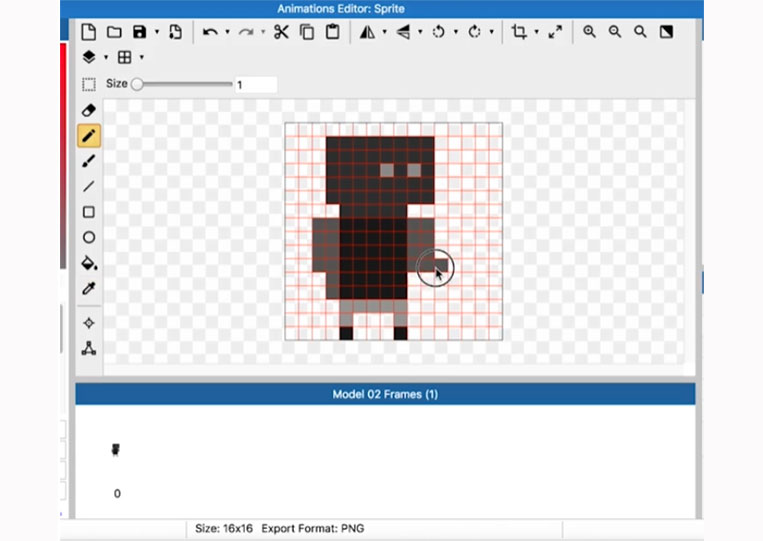
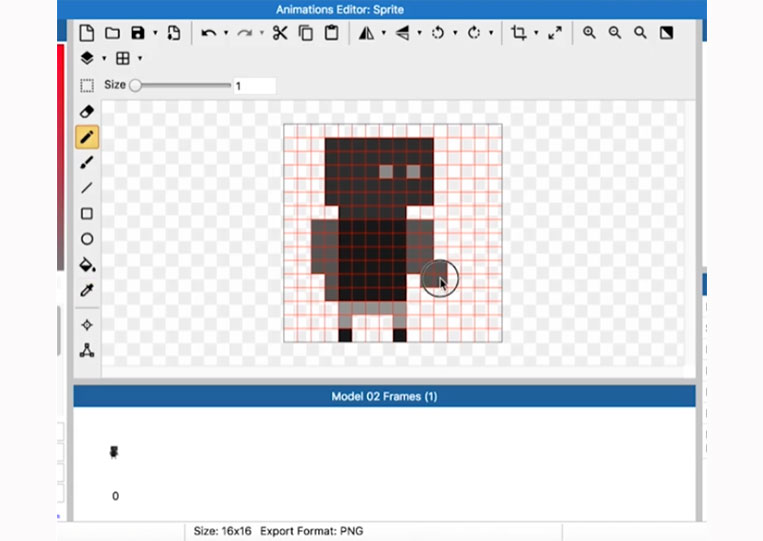
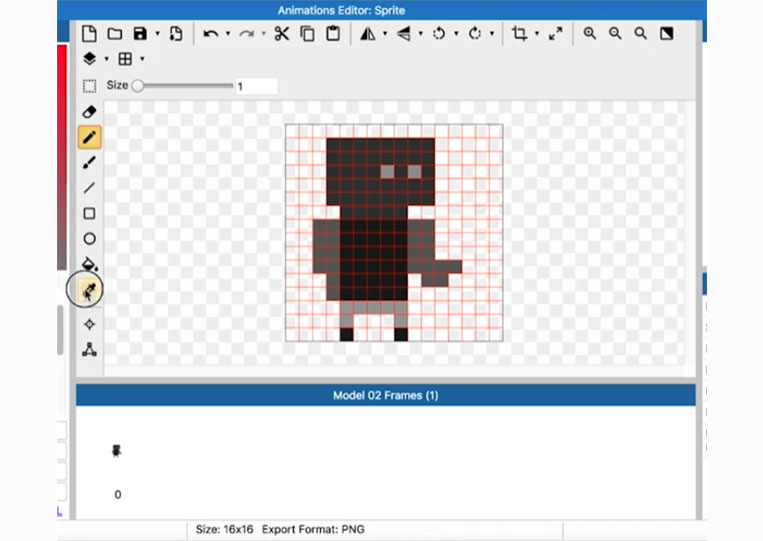
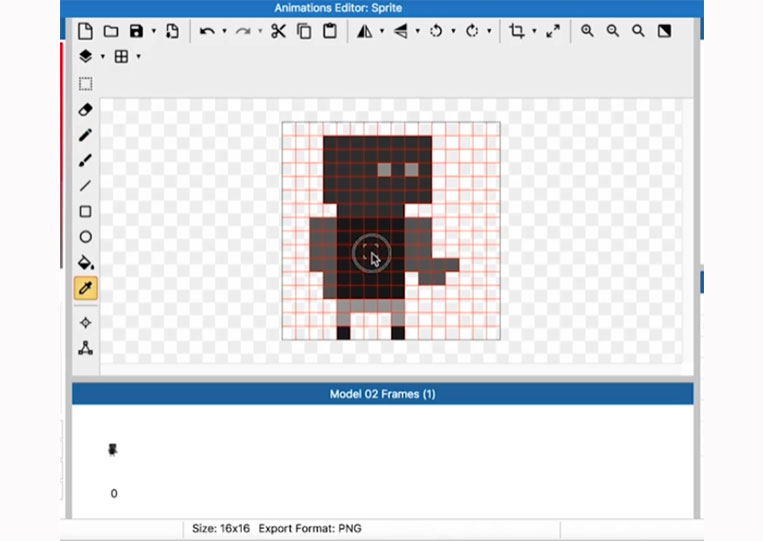
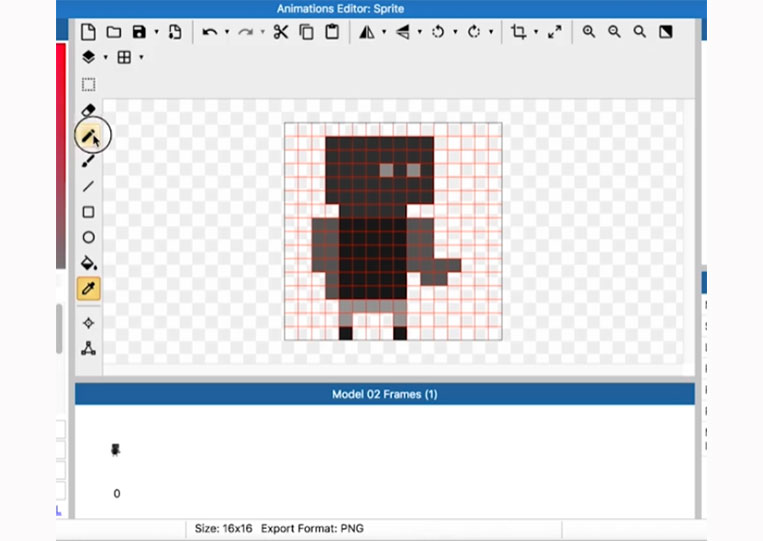
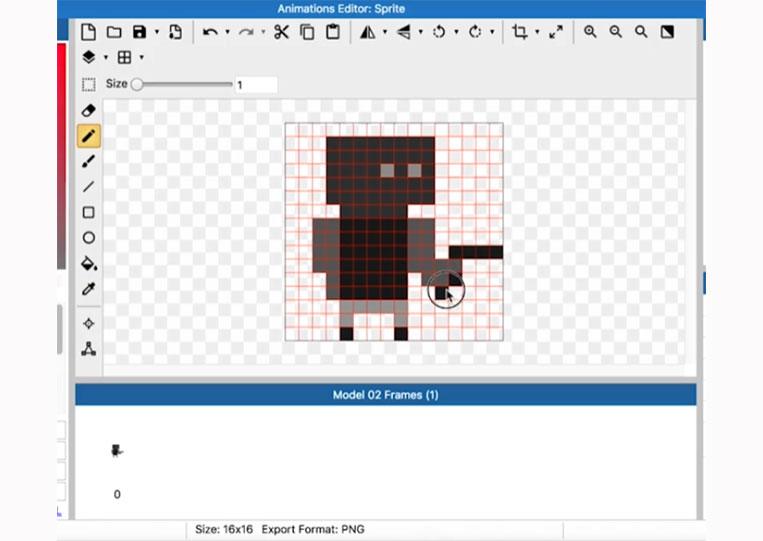
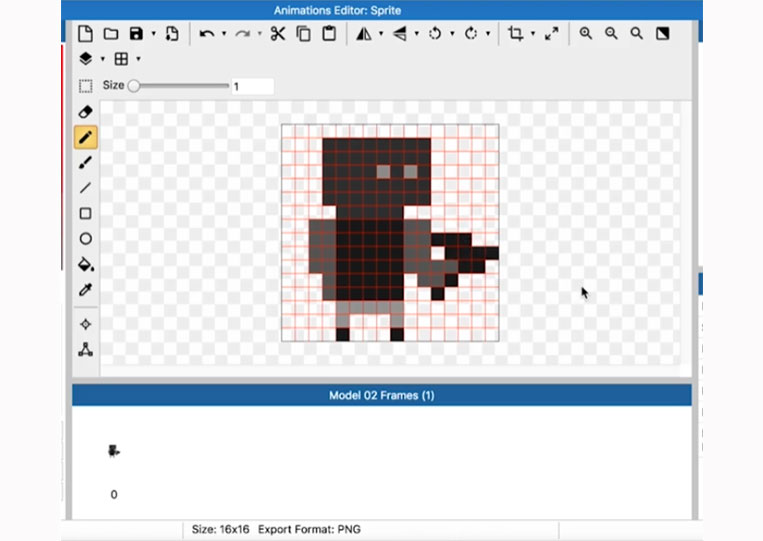
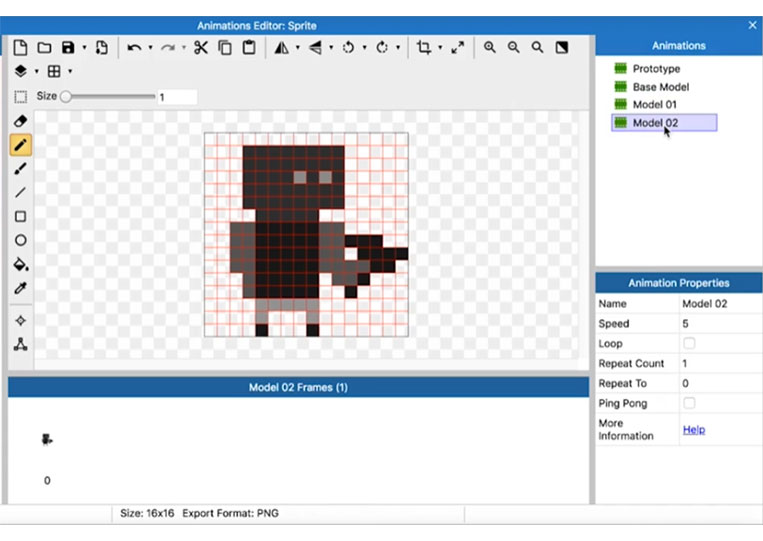
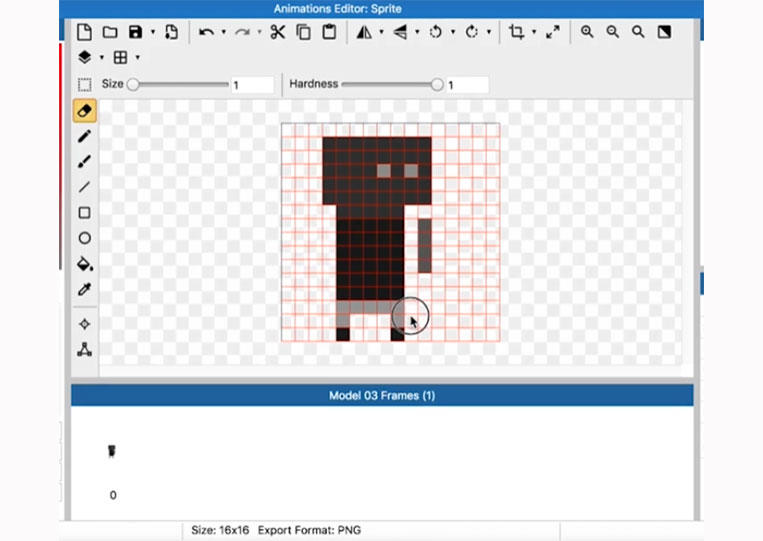
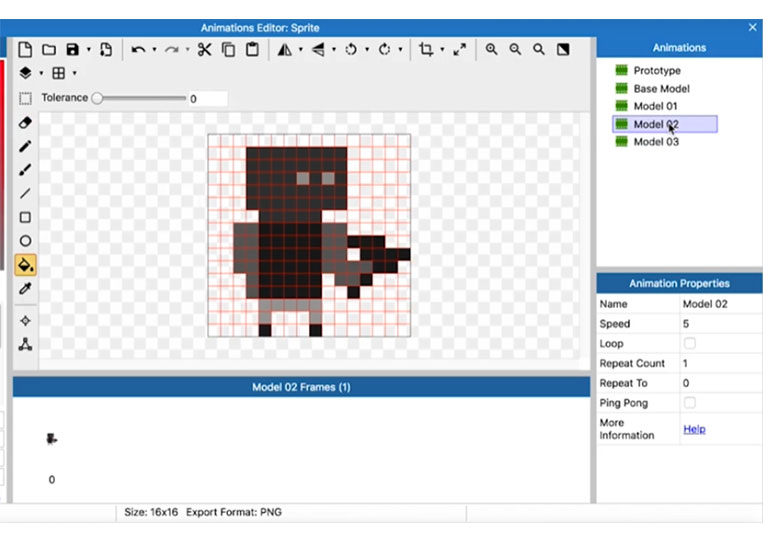
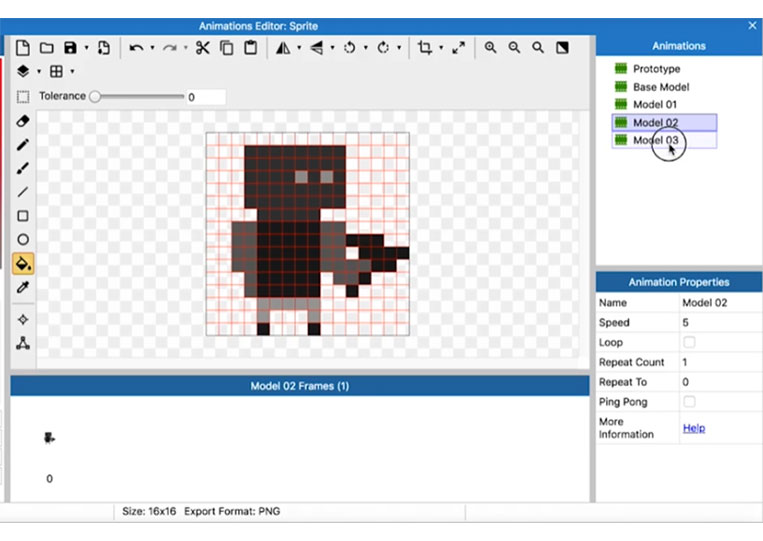
We duplicate this again, and we will call this Model 02.


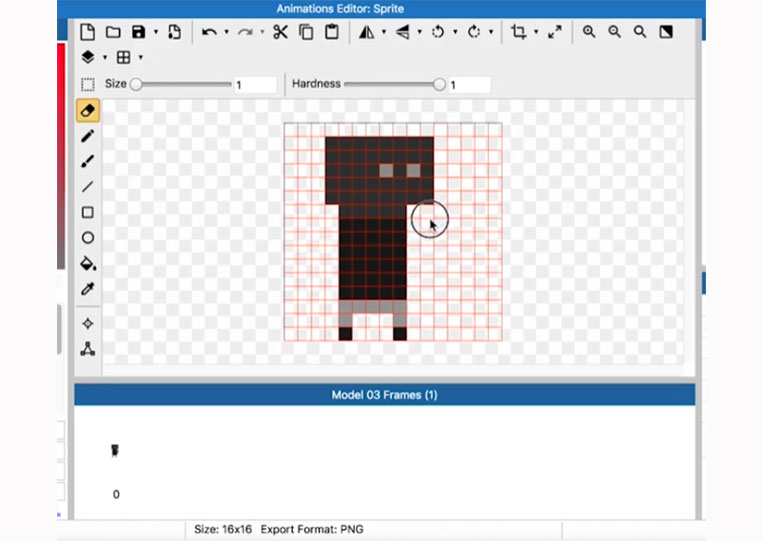
We will try something else. You can erase this.

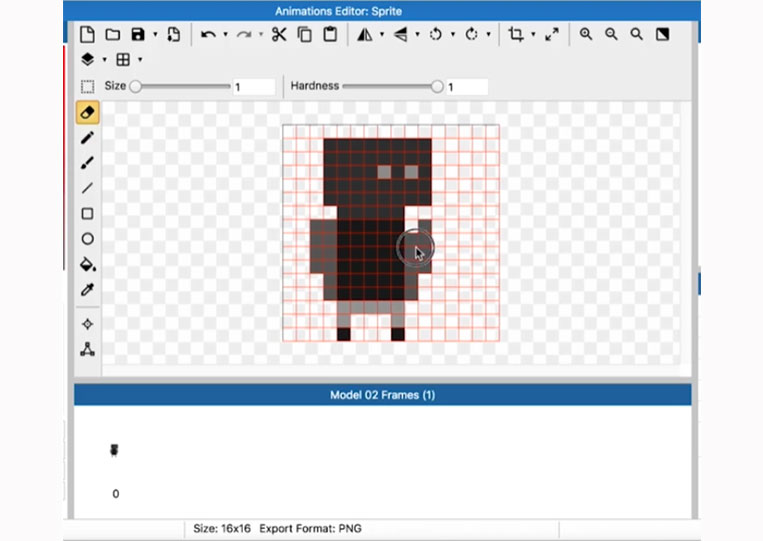
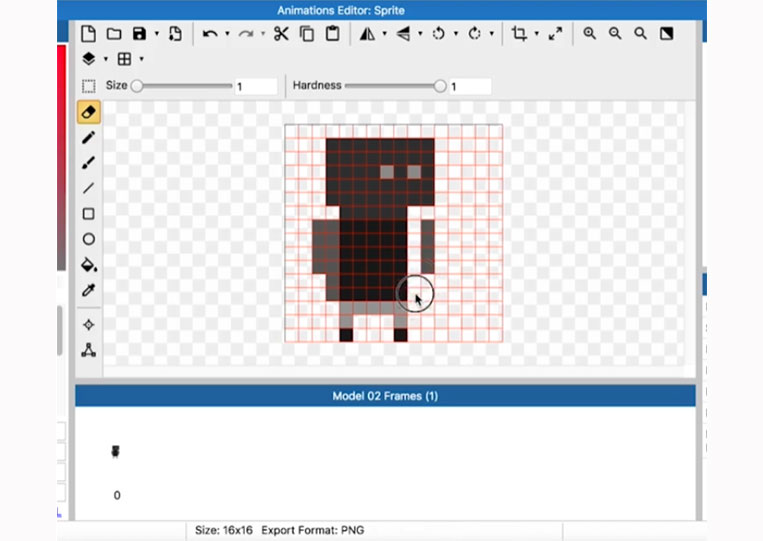


We can add it here.

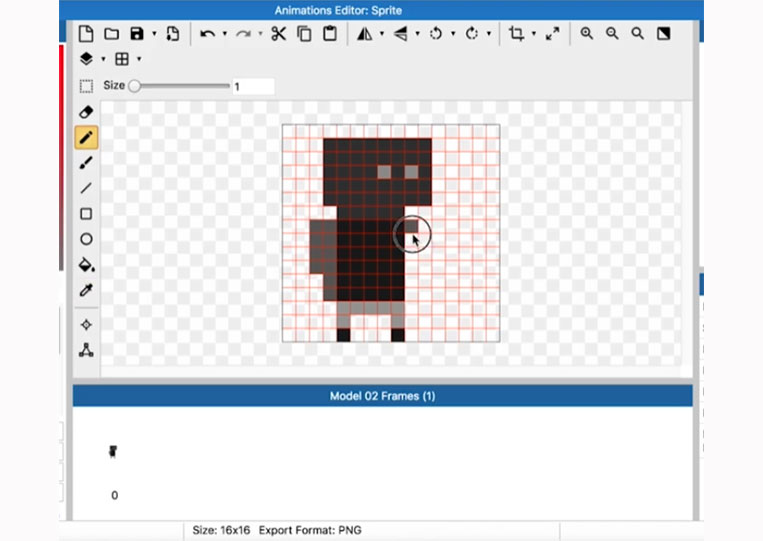

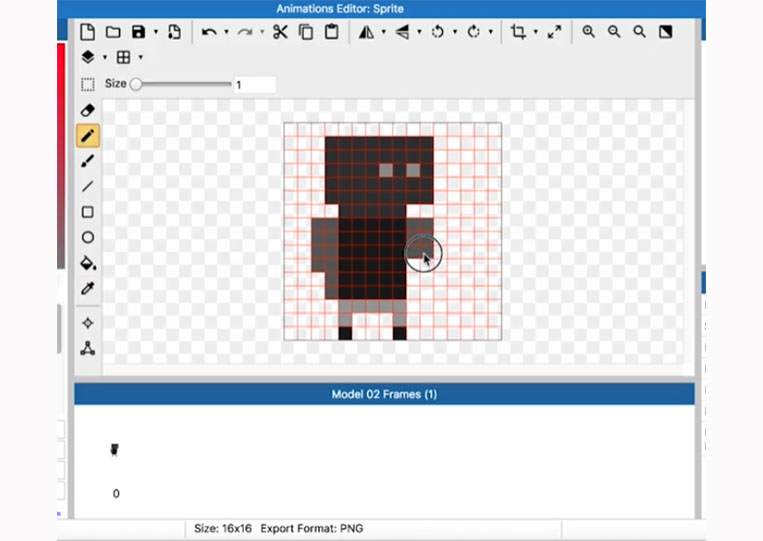


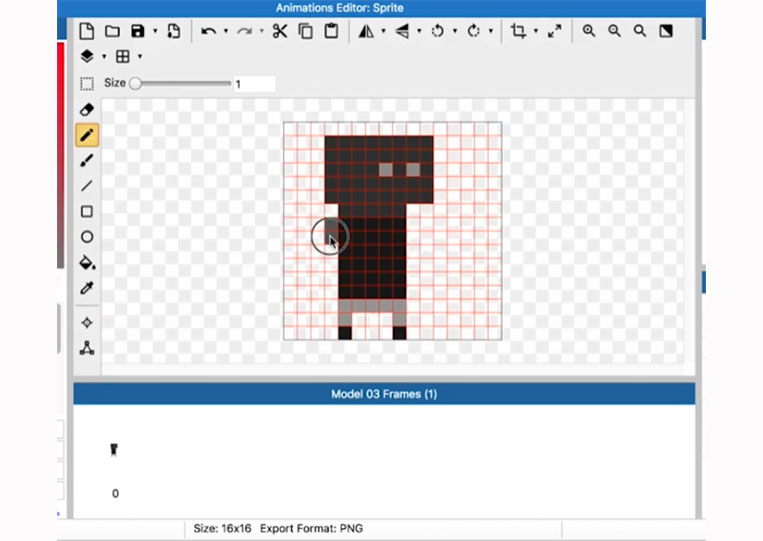
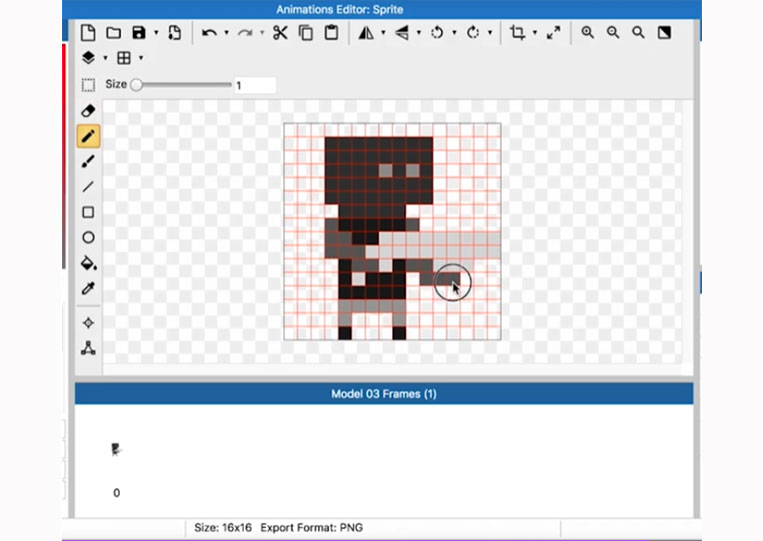
We add a gun.
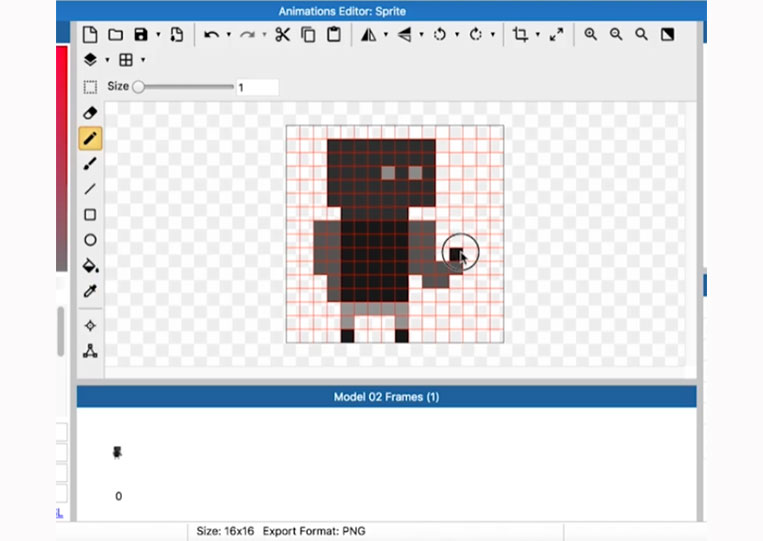
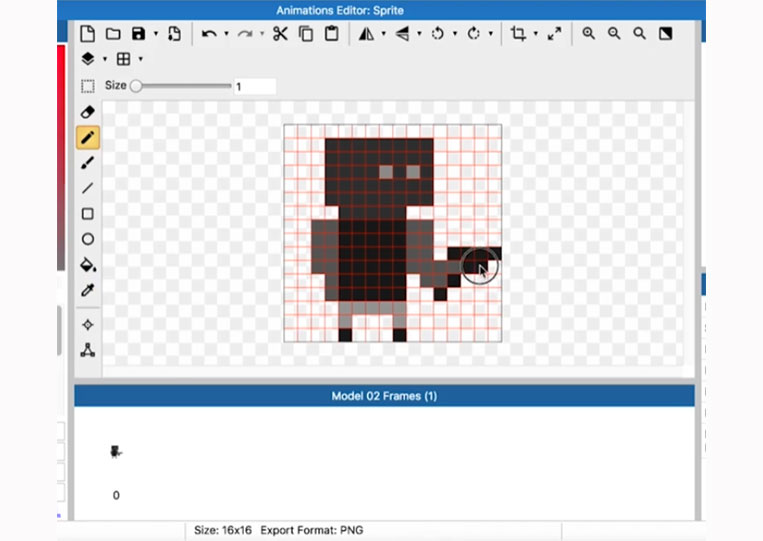
Looks pretty cool!
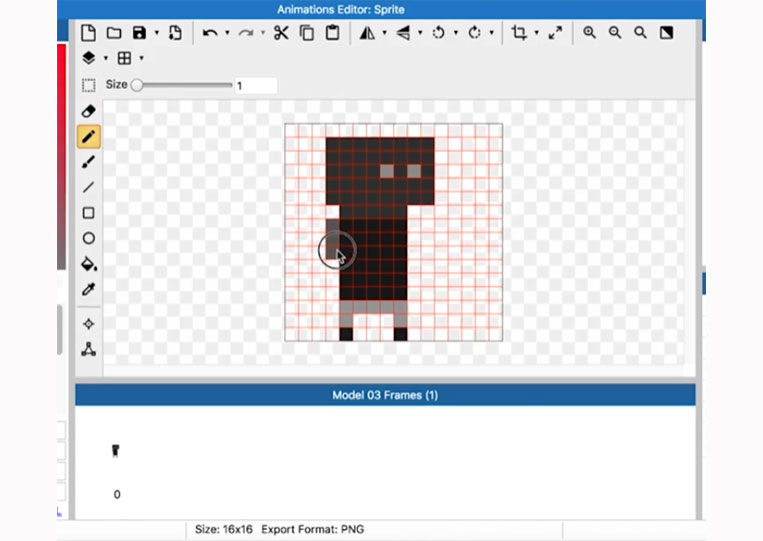
I quite like that. We do it again.

You can also give it a haircut. We take the Base Model. That is how you do good pixel art.

The more models you make, whether they look good or not, will determine how good a pixel artist you are.


The more you do, the better you are.


Let’s draw something here.


You notice that I am using a monochrome color.

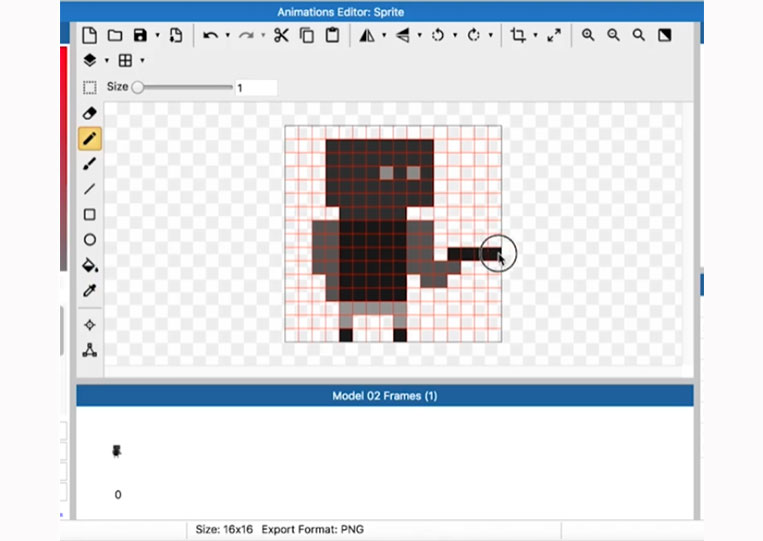
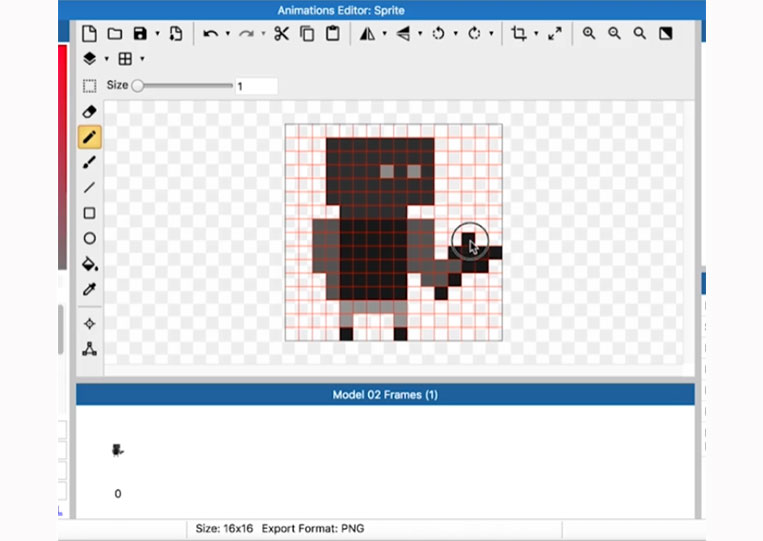
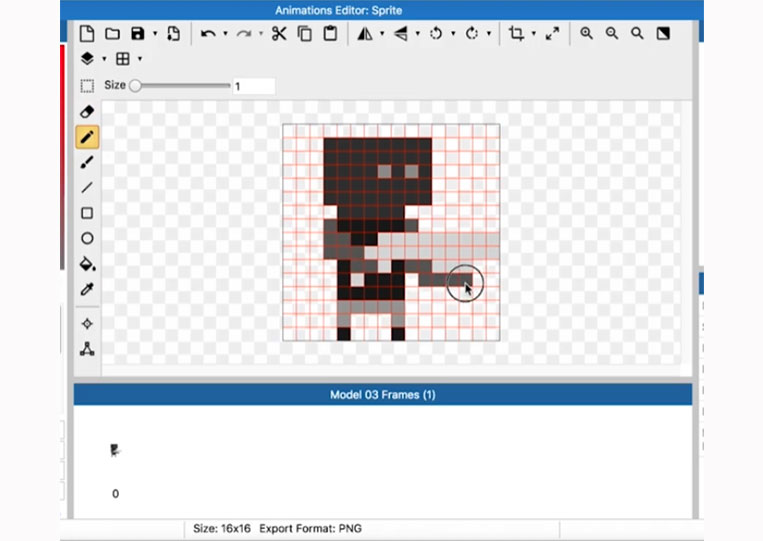
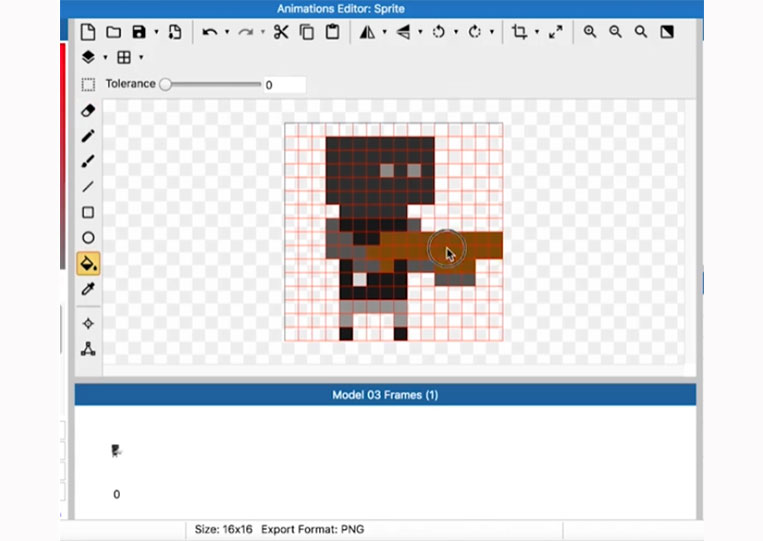
Let’s add a gun here.


I add there.


It works pretty well. Do we need to do that? Should we add more shotgun-type?
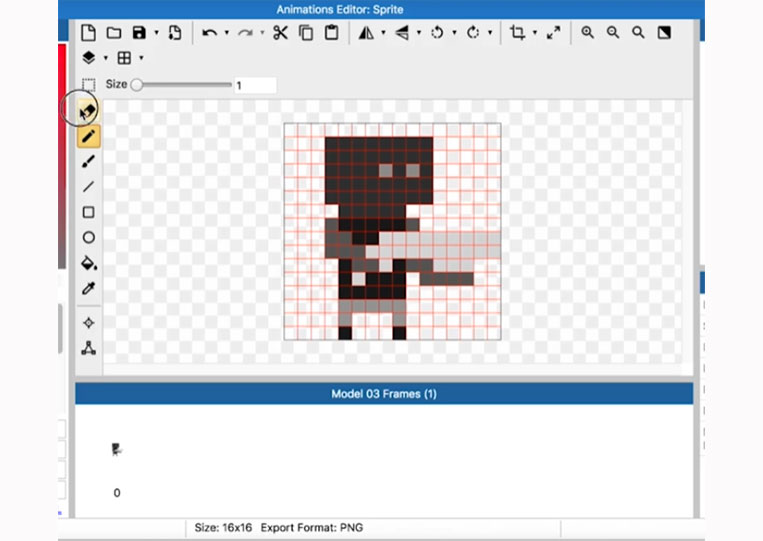
I think it looks pretty good.
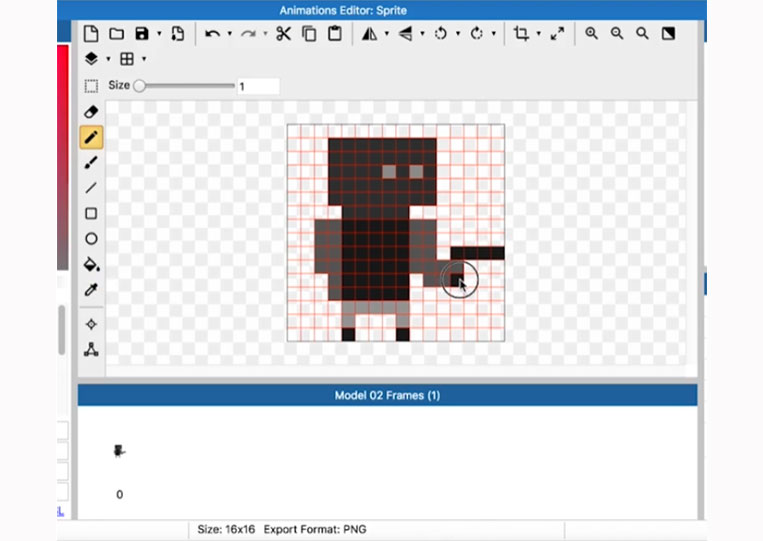
The reality is that we don’t have many colors to work with.

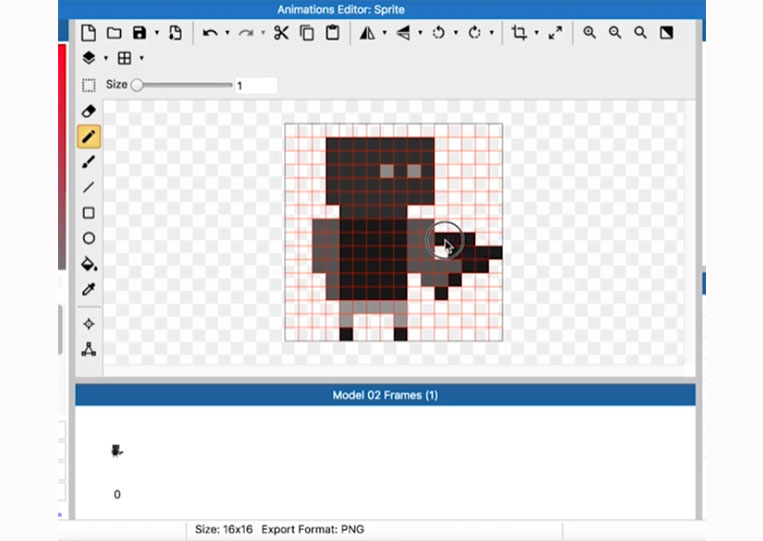
The gun needs to be brown.
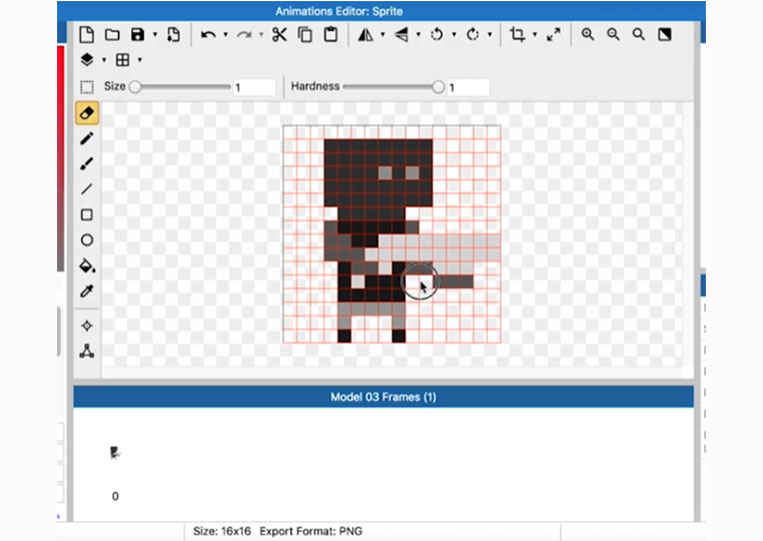
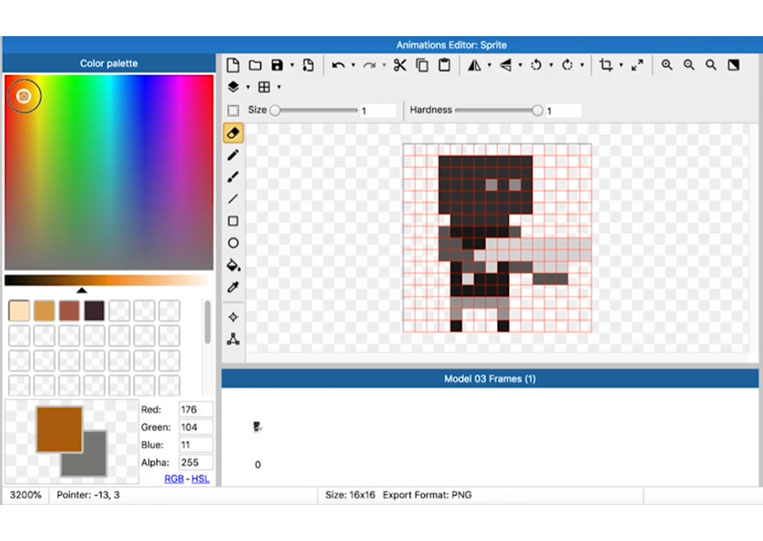
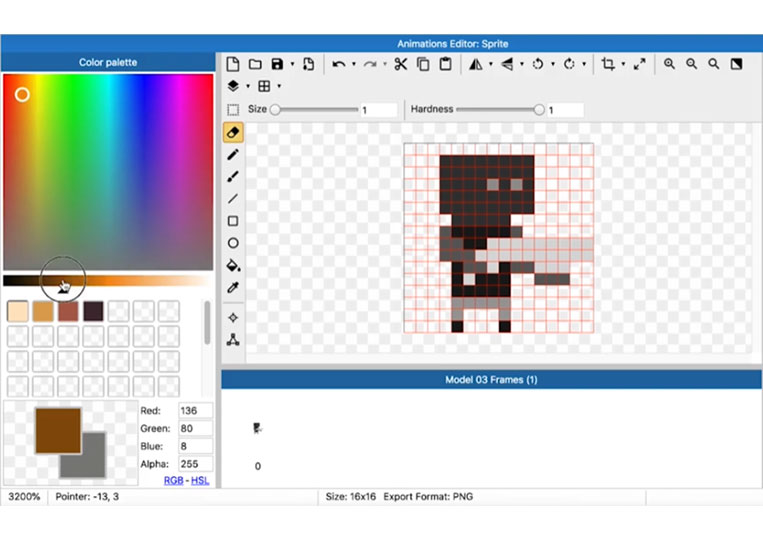

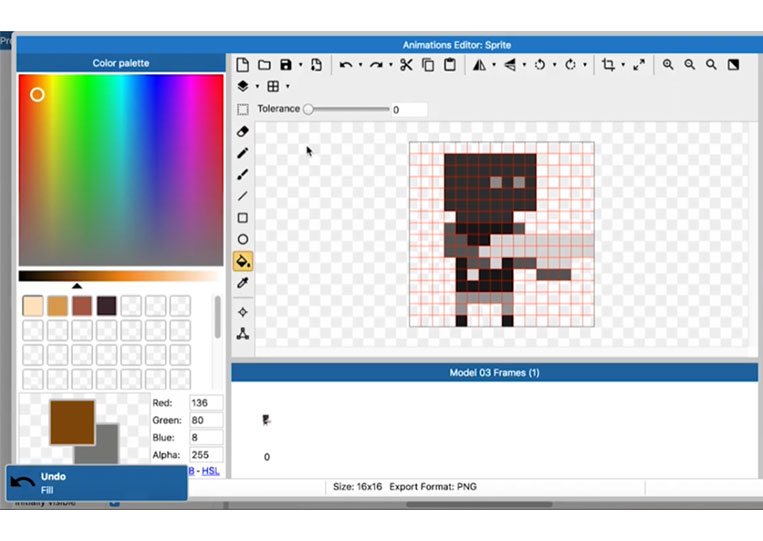
If you force yourself to do something else, things will be more easier. As you can see, we have two weapons here.

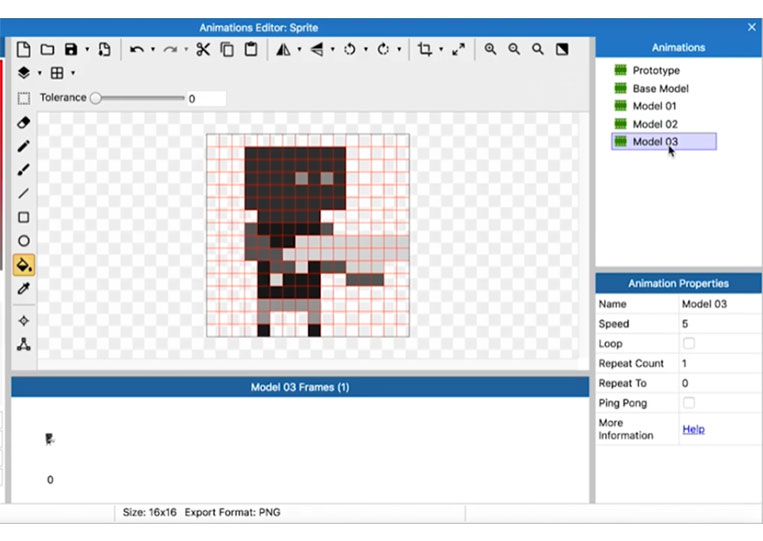
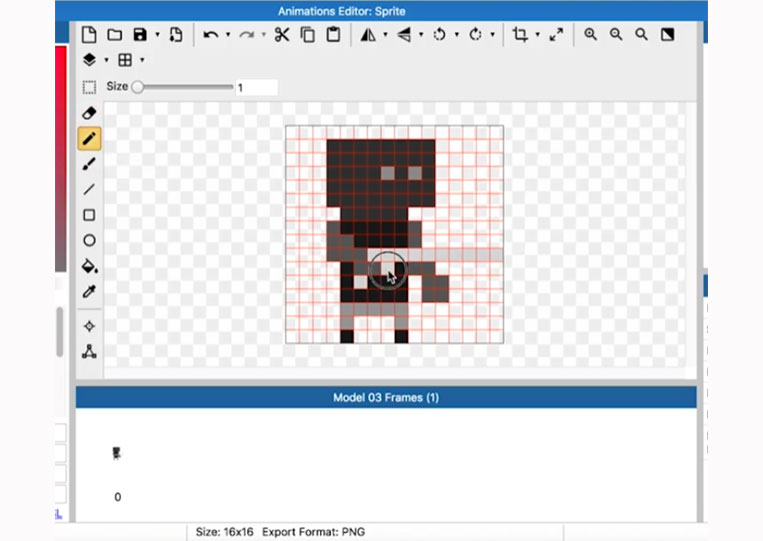
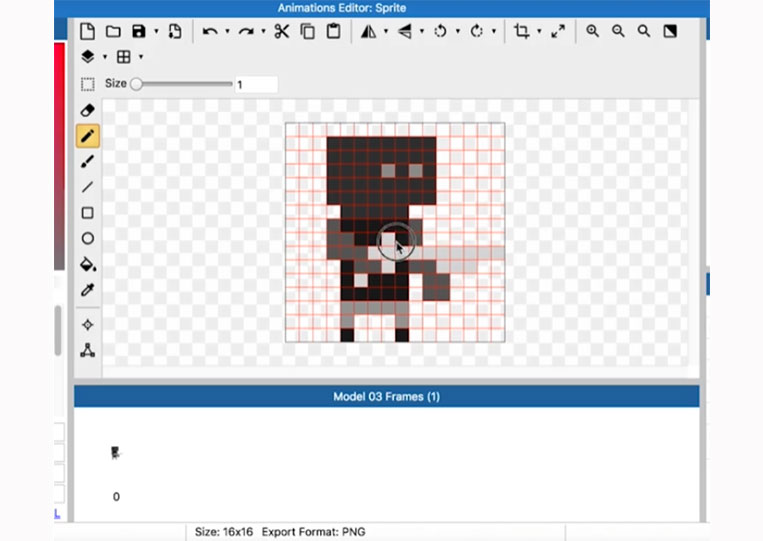
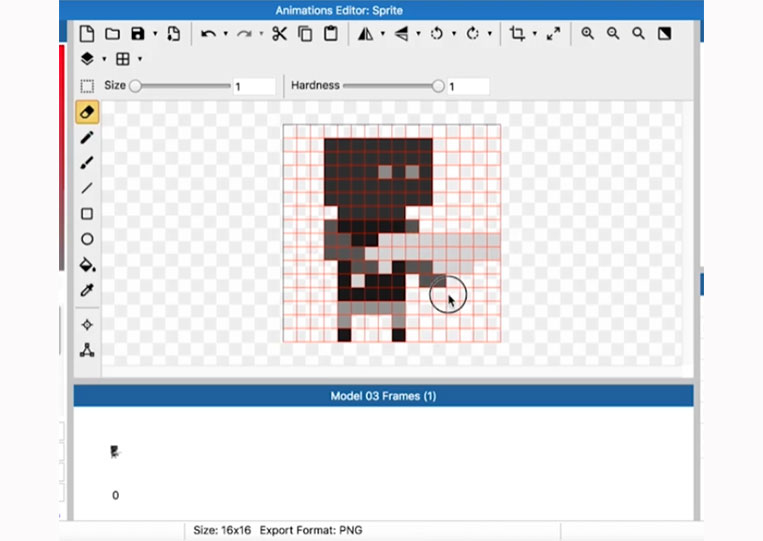
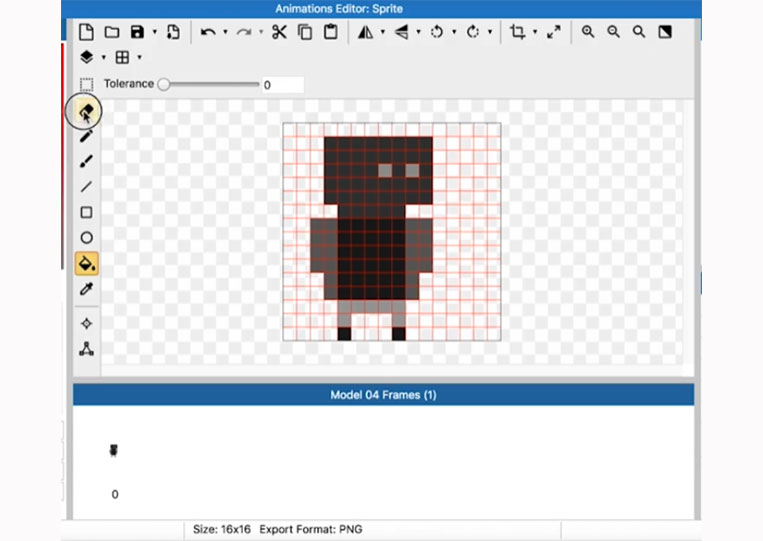
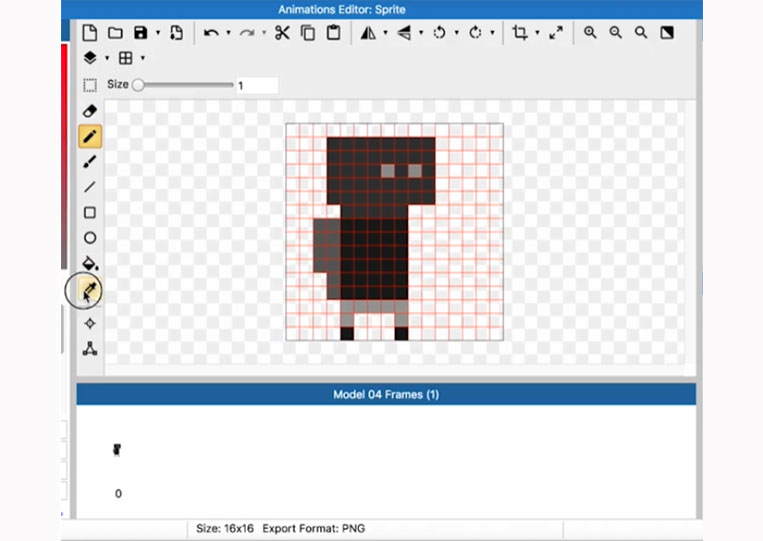
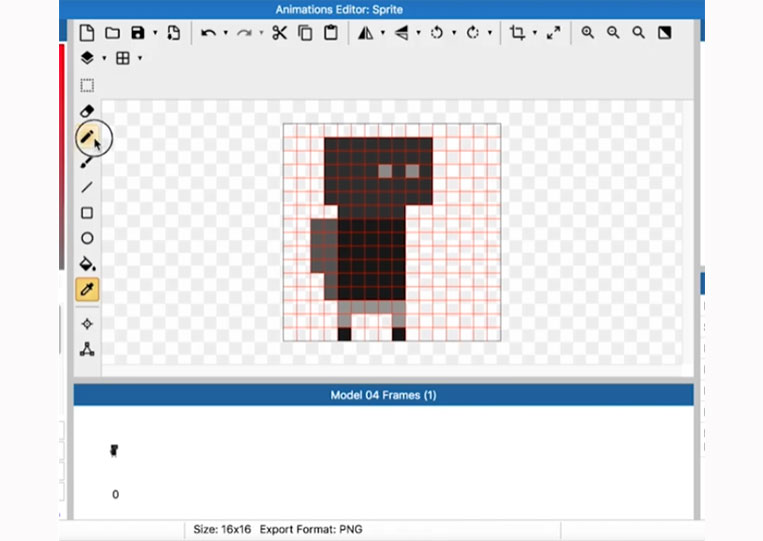
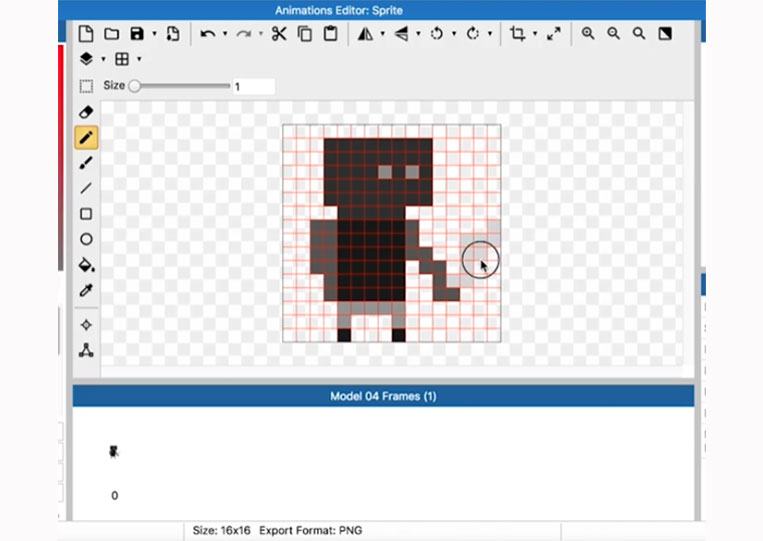
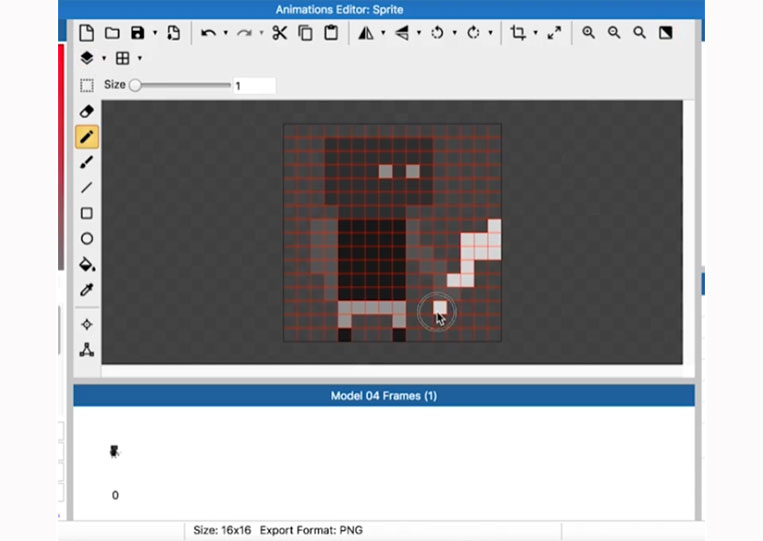
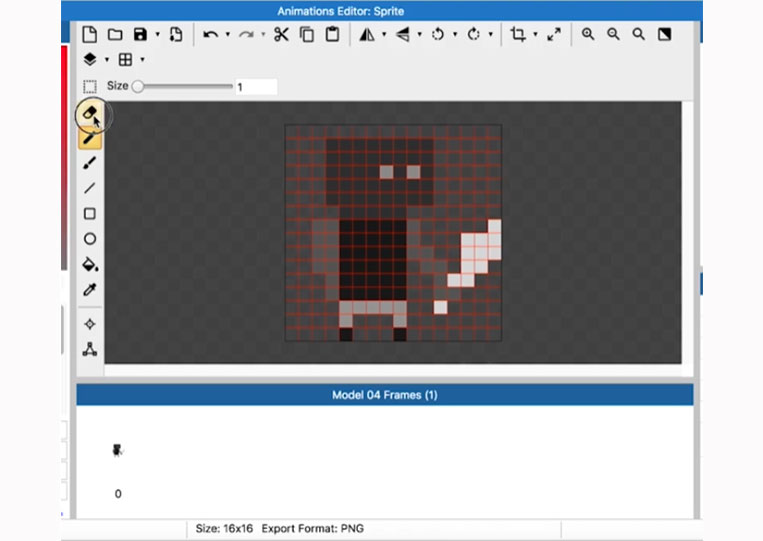
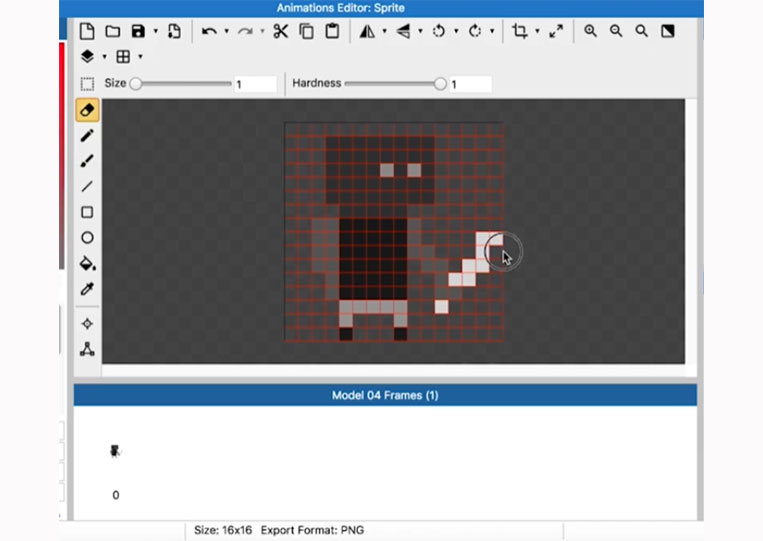
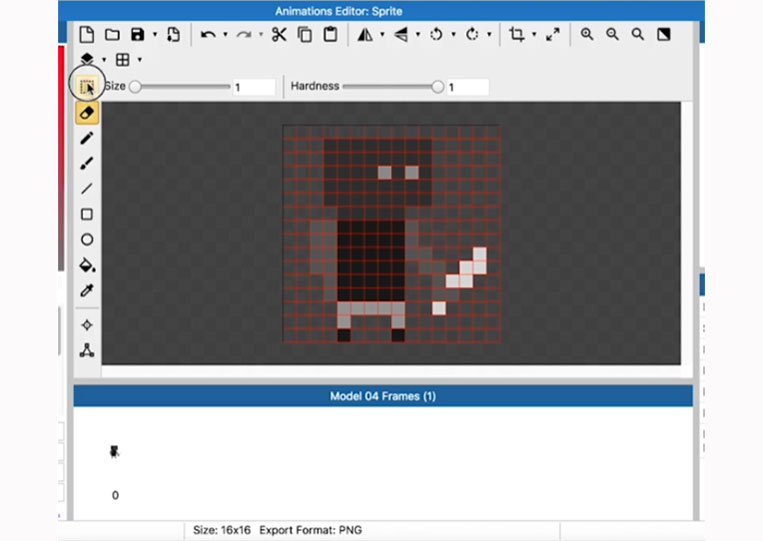
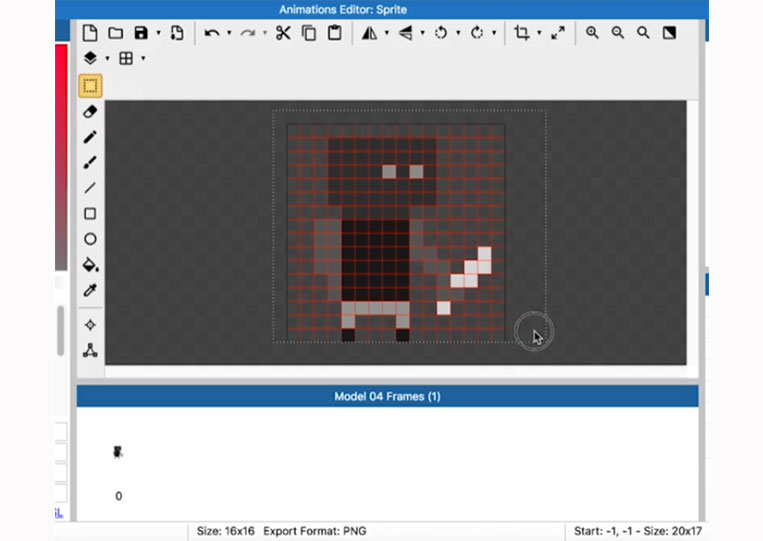
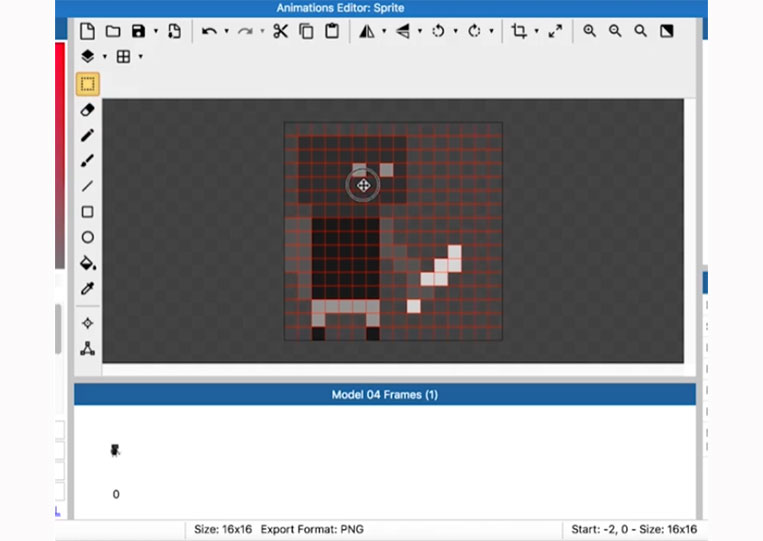
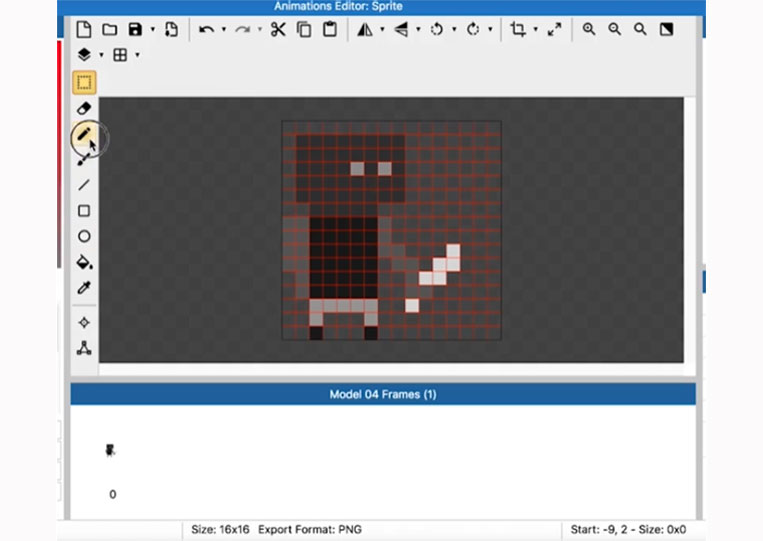
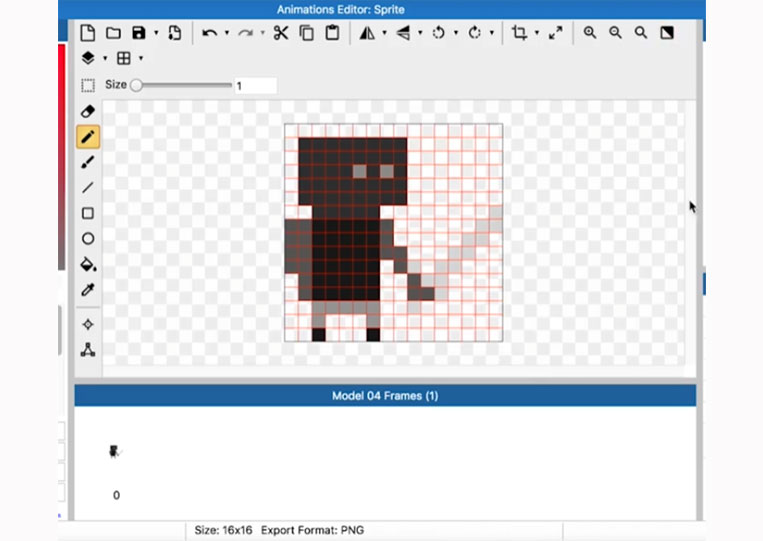
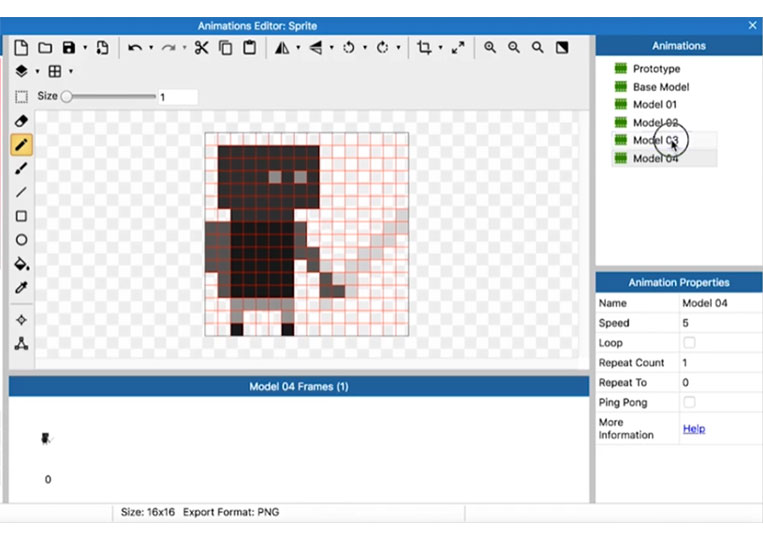
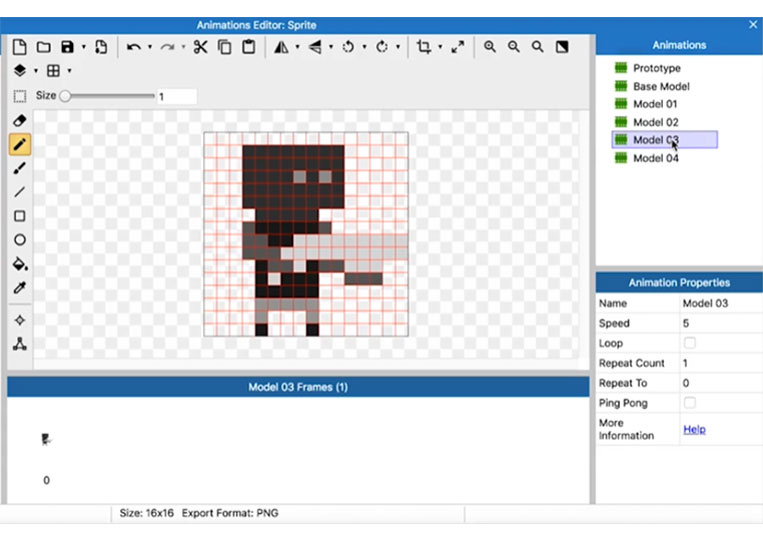
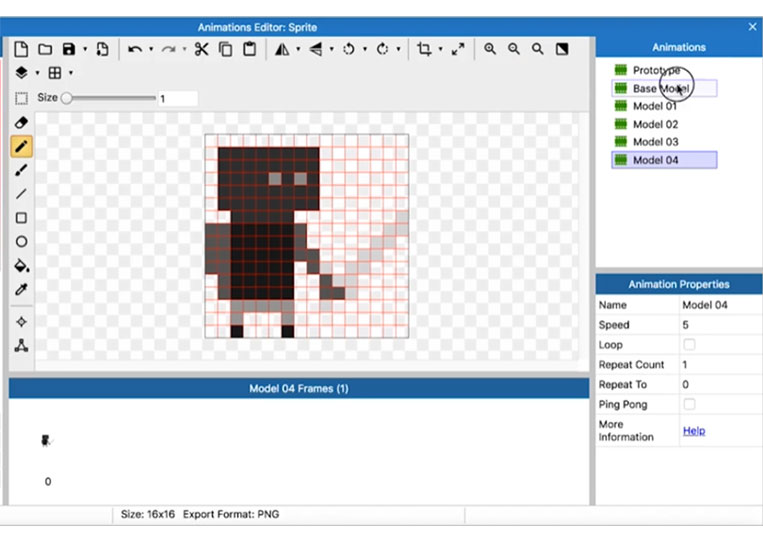
We can try something else. I will copy the Base Model, and it is called Model 04.


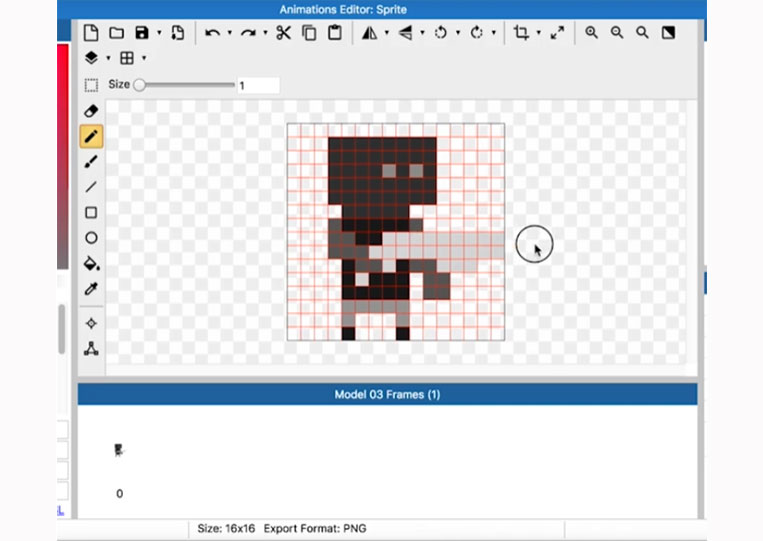
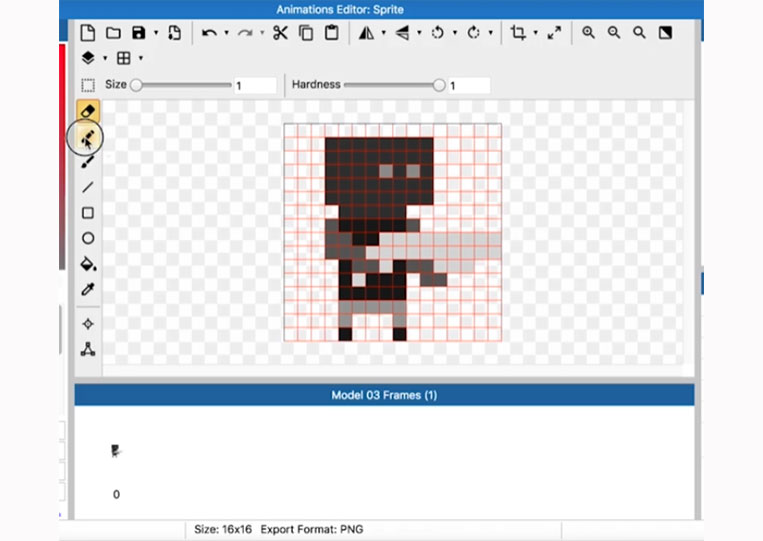
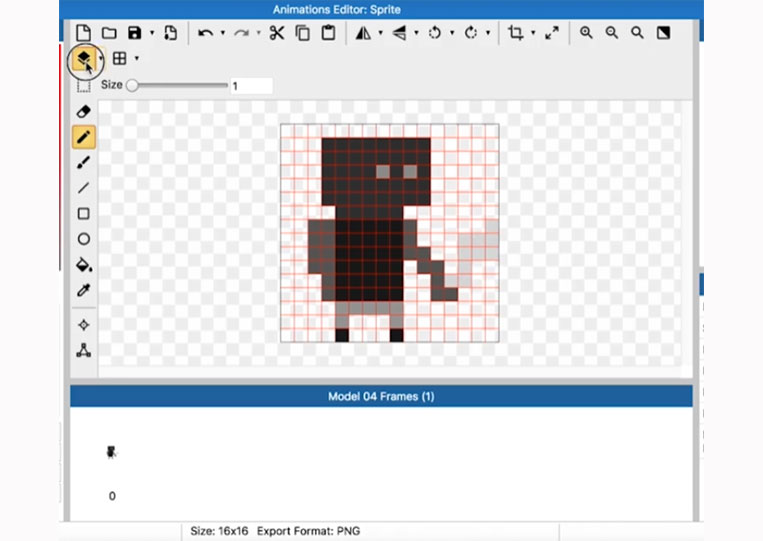
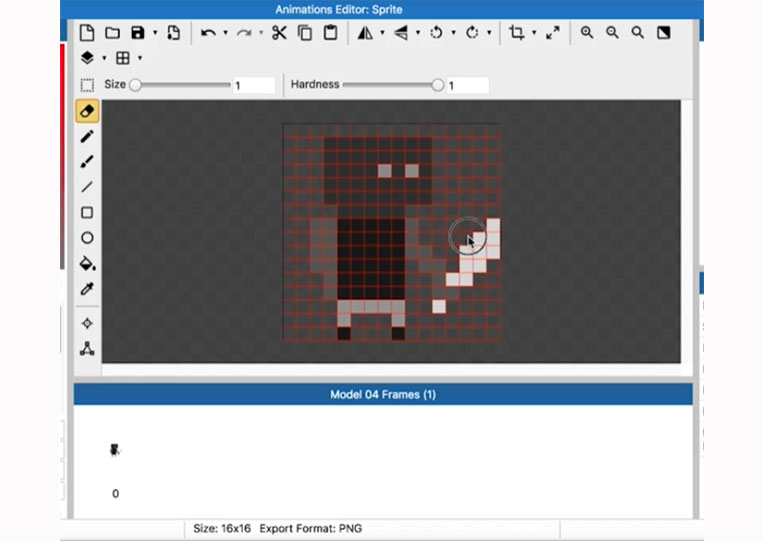
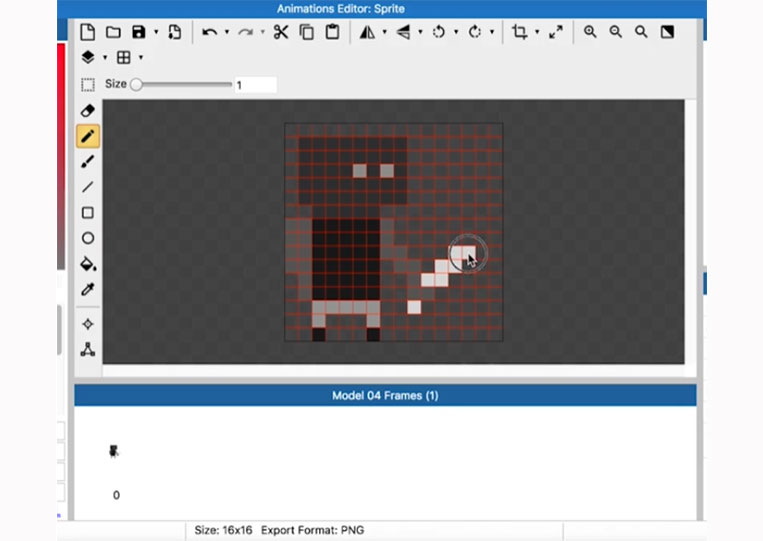
In this model, we can add some sword categories so you can see that once you get the Base Model, the rest of this becomes easy. You experiment with as many different types of base models as possible. I will add another sword.


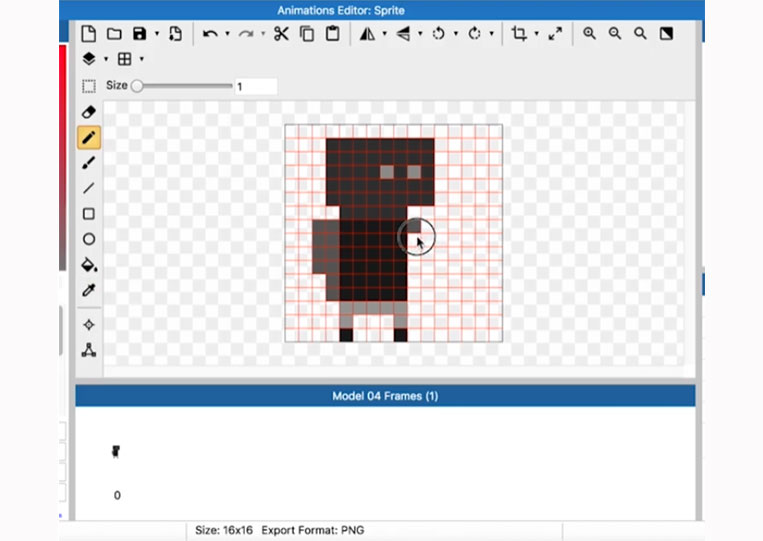
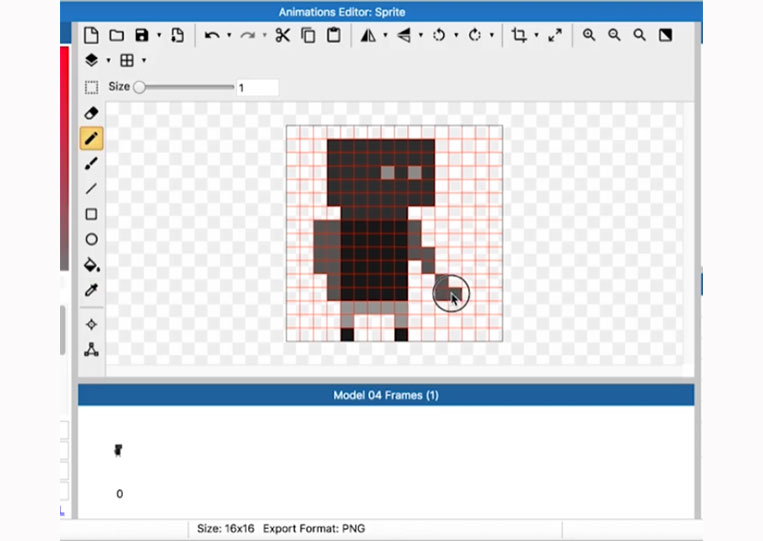


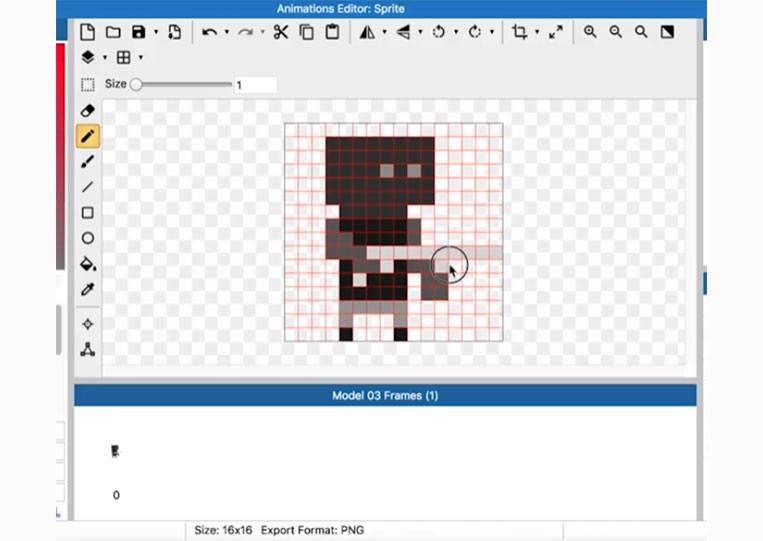
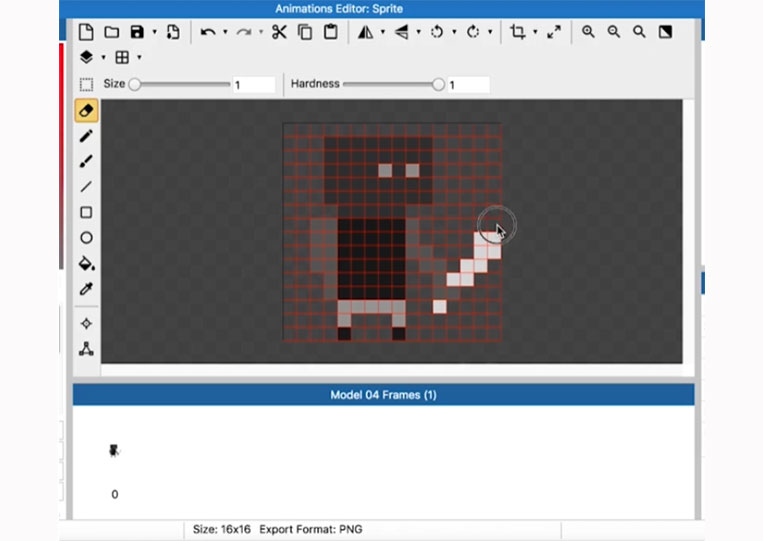
I will make it dark.
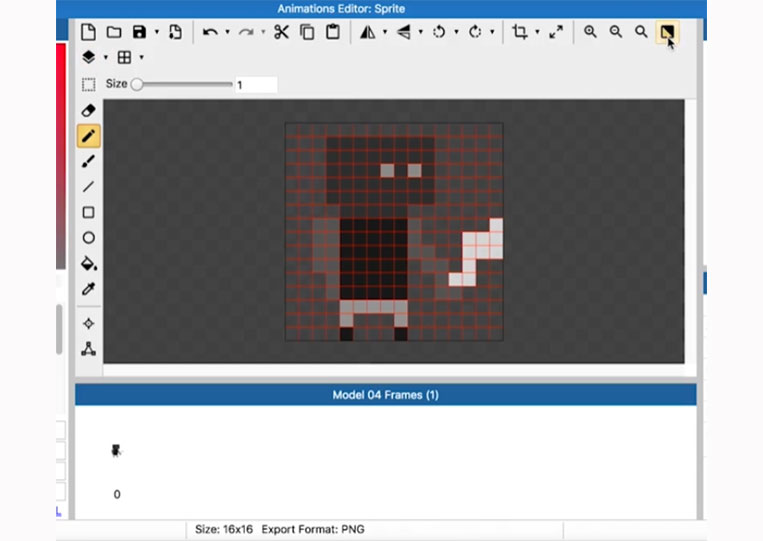

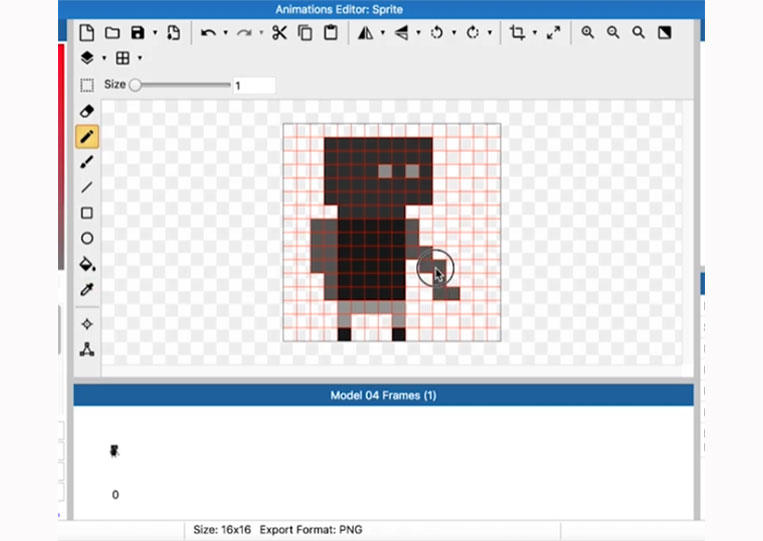
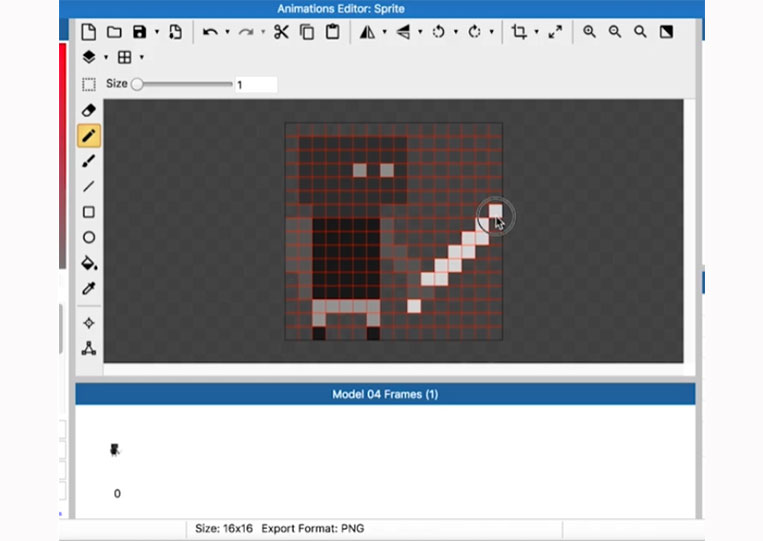
Swords are always kind of tricky.


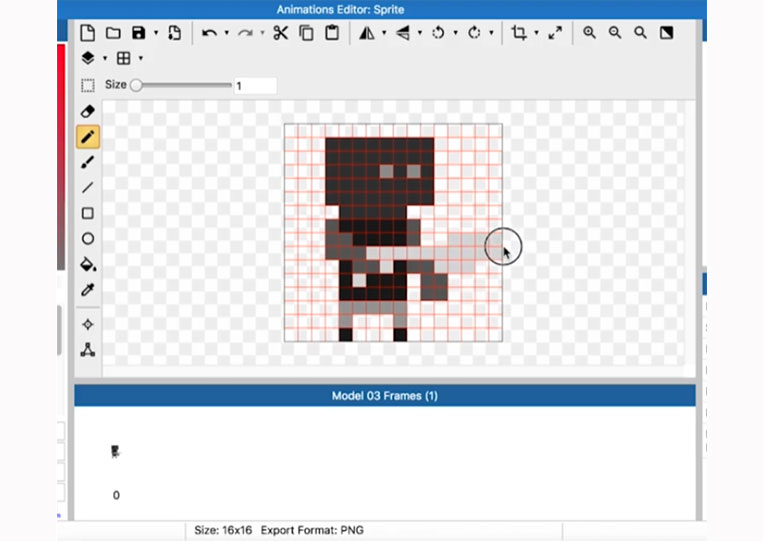
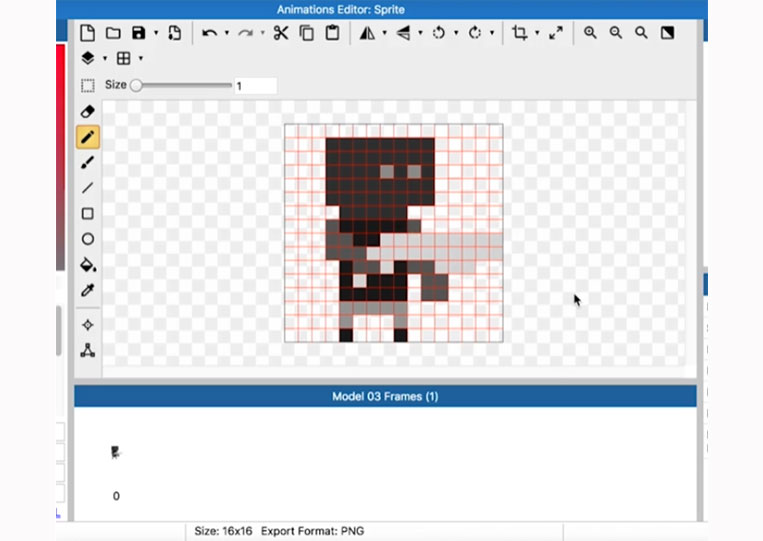
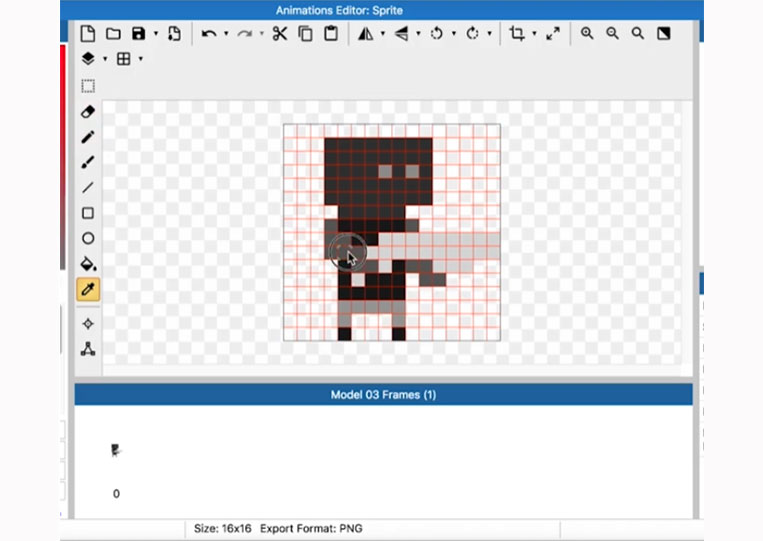
We need to move this person back to do more sword action.
Maybe add some kind of hilt.
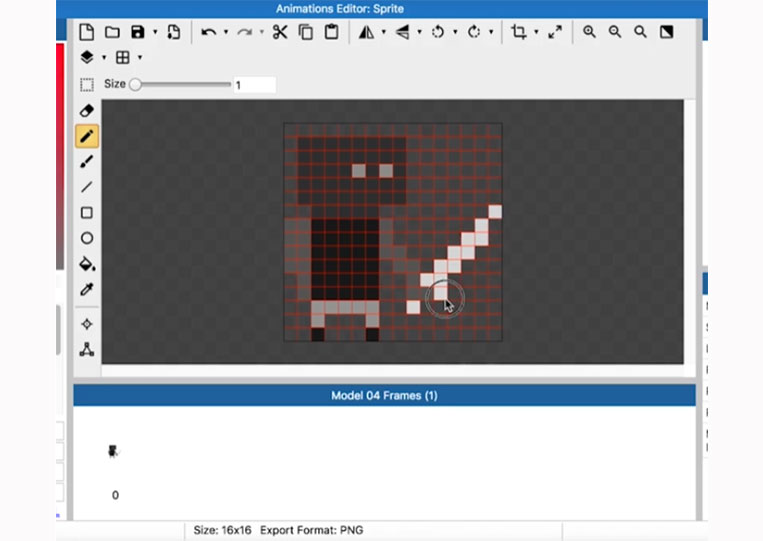
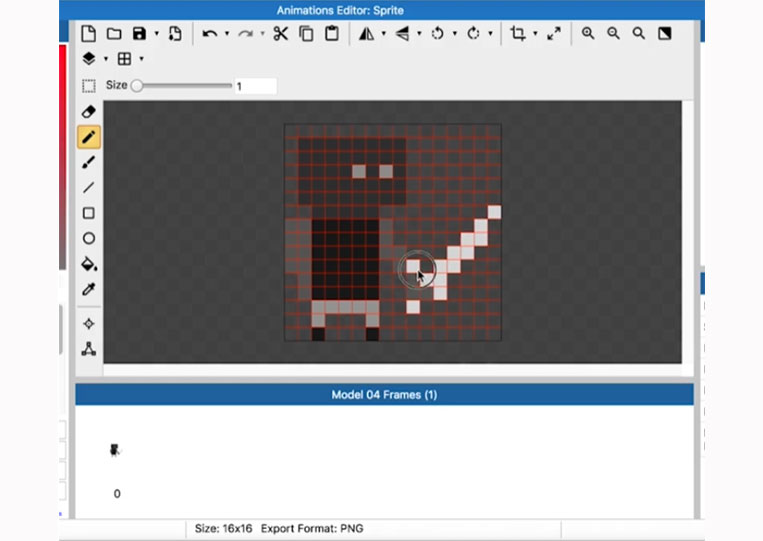
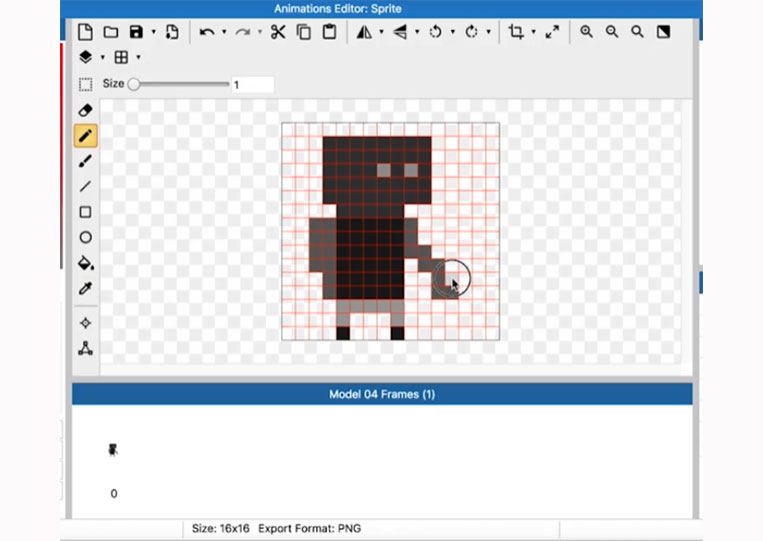
Now you turn that back-off.
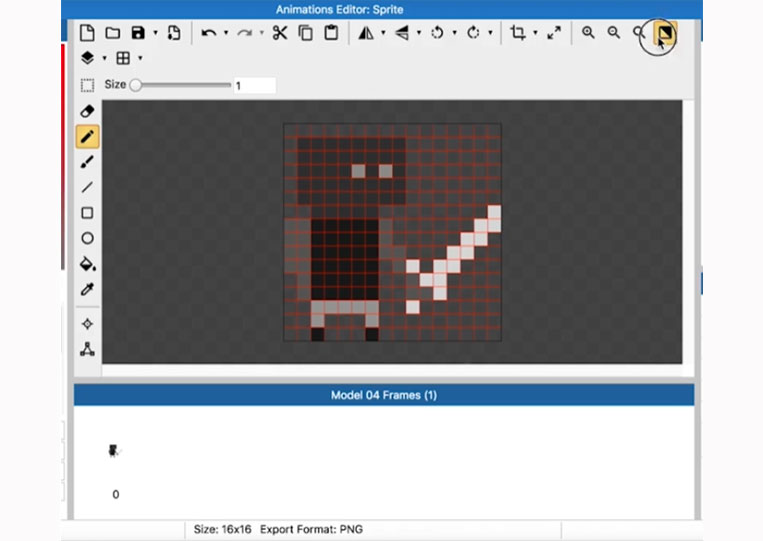
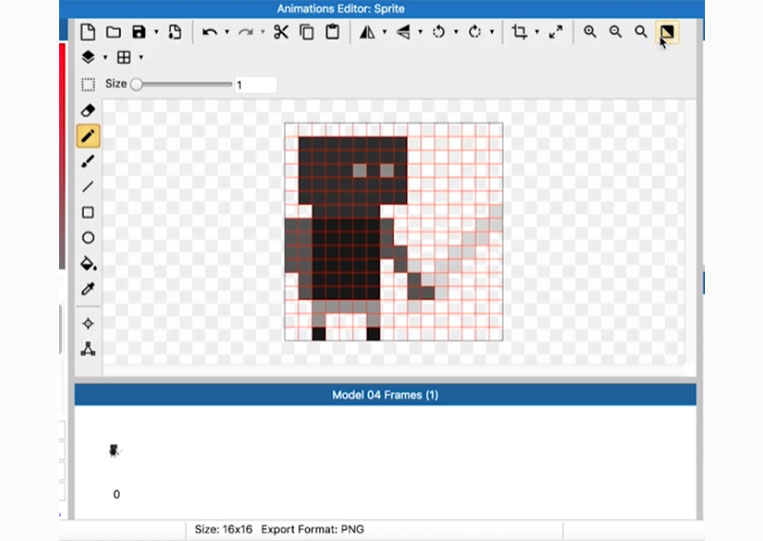
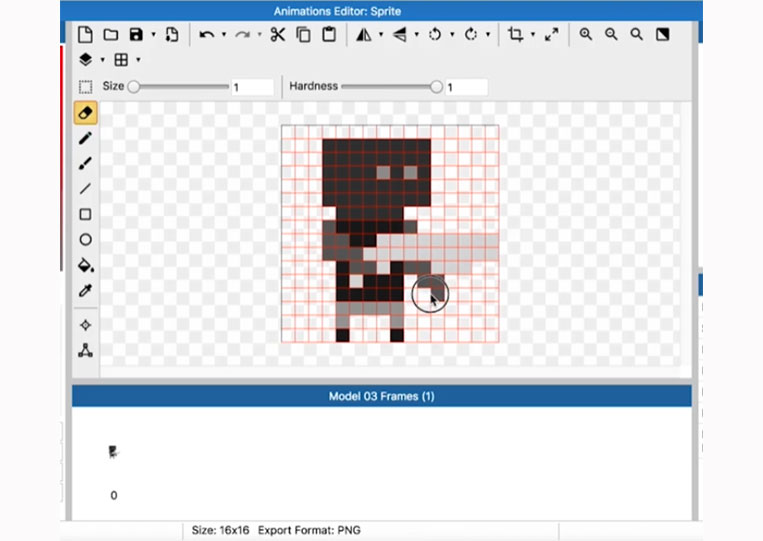
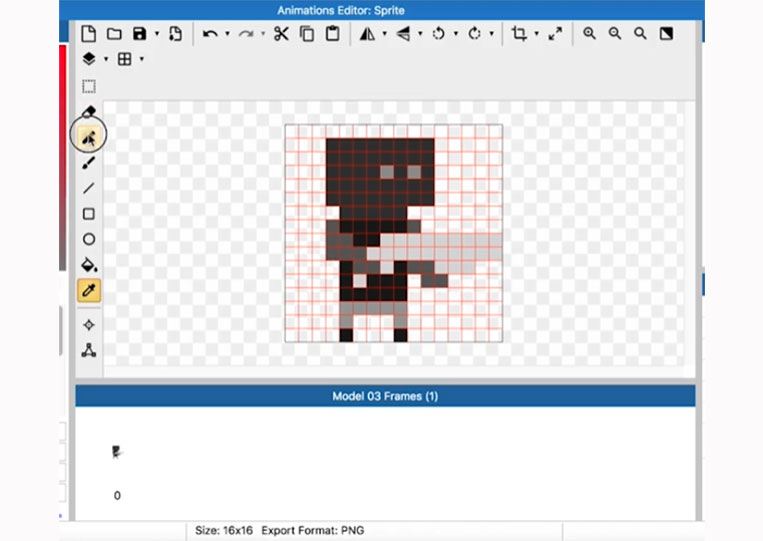
It’s starting to look decent here.
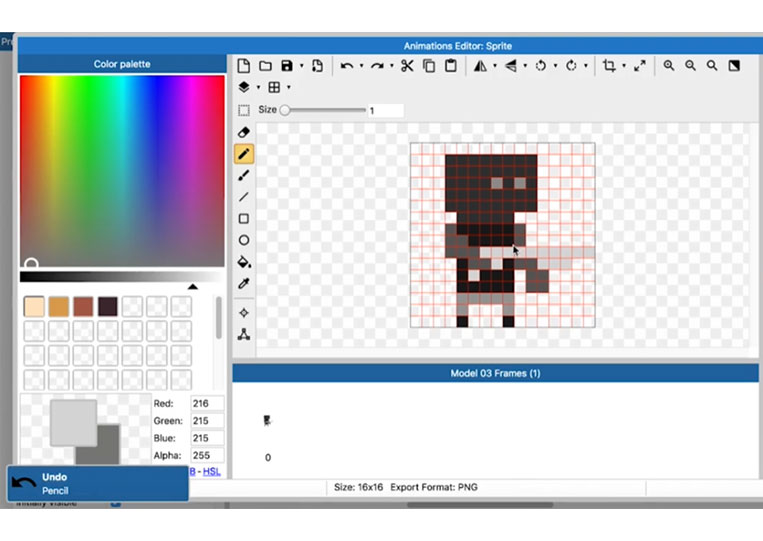
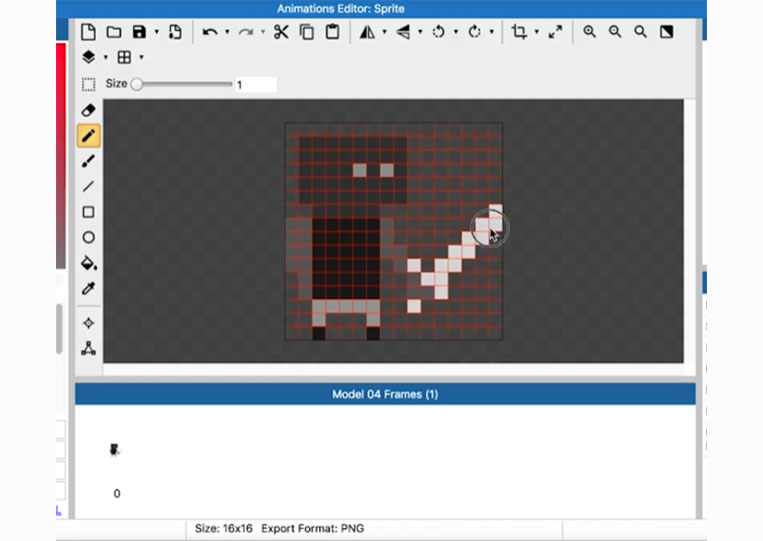
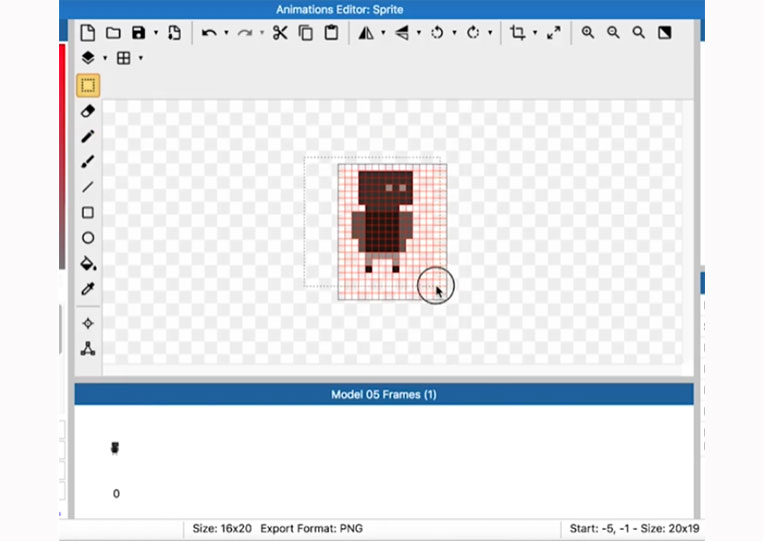
Even with a 16×16 graphic, you often want to guarantee everything’s positioned correctly.
If you are trying to create a Base Model with this sword animation, you must make sure that your base models also move sideways.


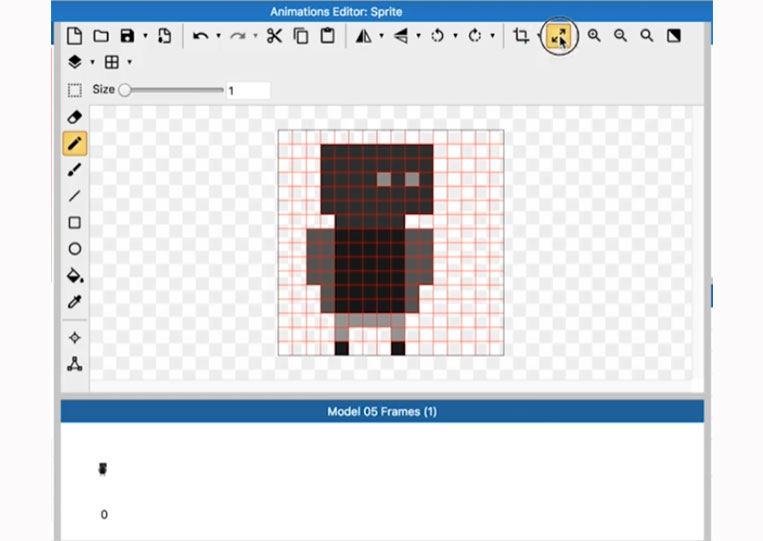
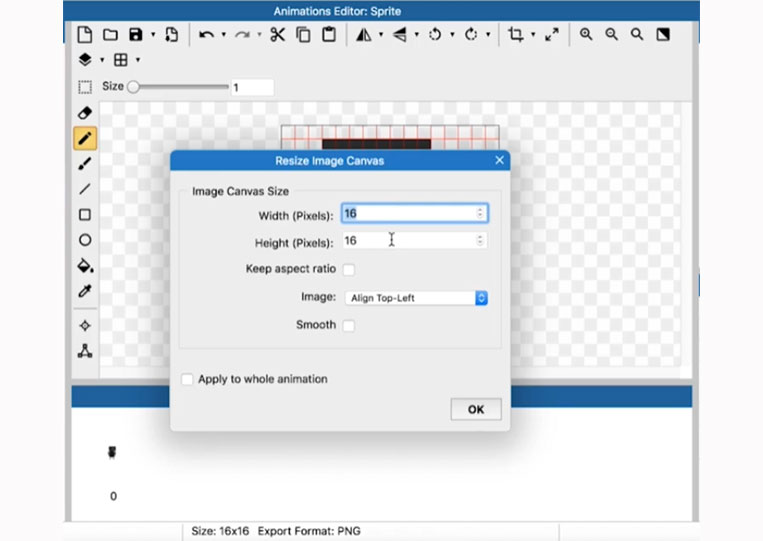
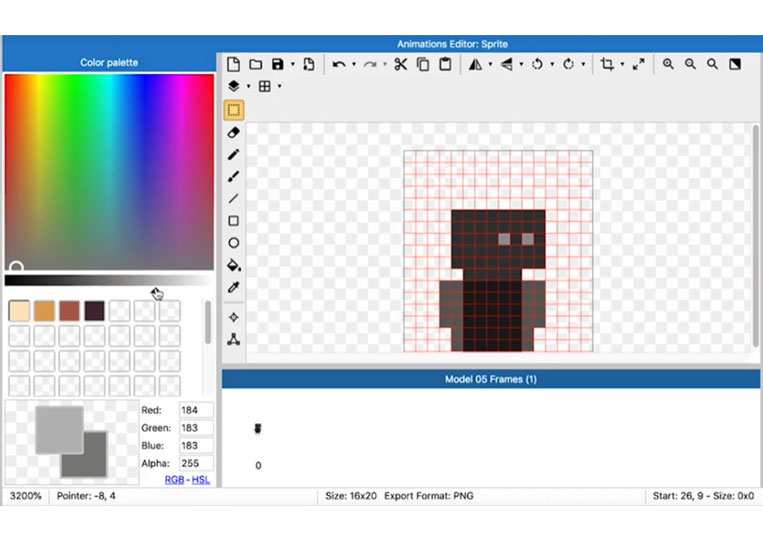
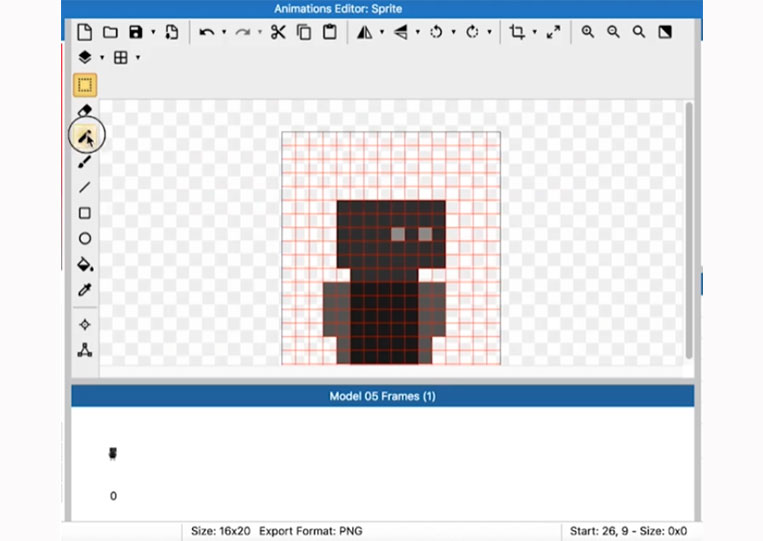
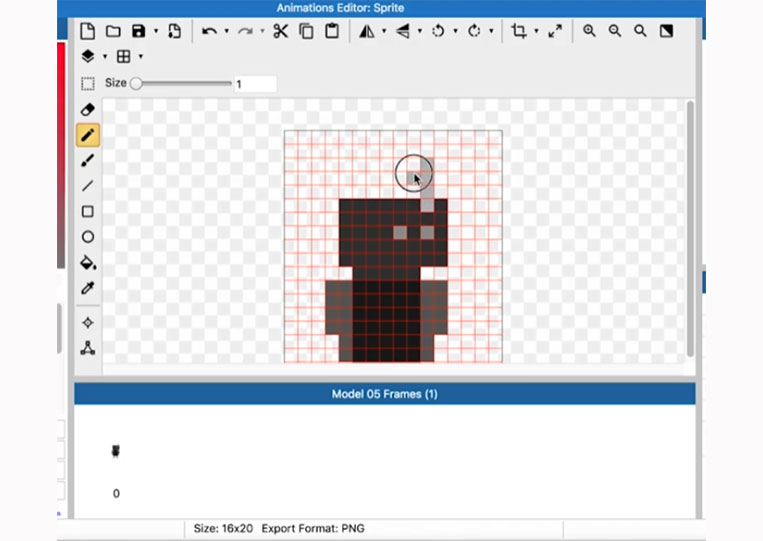
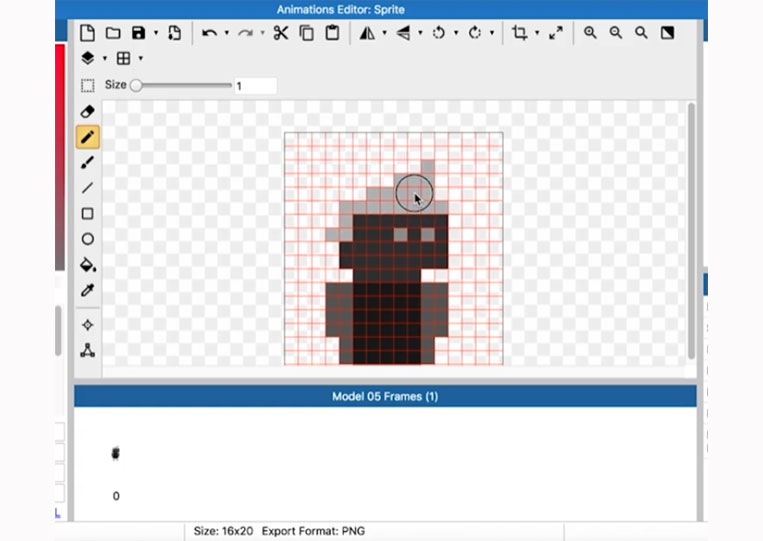
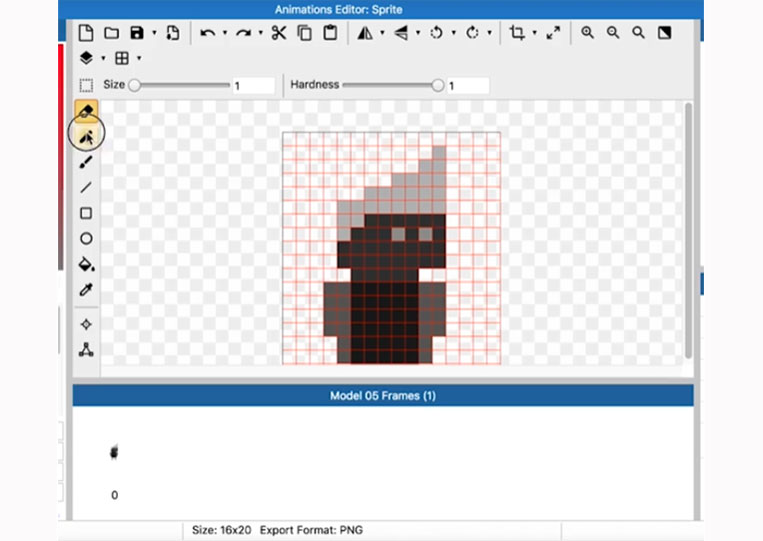
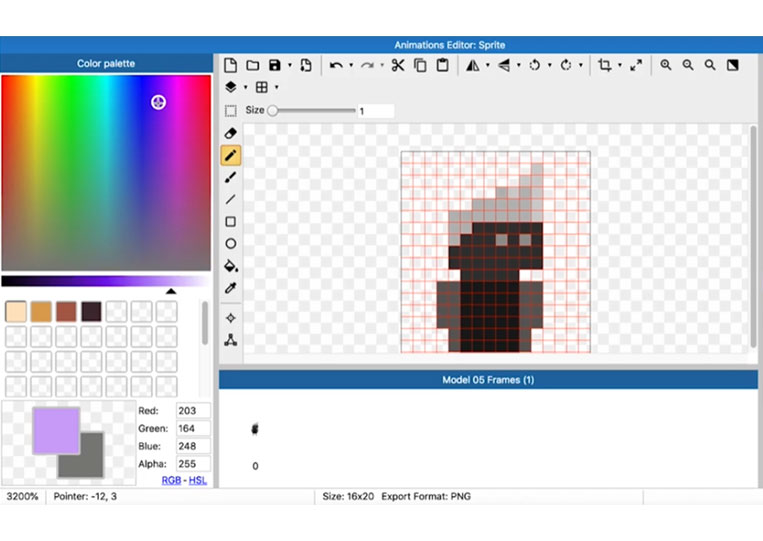
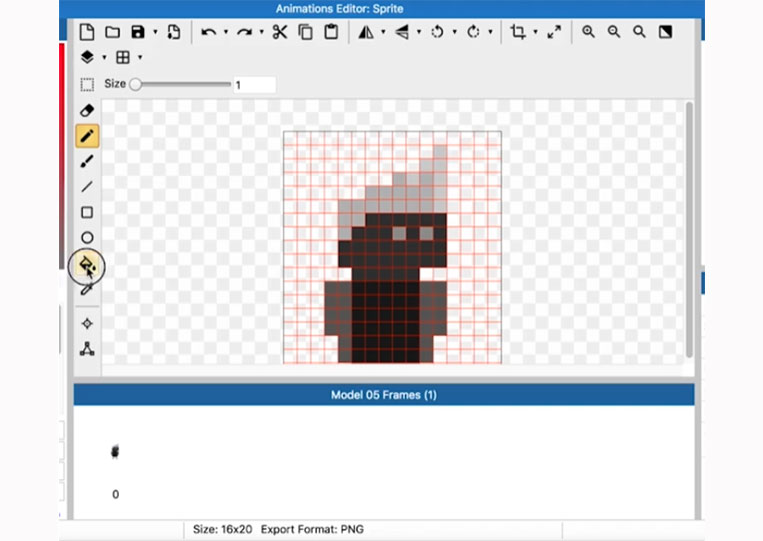
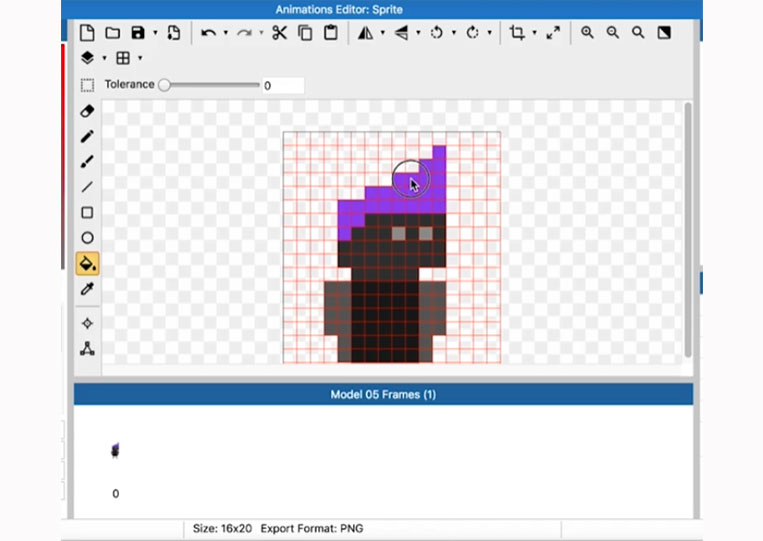
Therefore that will cause some problems when you render it. But for the most part, that’s how I like to do things. Now let’s look at one more example. We will duplicate the Base Model, and we call this Model 05.
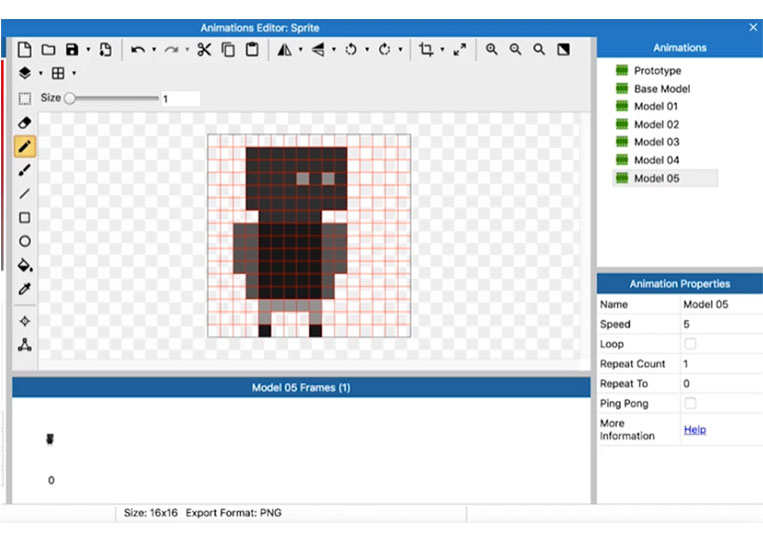
I will change the height to 20.
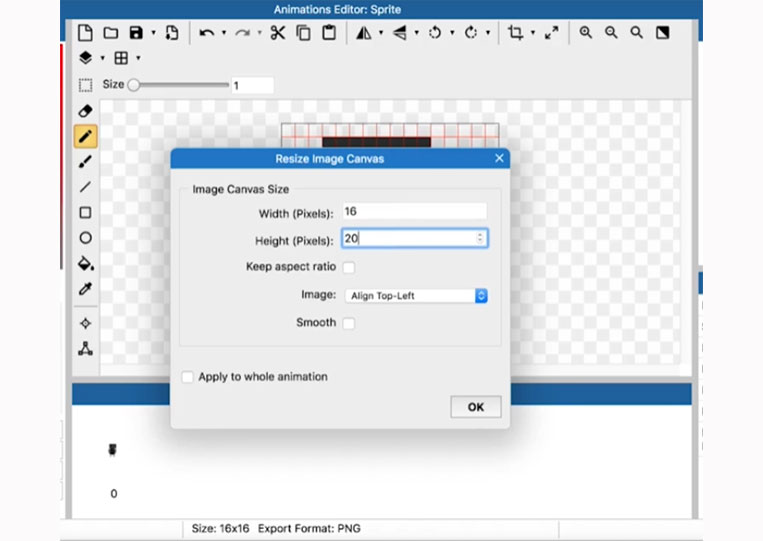
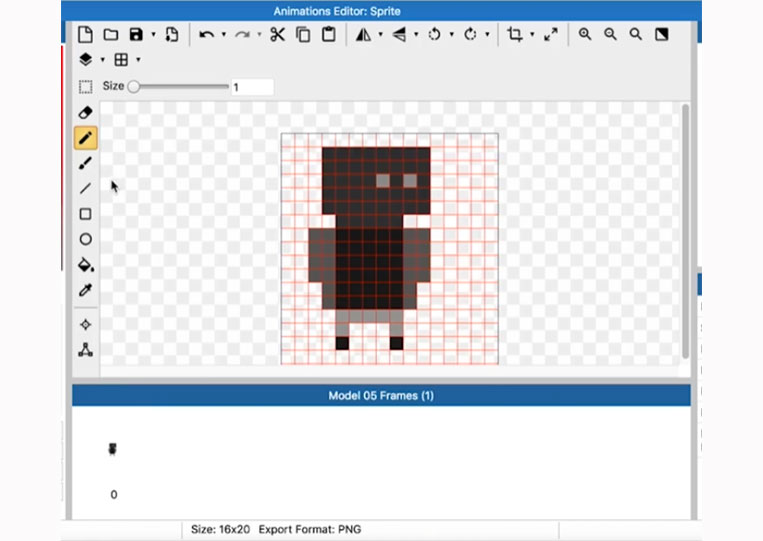
I move it down.

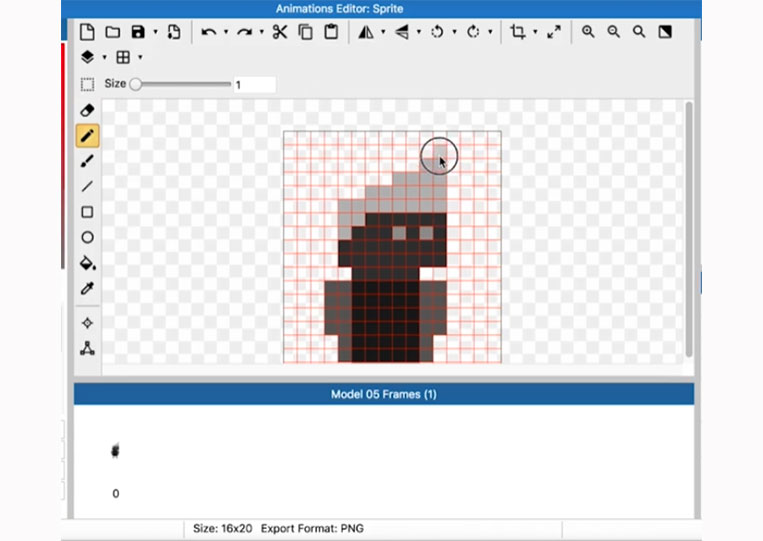
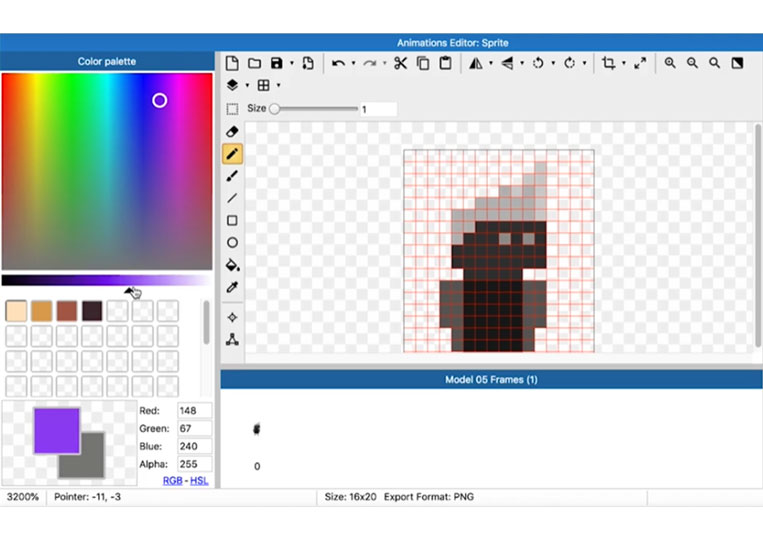
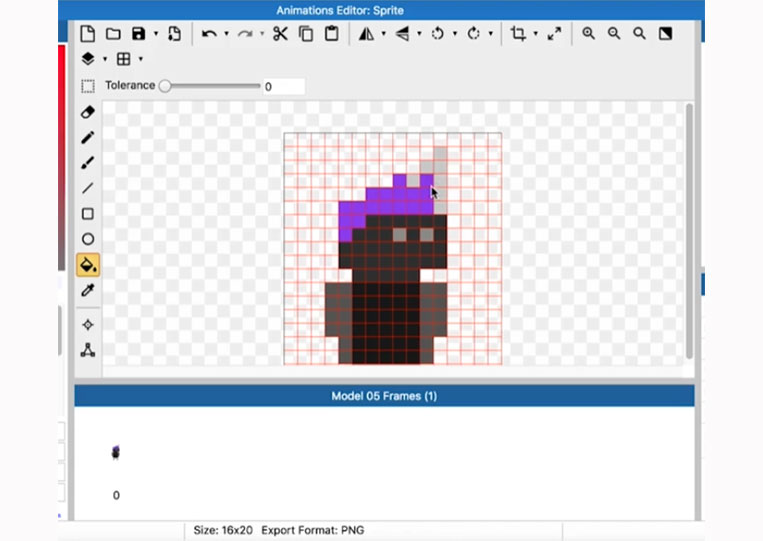
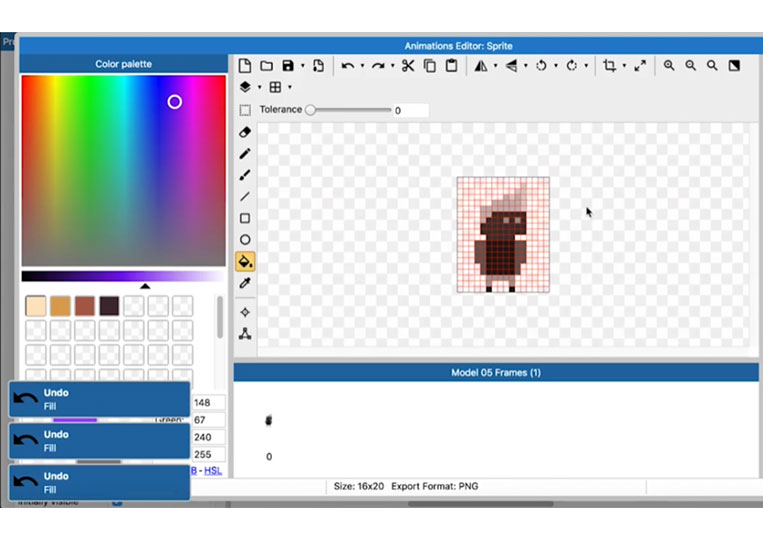
I give this person a Mohawk, and you know that Mohawks are always kind of the hard style to do.
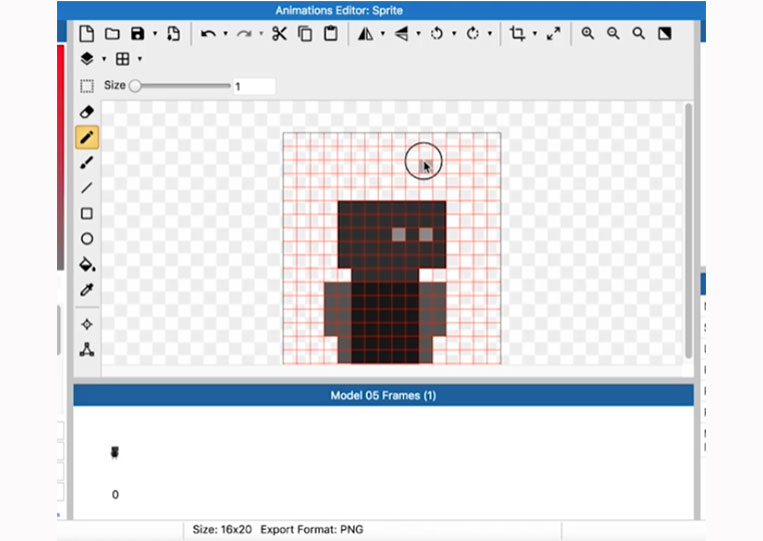
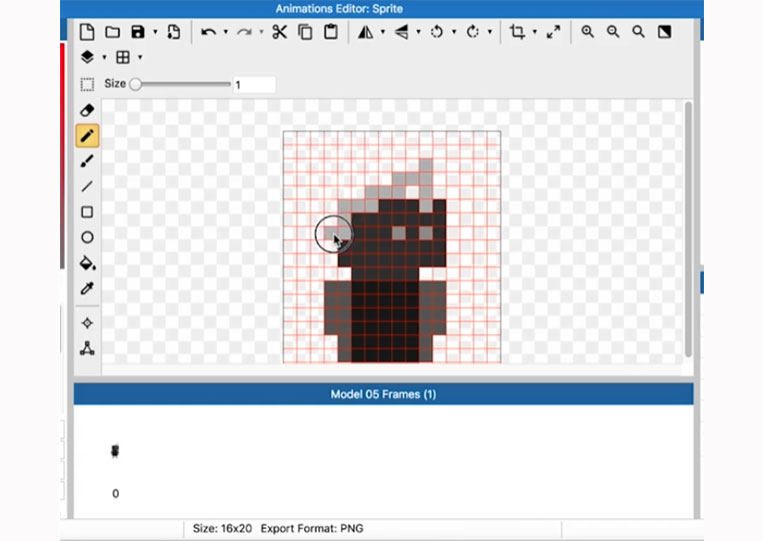
Whether you want it or not is up to you!


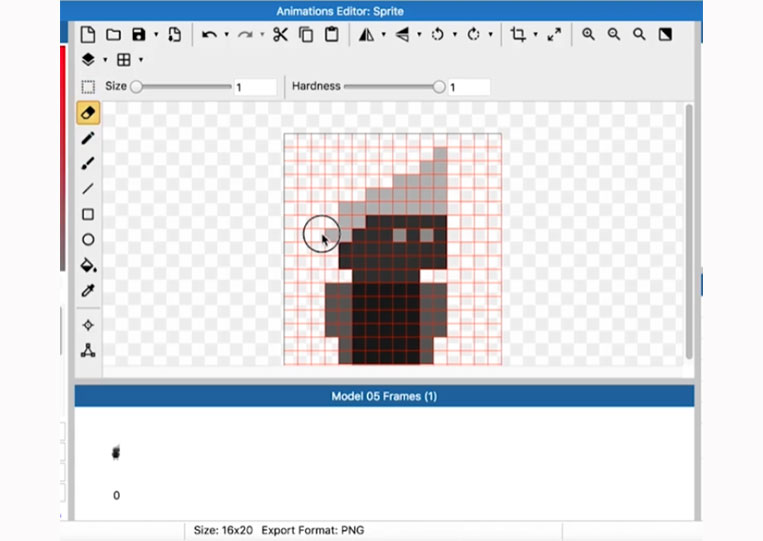
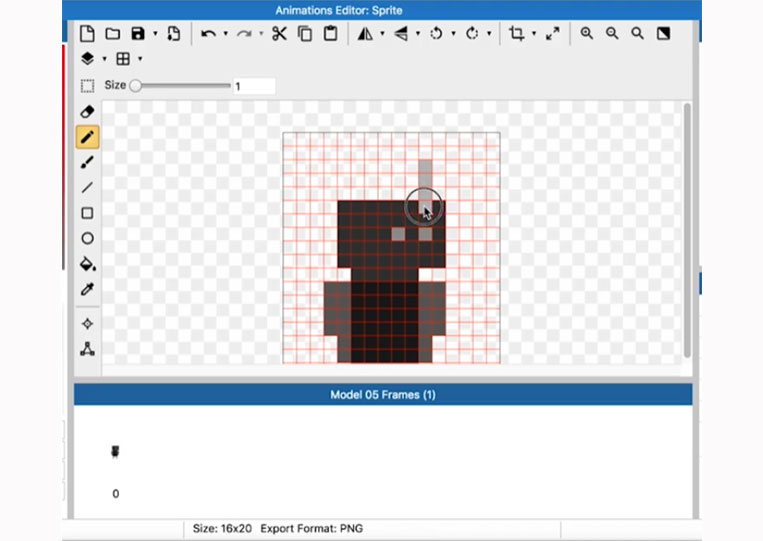
That would probably look a bit better.

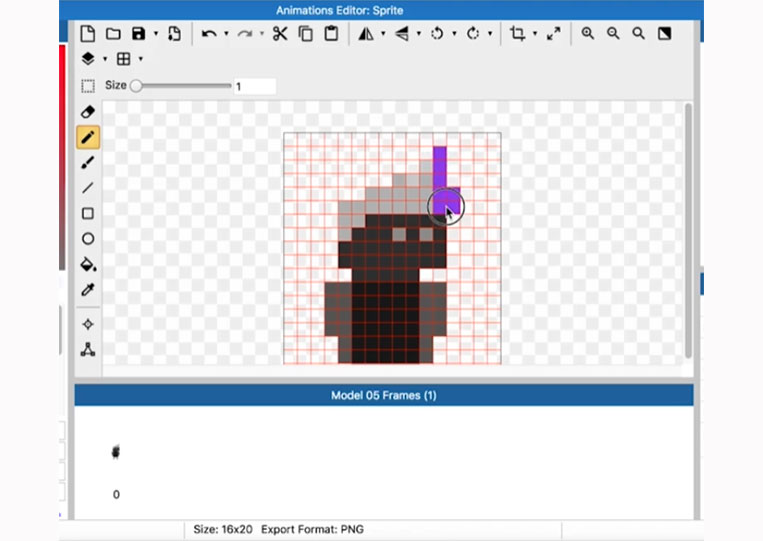
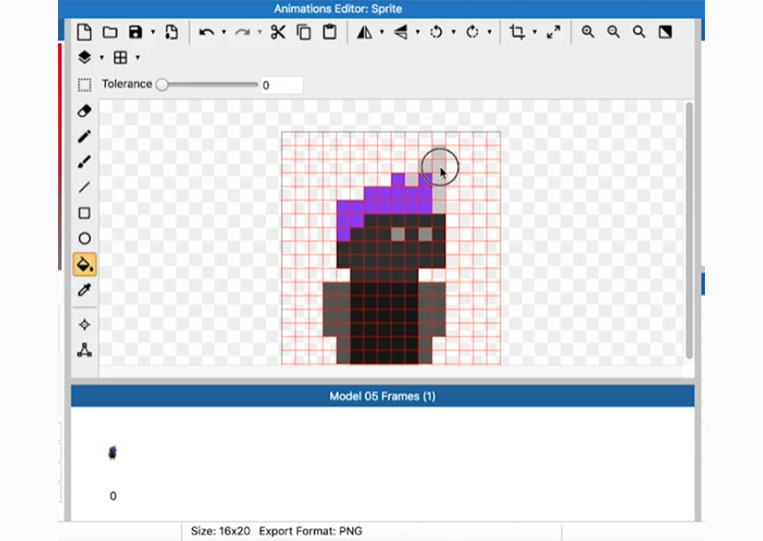
You can shade it too. It’s not what I was looking for, but you can add this nice sheen to the Mohawk.
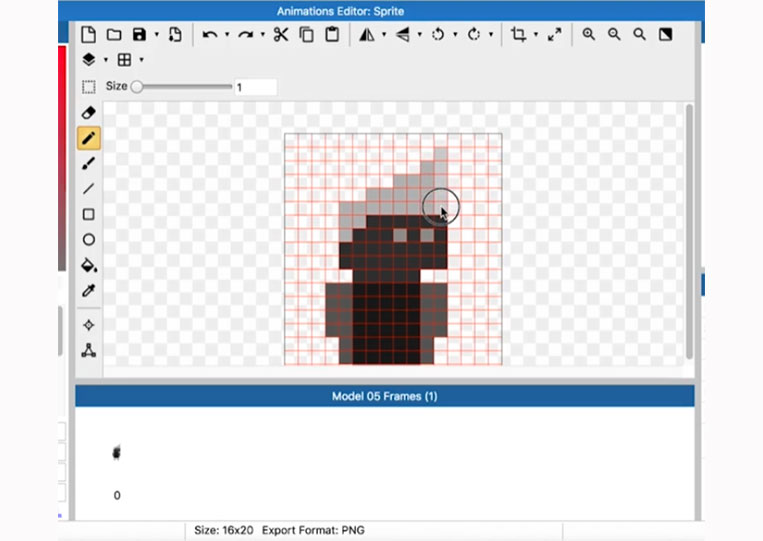

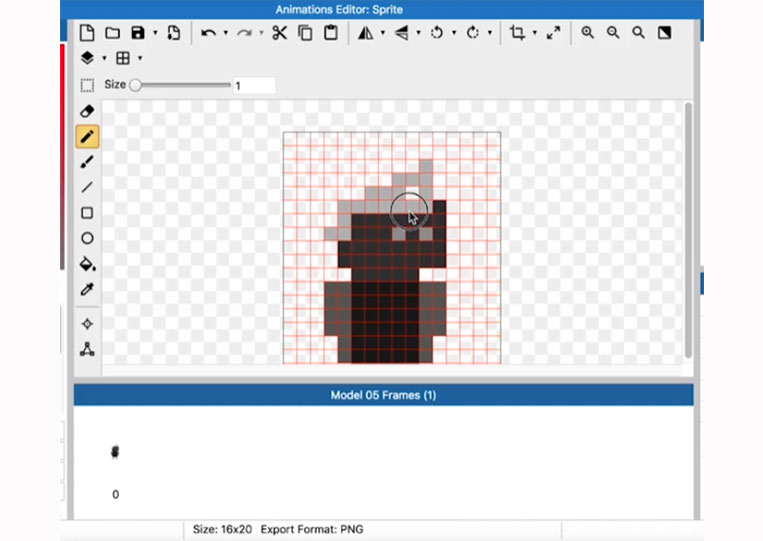
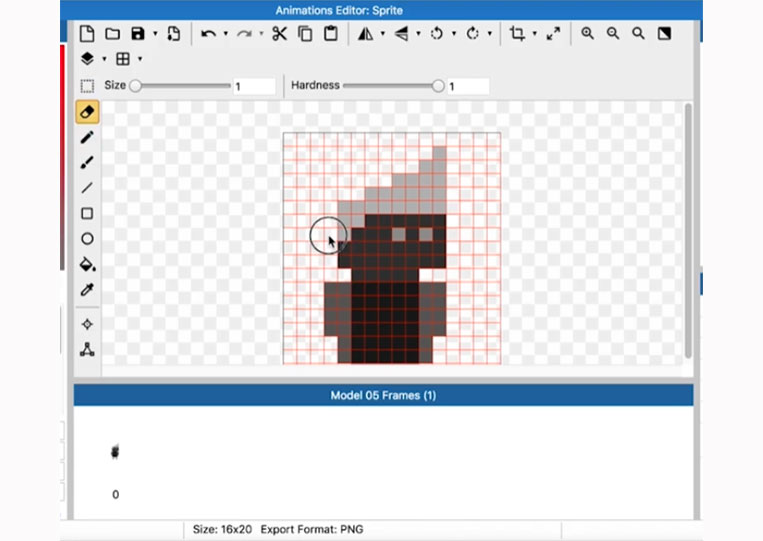
Here is another game where you can add some subtleties.

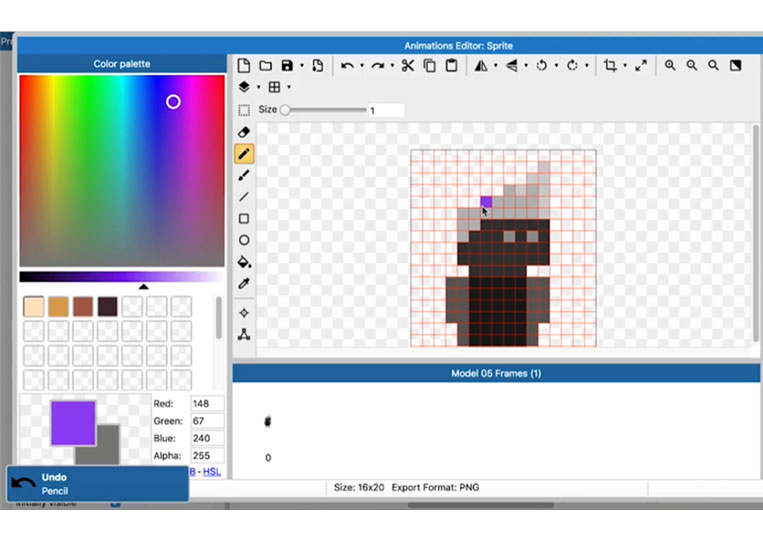

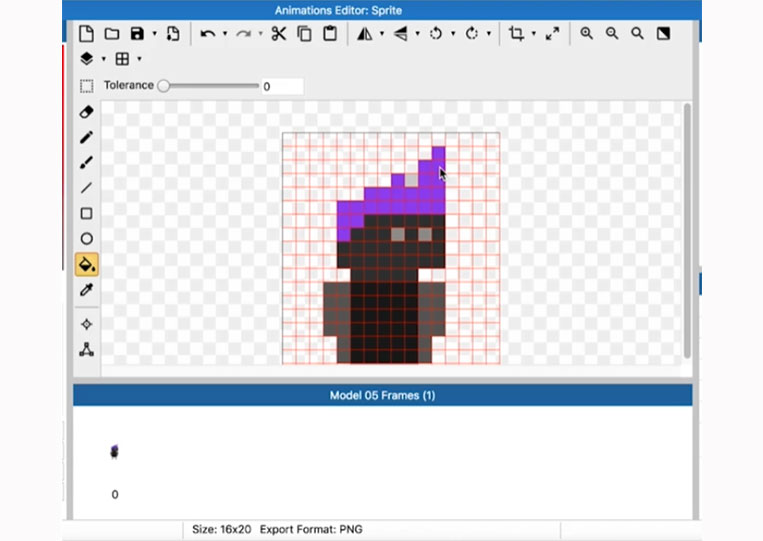
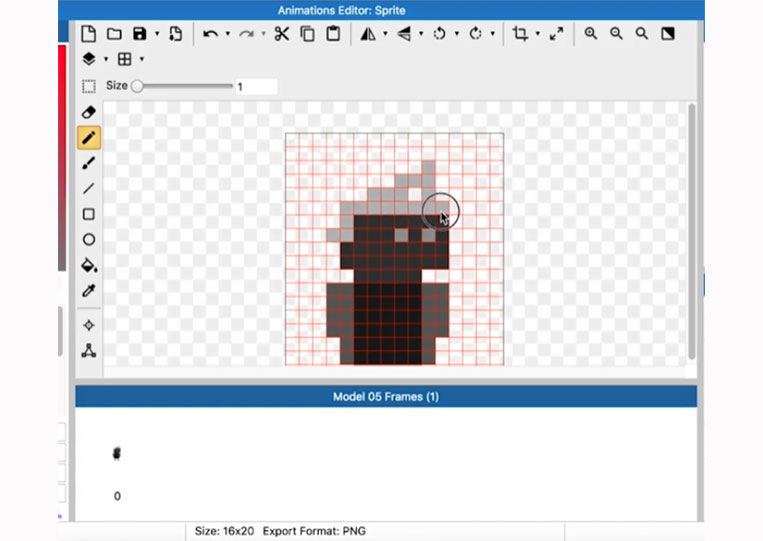
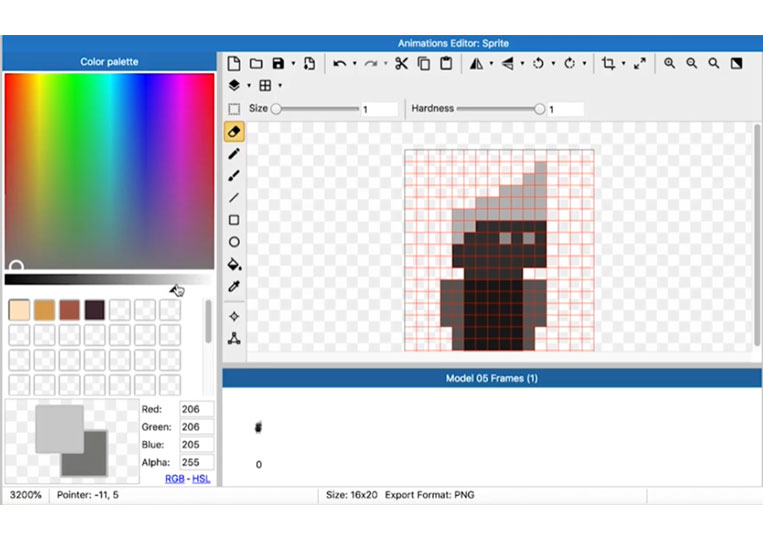
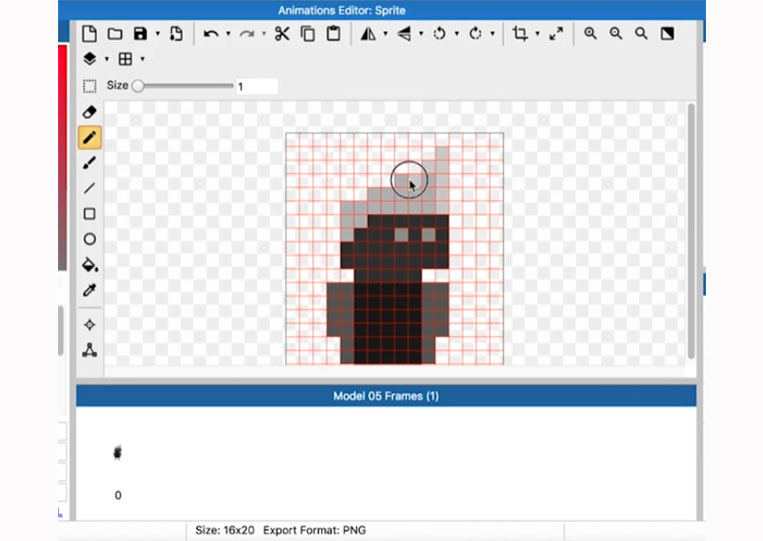
This one color doesn’t look too bad. However, that’s an example you’ll use more of.
If you are also creating some kind of monster, you can do that too. That’s a prime example of how you start with the Base Model and then the Prototype. It also helps you to get better and pretty much everything.


