


CREATE 32×32 CHARACTERS
In this document, we will look at how to create 32×32 characters. As we discussed 16×16 characters, the more you add them to your pixel base, the more complicated it gets. Now, as a beginner and a user of this kind, I need to ensure everyone can get something useful. Therefore I’ve looked at many different types of 32×32 art styles, and this is probably the easiest one to do. We will focus on those 32×32 characters.

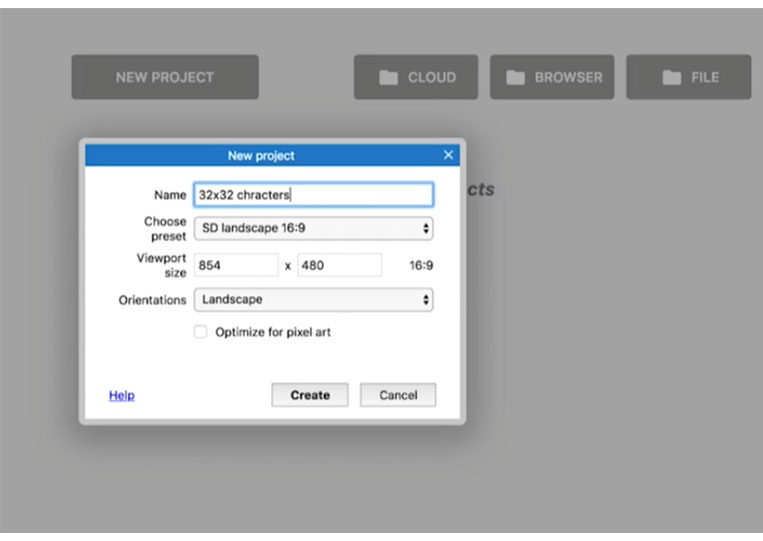
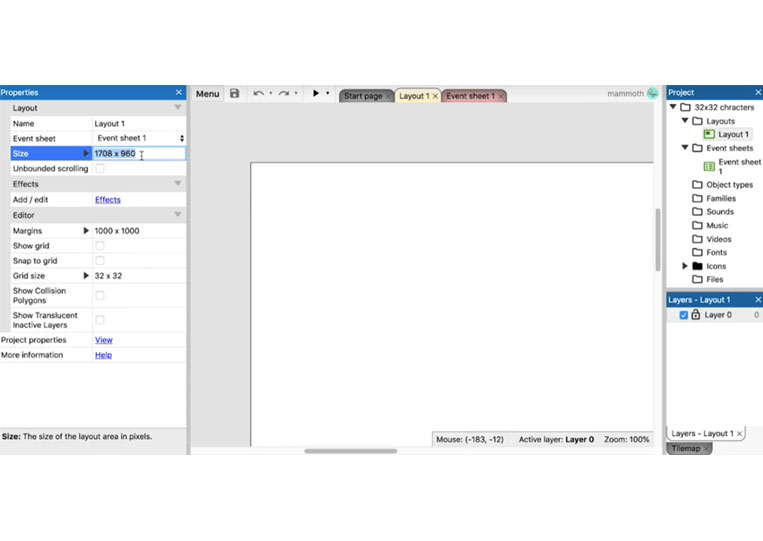
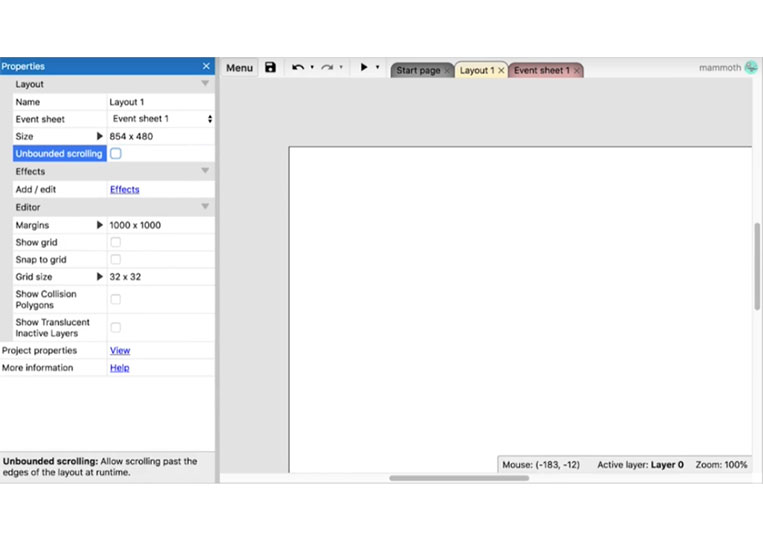
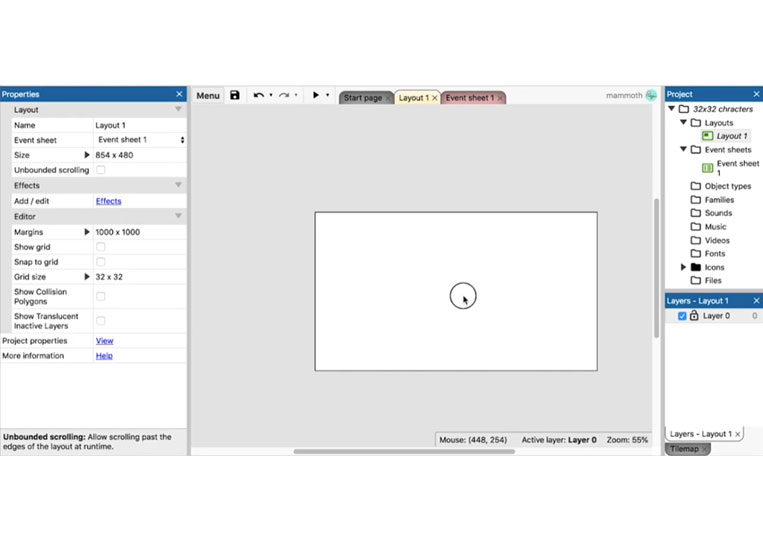
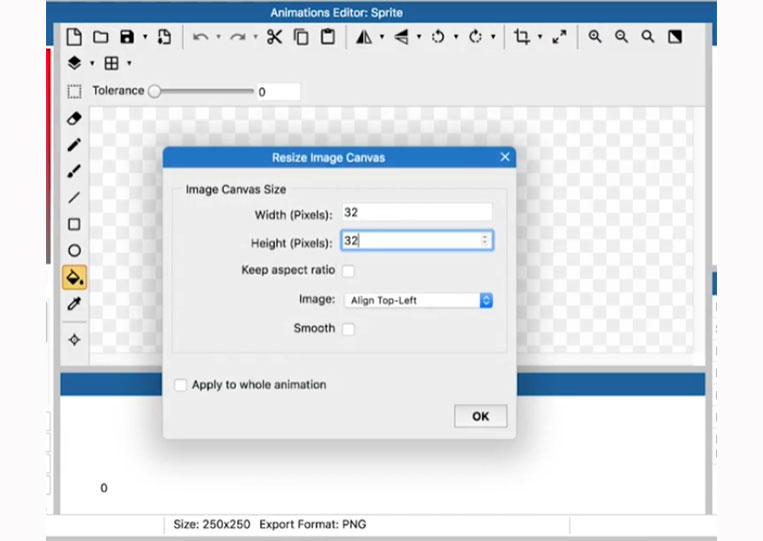
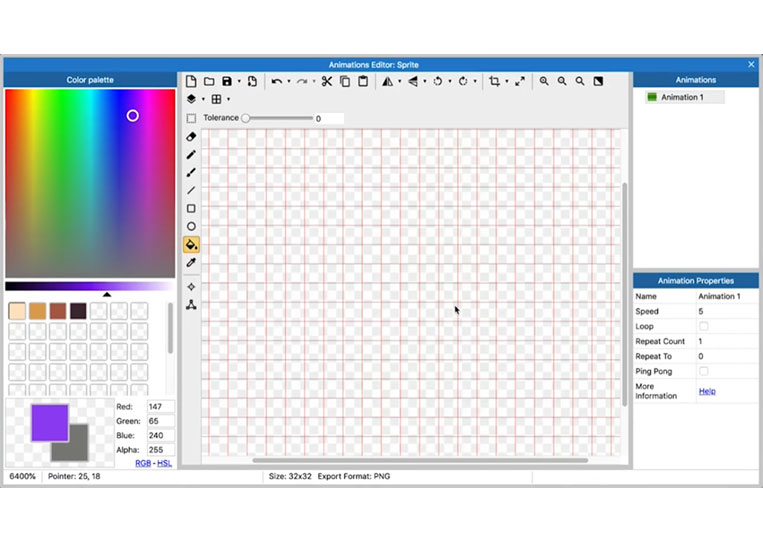
Now go ahead and create an 854×480 size.

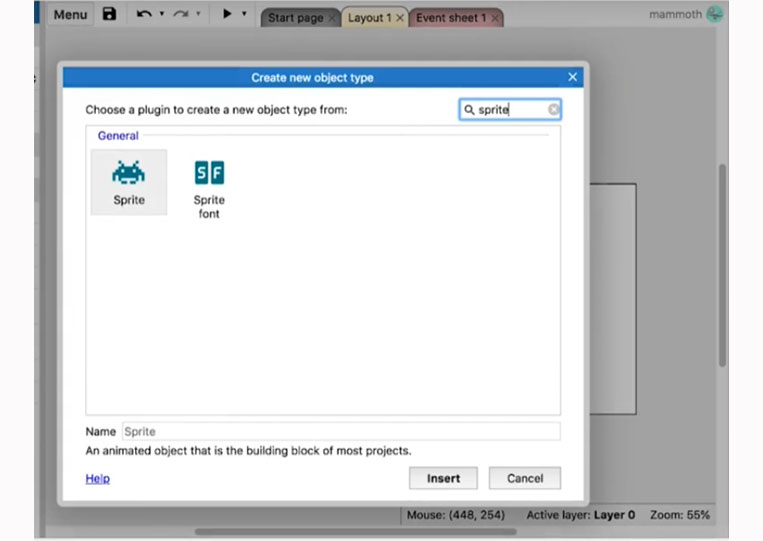
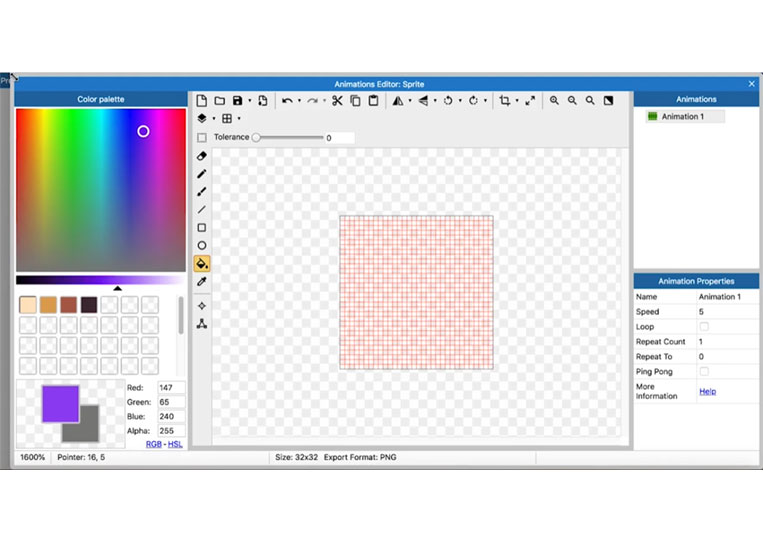
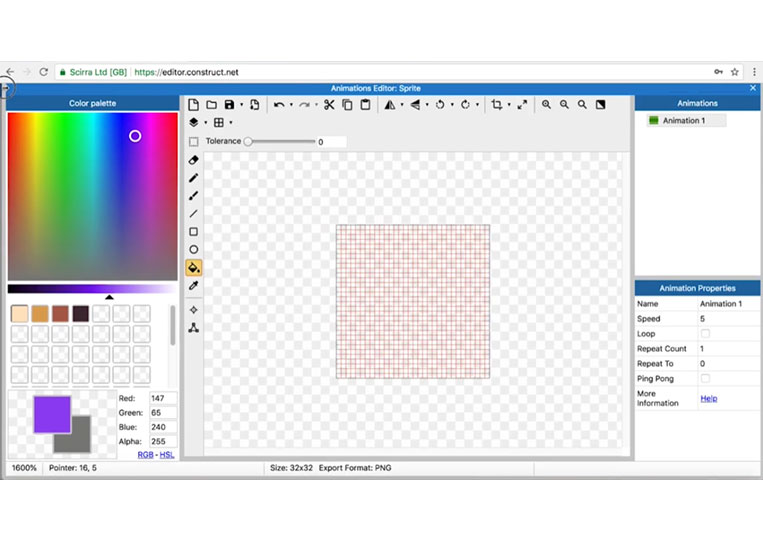
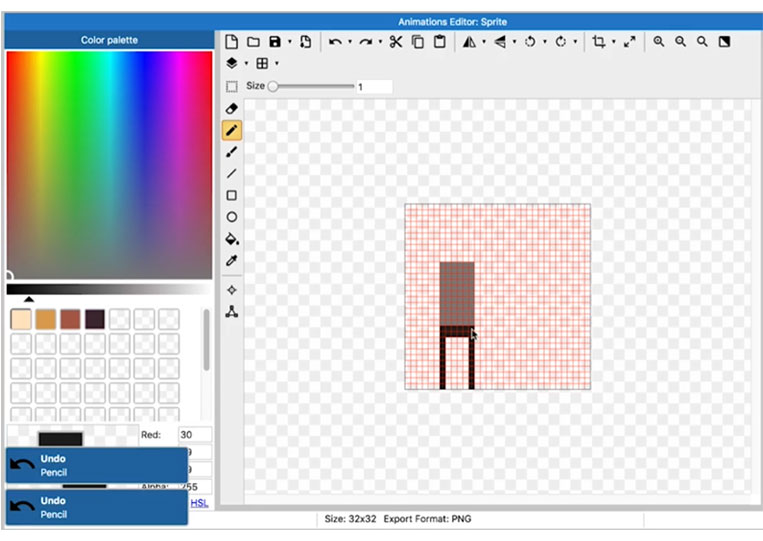
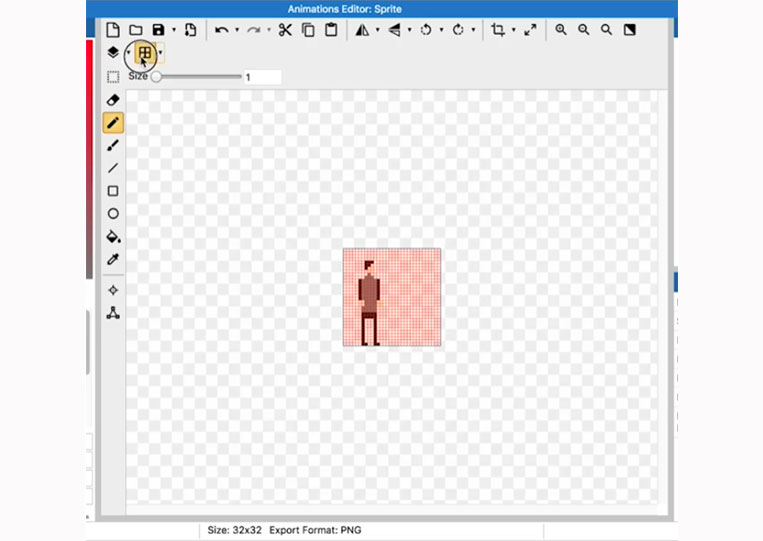
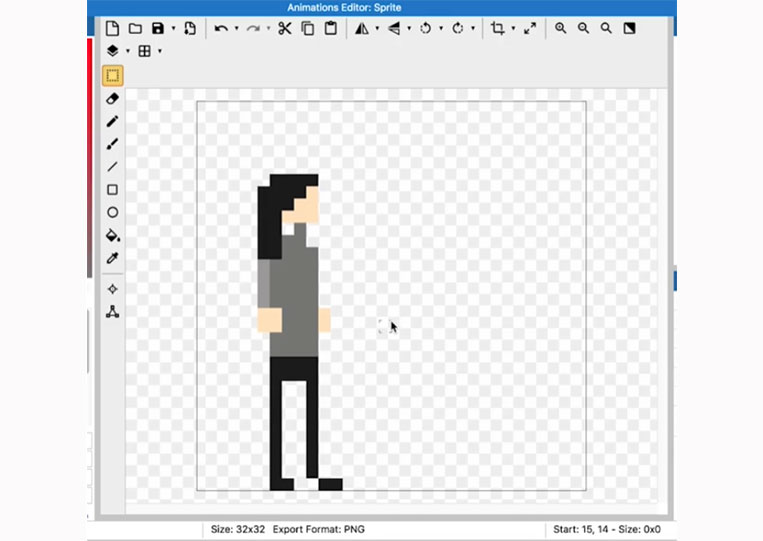
We will add 32×32 Sprite.
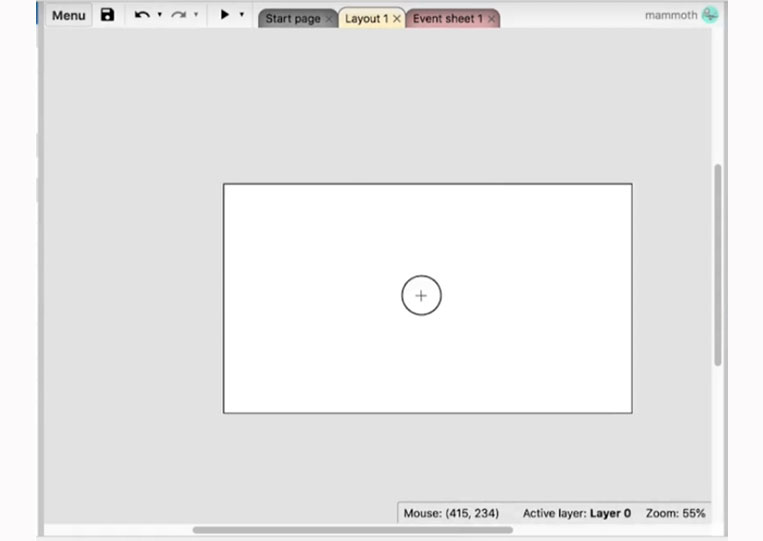
Let’s zoom in here.
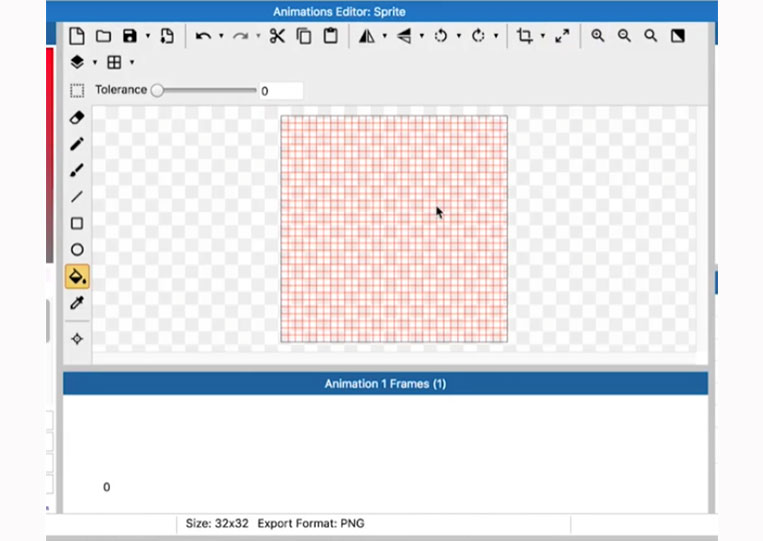
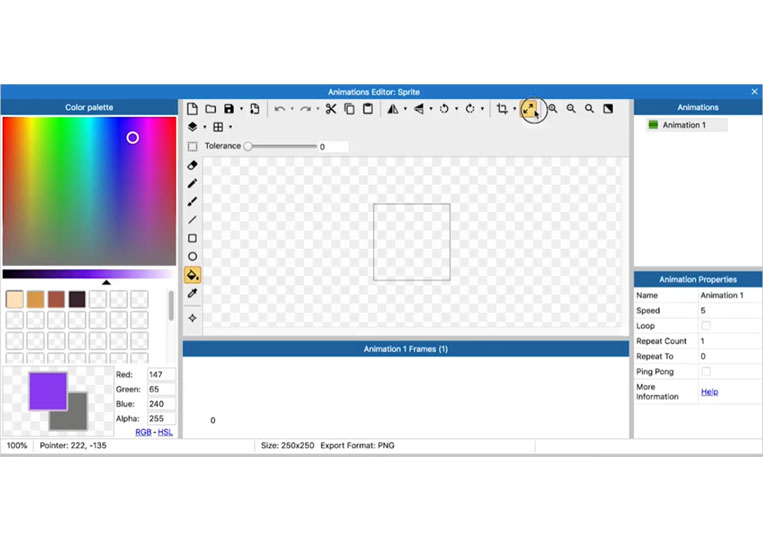
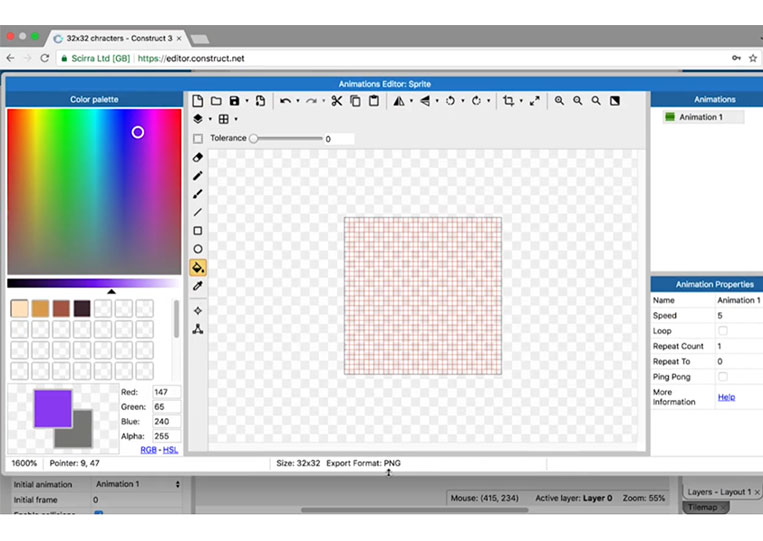
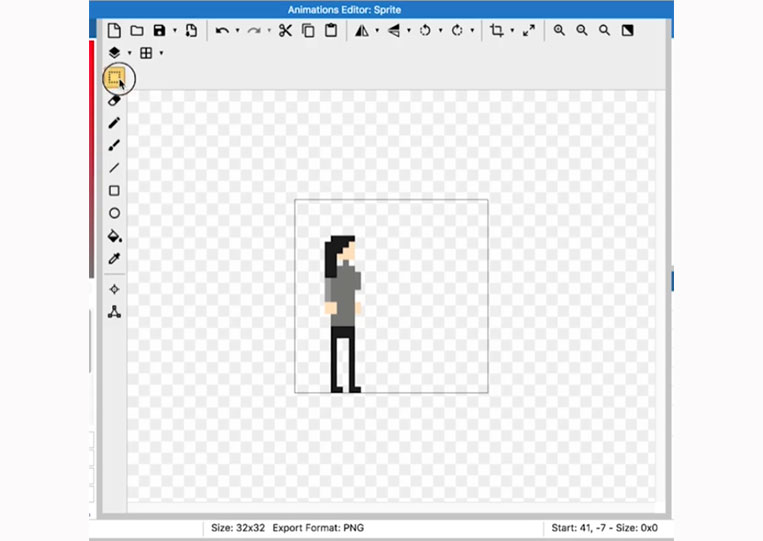
As you can see, I took this animation frame down here.

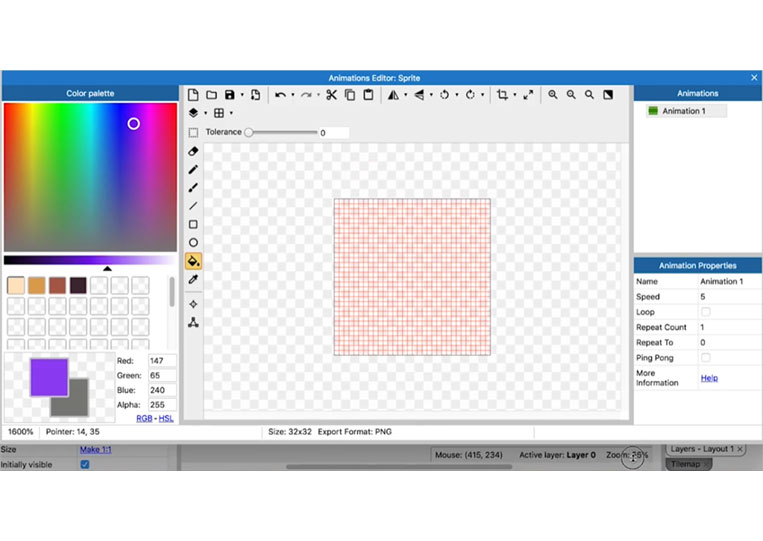
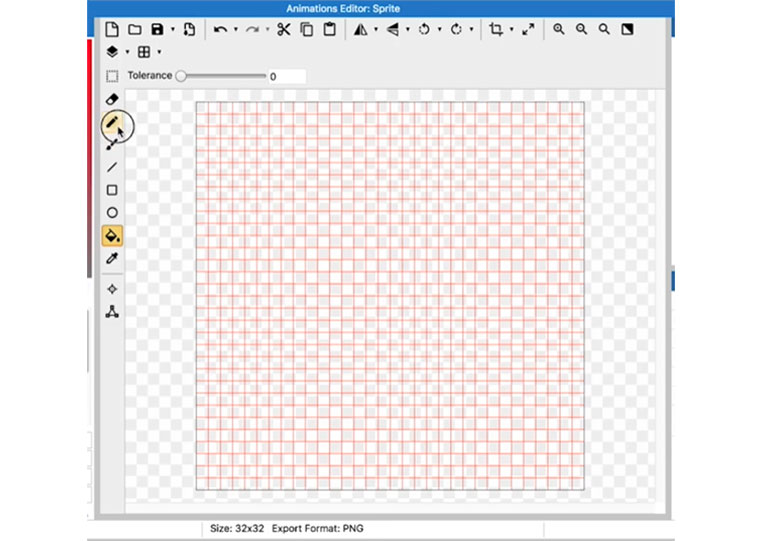
I can see full screen.
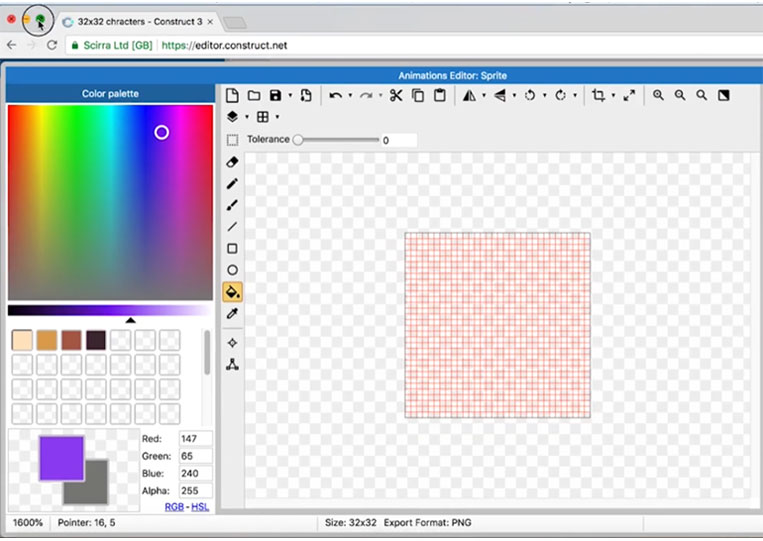


We will focus on this.
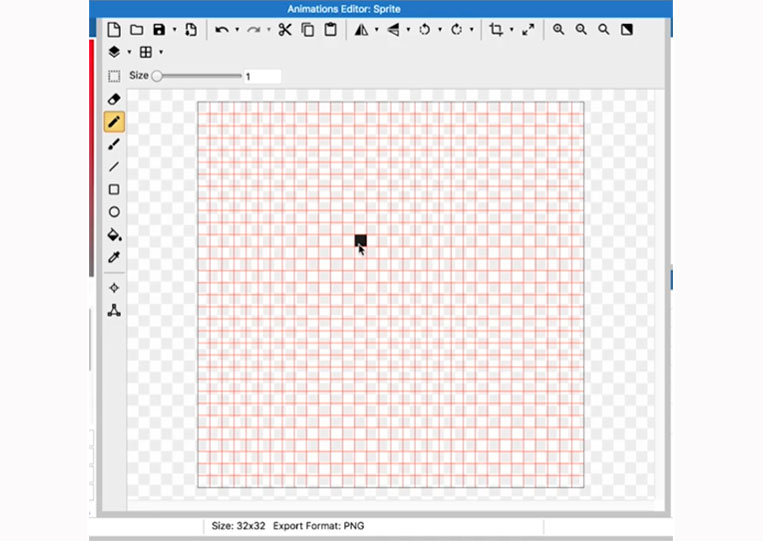
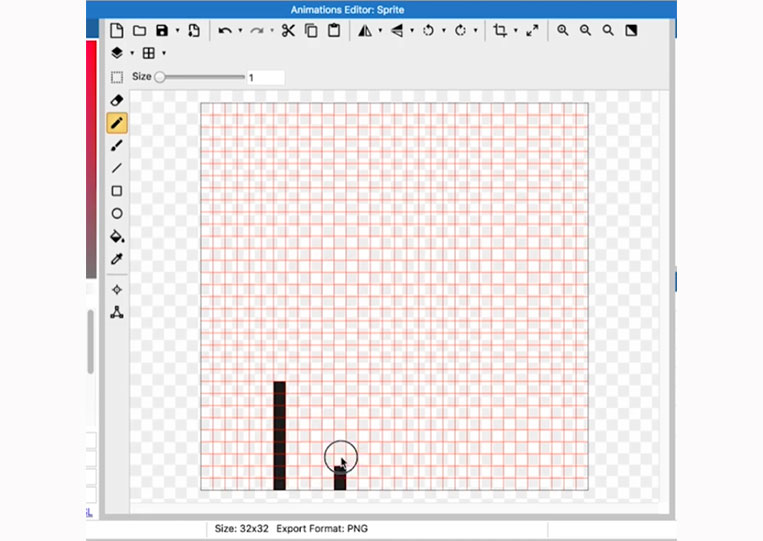
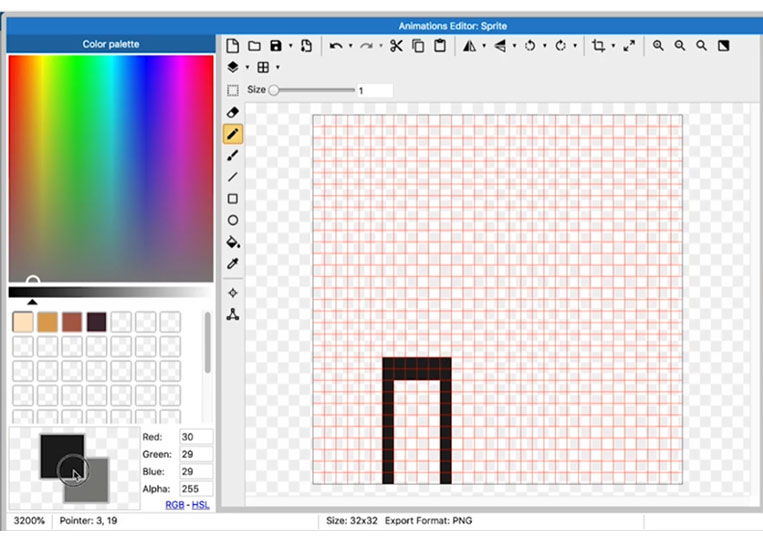
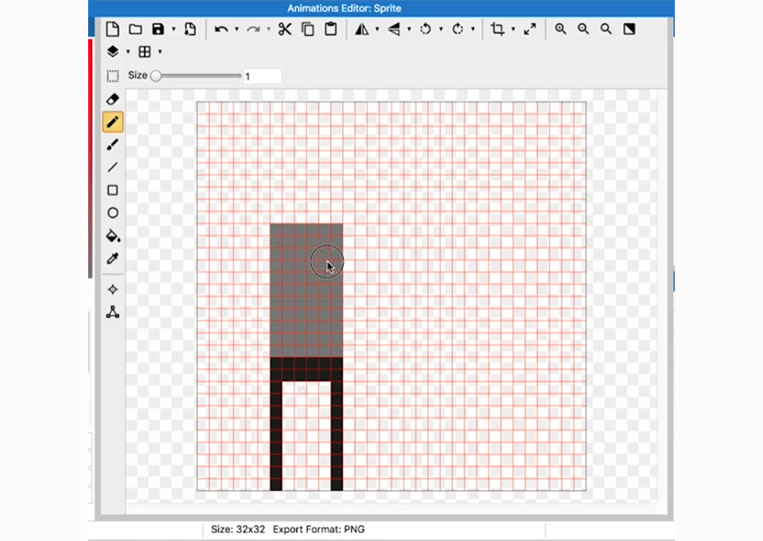
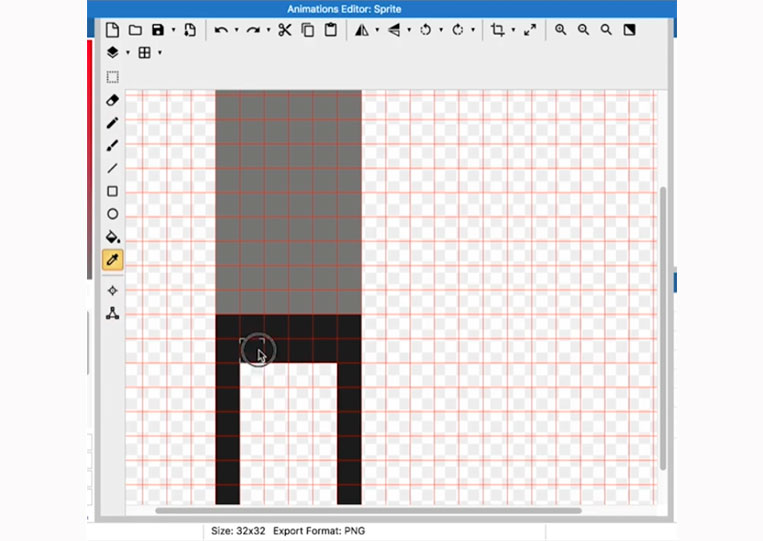
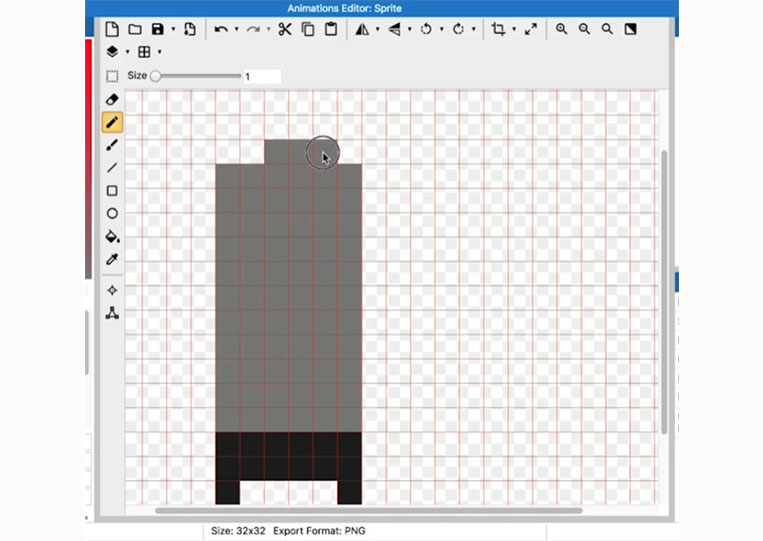
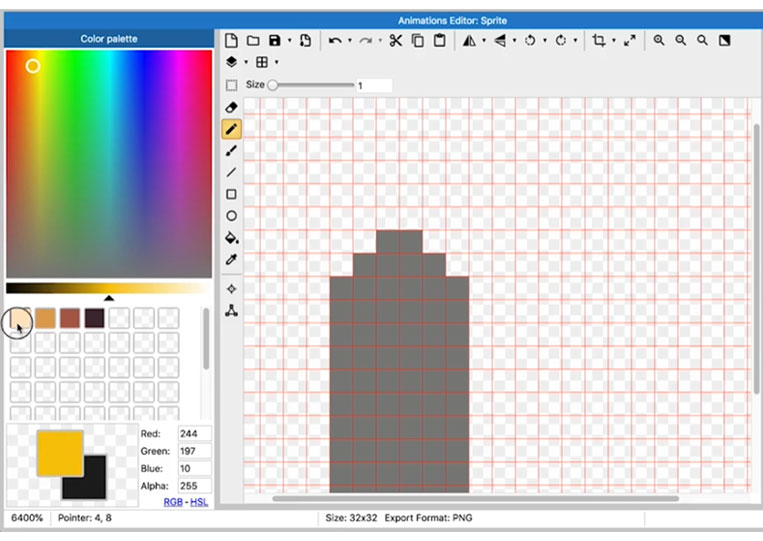
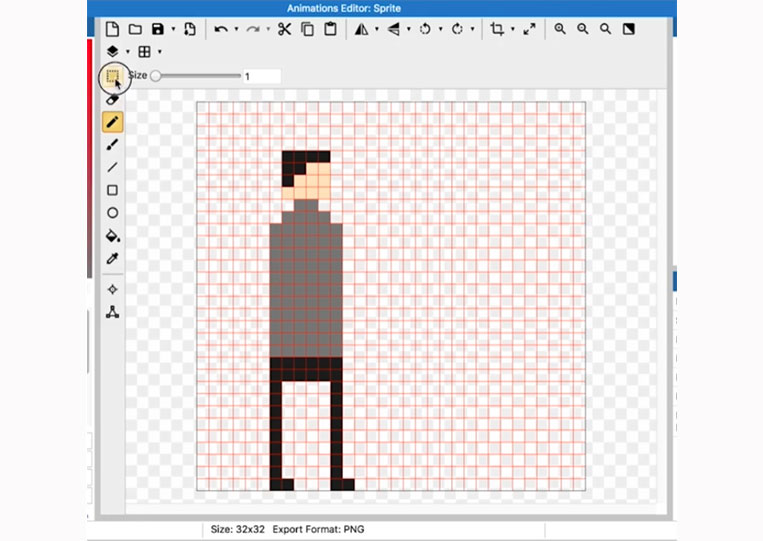
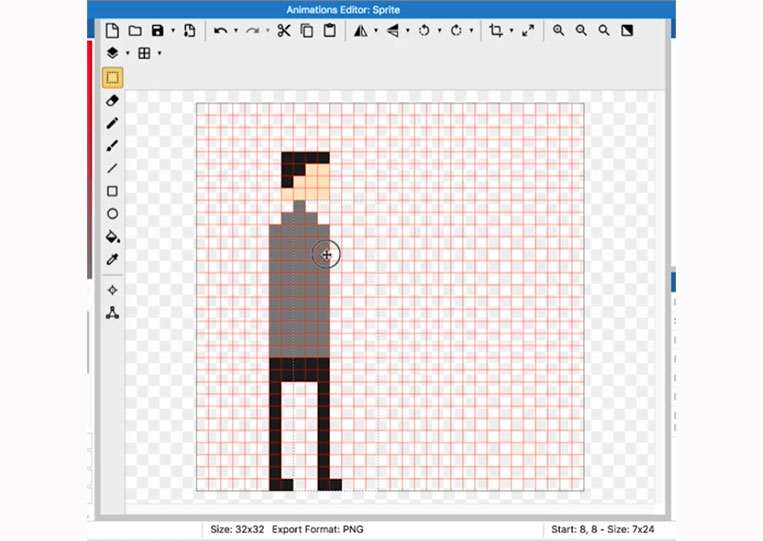
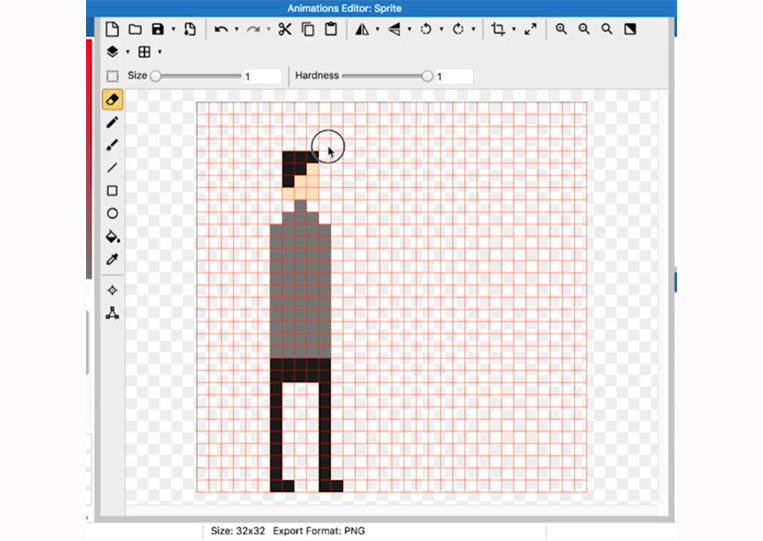
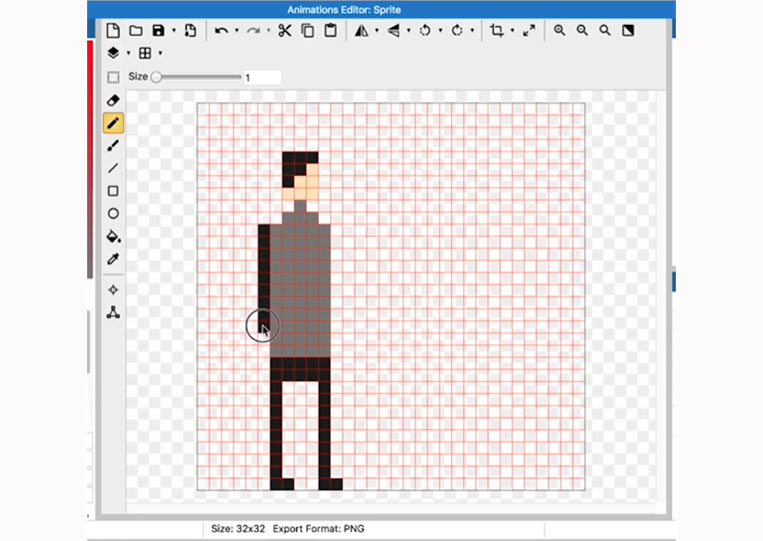
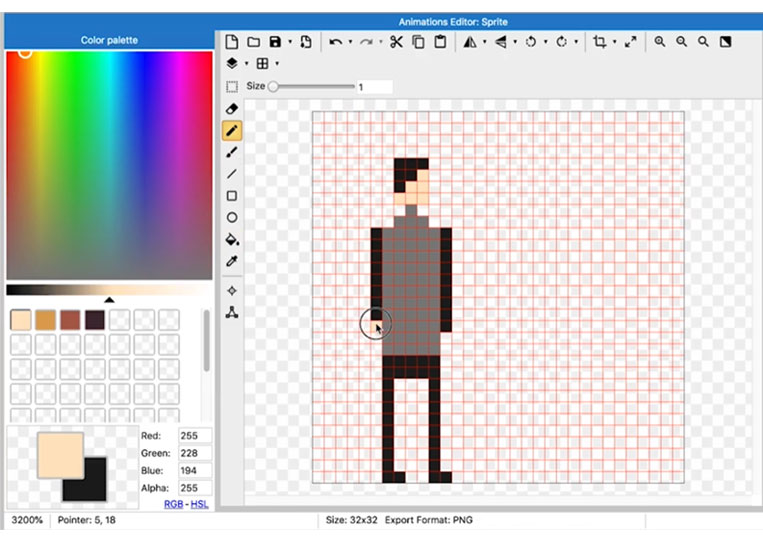
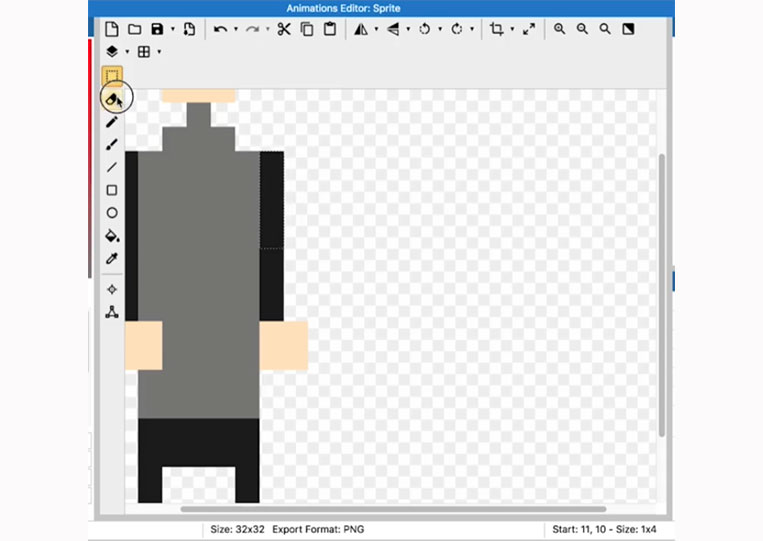
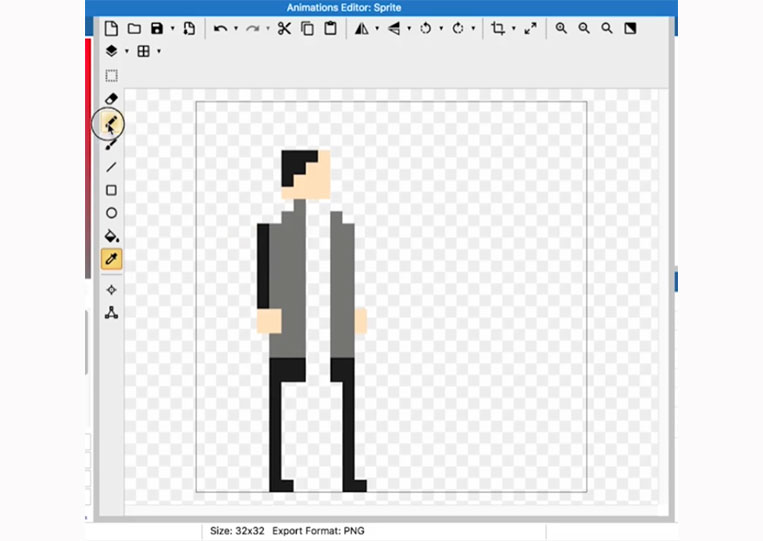
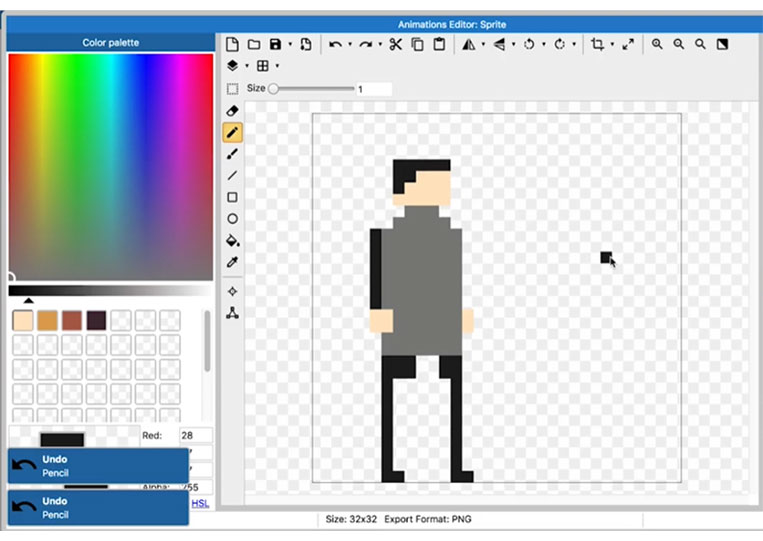
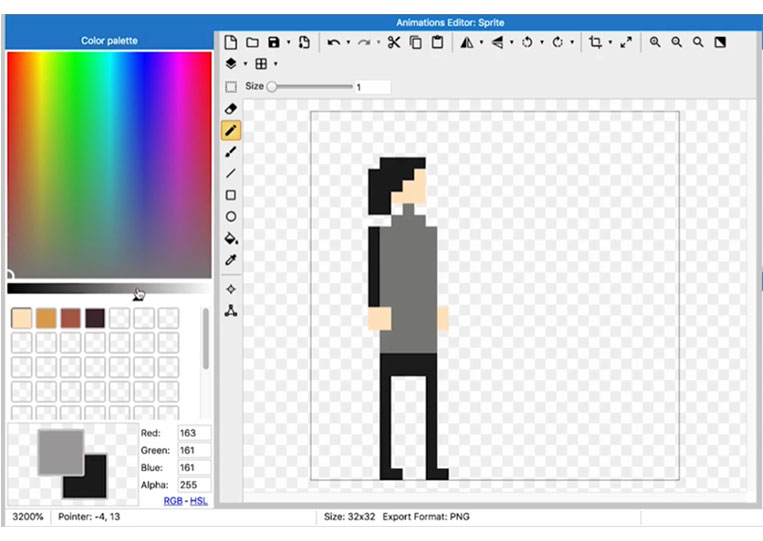
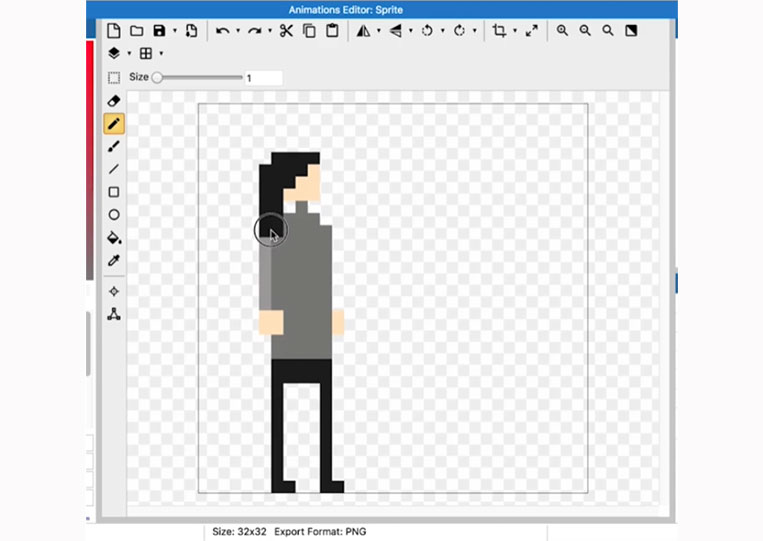
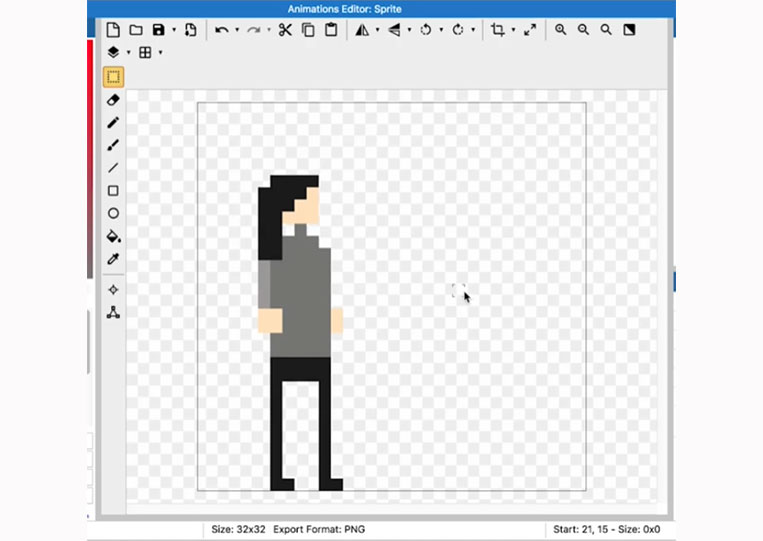
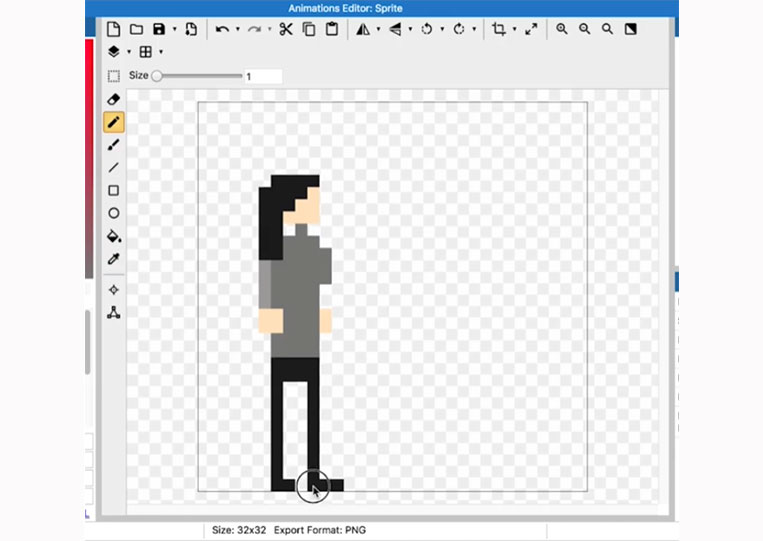
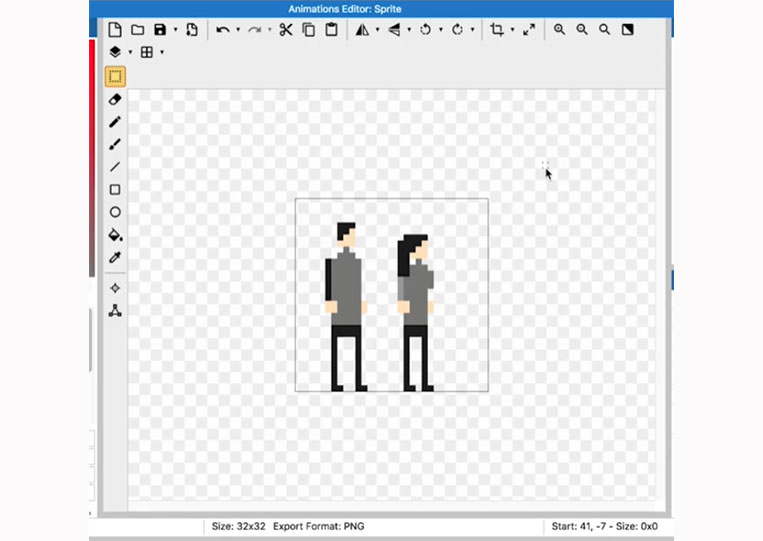
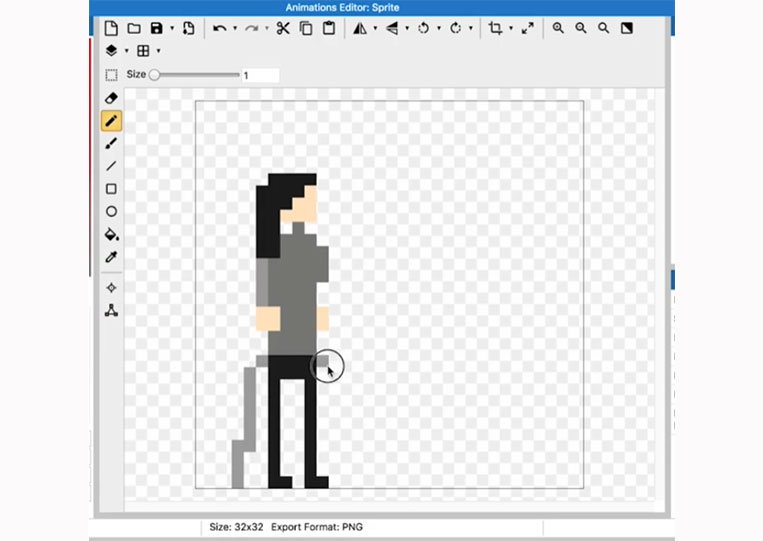
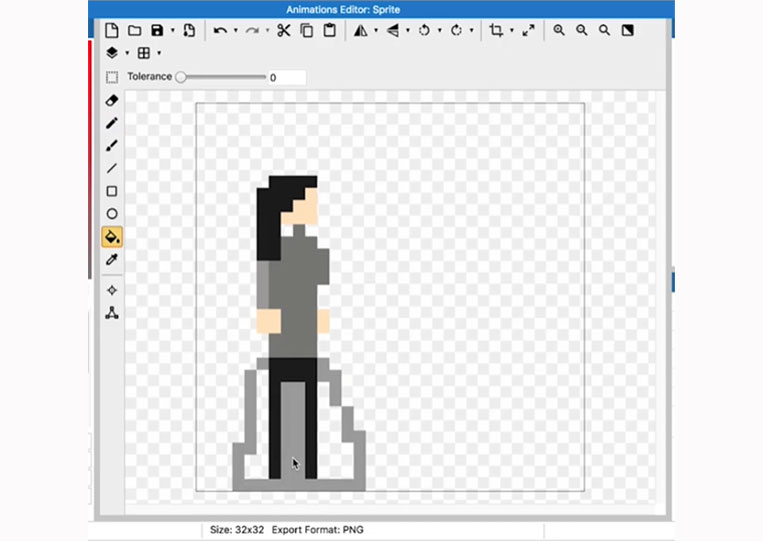
You can see there’s a lot more to this. First thing, let’s create a base character.


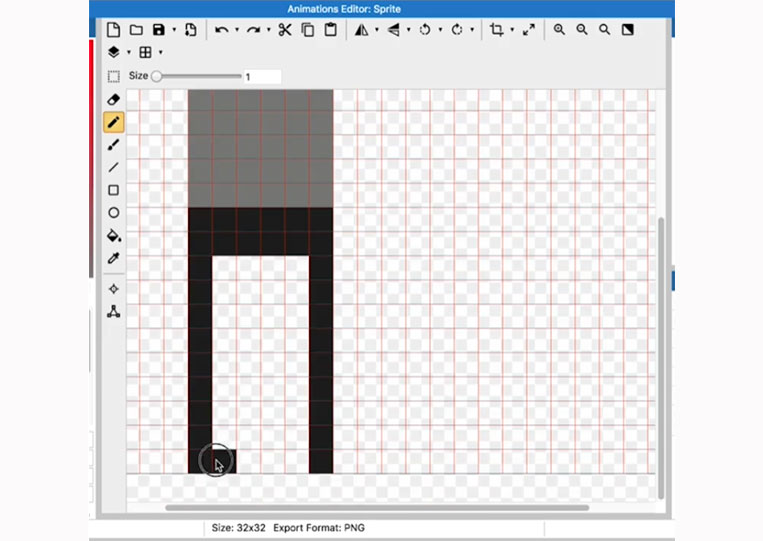
With 16×16 or 32×32 characters, one of the things you can do is make sure your character is in an area here.
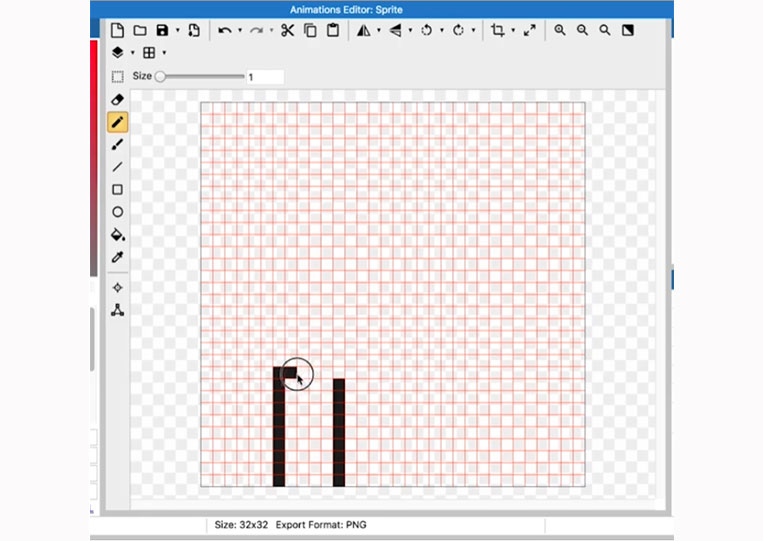
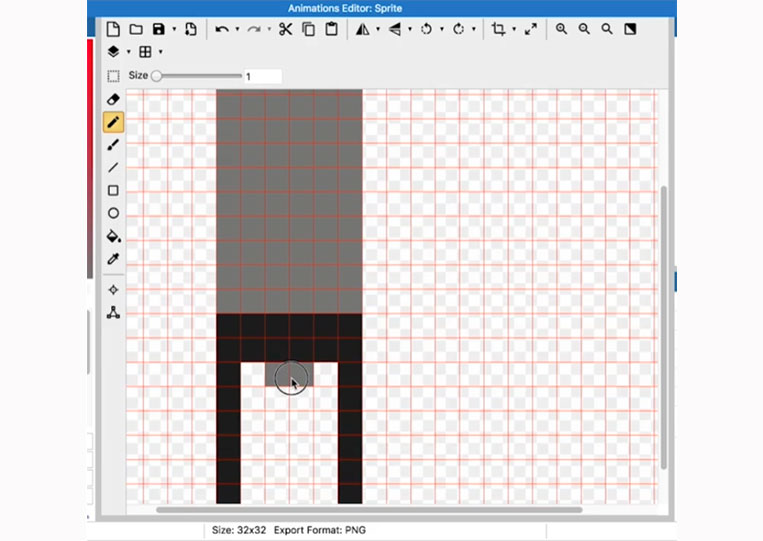
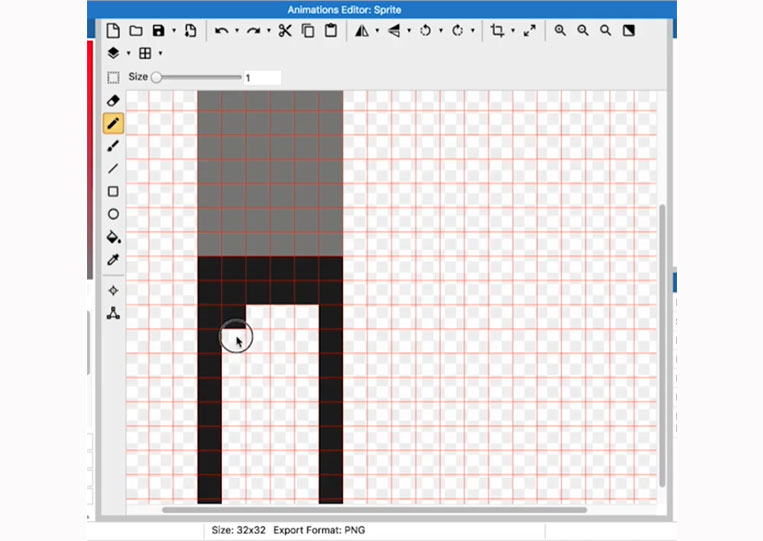
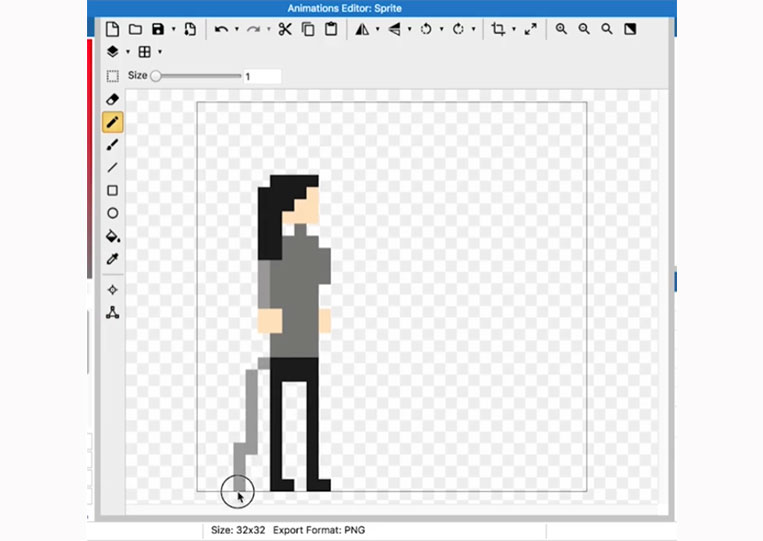
I add the legs here.
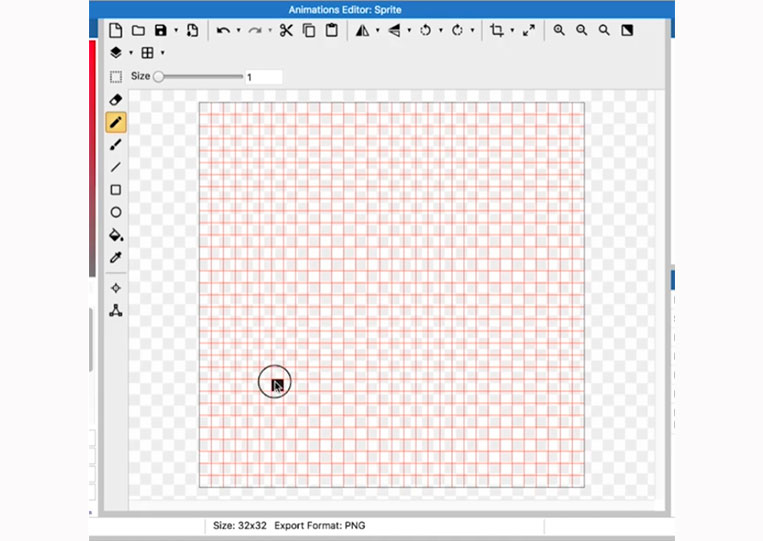


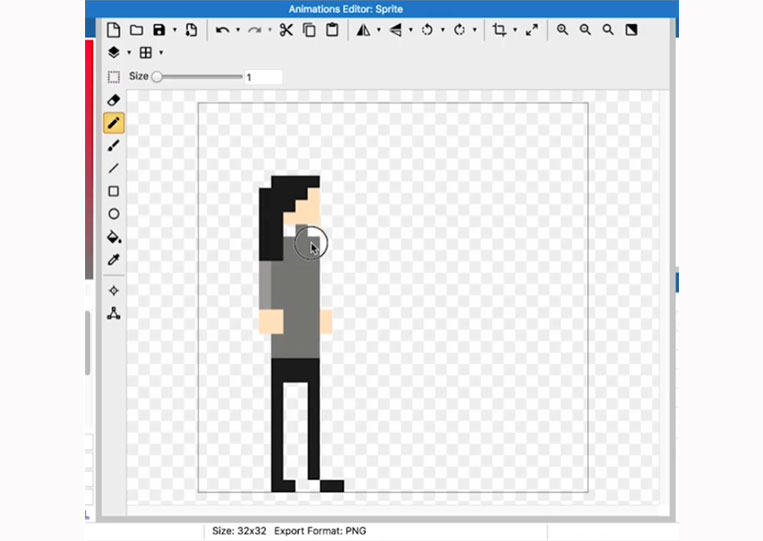
You will find that the pen is a lot better for complex characters. I use monochrome for all of this.
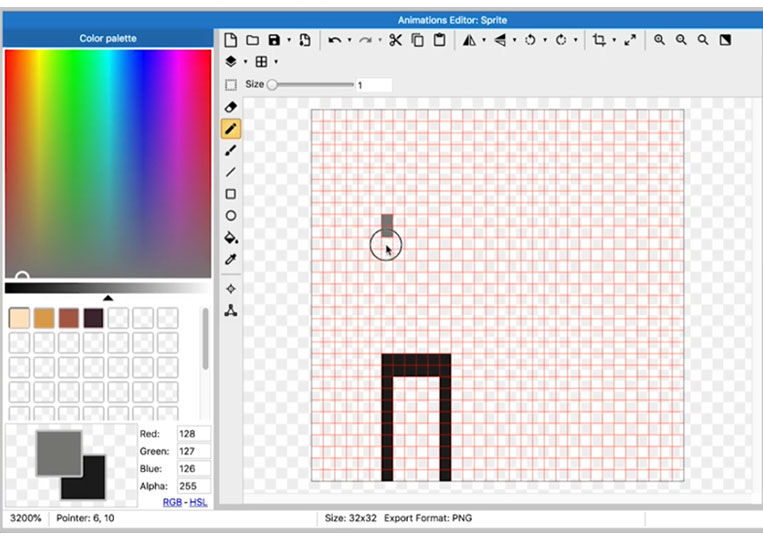
Doing this on a mouse isn’t tricky, but it’s not as ideal as with a pen. On the other hand, the feeling of using the pen is much better.


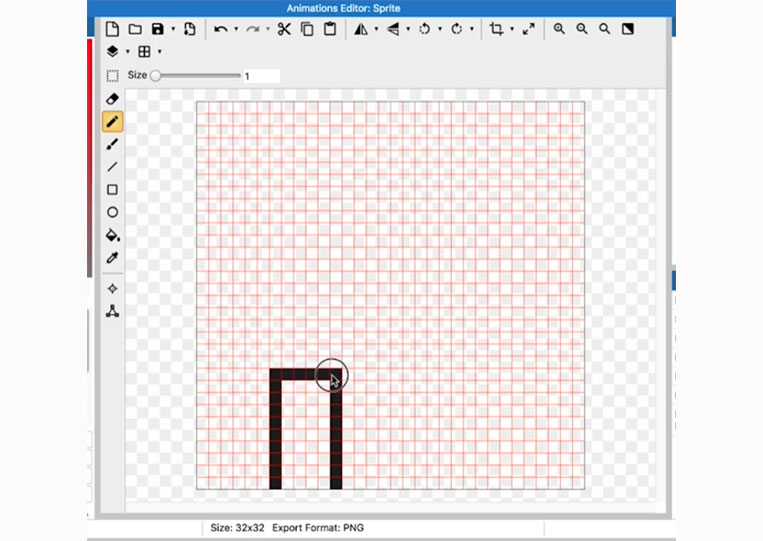
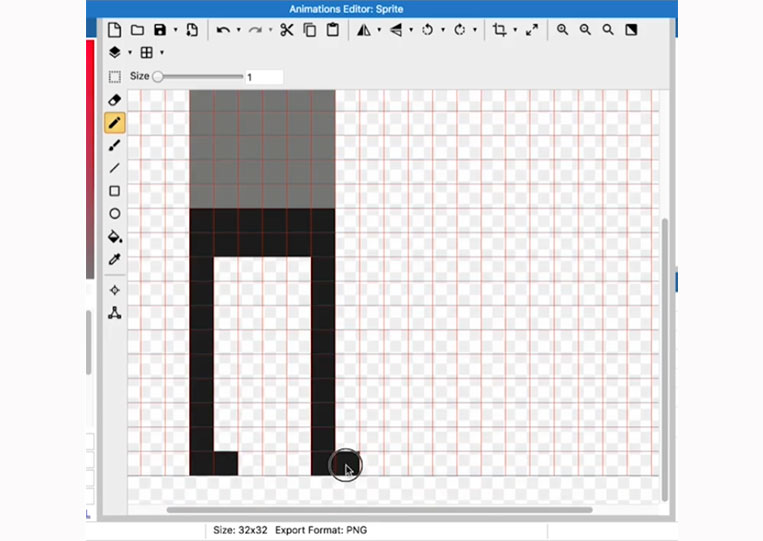
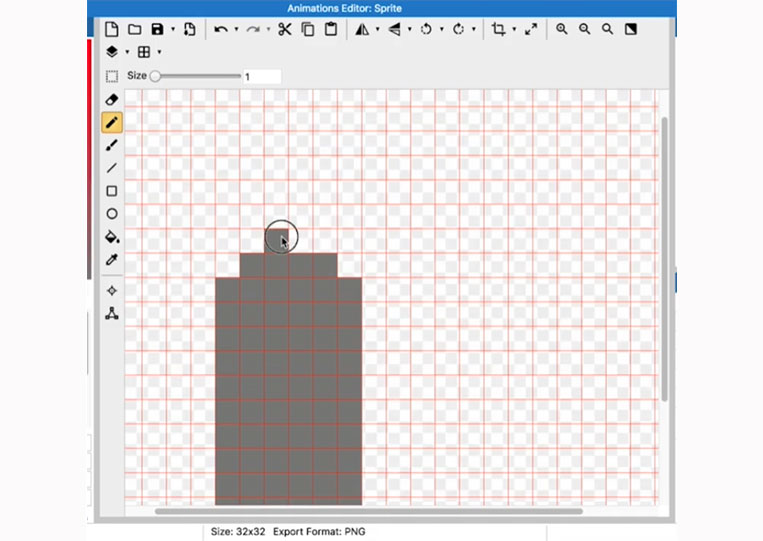
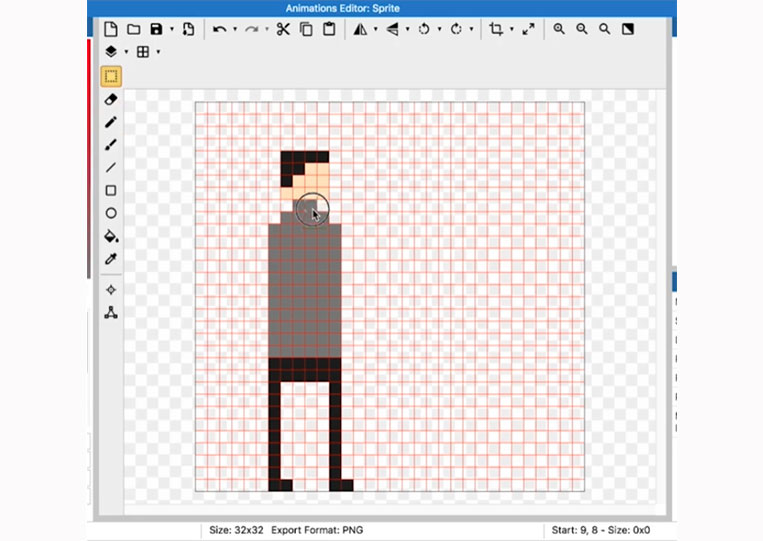
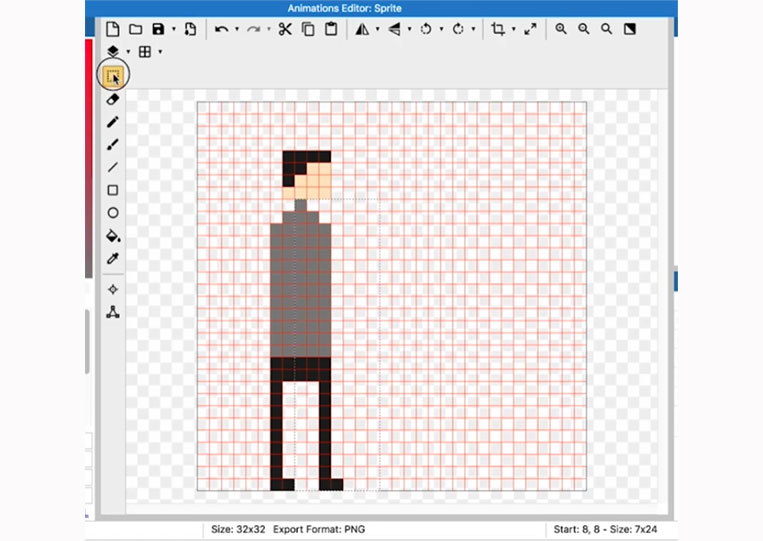
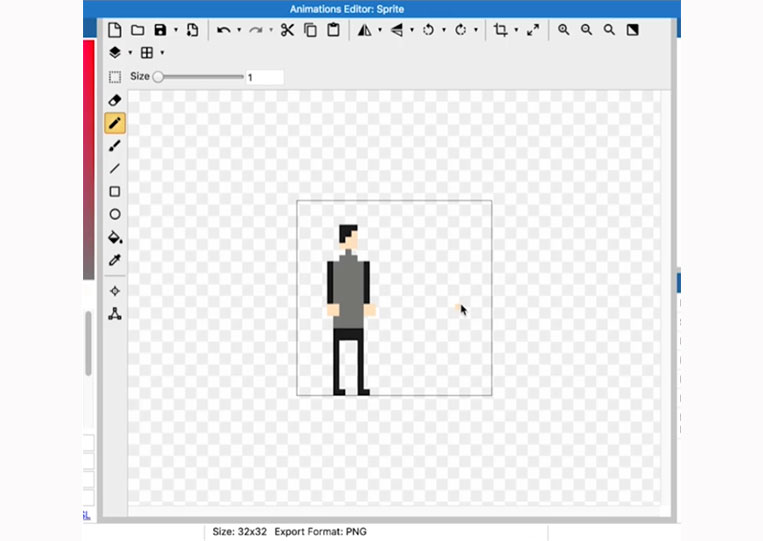
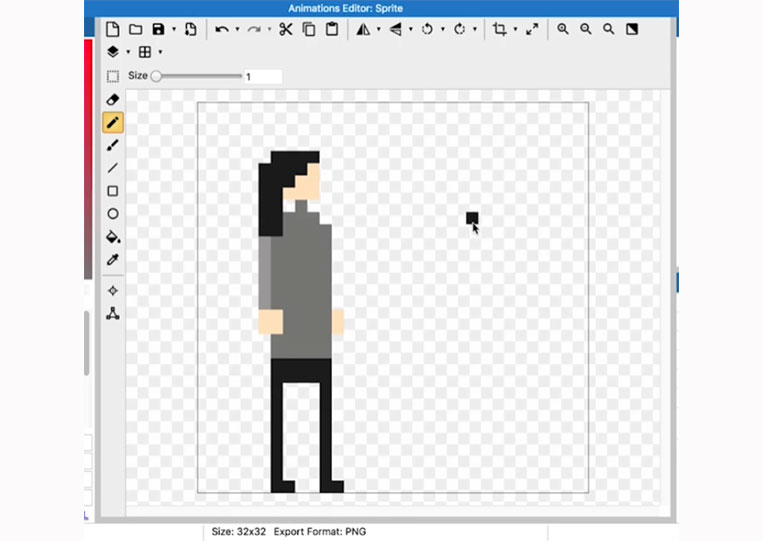
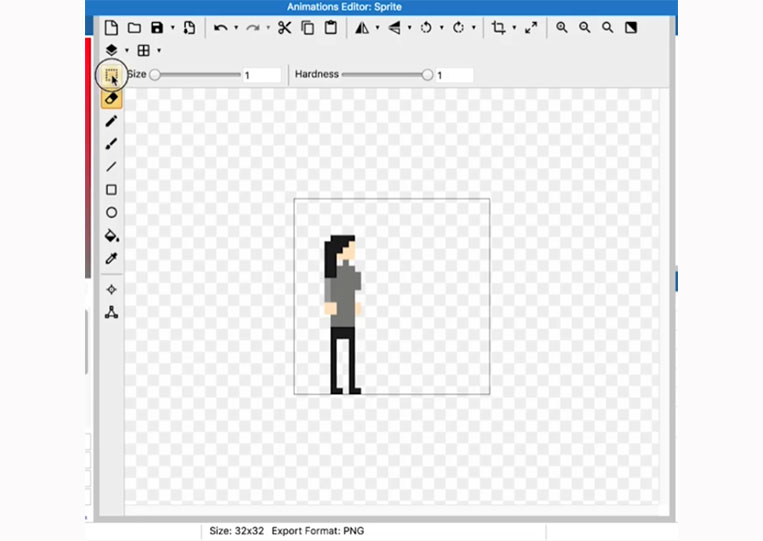
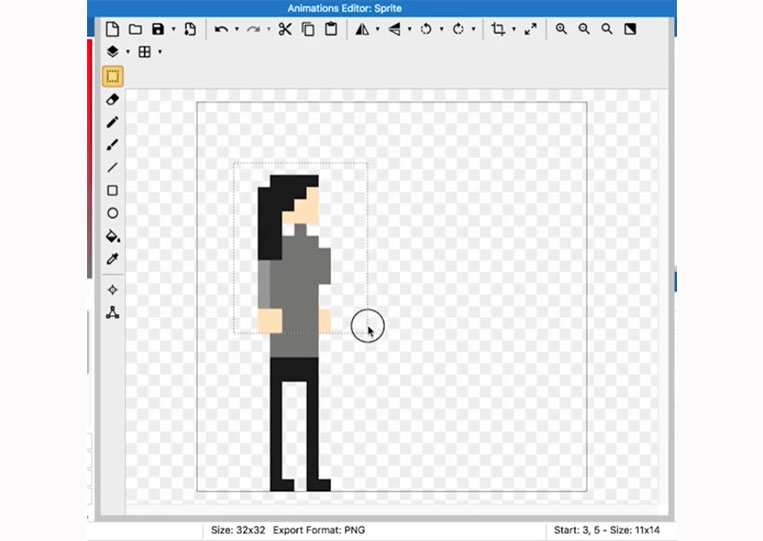
Now I zoom in and center the character.
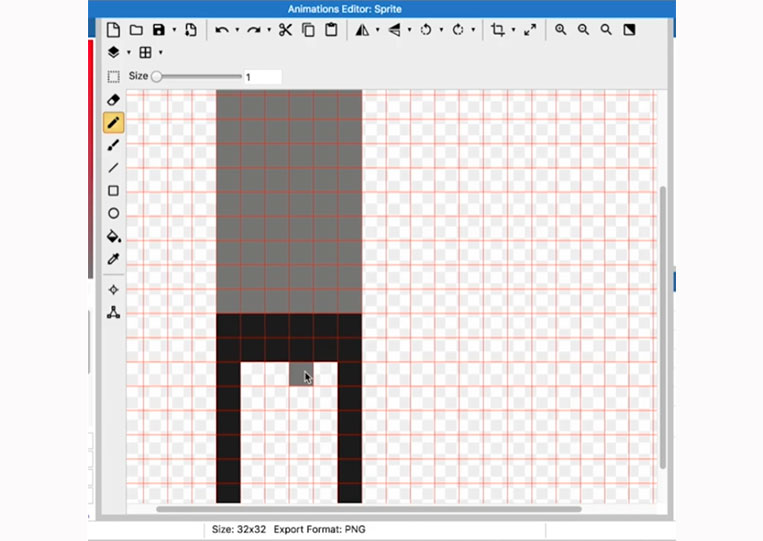
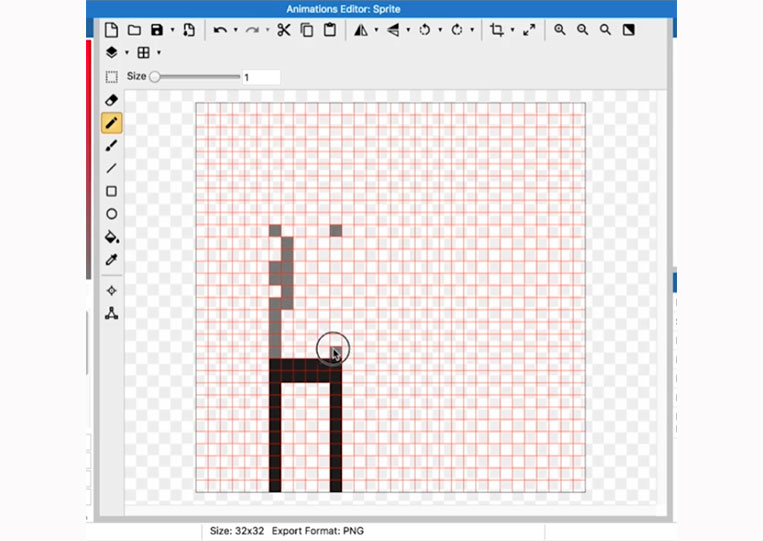
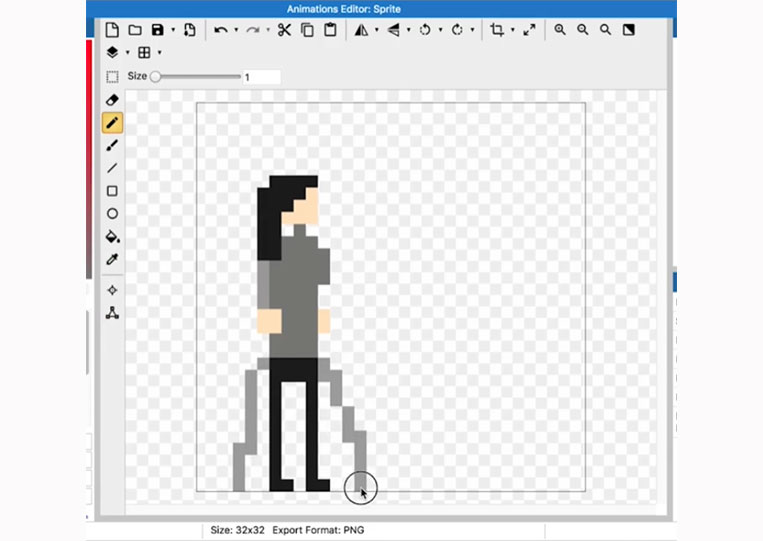
You can also add in some legs.


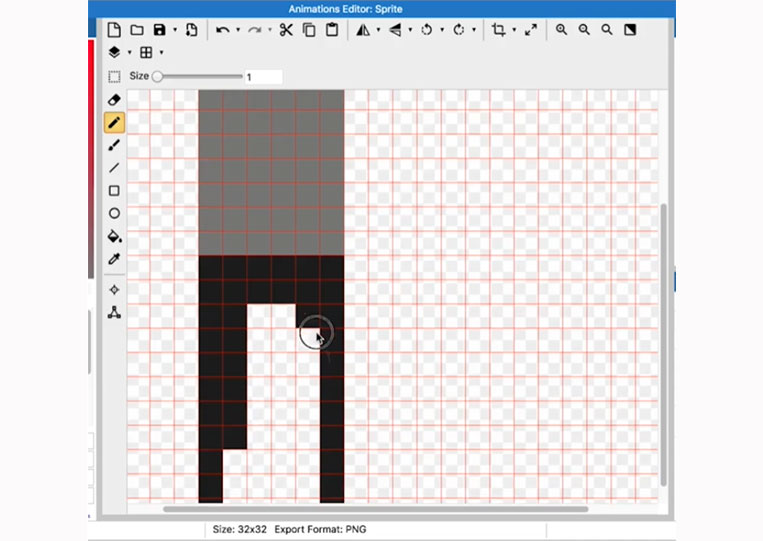
That’s not necessarily a bad idea. It’s up to you whether you want to do that. Now I will leave it like this.
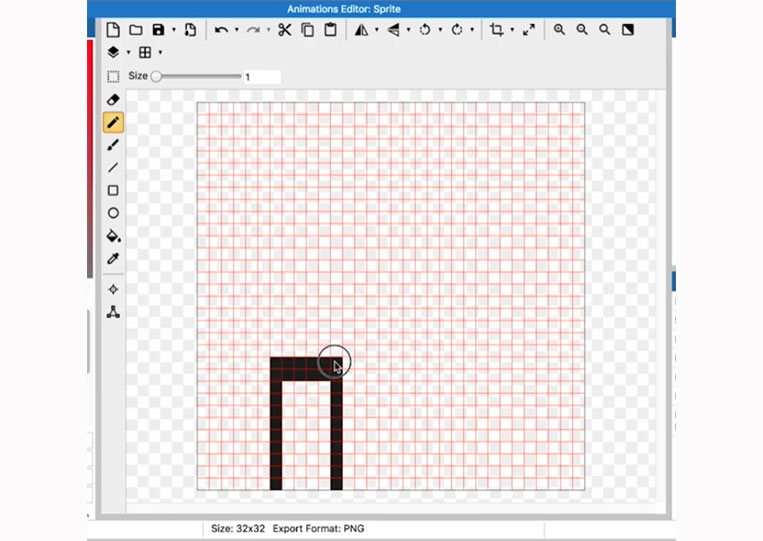
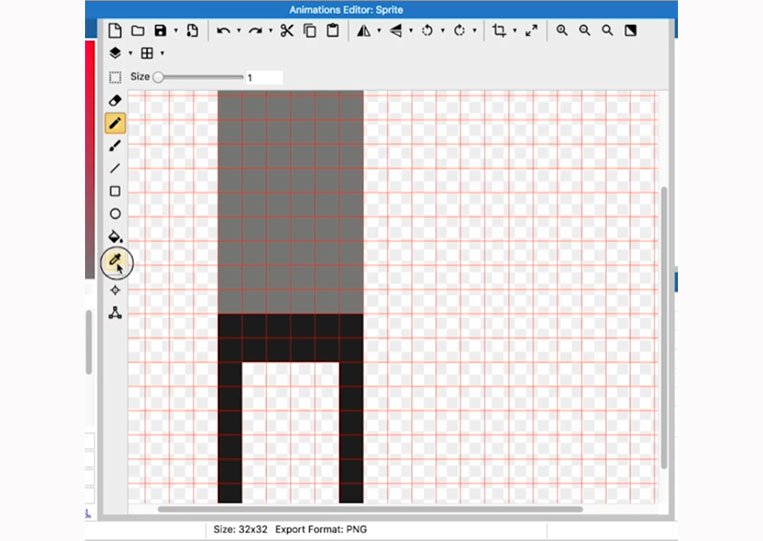
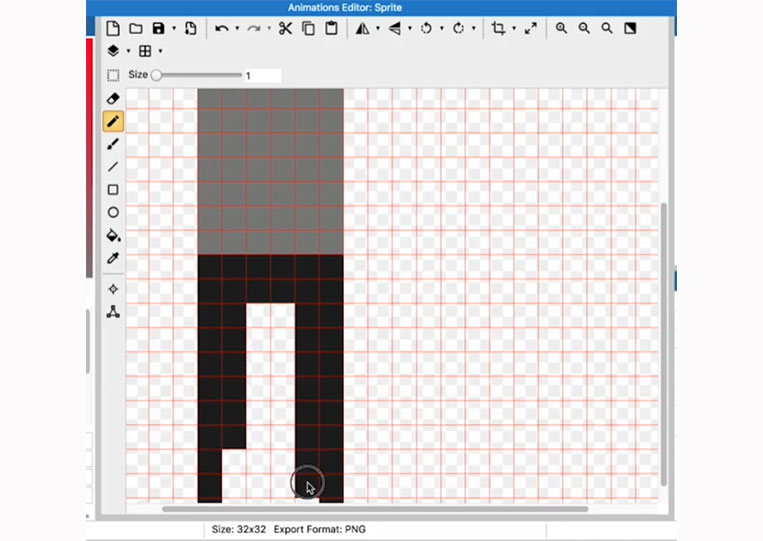
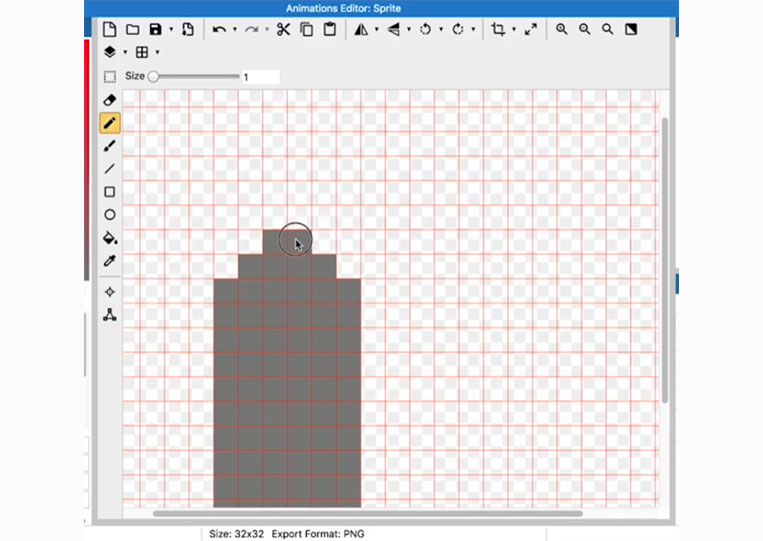
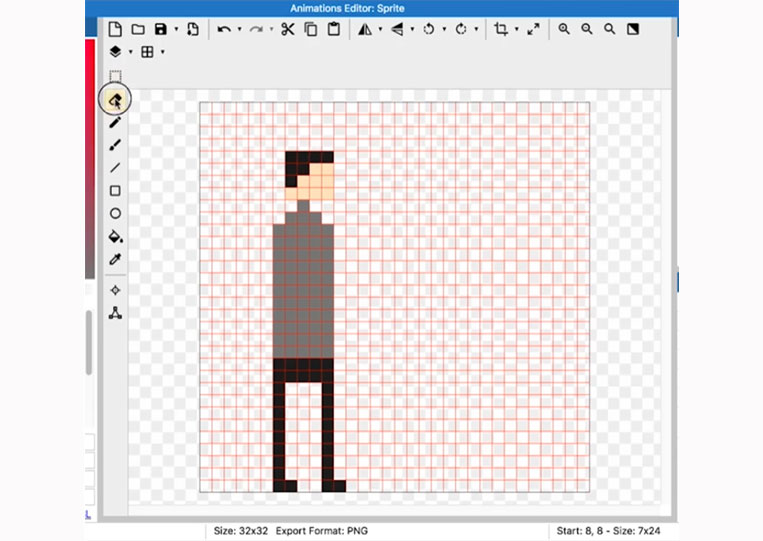
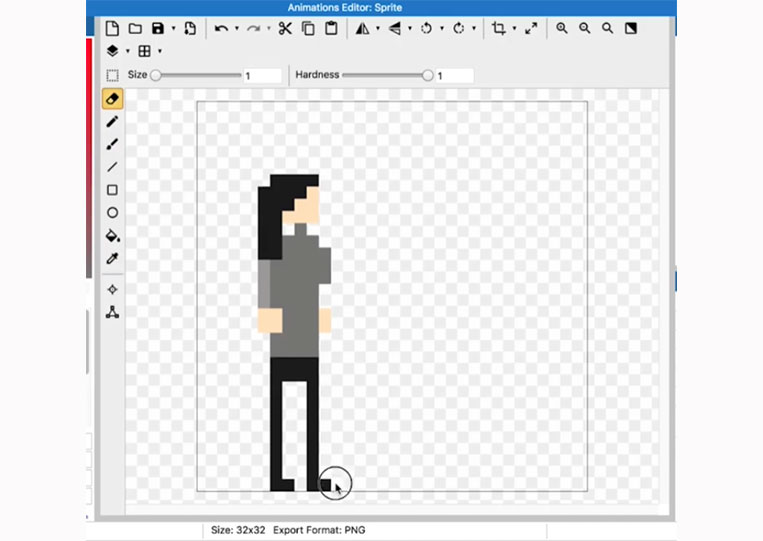
The other thing you can do in this case is to add two tiny feet to it.
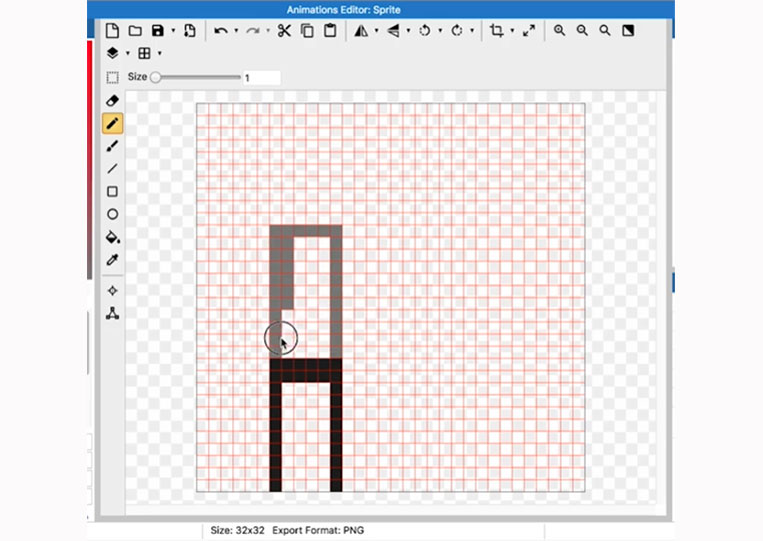
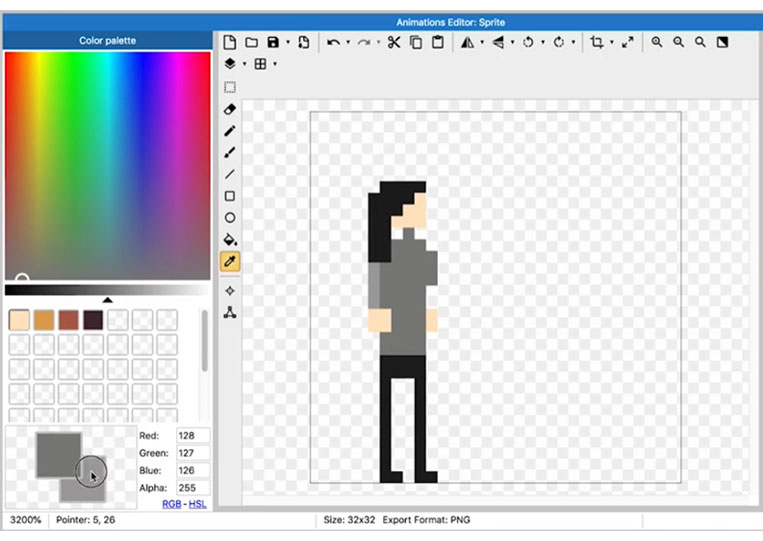
Let’s return to this color for a moment.

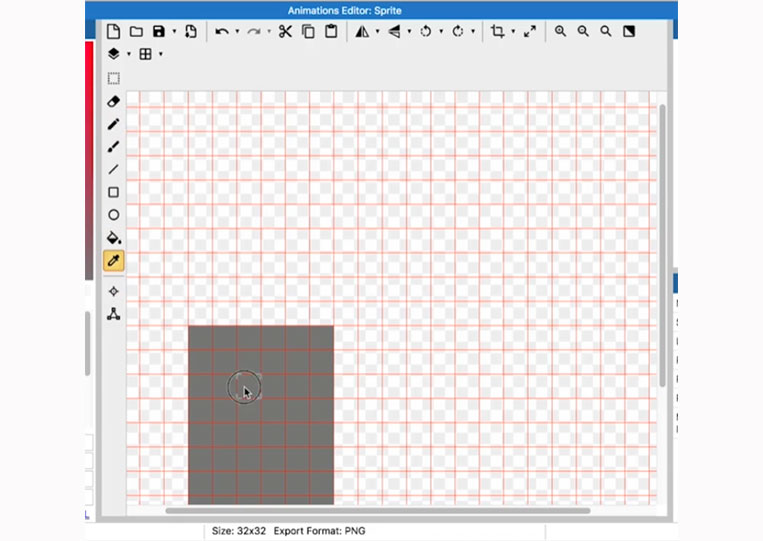
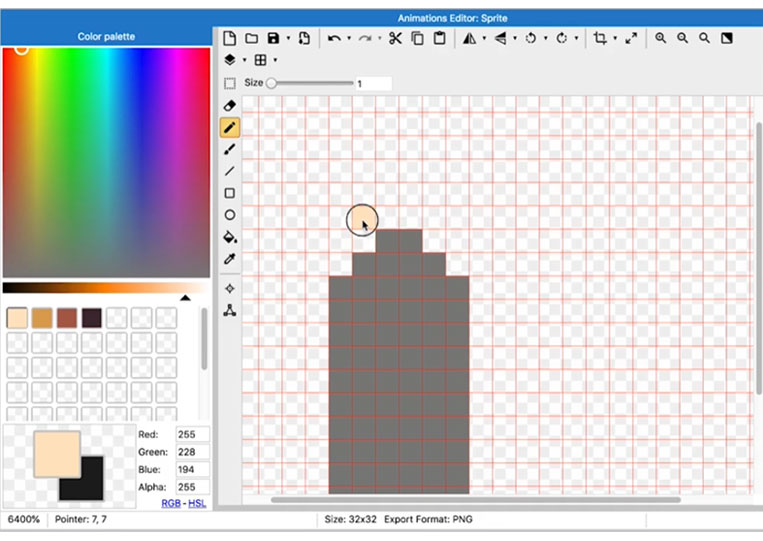
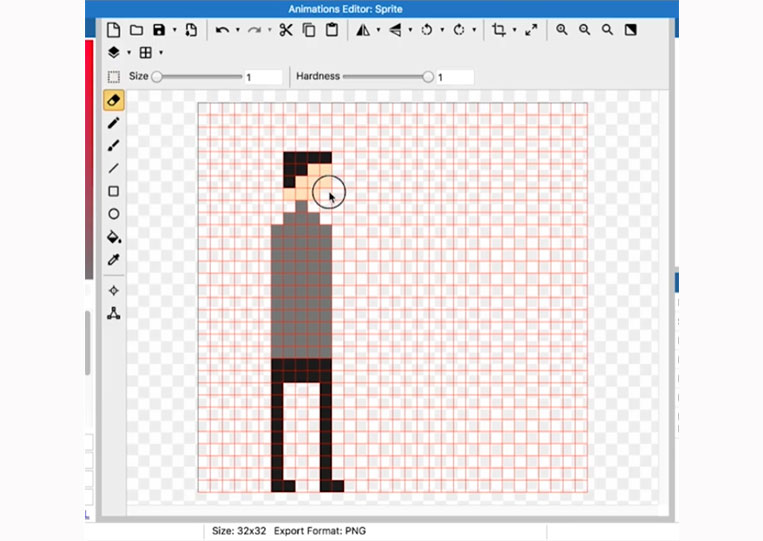
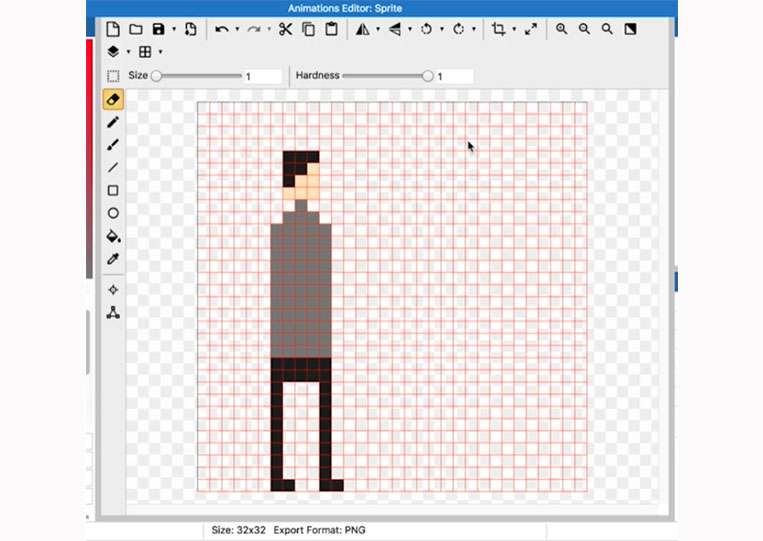
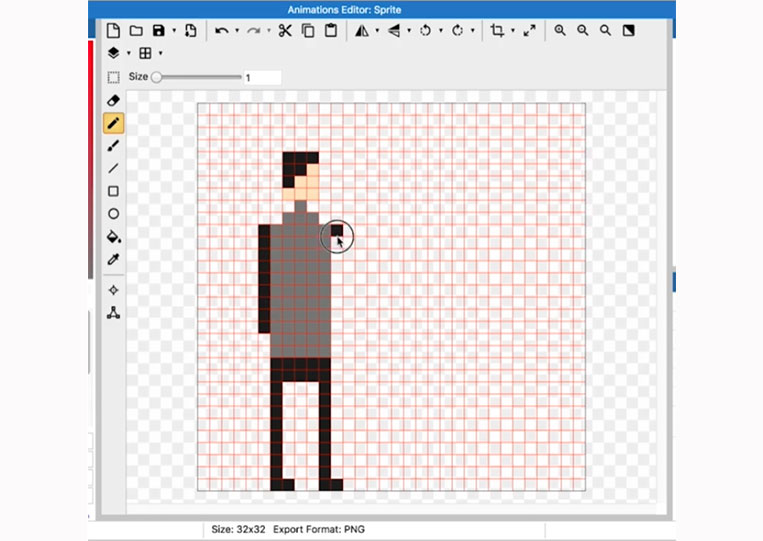
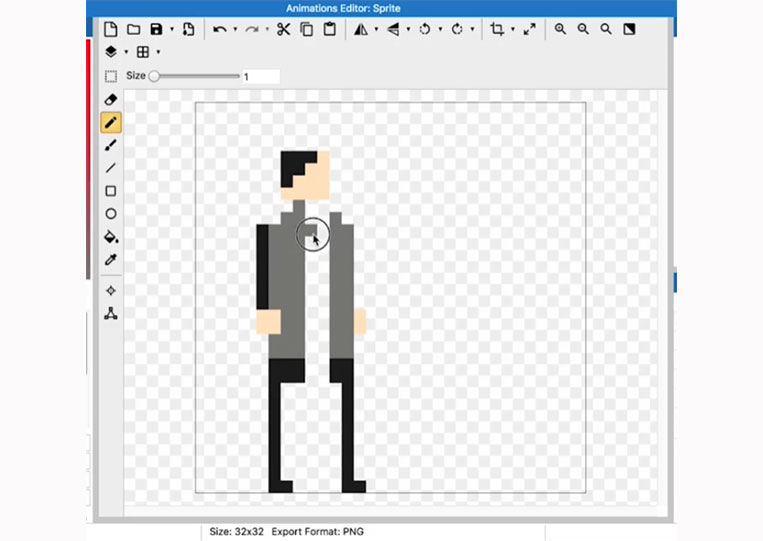
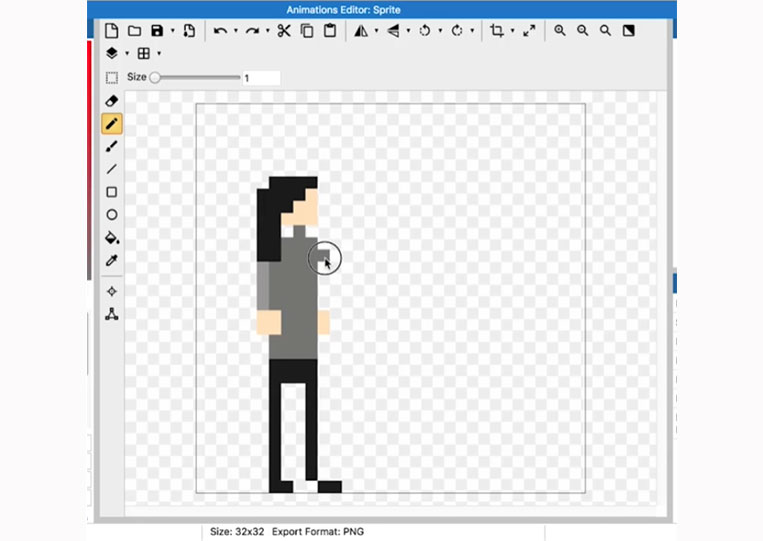
I think that’s probably good. Let’s add the neck.


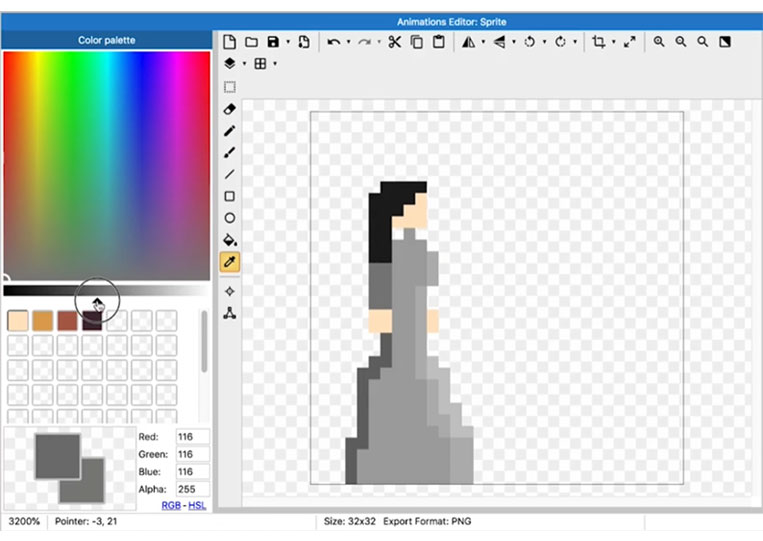
I will add skin color.
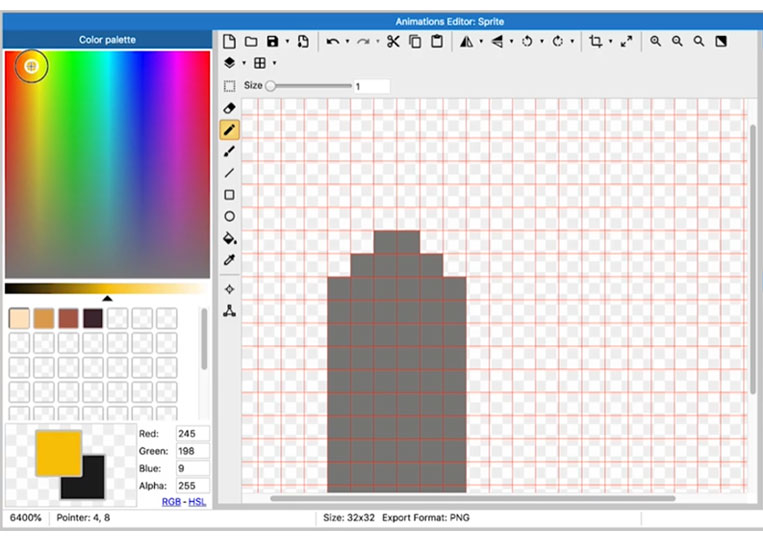
I have a skin color here.

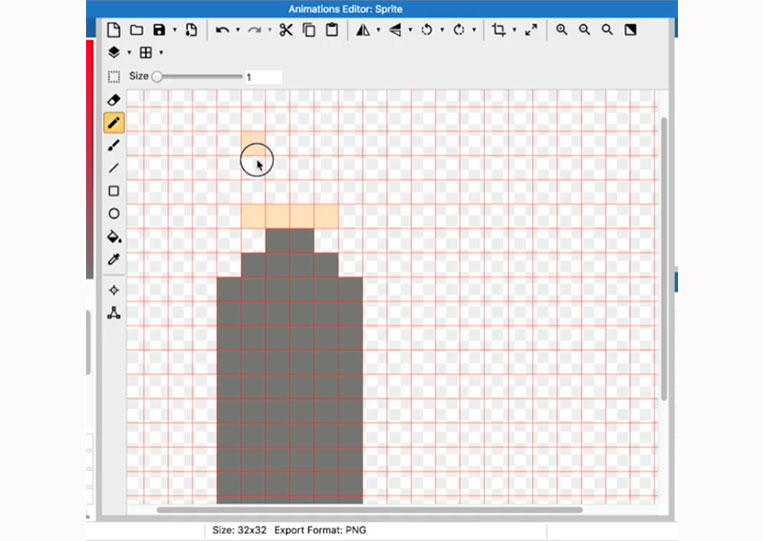
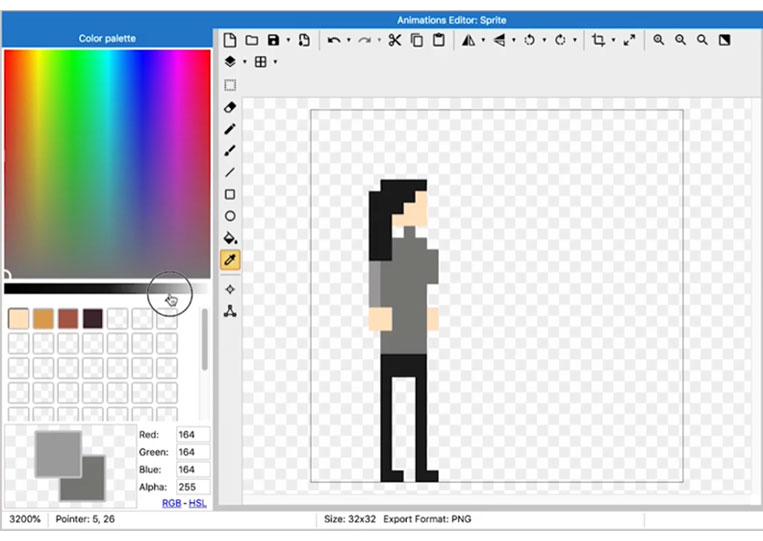
Then switch it.
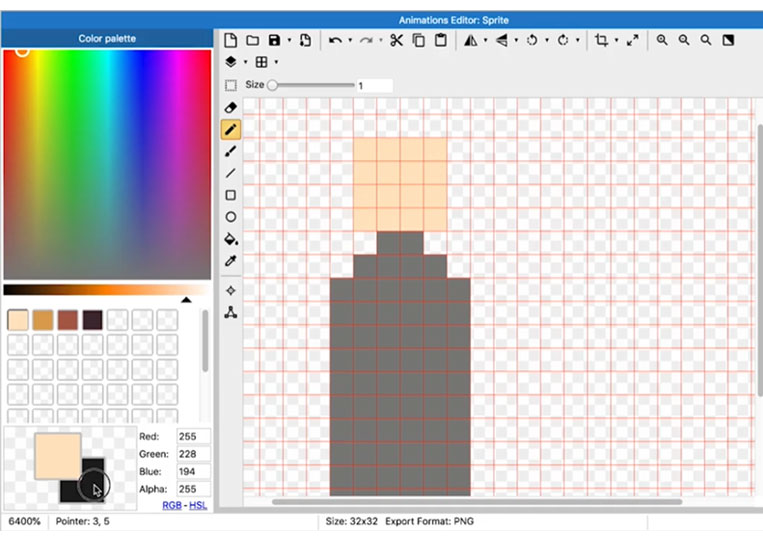

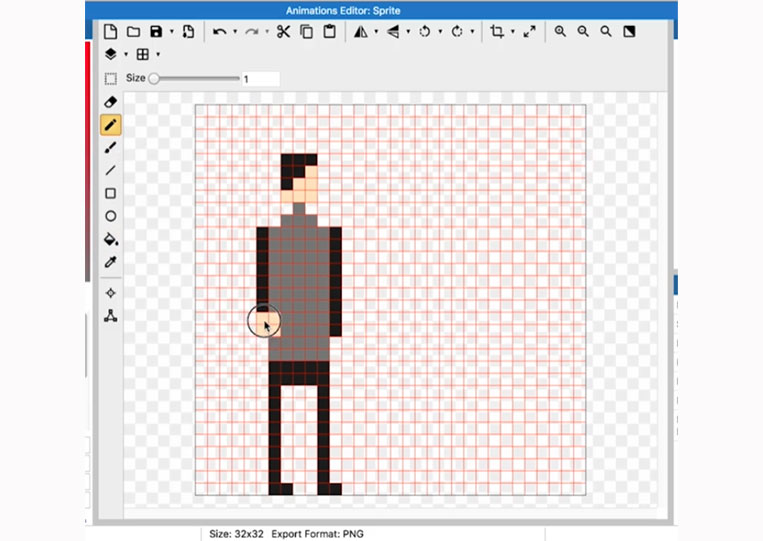
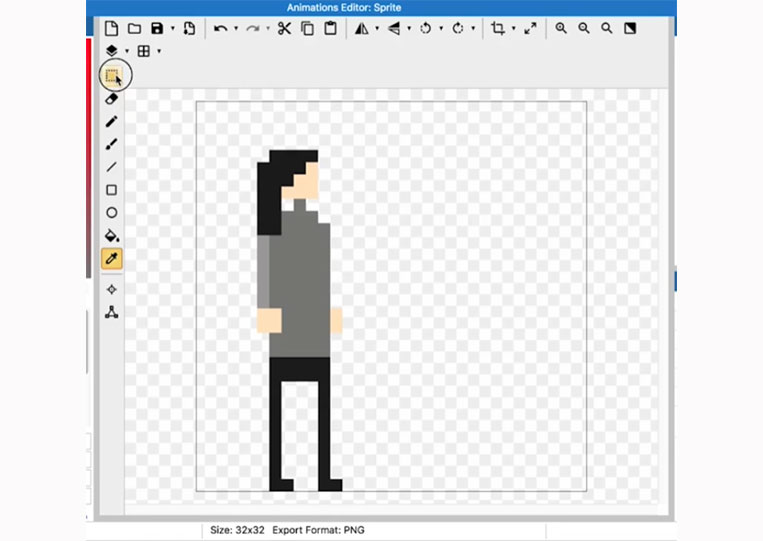
We now have a character.
I pass it in.
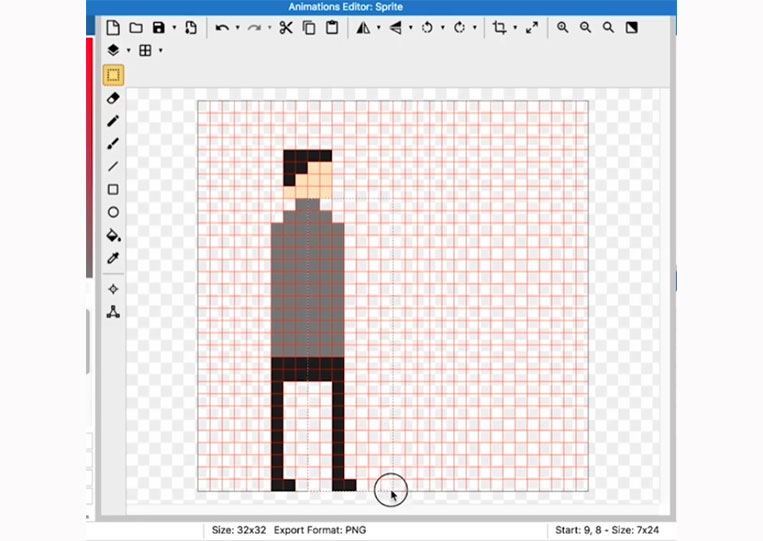
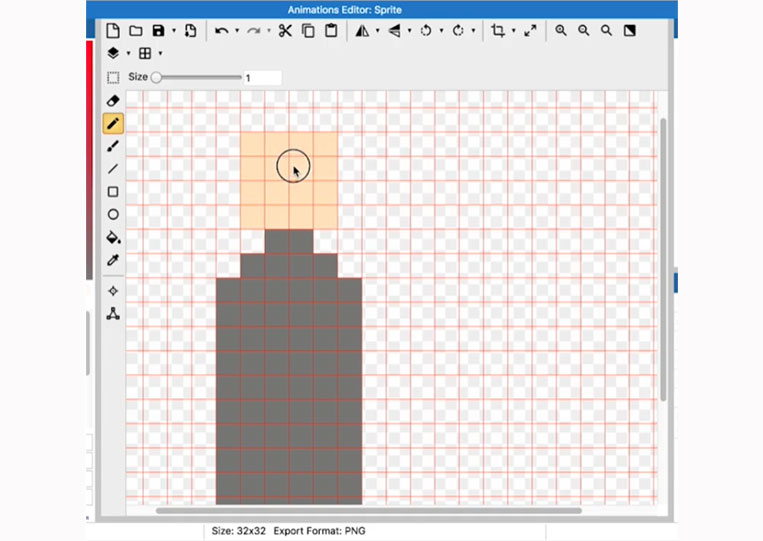
Does it look better? Or looks worse? That depends on you. Now I will move it in.

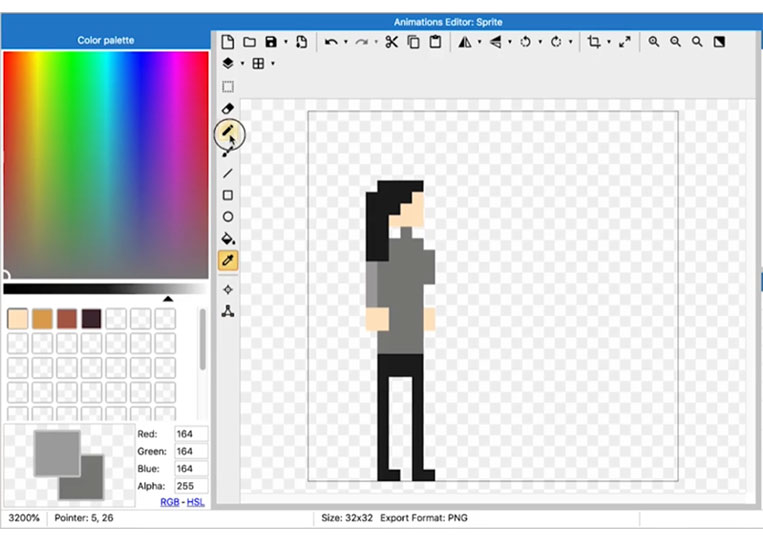
I delete this last column.
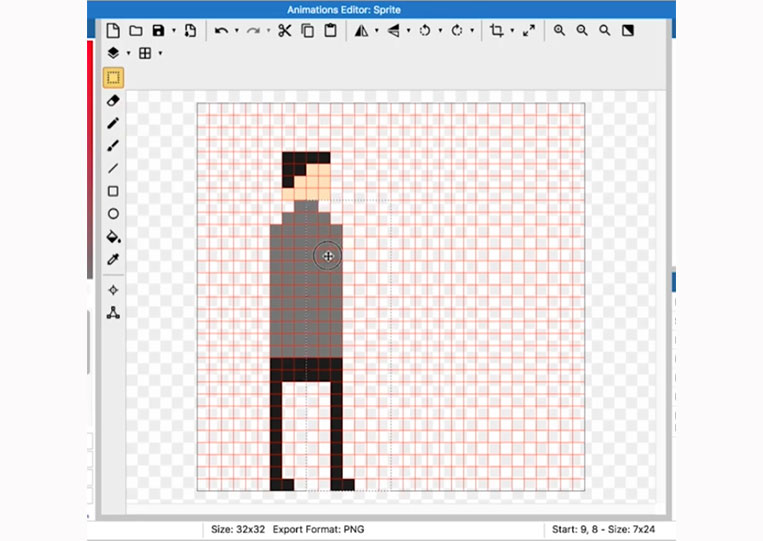
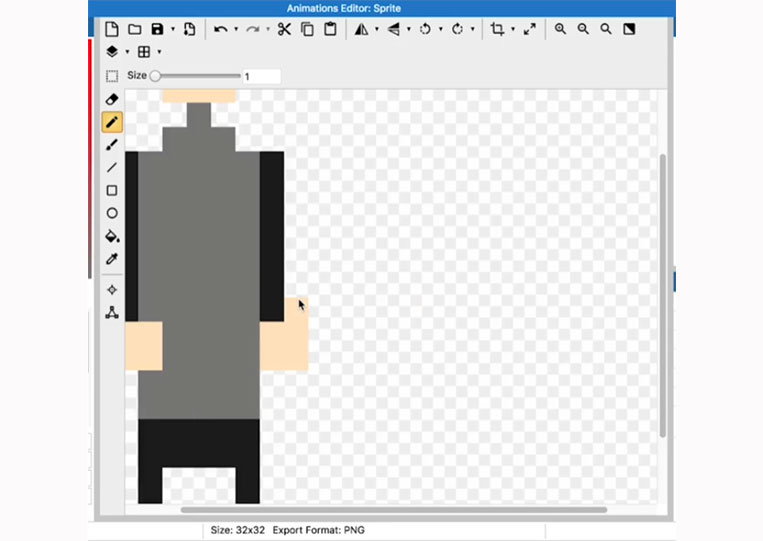
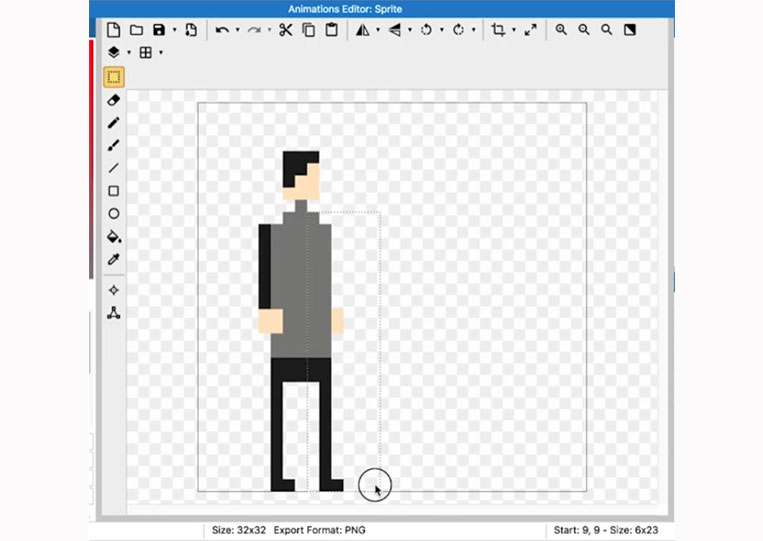
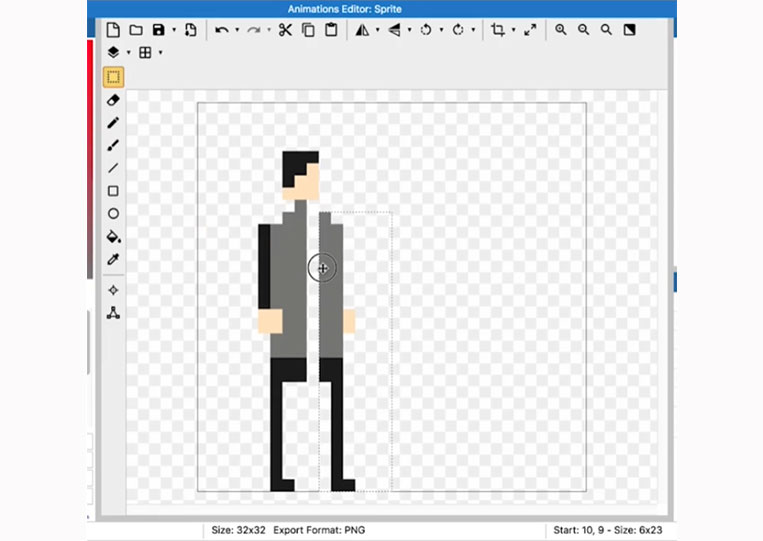
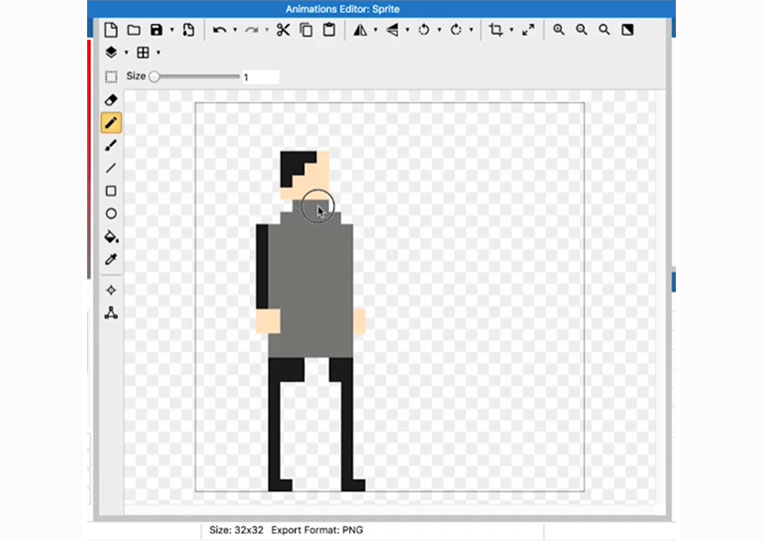
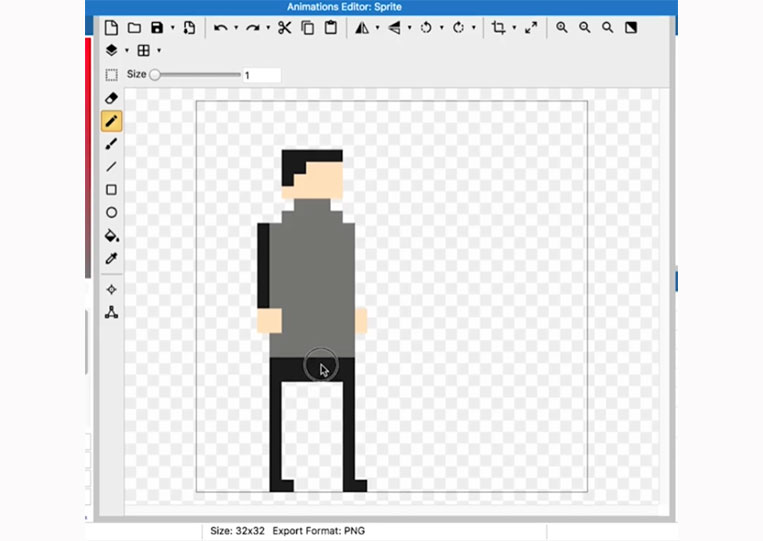
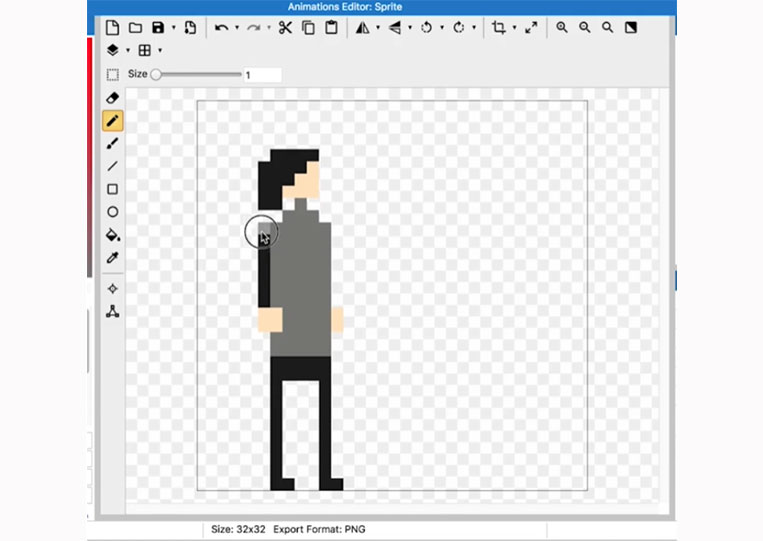
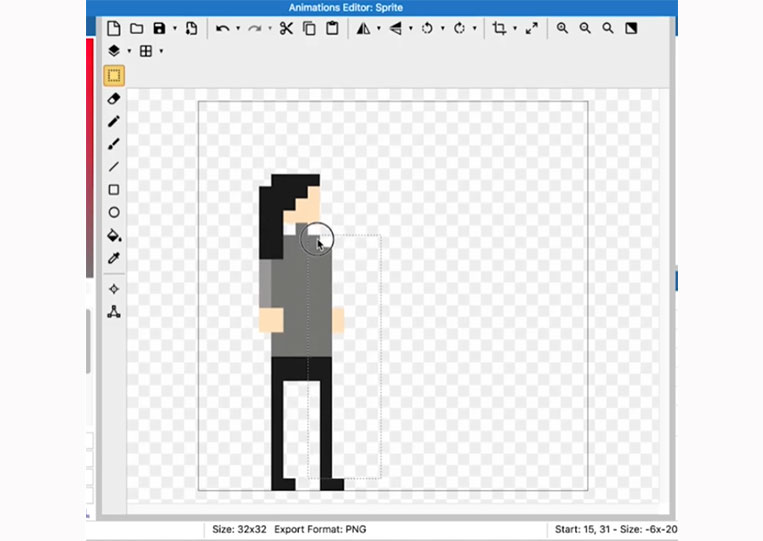
It’s starting to look pretty good. As for the arms, the fun part of this style is that the components are straight, and you can do a lot with the animations of these arm types. Keep that in mind.
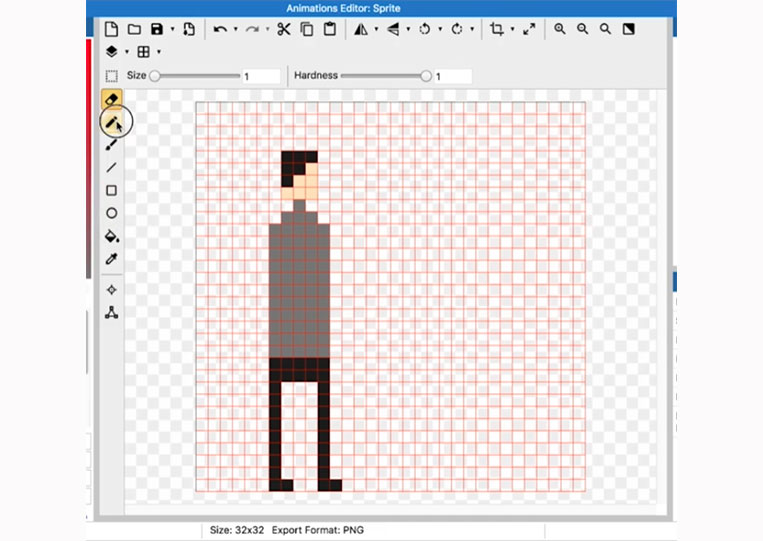
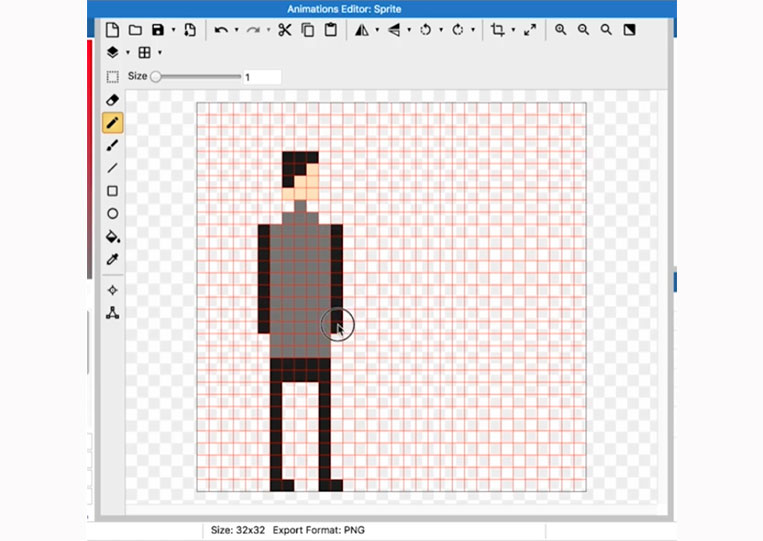
You can add these here.
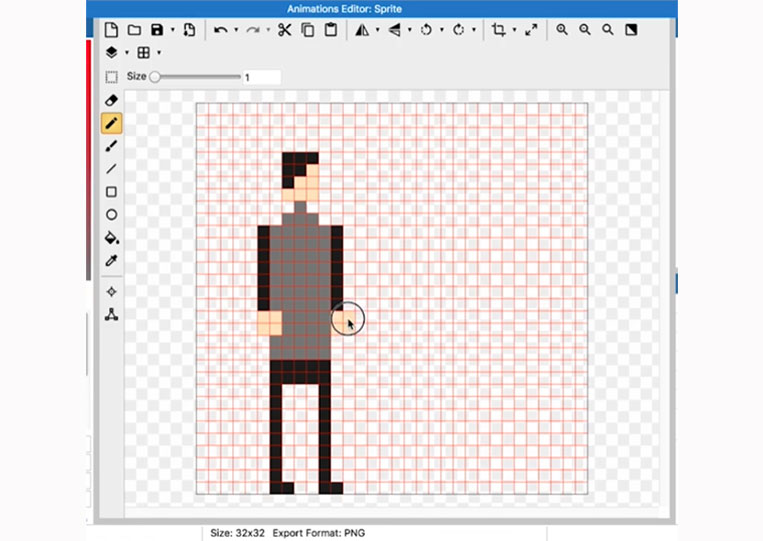
It looks pretty nice.
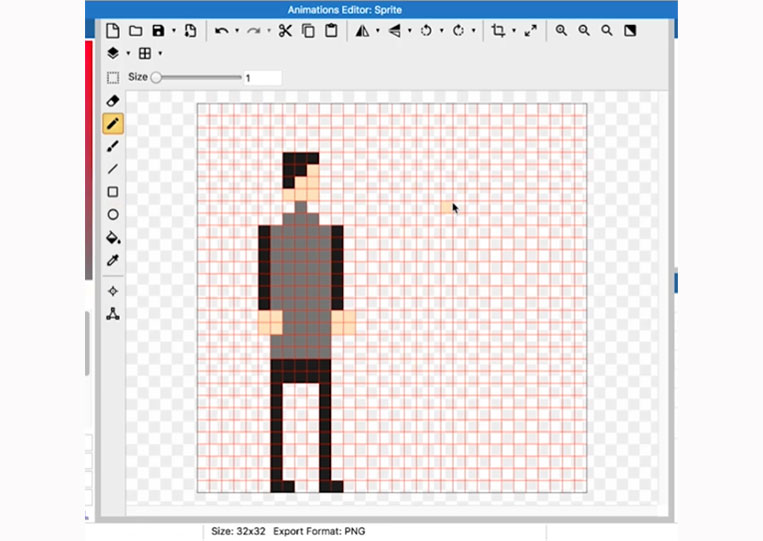
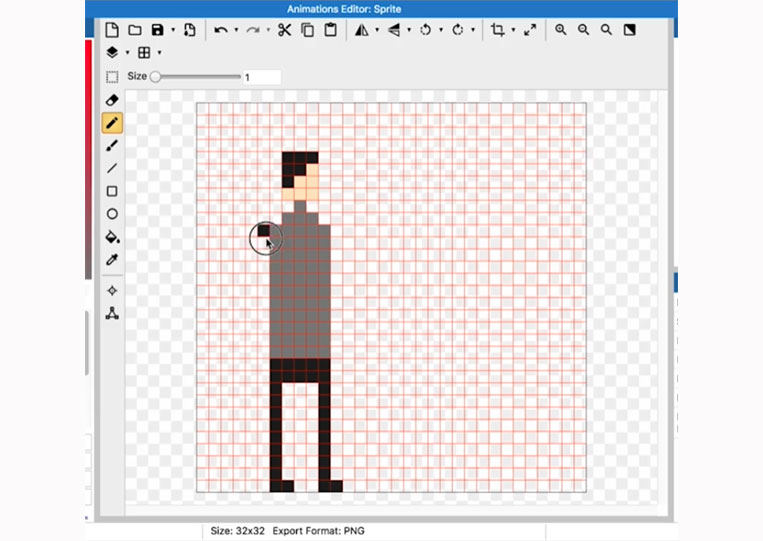
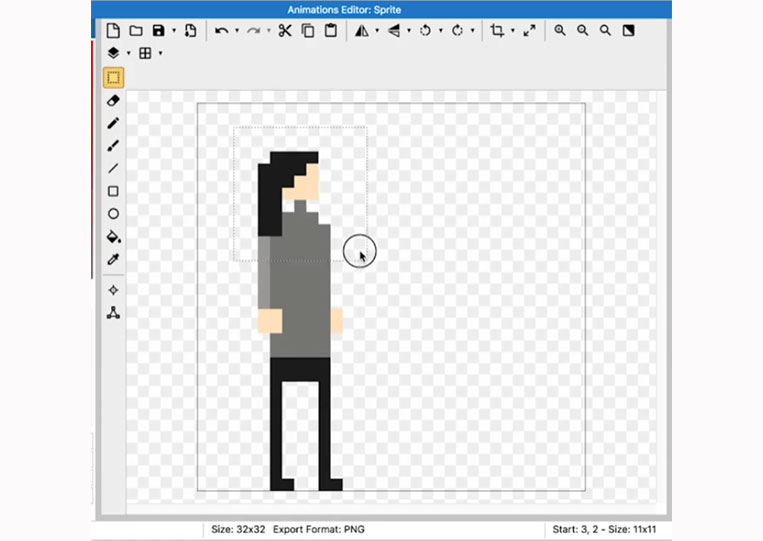
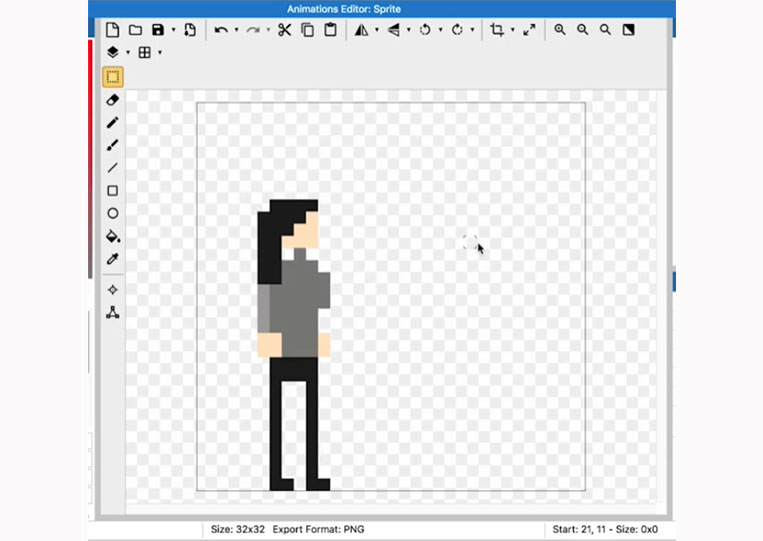
We can do a lot with this. But, first, let me turn off the grid if we zoom out.
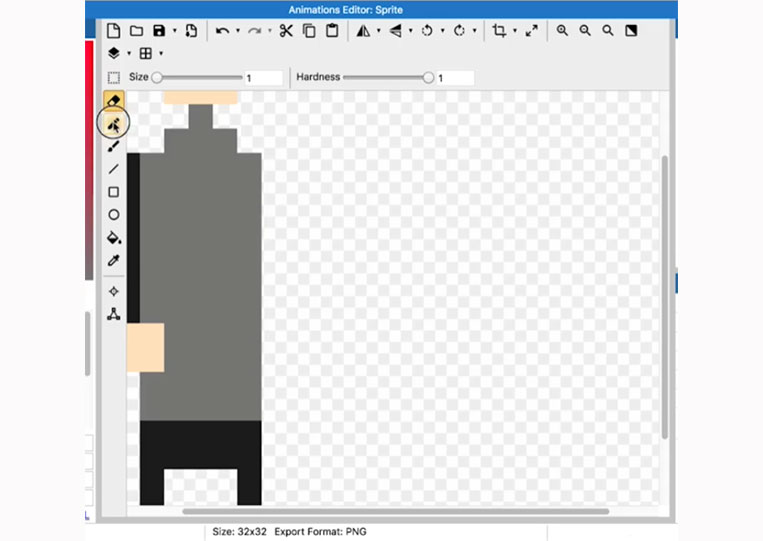
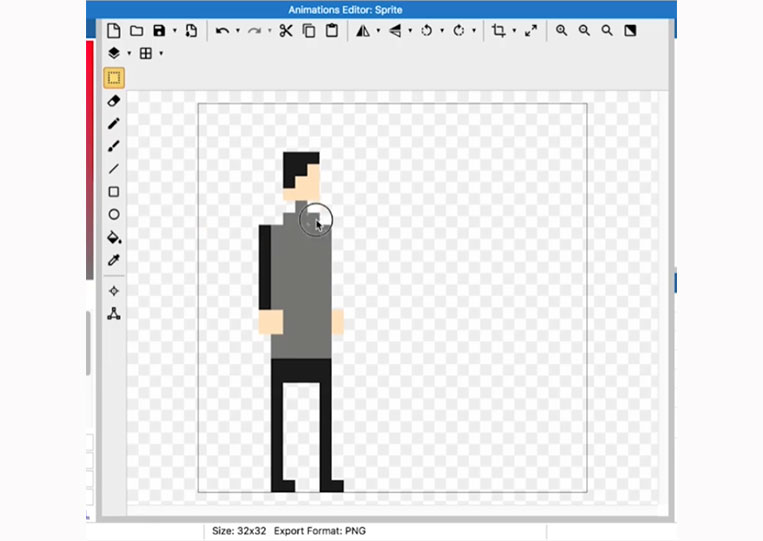
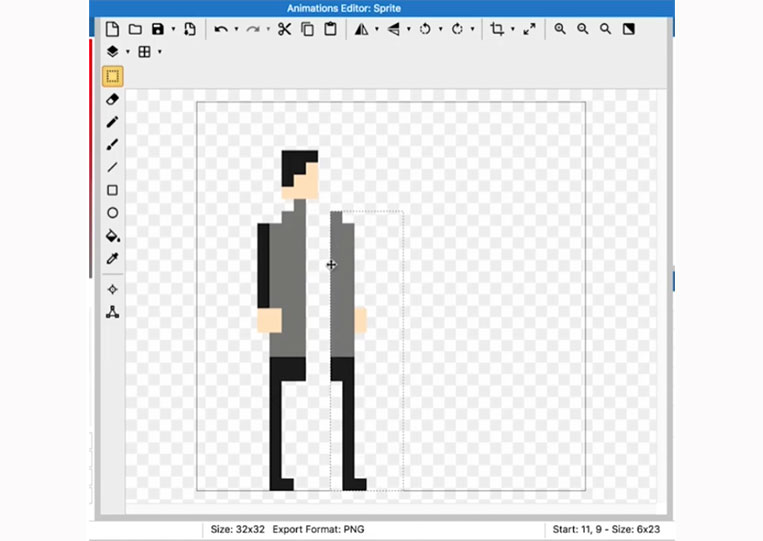
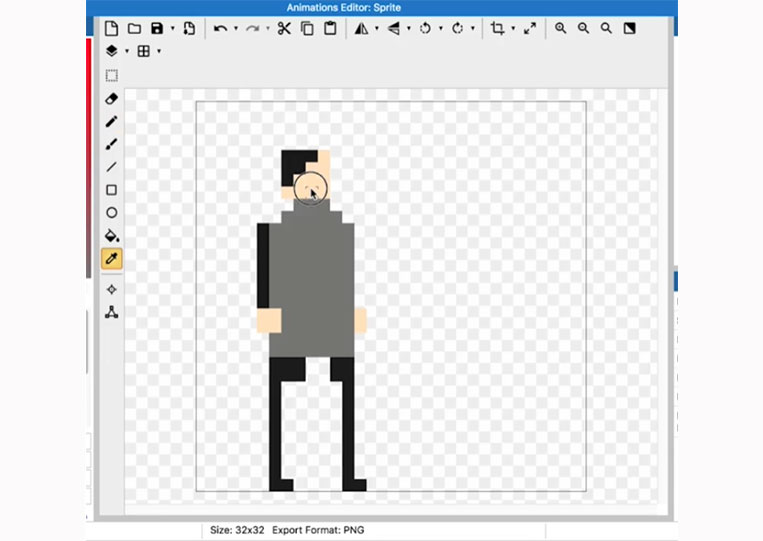
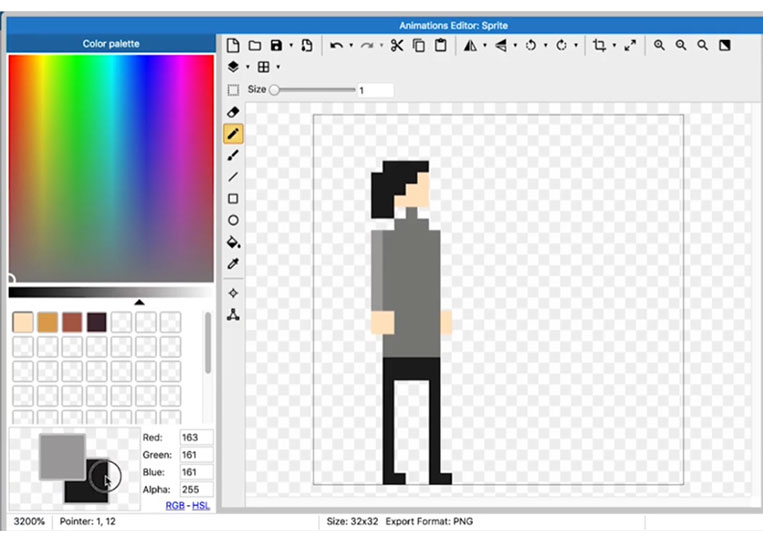
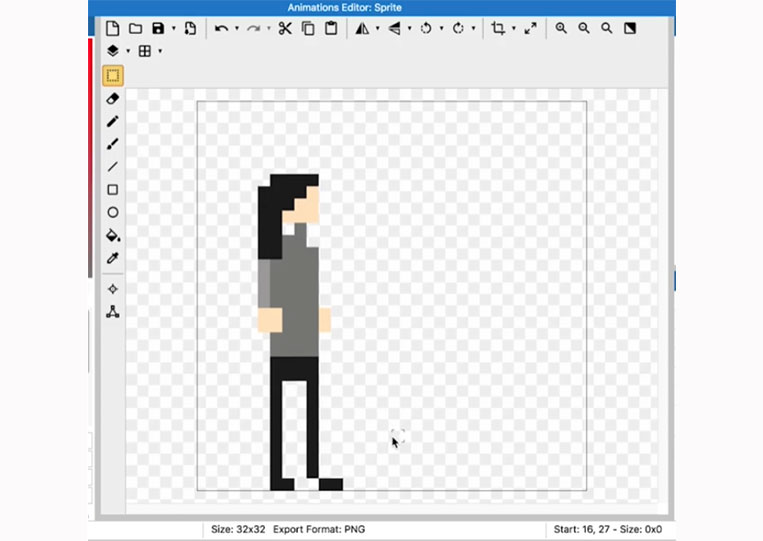
You can see something like this in character here. Now a few other things to note, it might be better if you could hide this arm.
It sounds a bit strange at first, but you can do it.
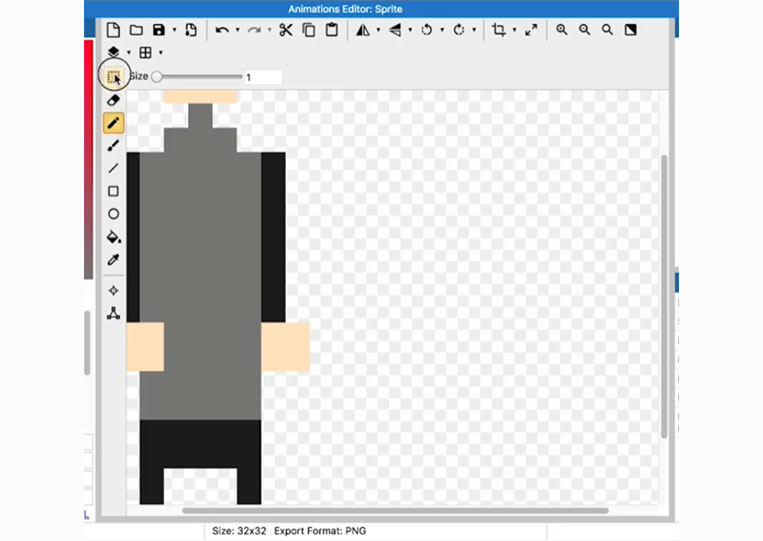


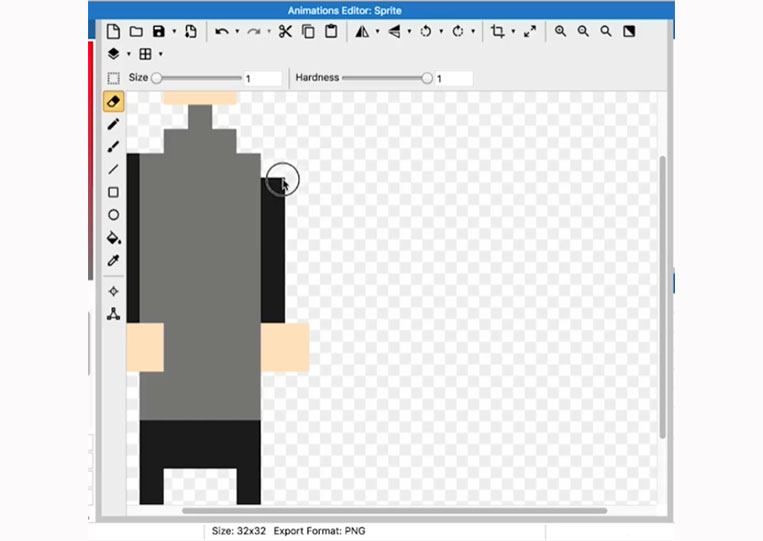

You might think the arms are in the back and have a fist.


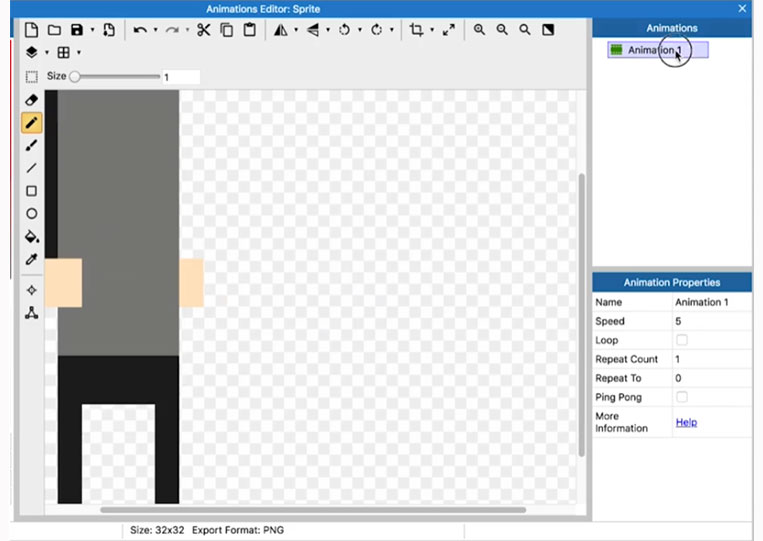
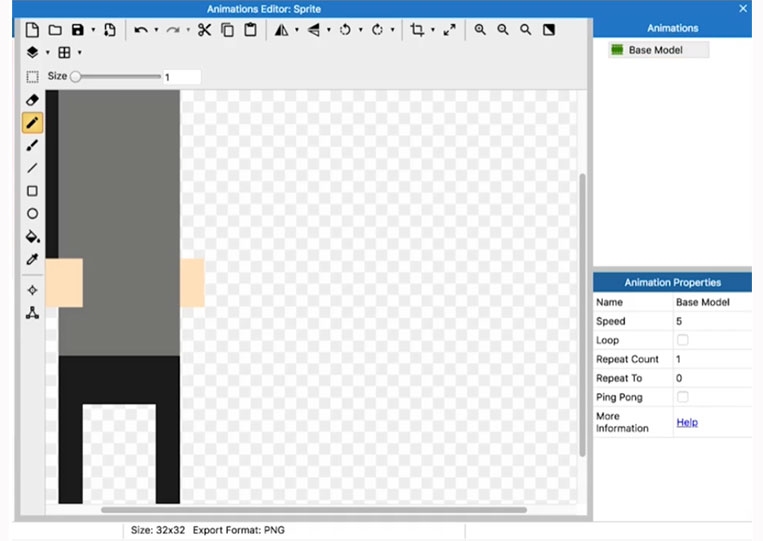
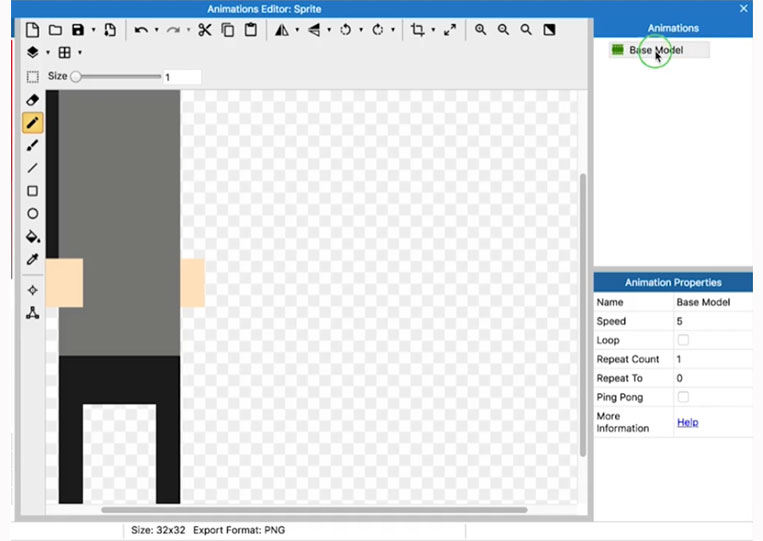
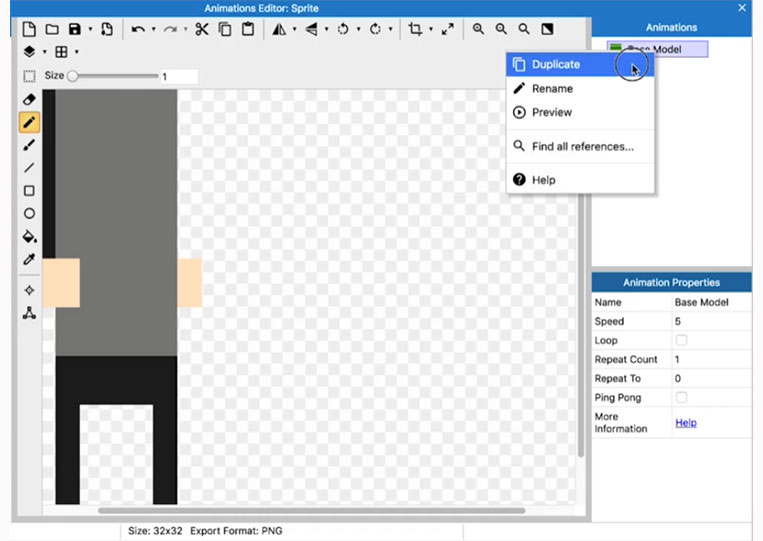
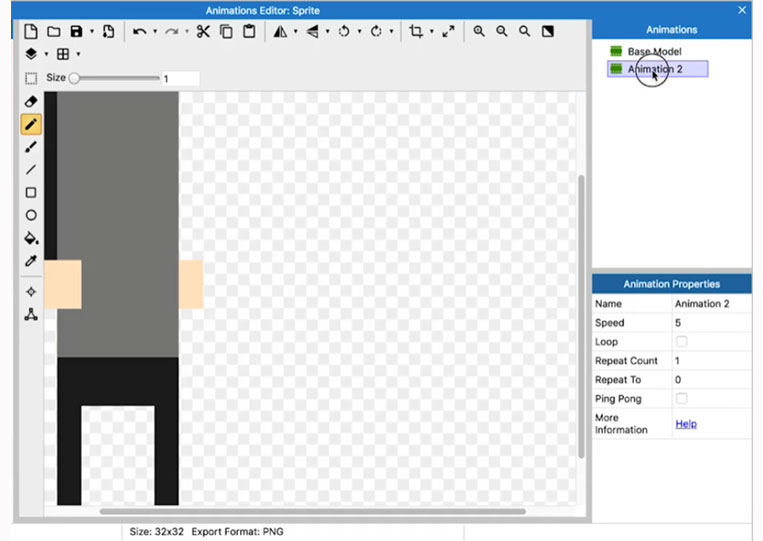
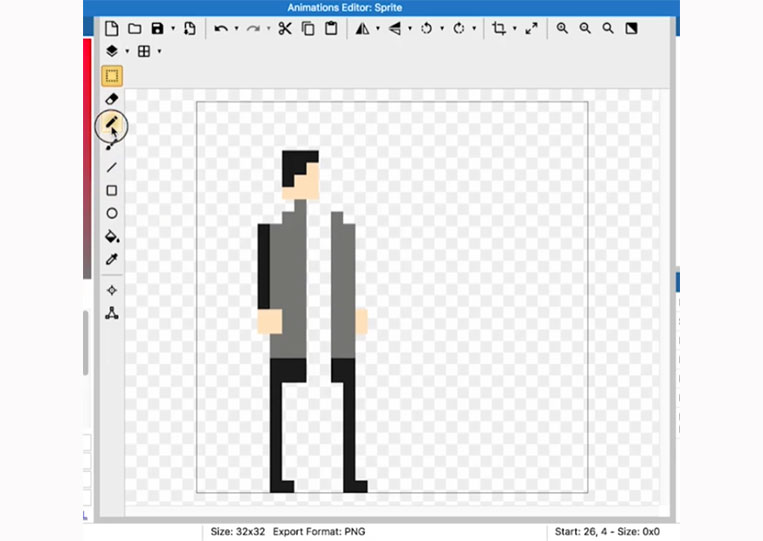
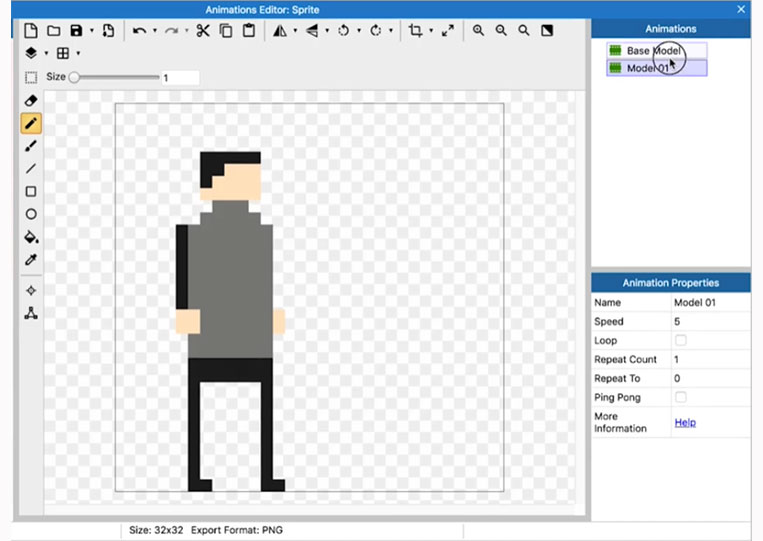
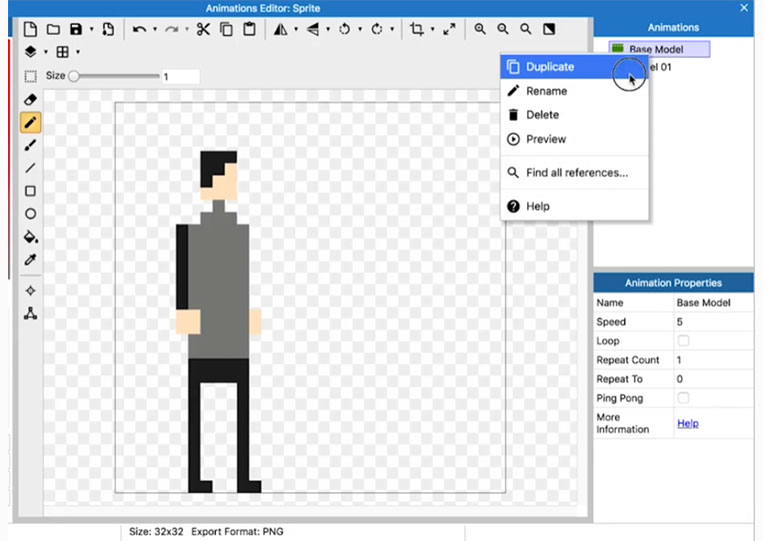
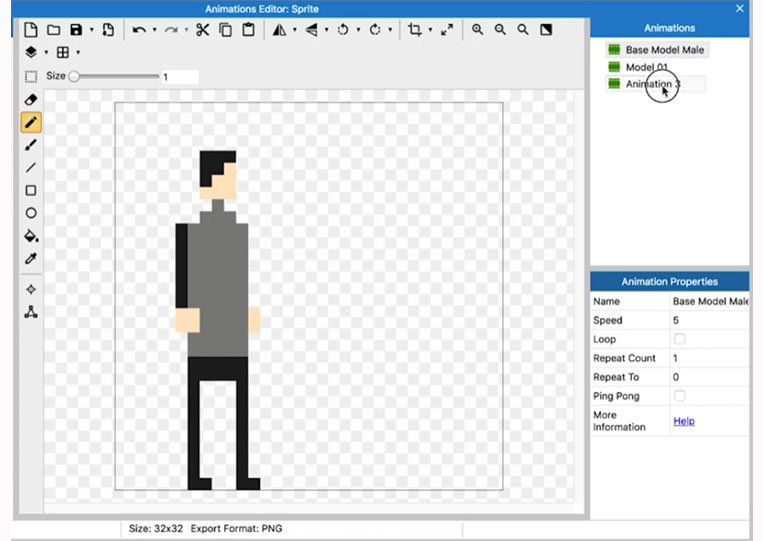
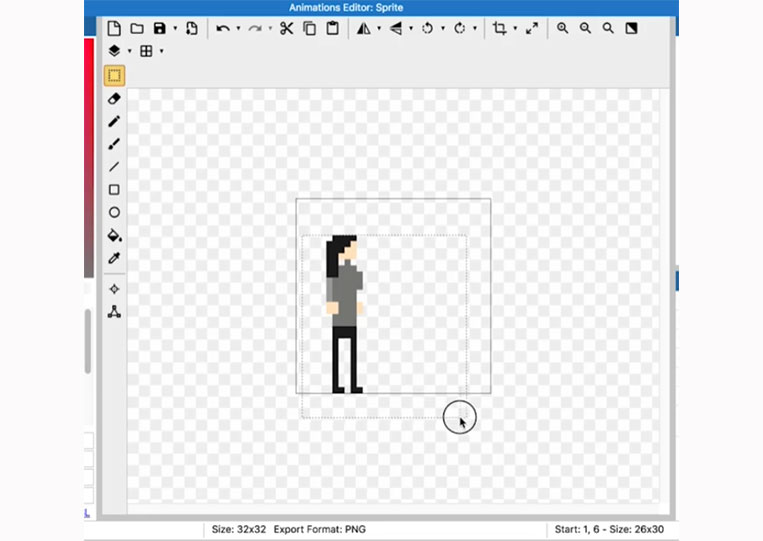
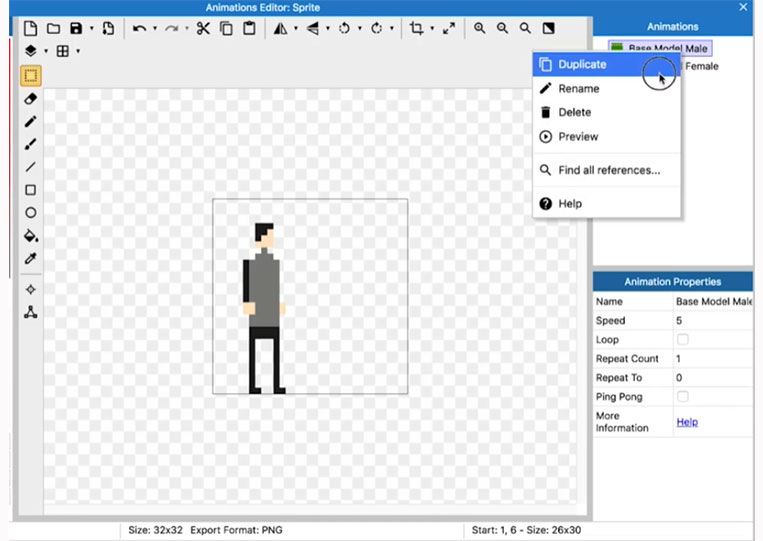
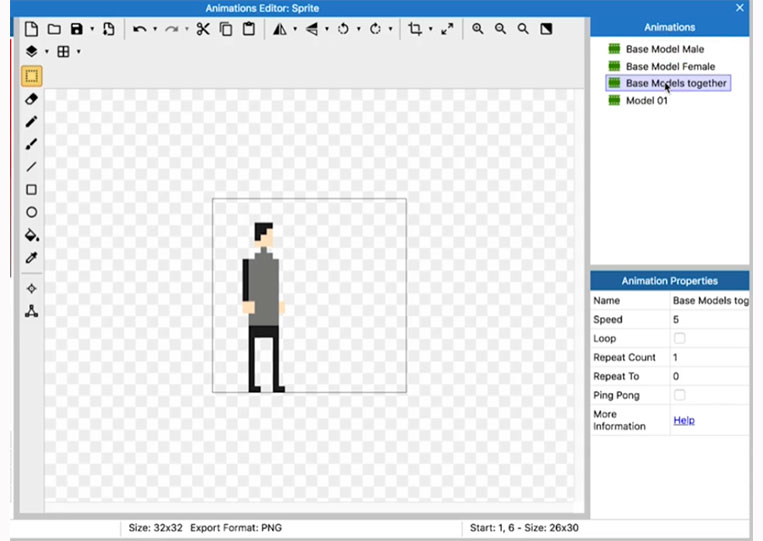
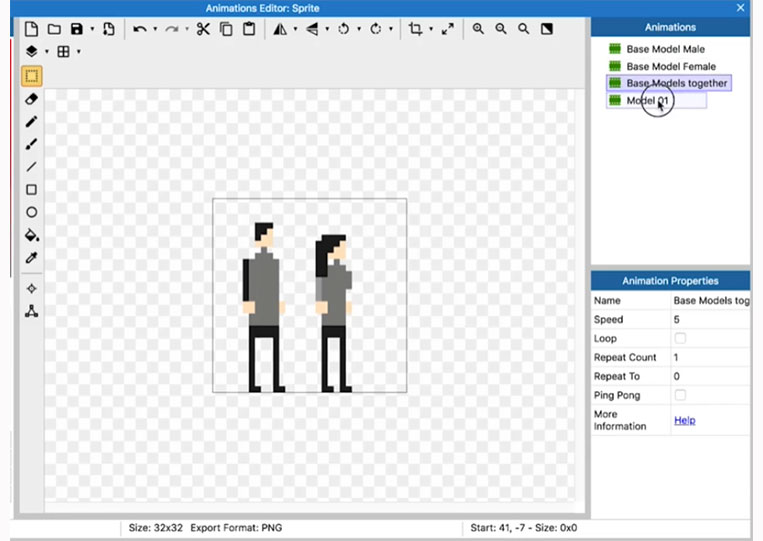
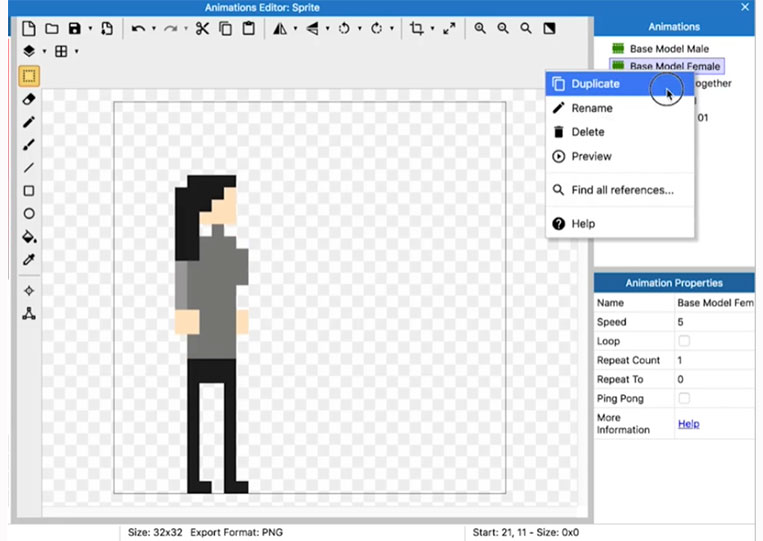
That’s not too bad. First, I call Animation 1 the Base Model and then let’s duplicate it.
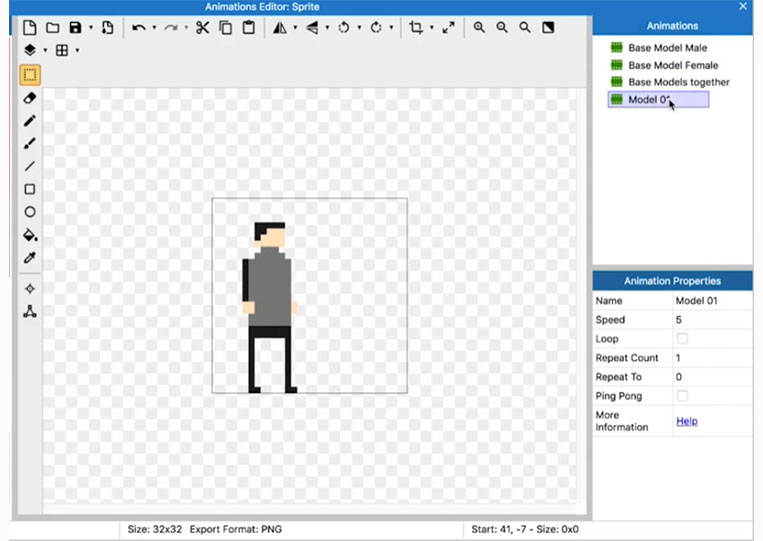
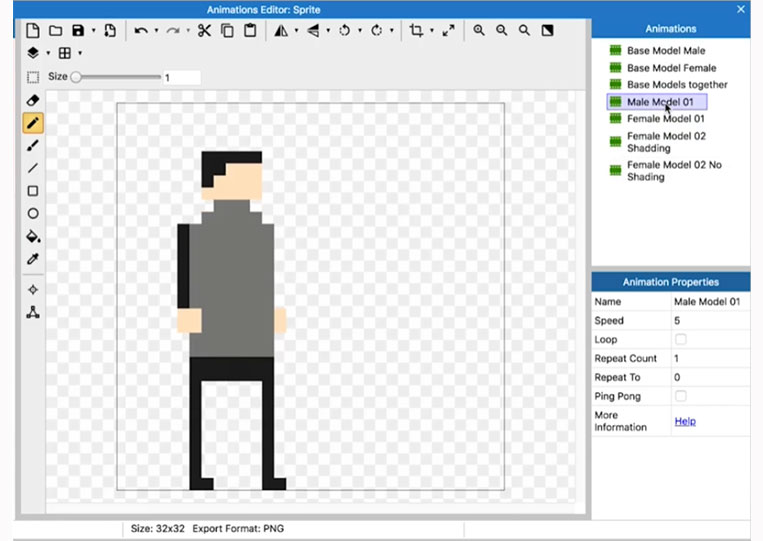
We’ll call this Model 01.

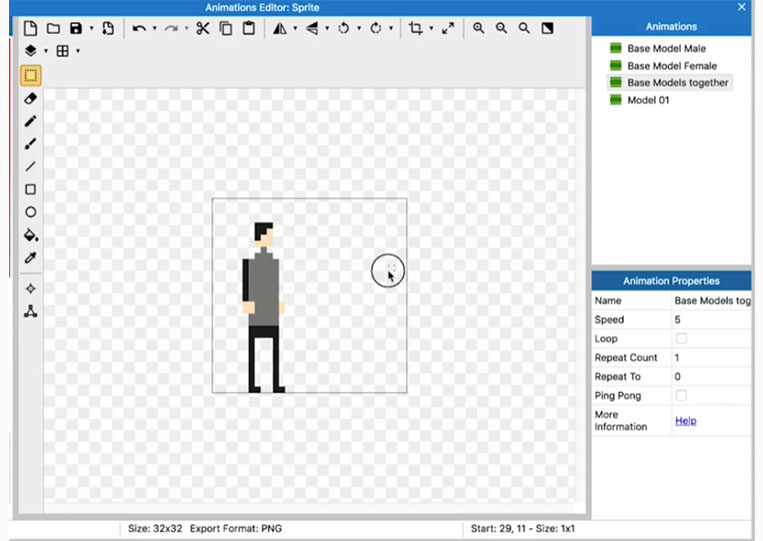
We can do many things with this model.
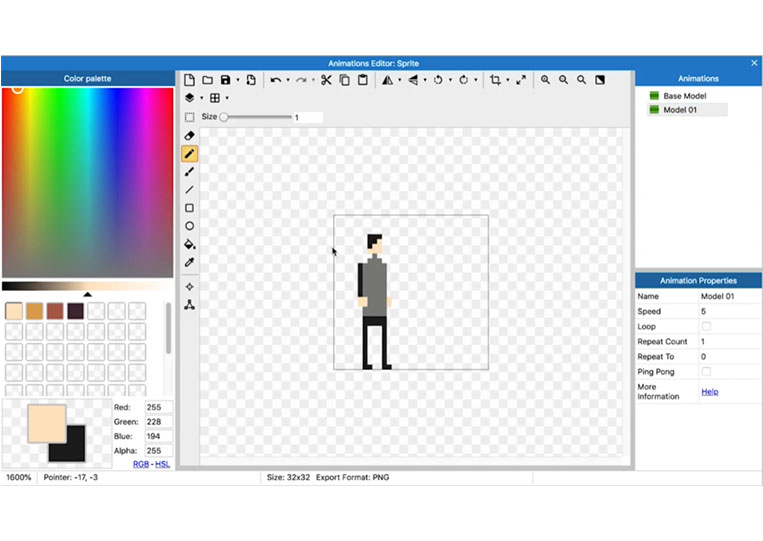
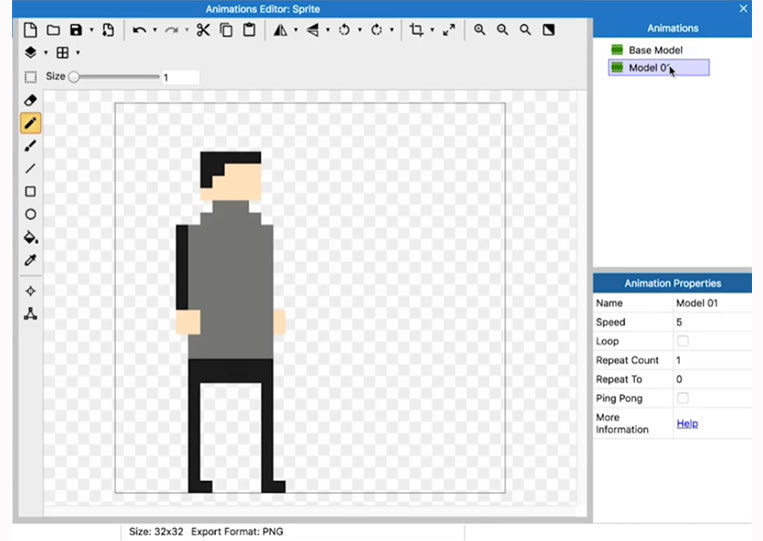
We can move it over, and you can have a different-sized character.

I move it out like that.


We’ll add-in.
We can make it a bit bigger.


By the way, note they don’t have eyes.
This character is bigger, as you can see. It still works.
We’ve got the original model and an extra model.

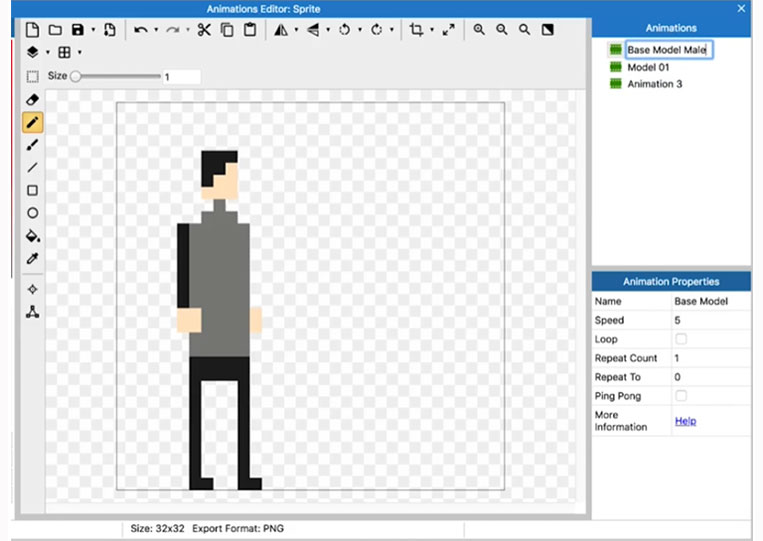
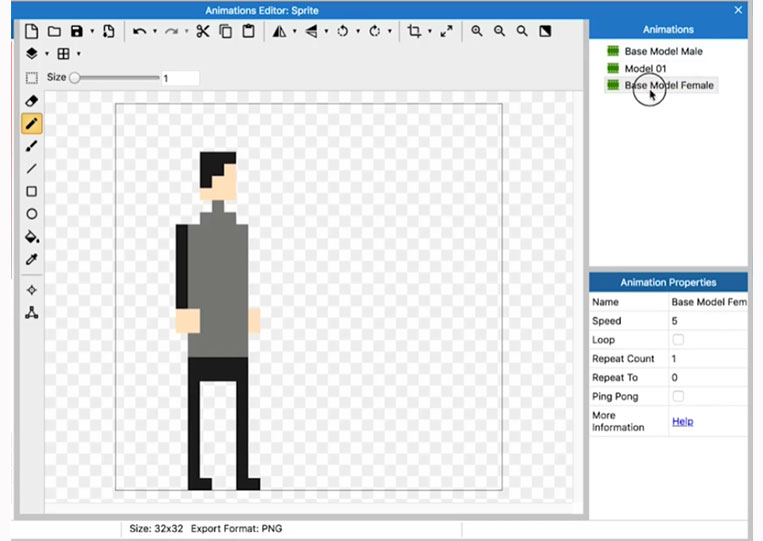
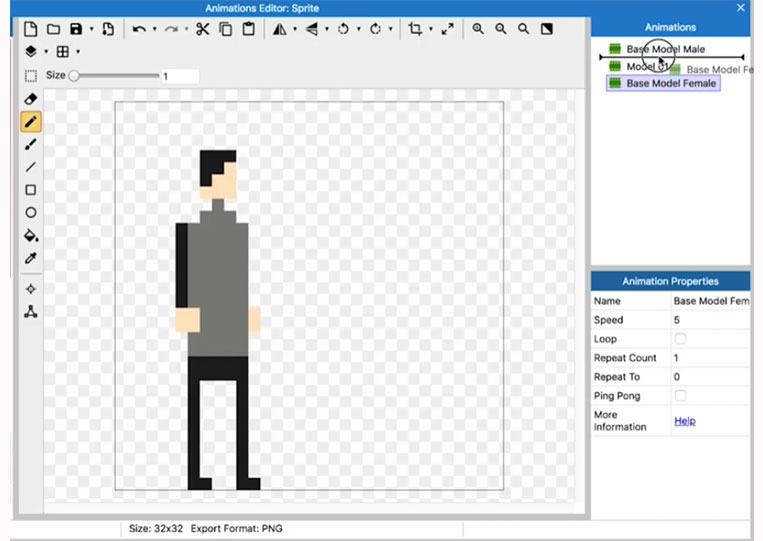
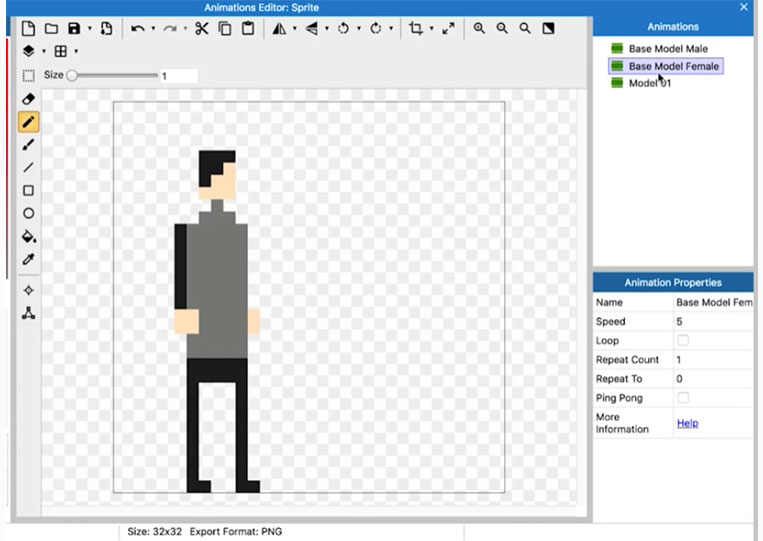
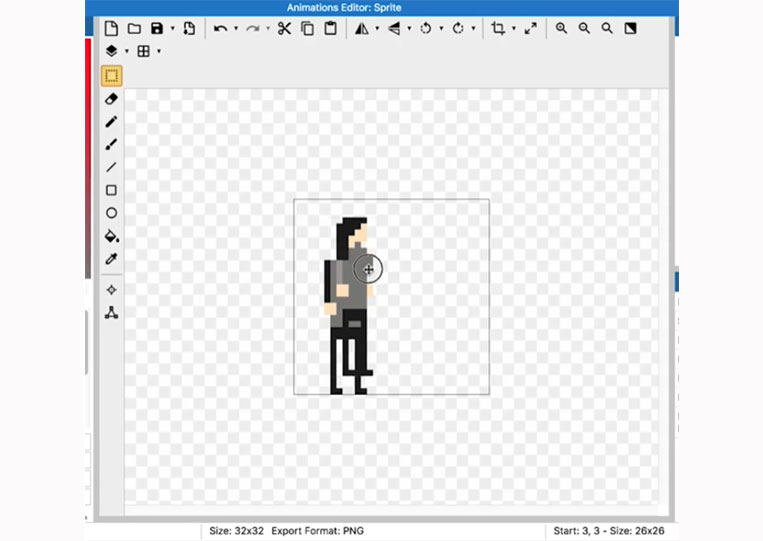
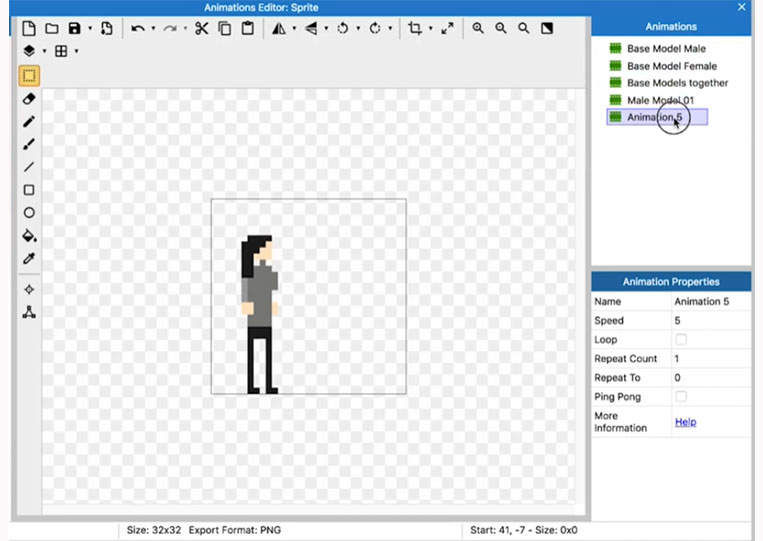
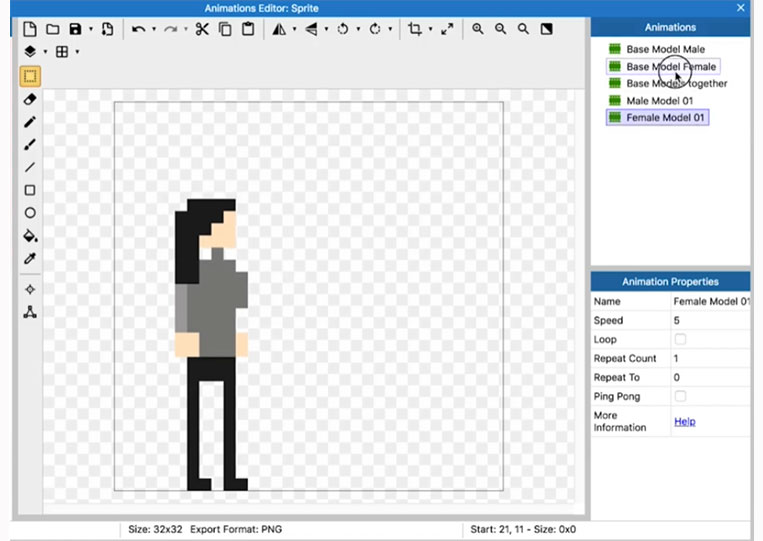
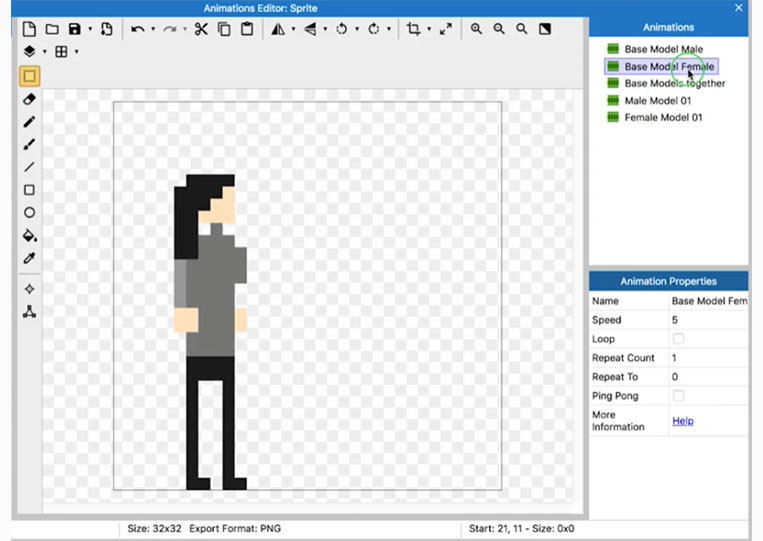
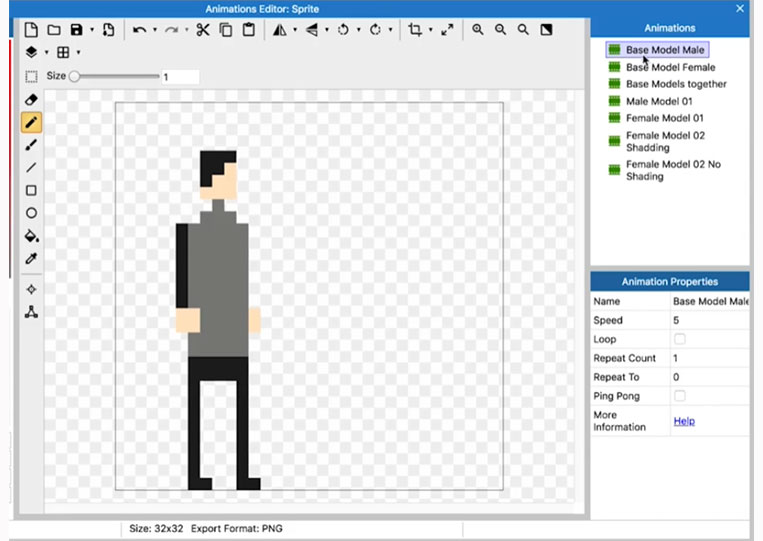
Let’s copy the Base Model again. We call the first here the Base Model Male.

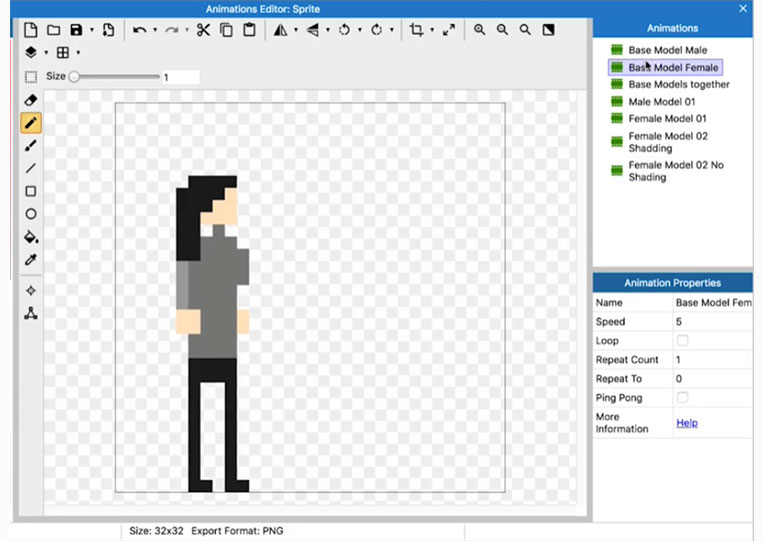
The last one is the Base Model Female.

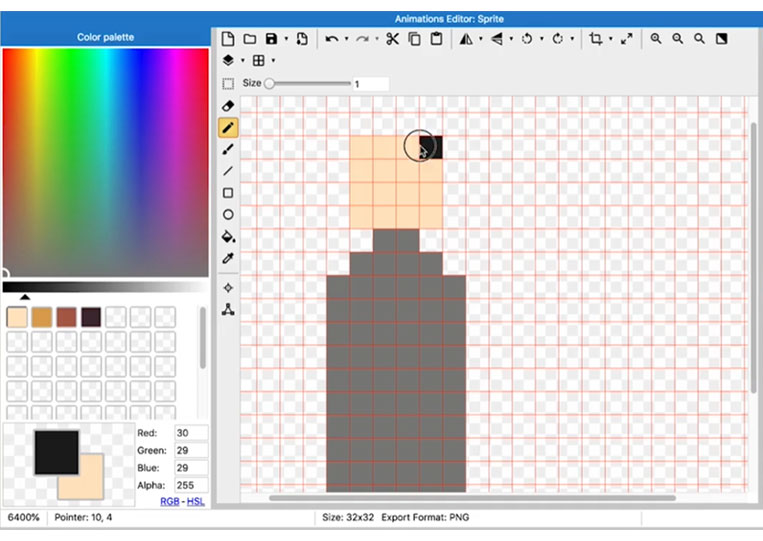
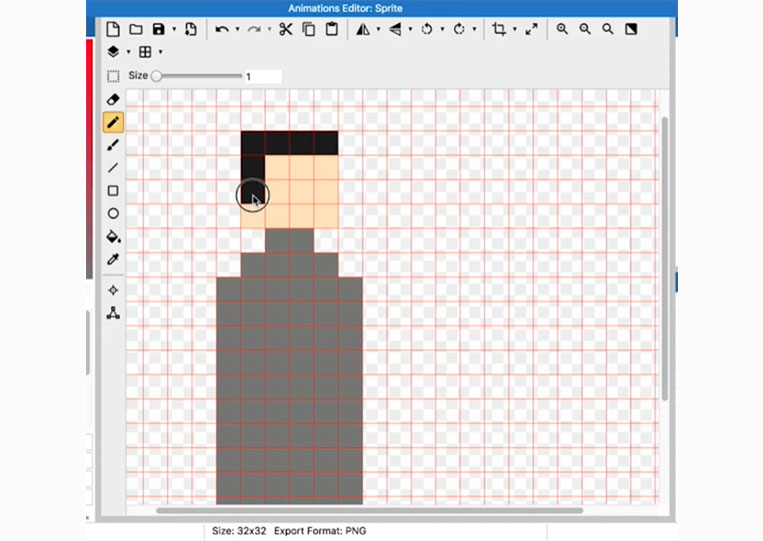
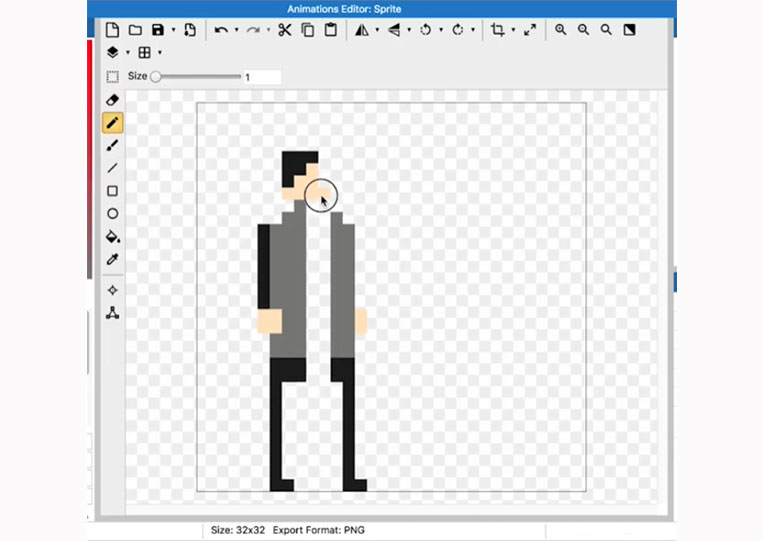
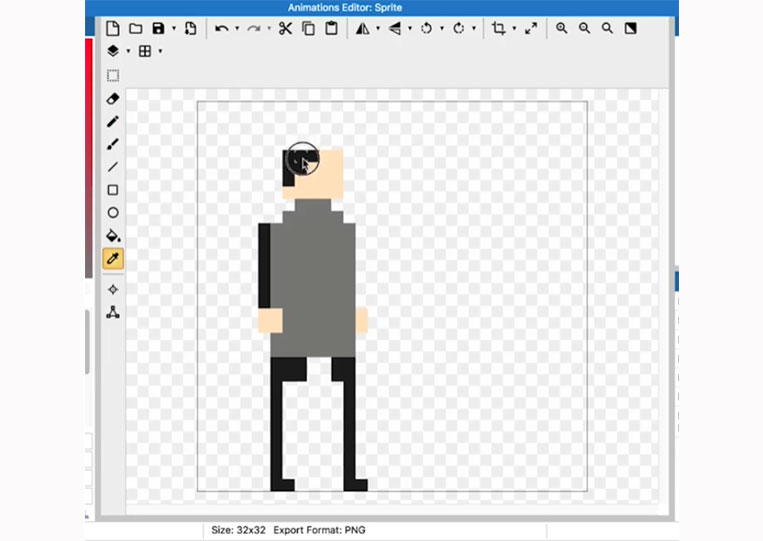
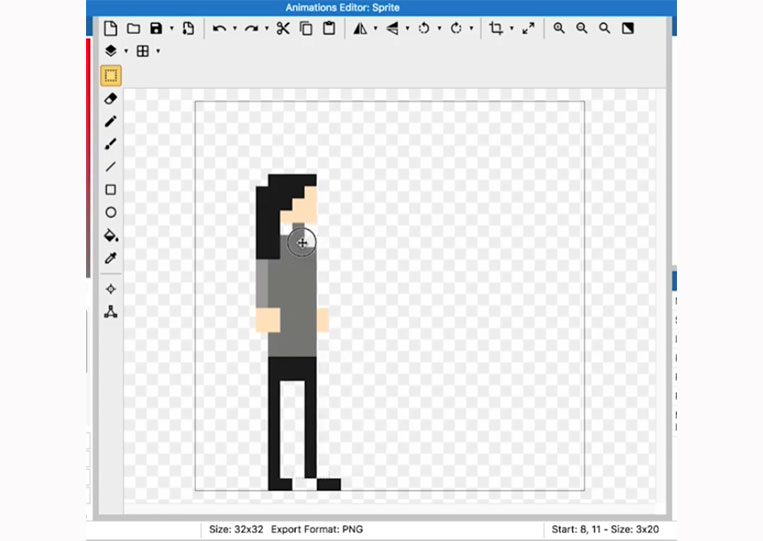
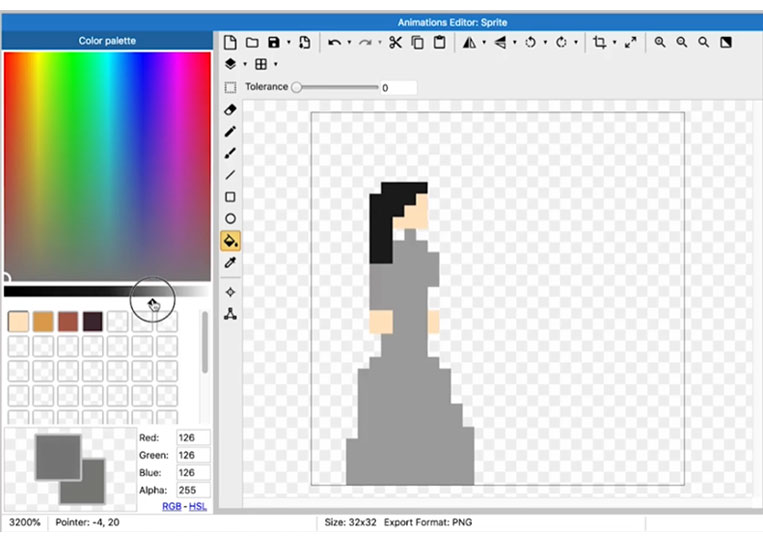
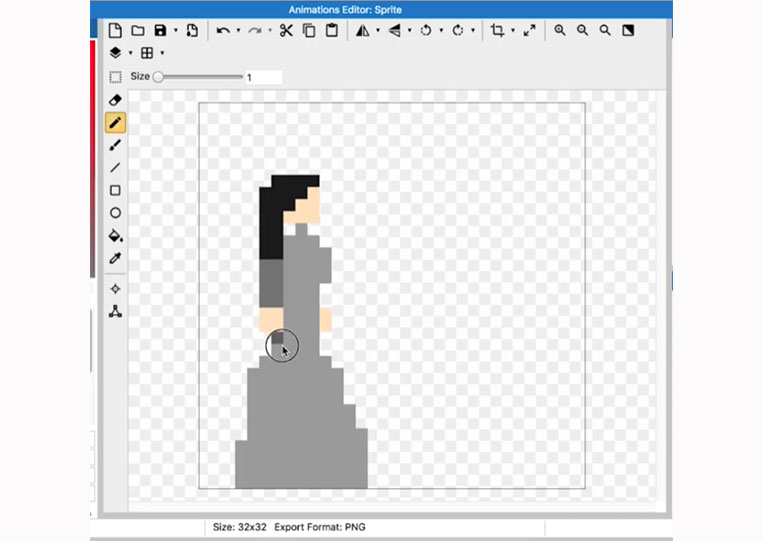
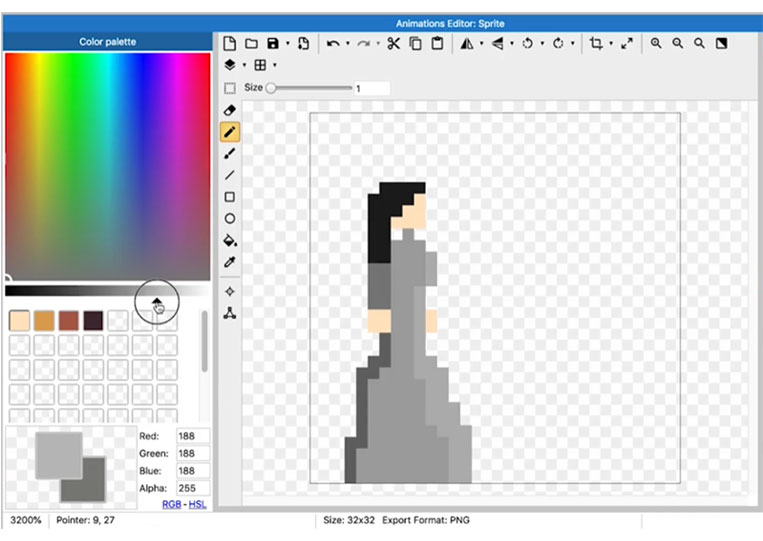
First thing, let’s add in some hair.
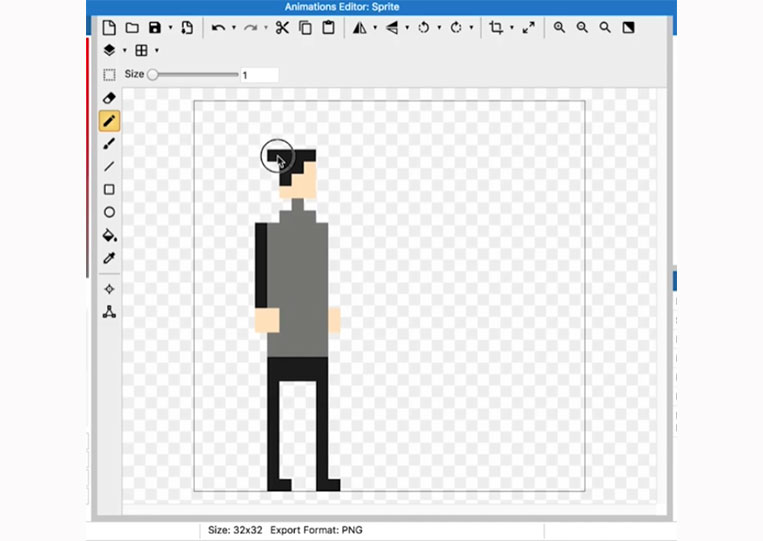
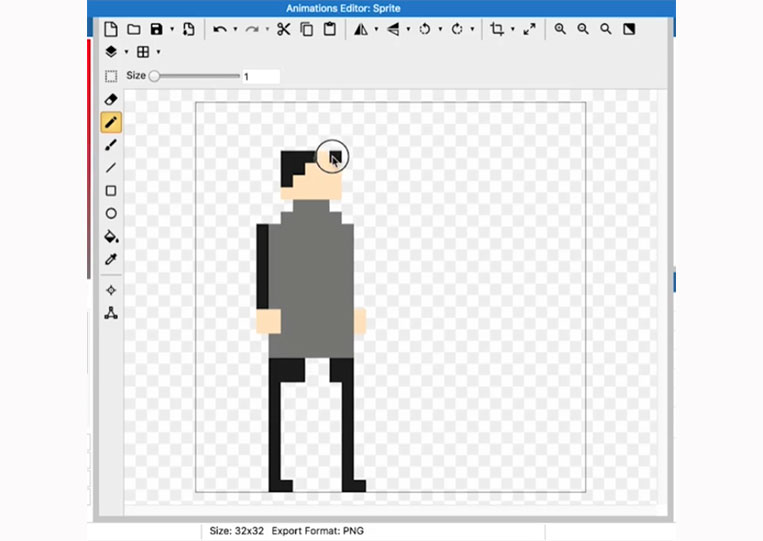
It looks pretty good. Let’s change the color of the arm.

Then go back to hair color.
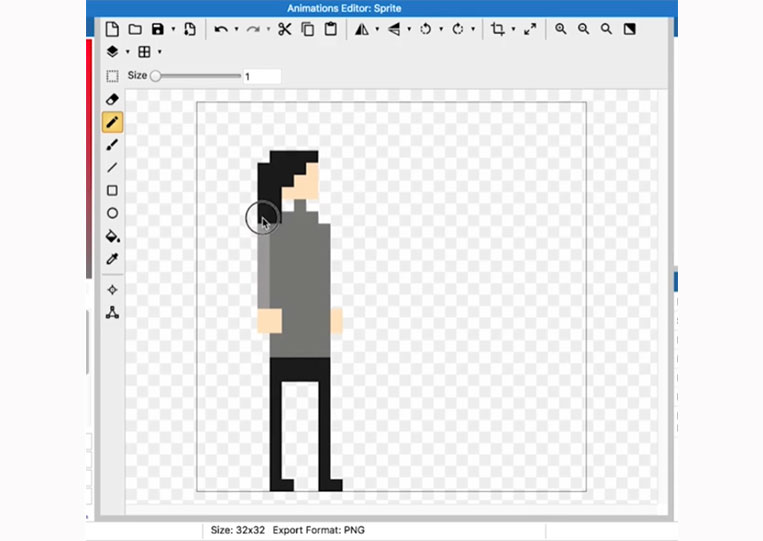
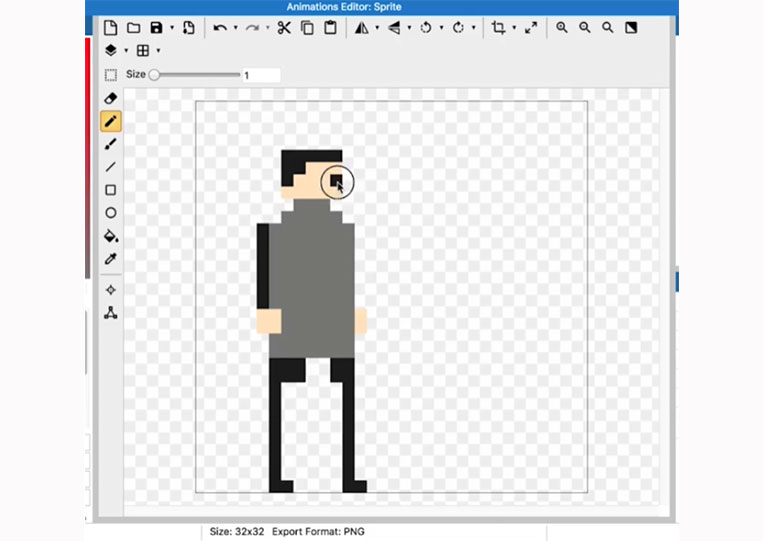
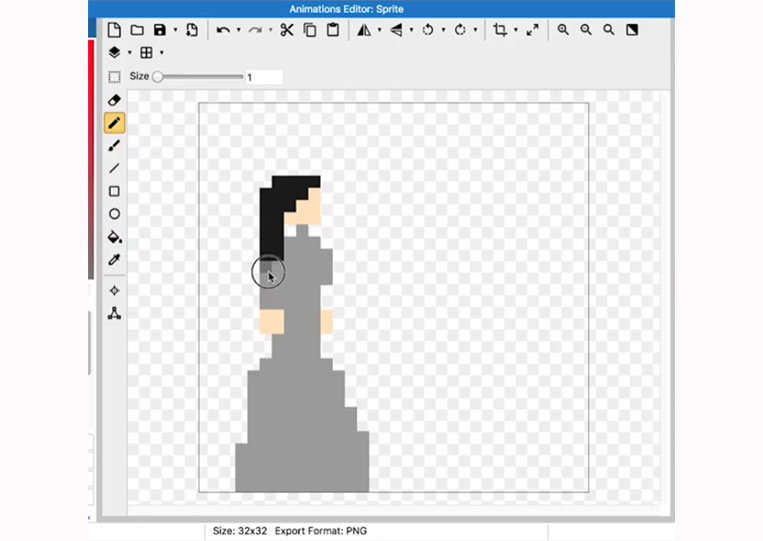
Let’s make it a bit longer.
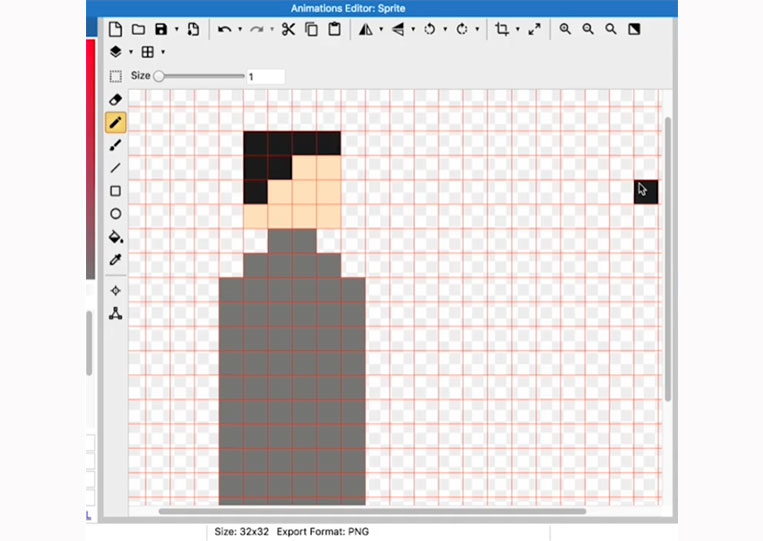
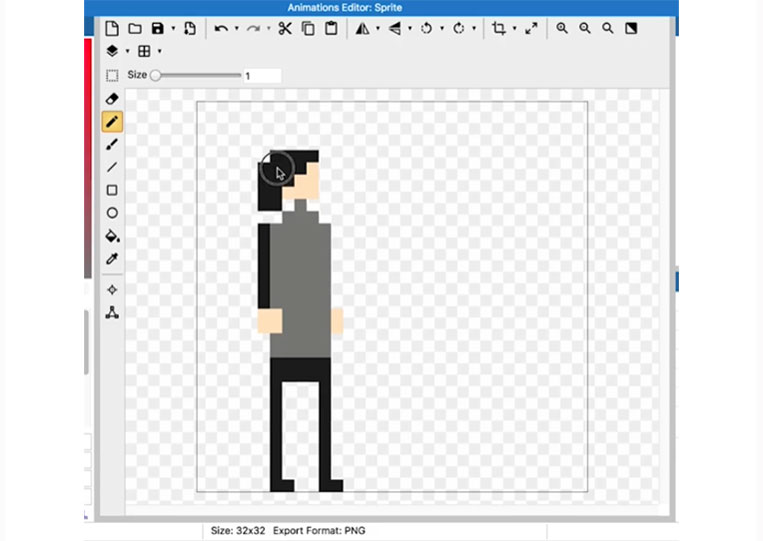
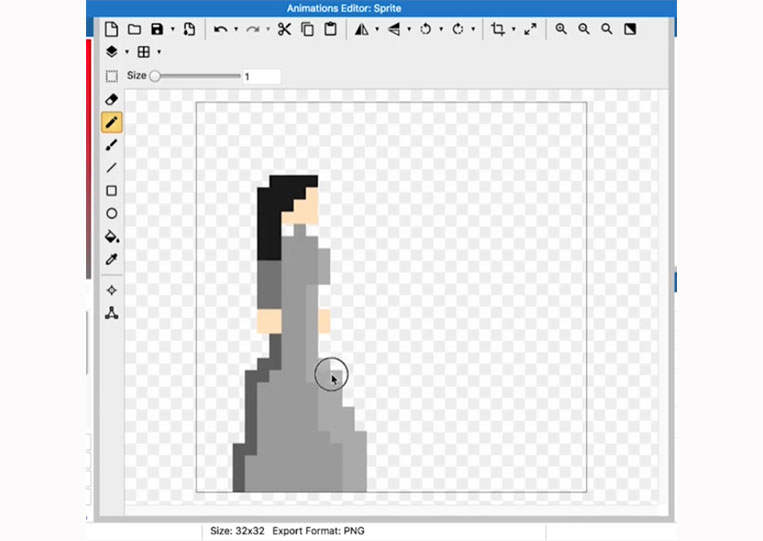
I think it looks pretty good. Let’s do a few other things. First, make it a bit shorter.


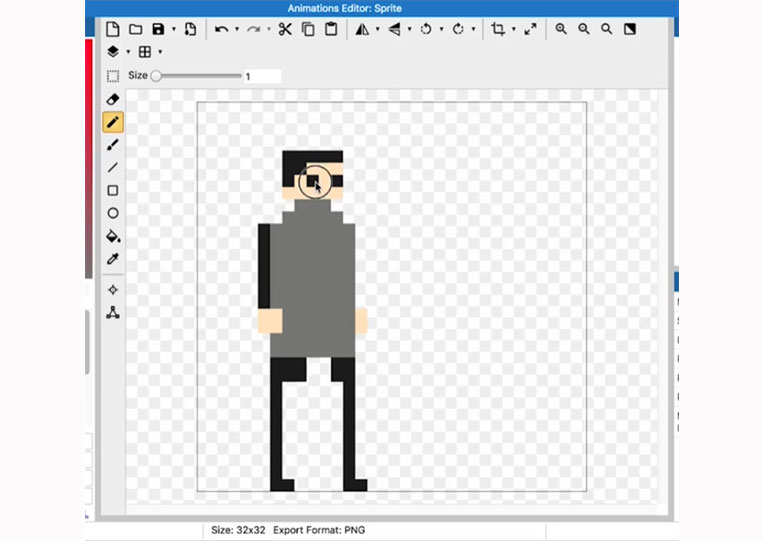
Then we can experiment with moving it in.

I think it looks a little better. We want to make sure we get everything.

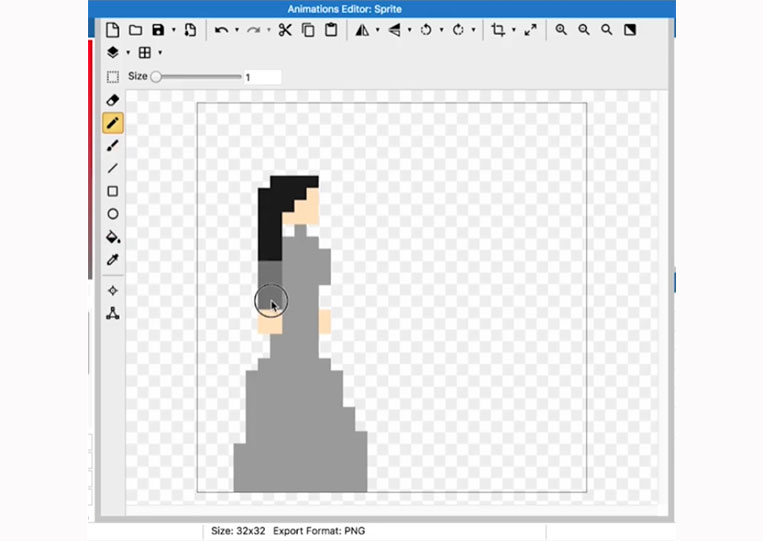
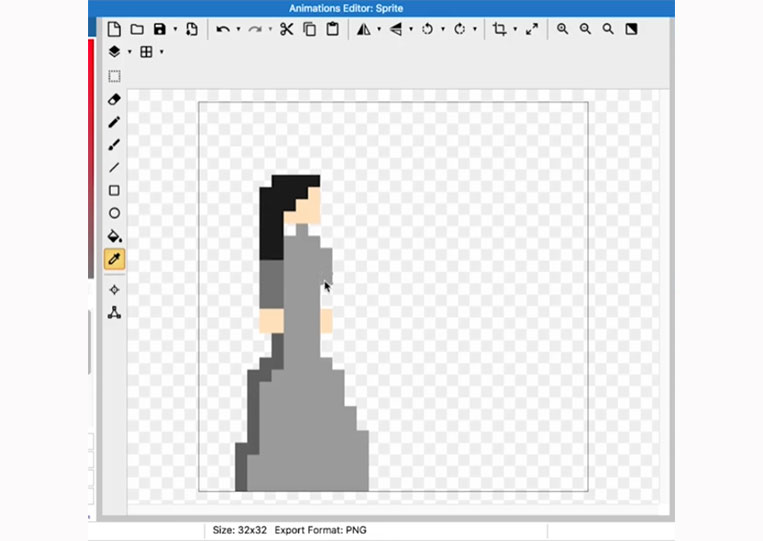
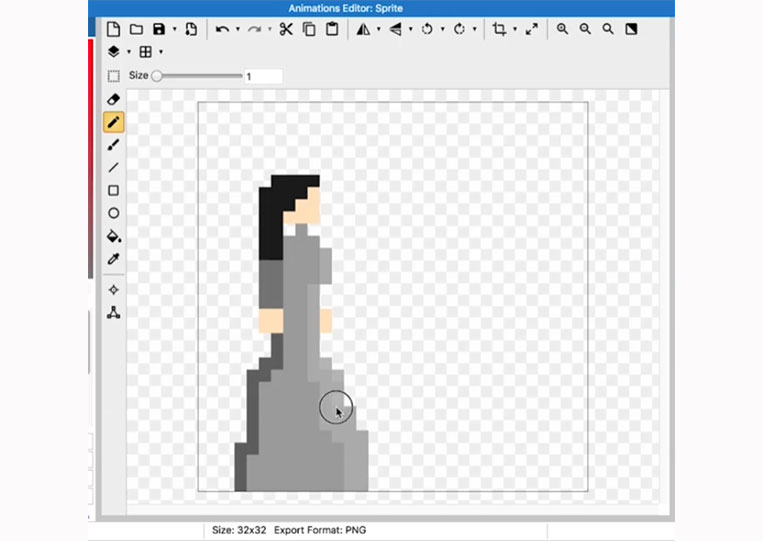
That’s starting to look a little better here. I can add the chest area.

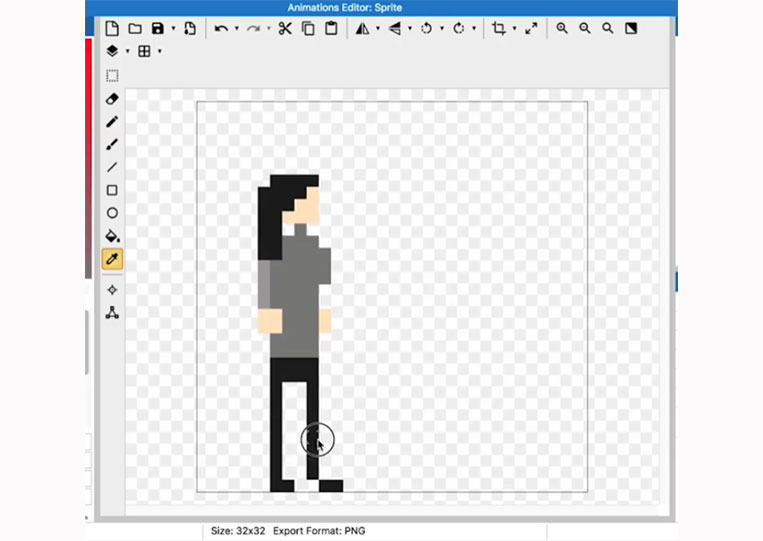
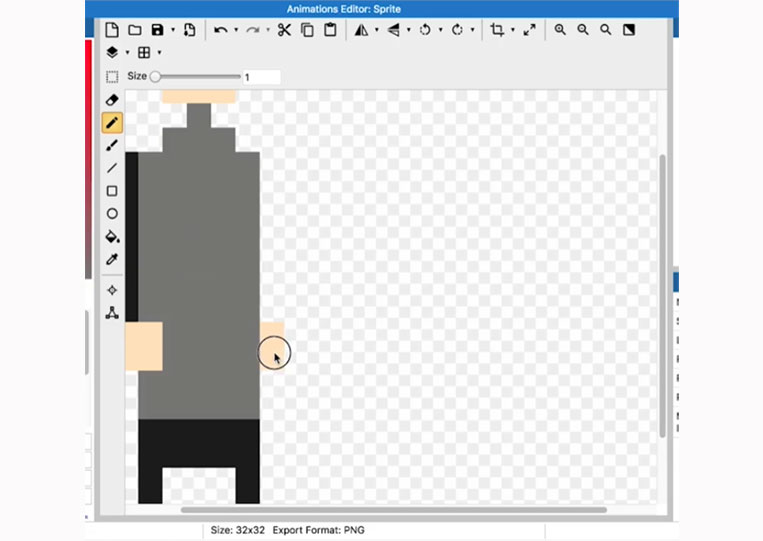
That’s starting to look pretty good. Next, we will take the Eraser tool.


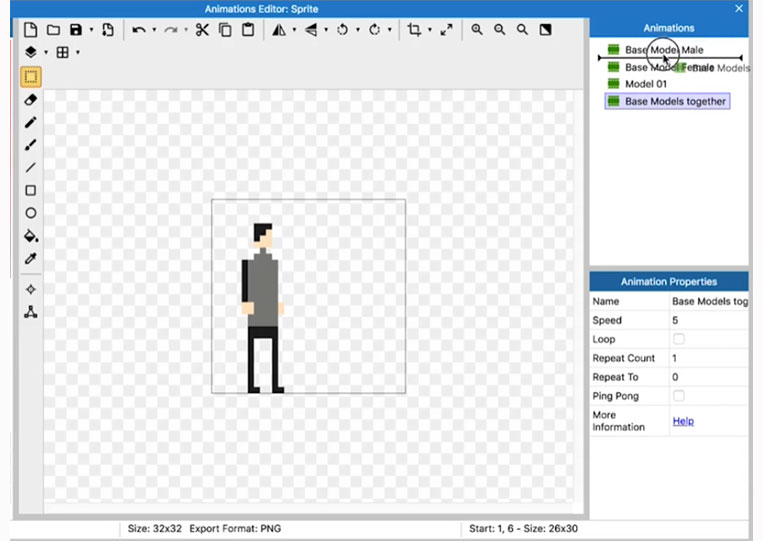
We have Base Female Model, and that’s starting to look pretty good. So now, let’s copy it, and we’ll call it the Base Models together.


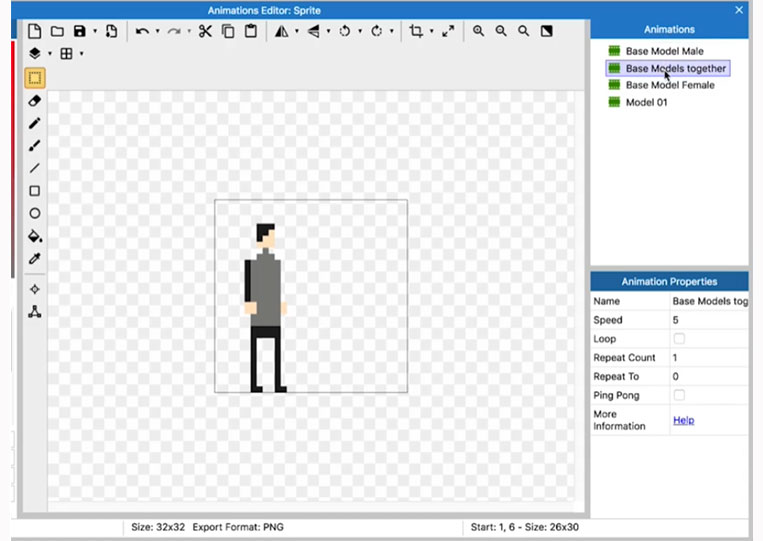
I will paste it here.
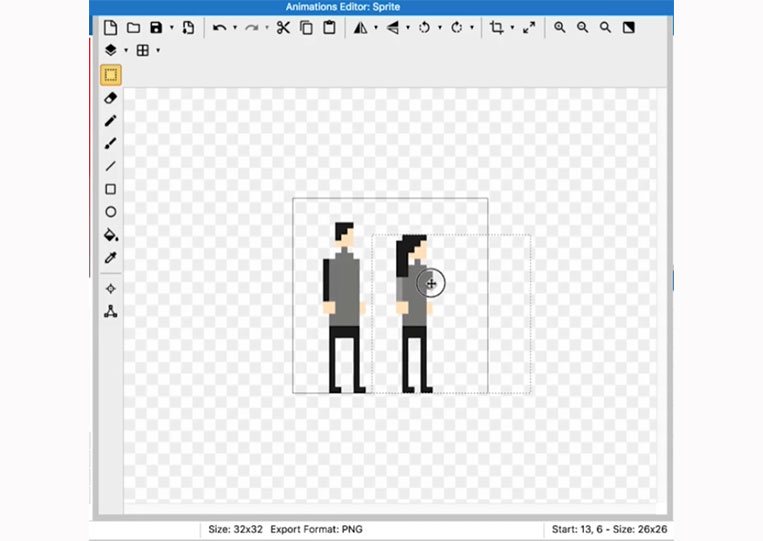
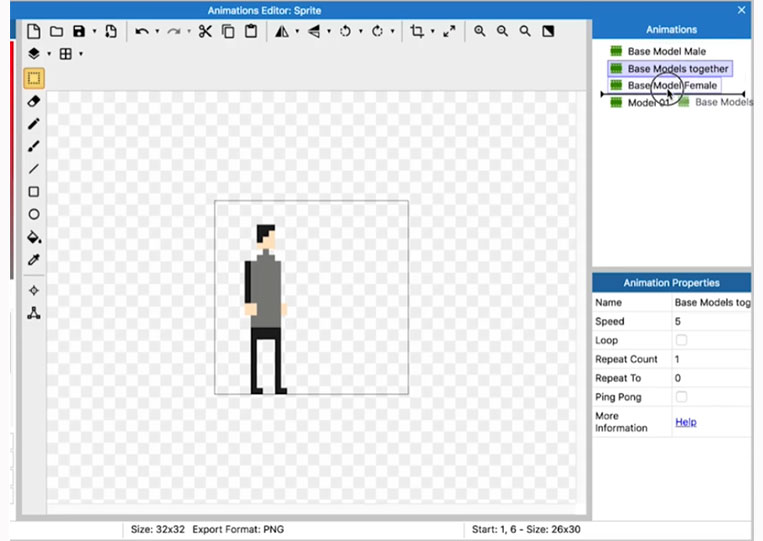
You can see that we have both of these, and it’s starting to look pretty good. So maybe it’s better to call Male Model 01.

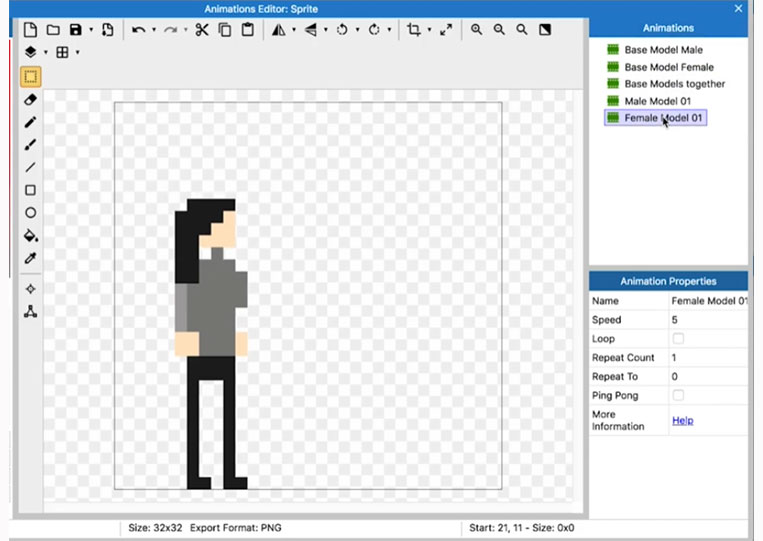
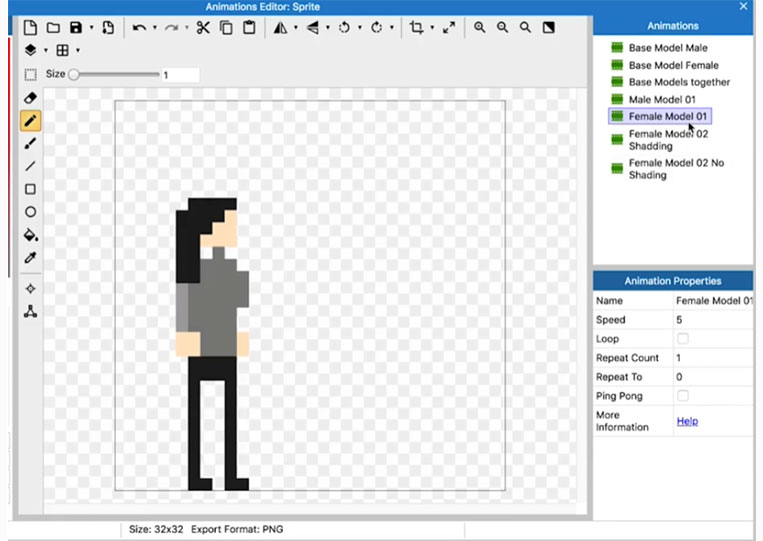
Let’s duplicate Base Model Female and name it Female Model 01.


We can take a look, and the other thing is that I still think it should probably be a bit shorter than it is now. Maybe even move it down.

You can experiment with different sizes. It also starts to look pretty.


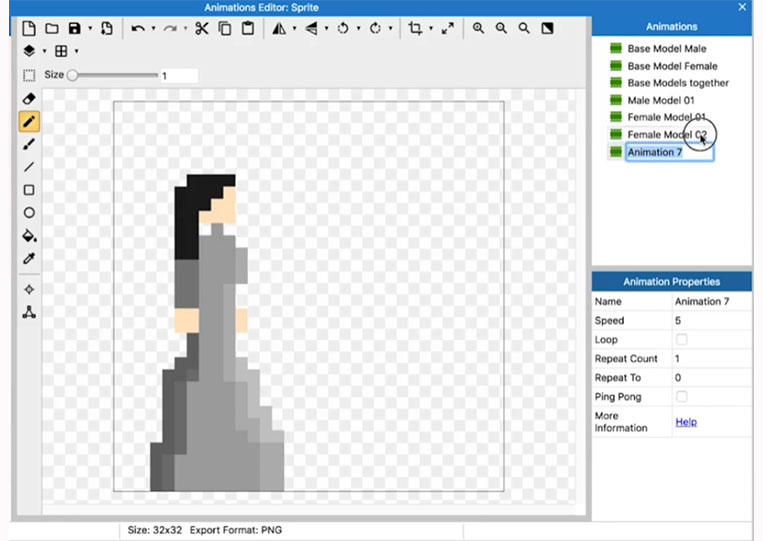
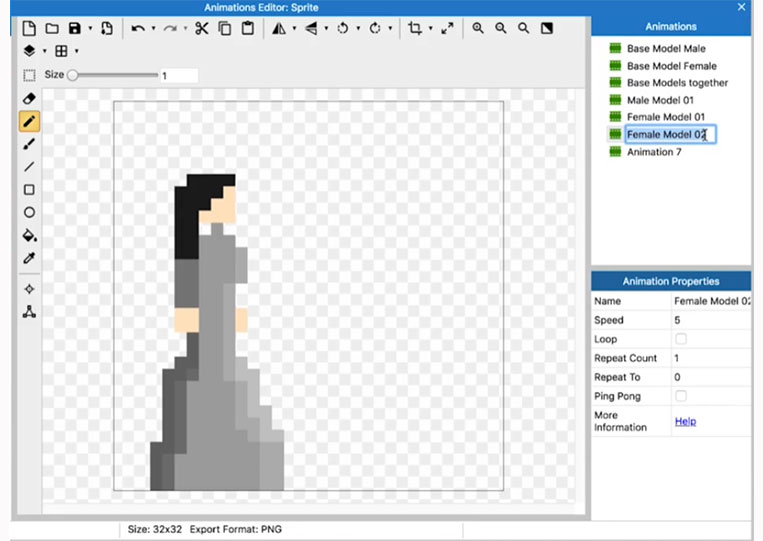
As you can see, I will also duplicate Base Model Female, and we’ll call it Female Model 02.


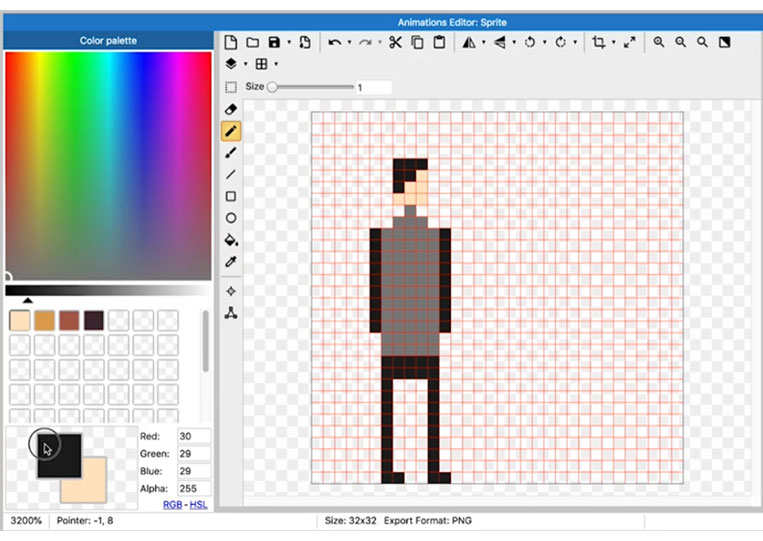
You can add in extra items. For instance, I’m going to take the color here.
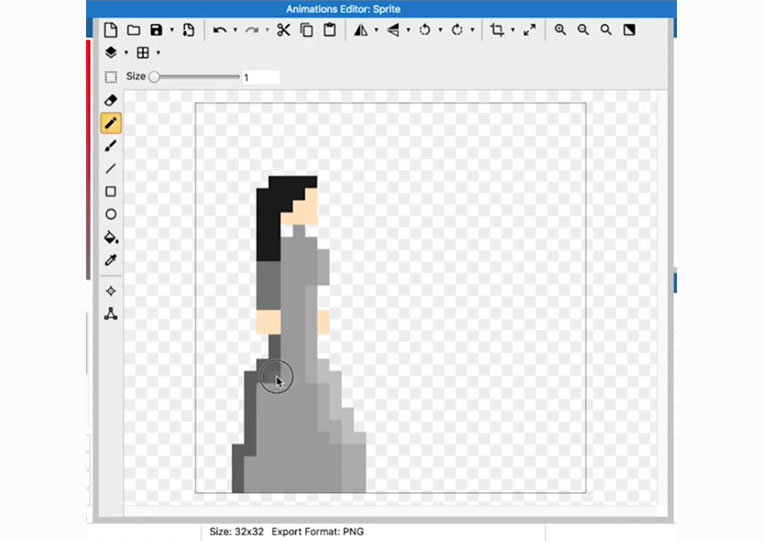
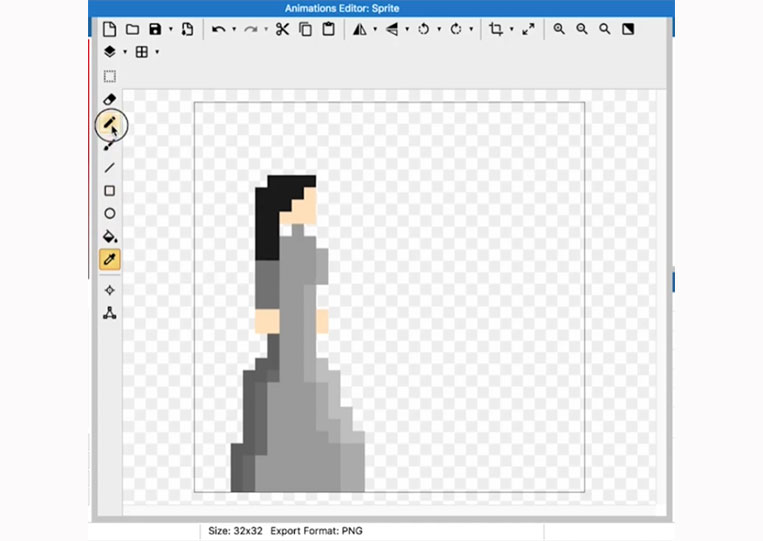
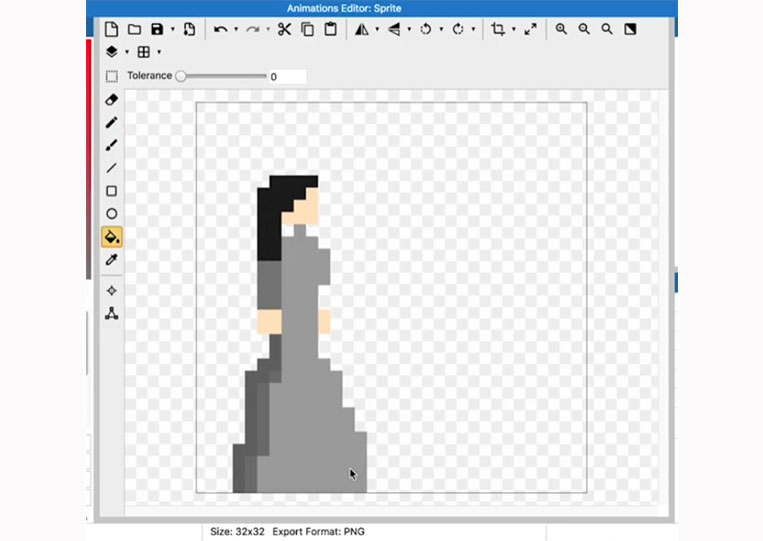
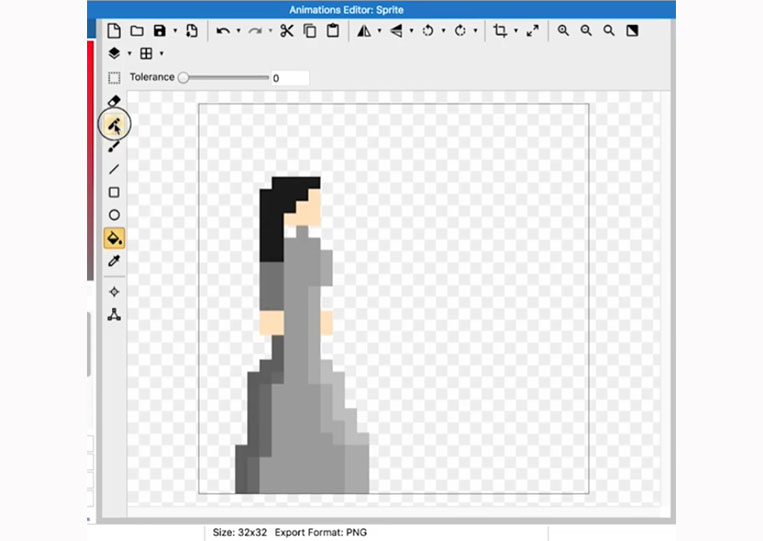
It might be better if I take a completely different color so you can add a dress or something like that.

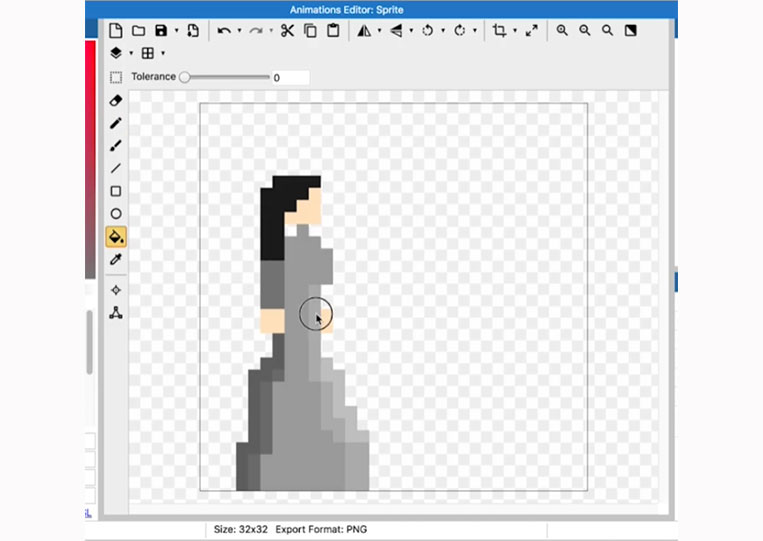
We can use the Fill tool to fill everything.

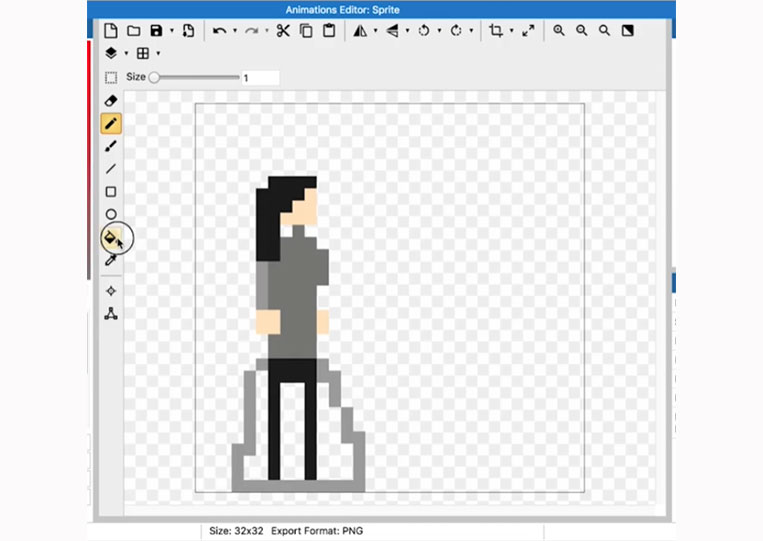
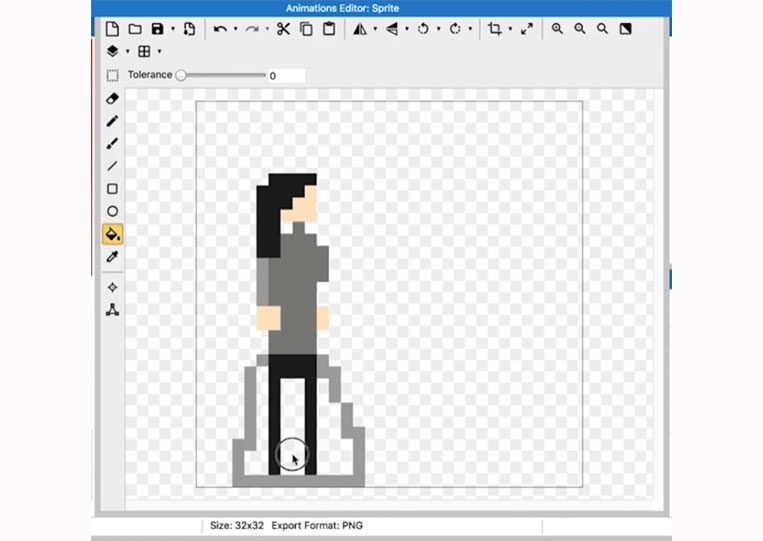
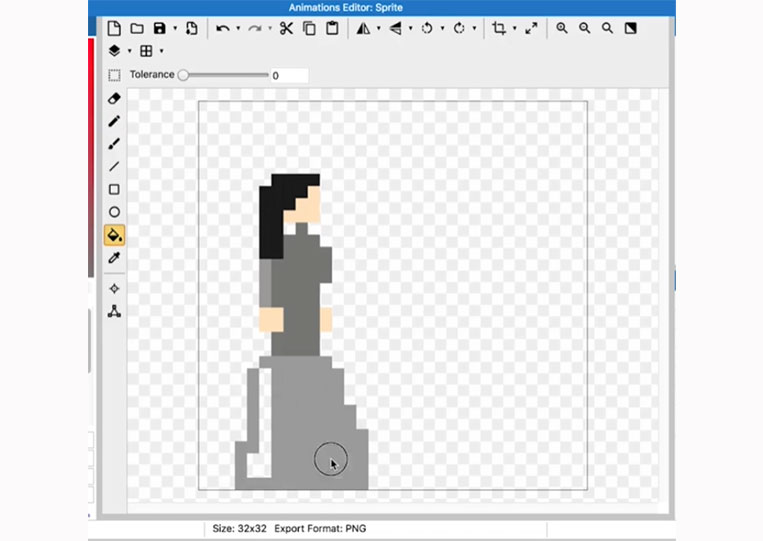
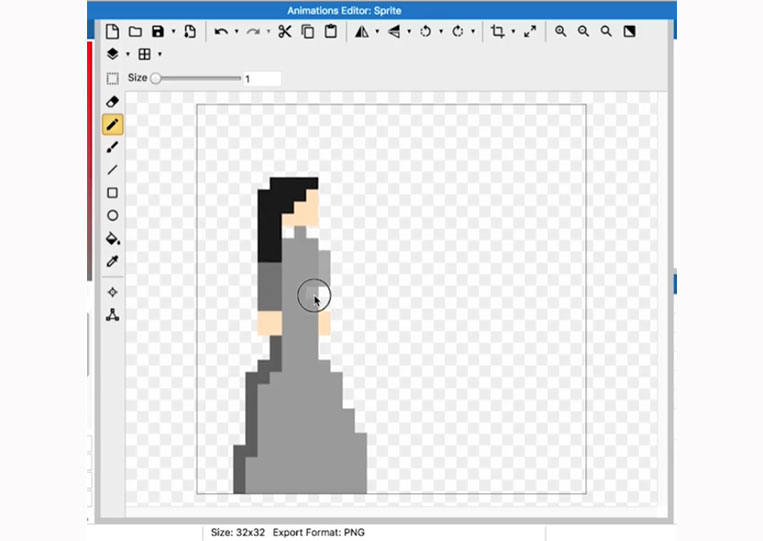
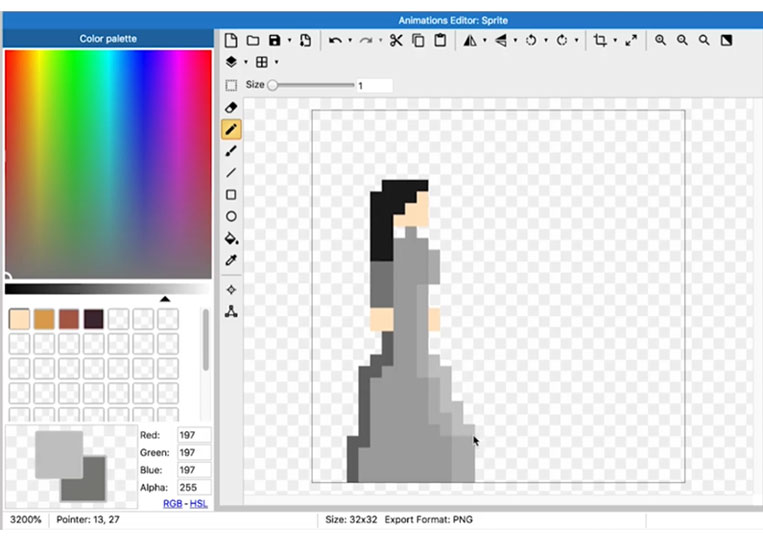
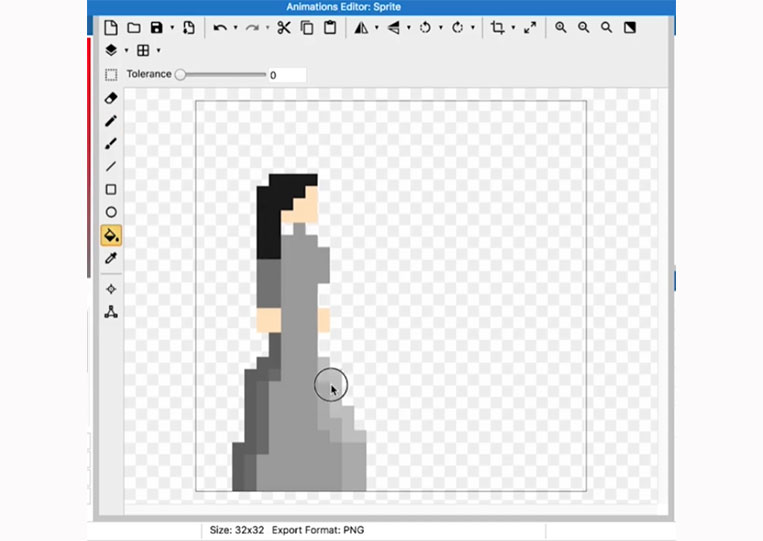
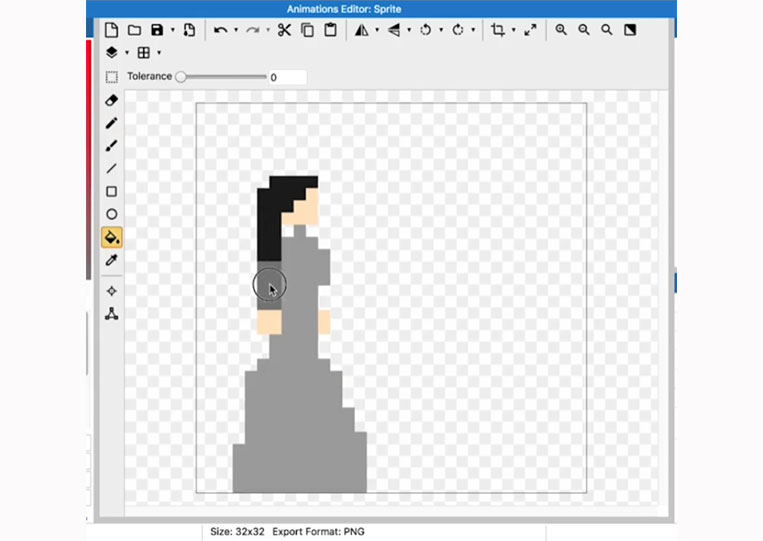
You can see that we currently have a pretty dress here. So the question is, do you want to color it, you know, it’s all one color here as dress usually is, and then you can shade this color, and I’ll show you how to color it. Usually, the things on the side are a little darker in color.


We are using multiple colors here.
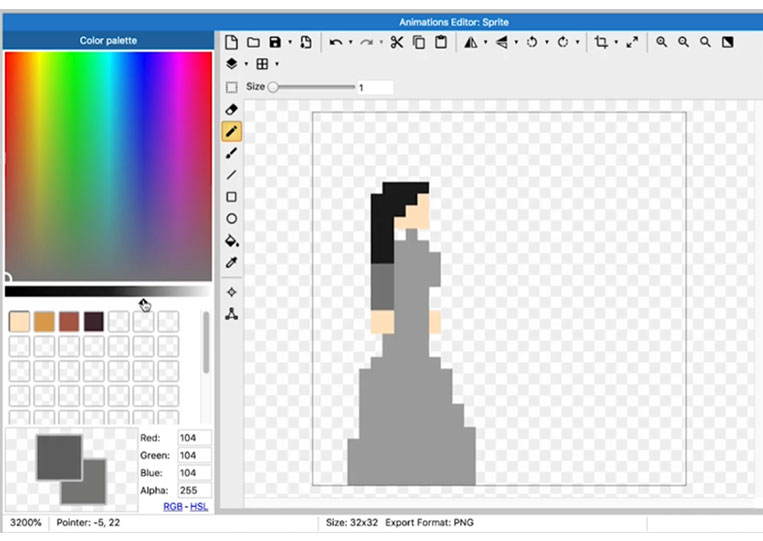

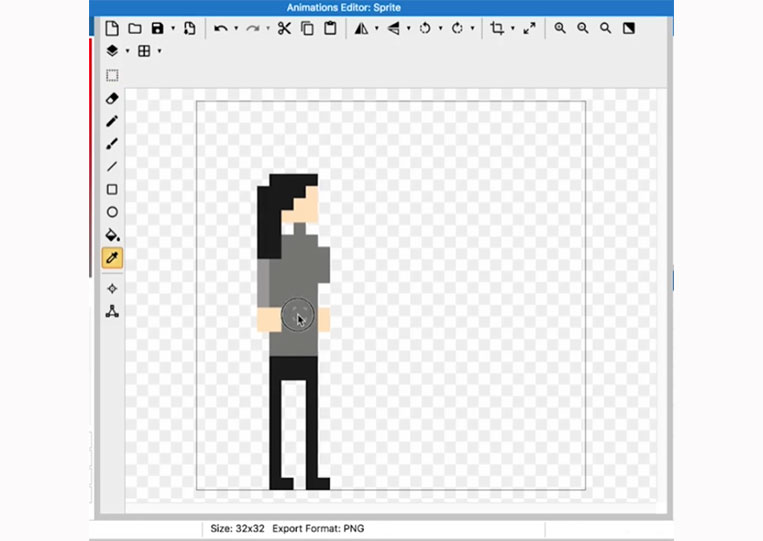
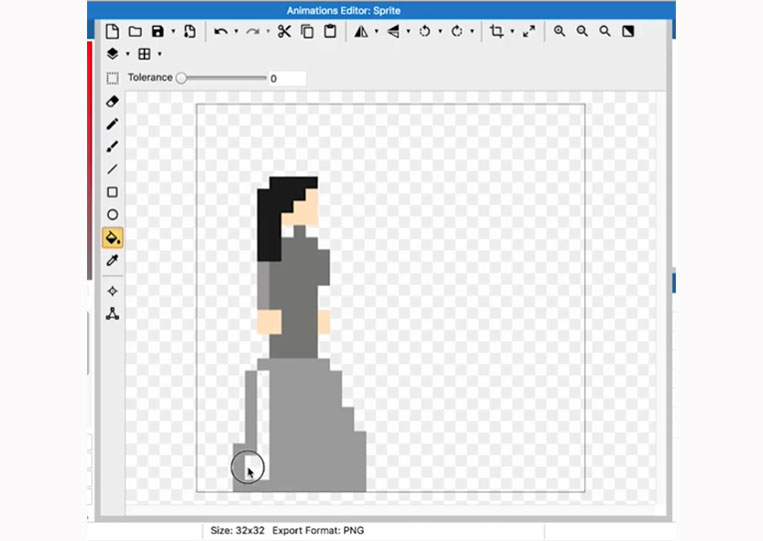
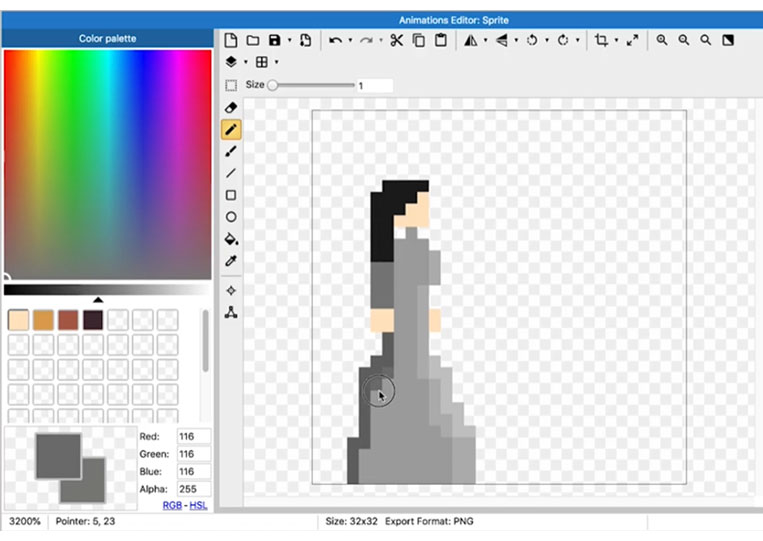
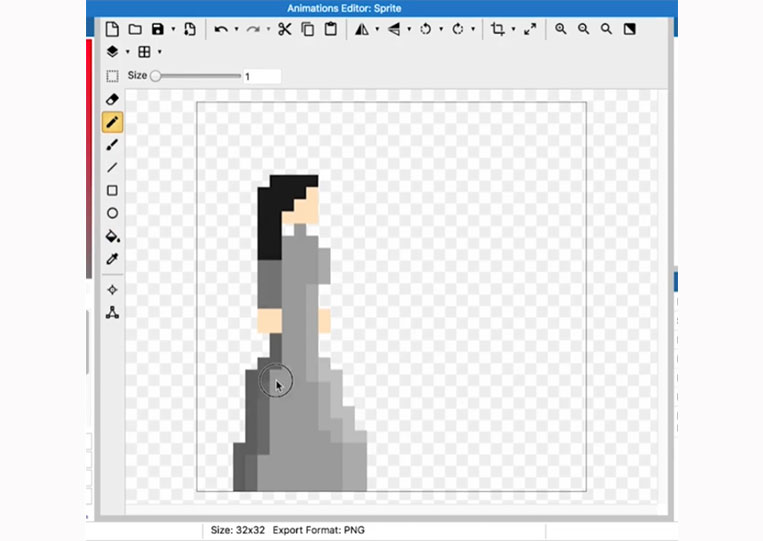
Let’s use an Eyedropper here and maybe make it a little lighter.


That’s how you make shadows.
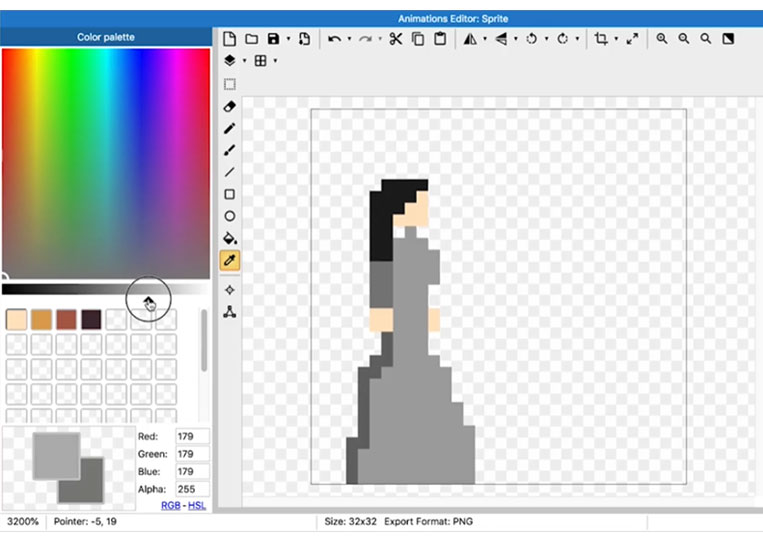


It’s not too complicated, but picking the last pixel is the easiest way. It’s starting to look pretty good. You can even do two pixels at once. Once you understand this, you can do two pixels and even go a lighter shade to do a pixel on the side.

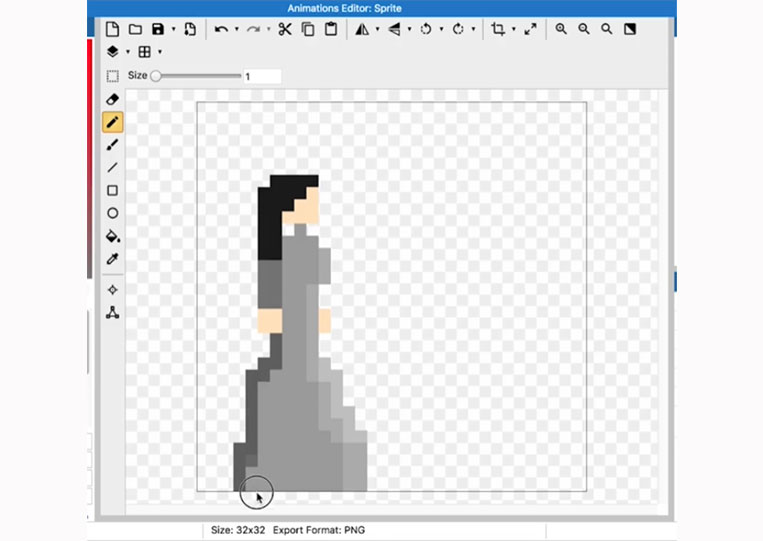
Now you have to choose a color that makes a difference.


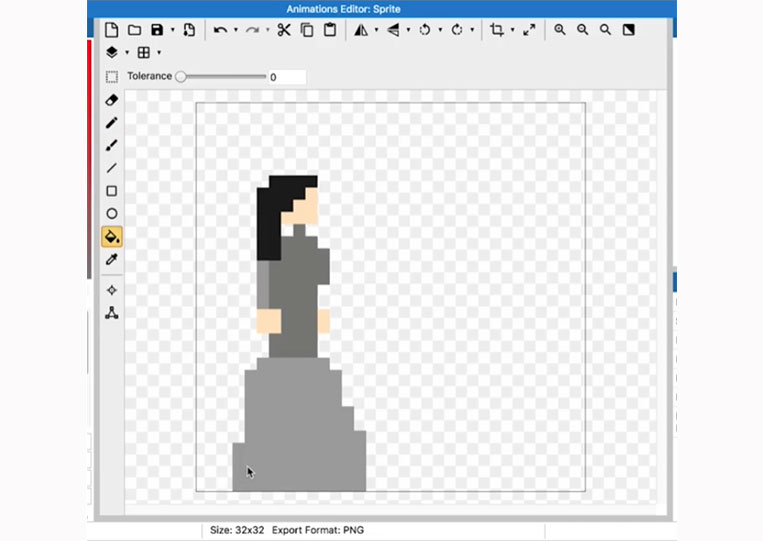
Perfect! I made it just a little lighter. I will add a shadow here.


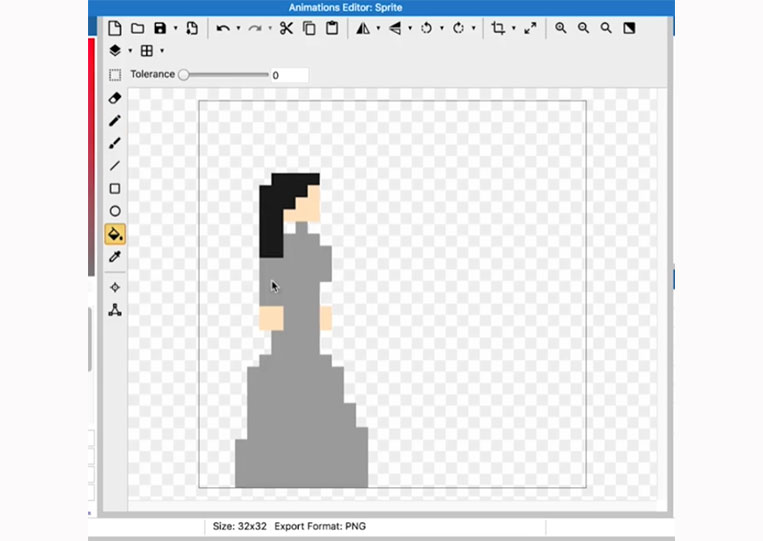
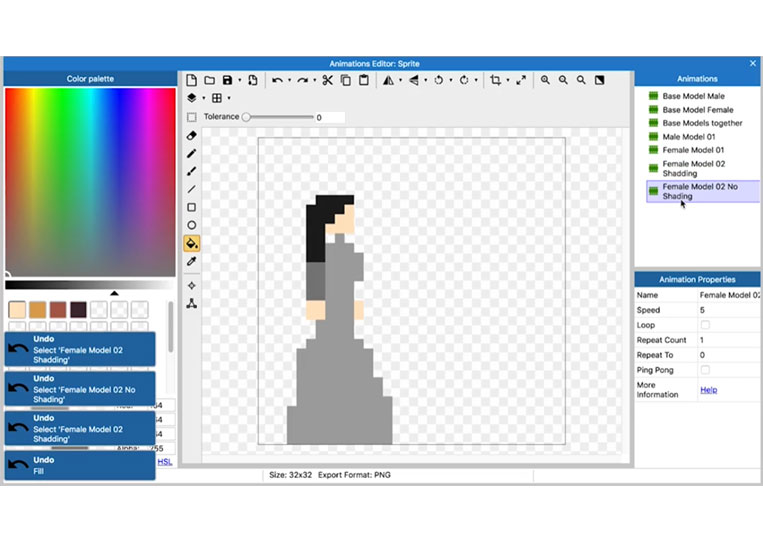
Do you want to do that or not? Sometimes simpler is better. One note about shading, however, is that if you shade too many shadows, it will take a long time for your characters. Remember, if you do shading on a surface, you must do them roughly on all characters. So to the same extent, it won’t work, or people will notice. Therefore, let’s clone Female Model 02, then we will rename it Female Model 02 Shadding and name Animation 7 to Female Model 02 No Shading.


We’ll test with No Shading, then compare them.

So I will drop the shadow and undo what I just did, which seems counter-intuitive.


It depends on you.


There can be a bit of shading here.
I do it like this, just a little shade here. I like this model a little more. Unfortunately, there are too many shadows in Shadding, so let’s take it down.


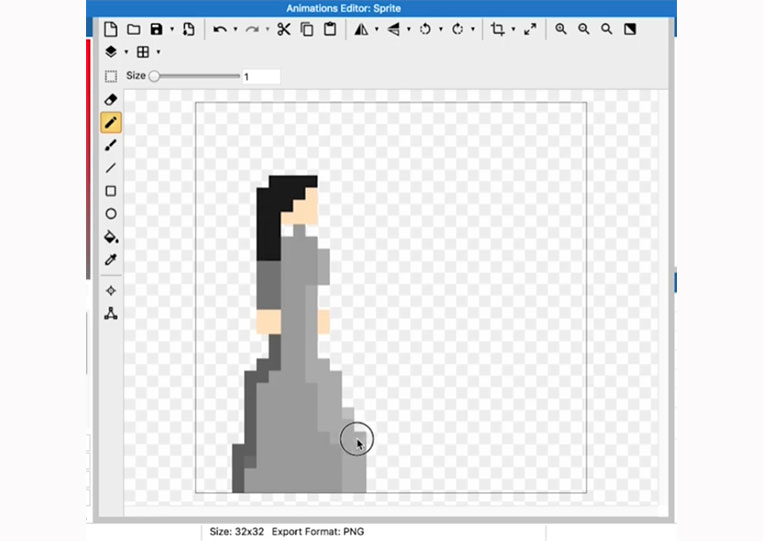

Going backward isn’t necessarily a bad thing. You can do it. I think this is probably the right amount of shade. As you can see, we currently have a dress and all the different styles.

For the most part, this is what you want to do with these 32×32 characters. But, again, this is the easiest way to do it, in my opinion. There are other ways to do it, but this is probably the easiest way that most people can get the tremendous aesthetic out of 32×32. The only reason why we use 32×32 is that it has a height.

We have tall characters here, which are probably almost 28 pixels tall. Notice the detail is perhaps the same as the others. It’s just it’s a taller model. Now you’re probably going to look at some other games, and you’re probably going to look at the detail of the pixel art. Just remember that it takes a lot of time. So I would start with this if you’ve never done pixel art. I suggest just making this style and the styles I have shown you more detailed. So many other aesthetics I looked at, and I didn’t think I could effectively guide everyone to do that. This way, everyone can make beautiful art.


