GAMEPAD CONTROLS: INTRODUCTION
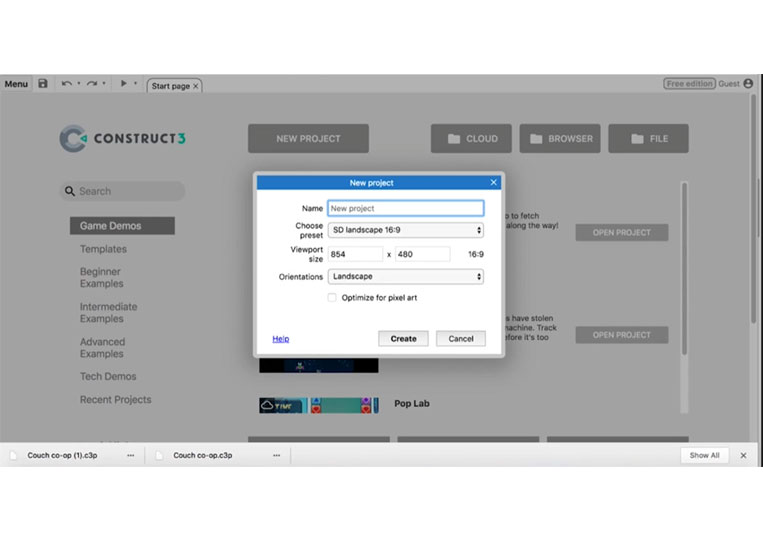
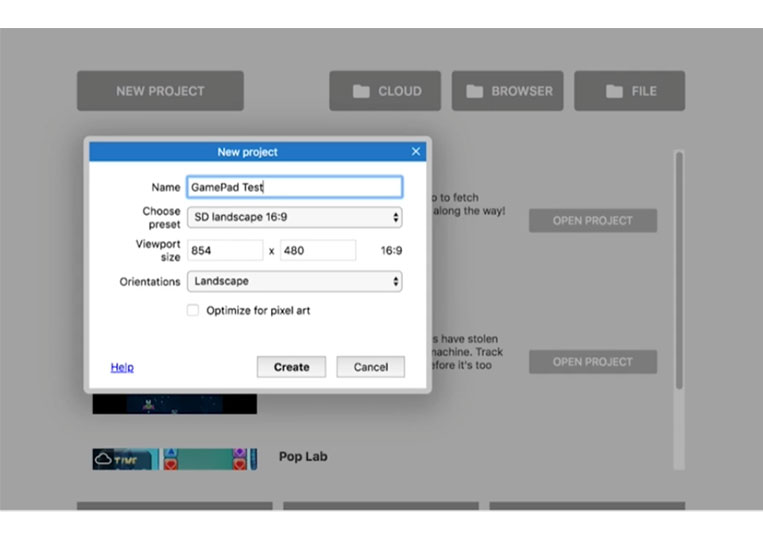
I will show you how to use ‘GamePad’. Using the gamepad is a bit complicated and takes a long time. I will give you an overview of the things that you should consider. Let’s talk about how HTML5 develops ‘GamePad’ and ‘Construct 3 GamePad’. Then we talk about some of the pitfalls. Let’s create a new ‘GamePad’
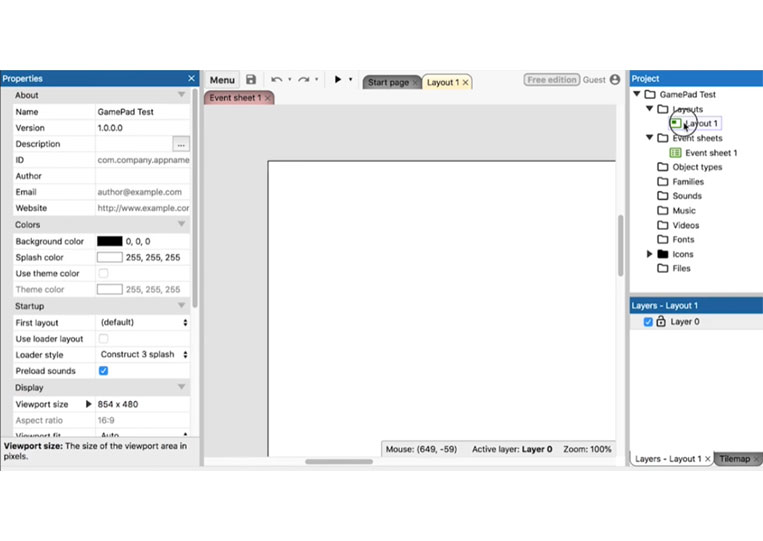
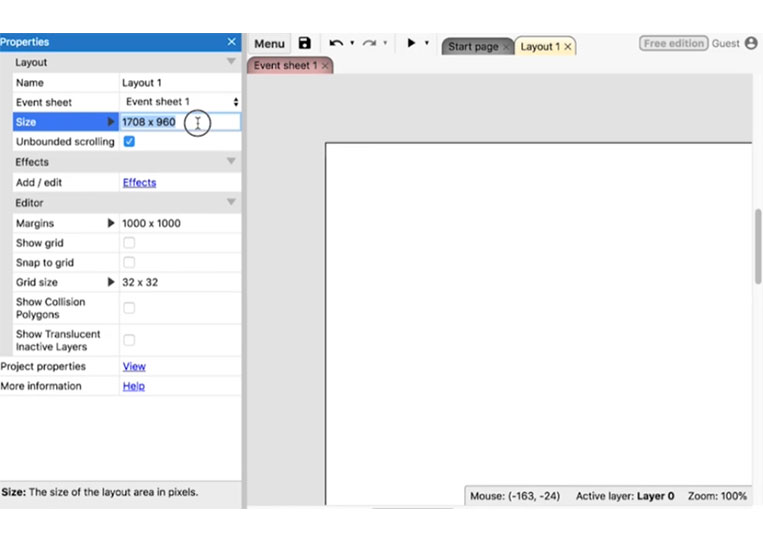

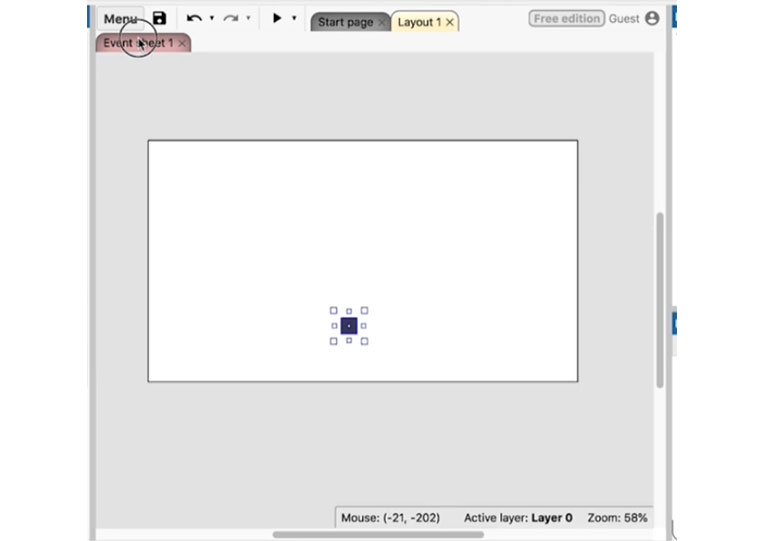
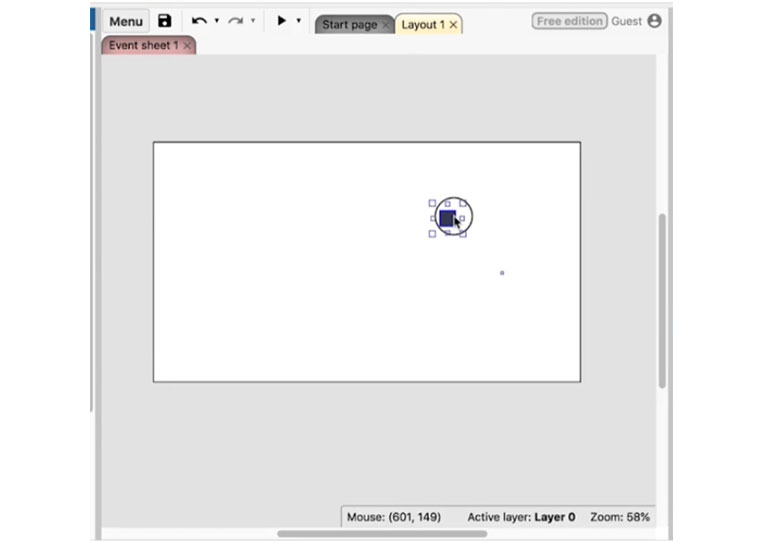
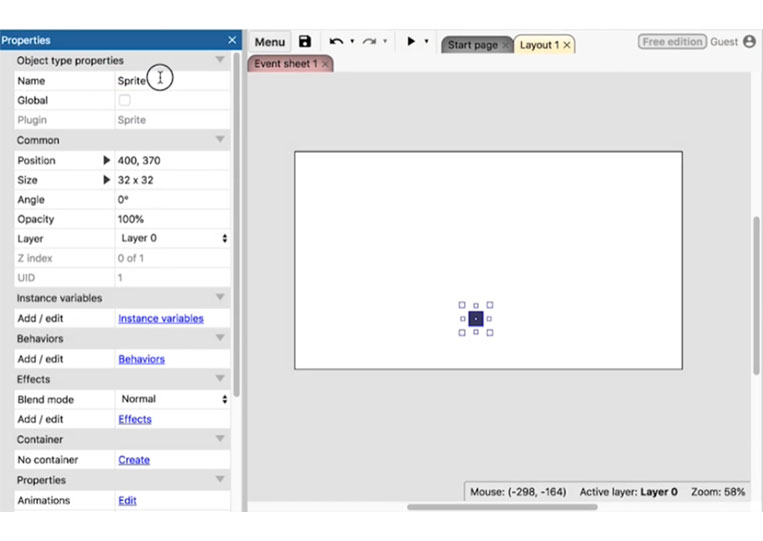
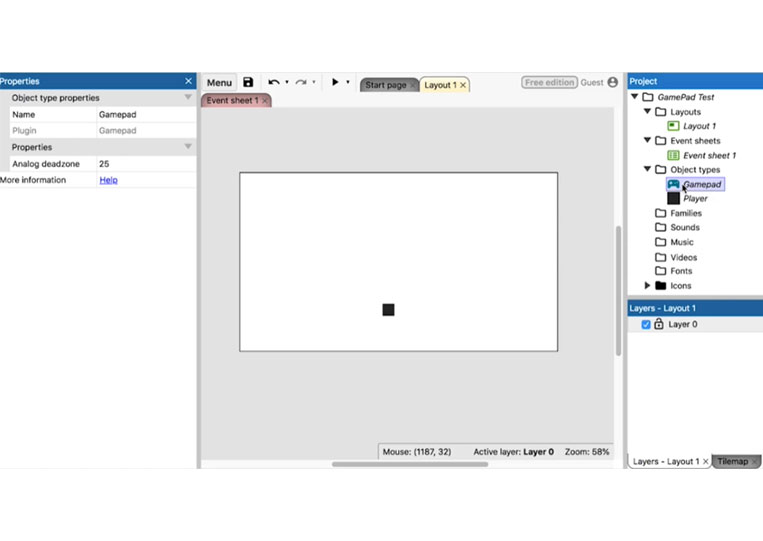
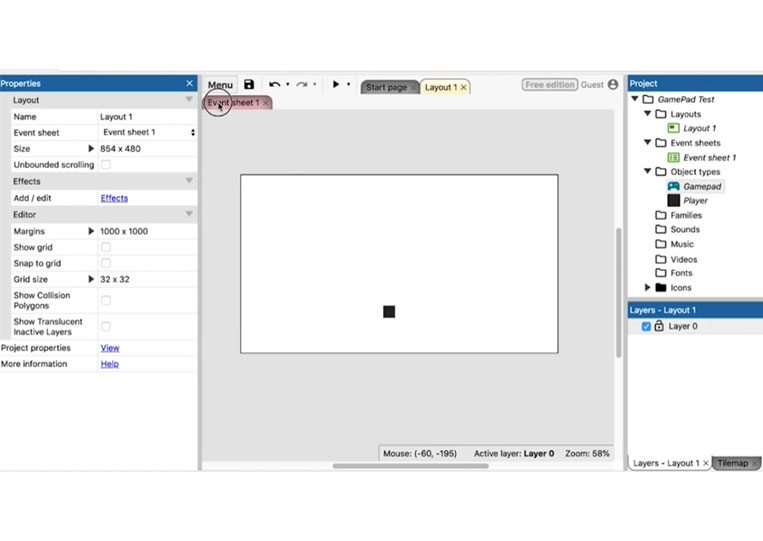
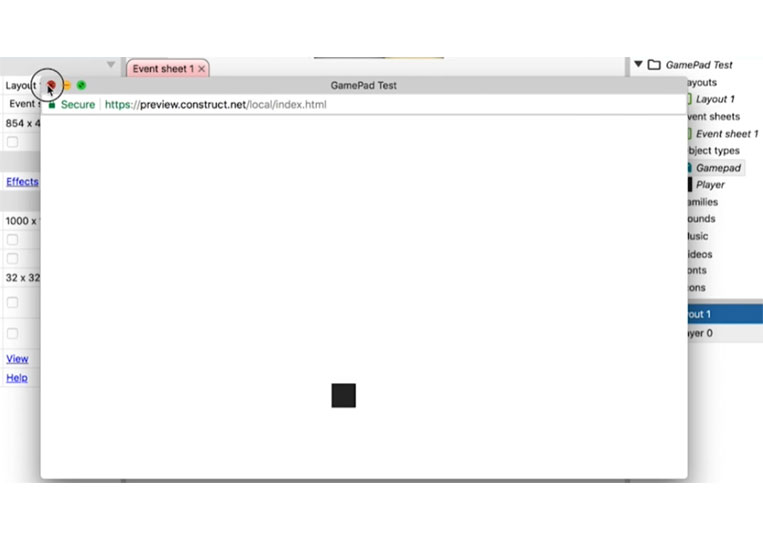
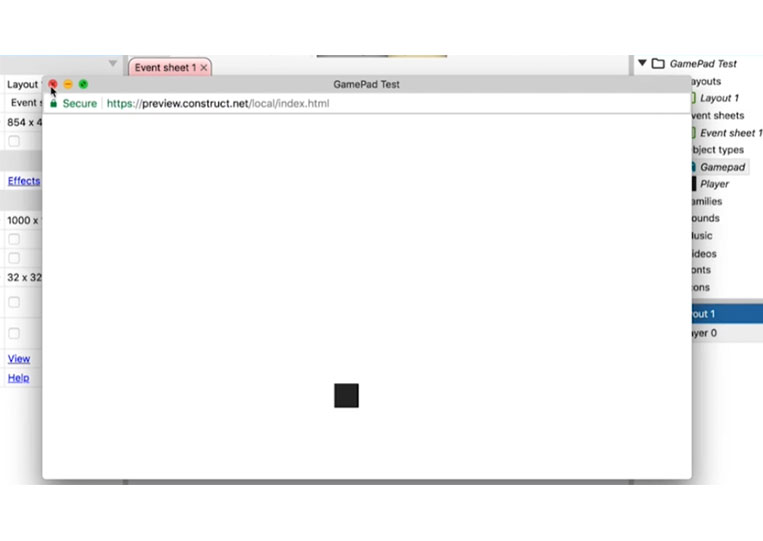
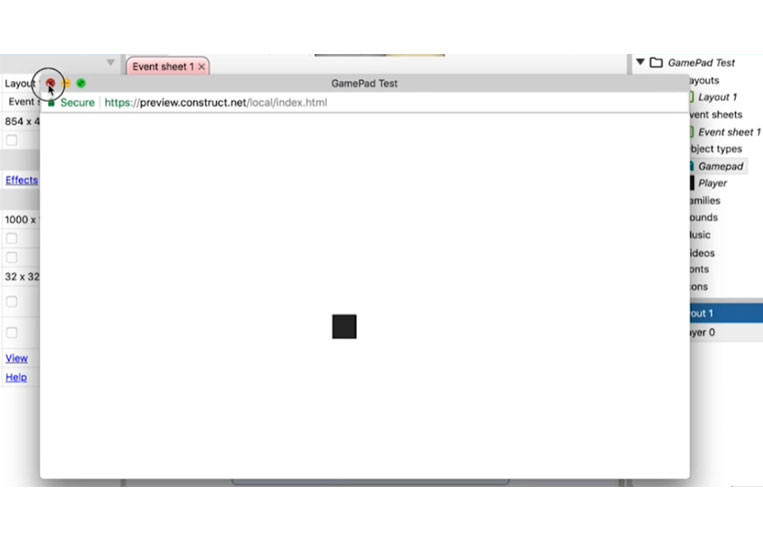
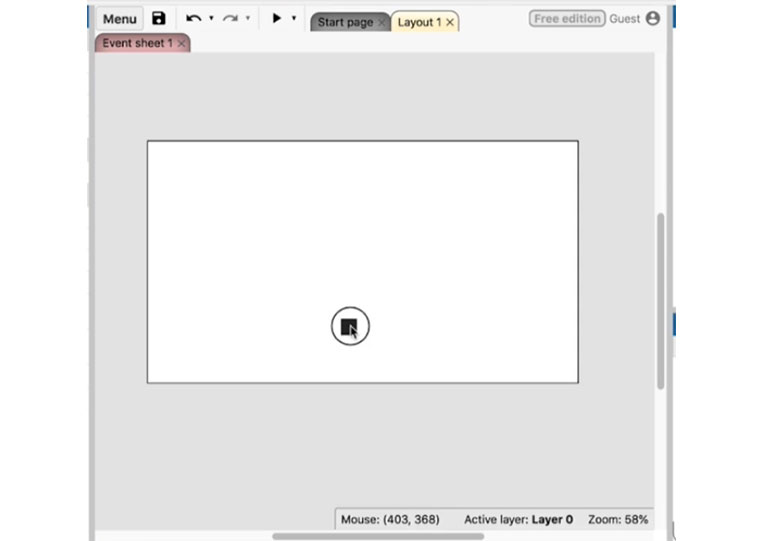
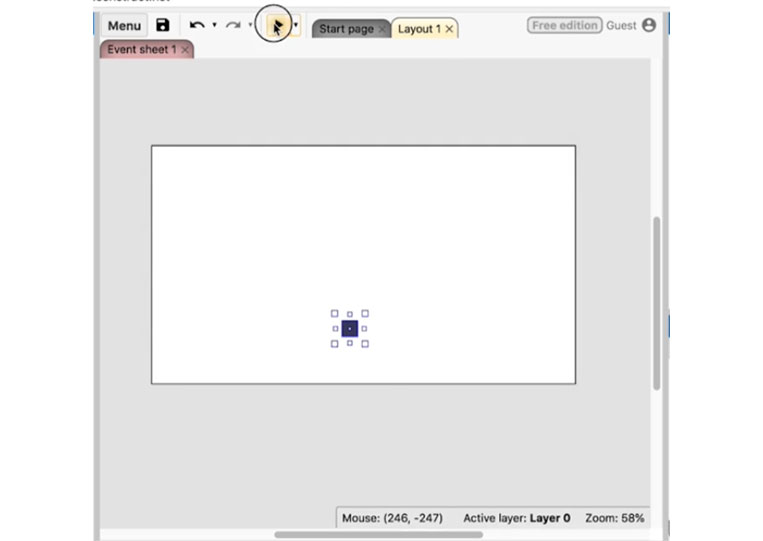
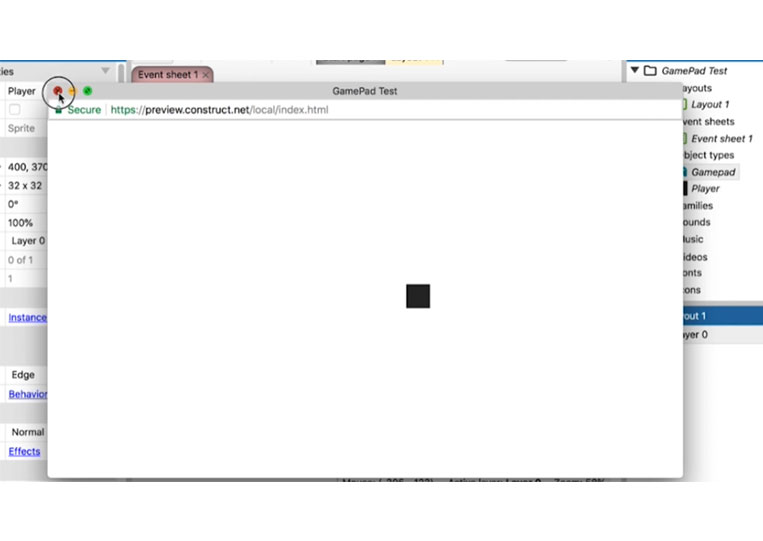
It’s a simple project. Add ‘Sprites’ and create a ‘Player’ here
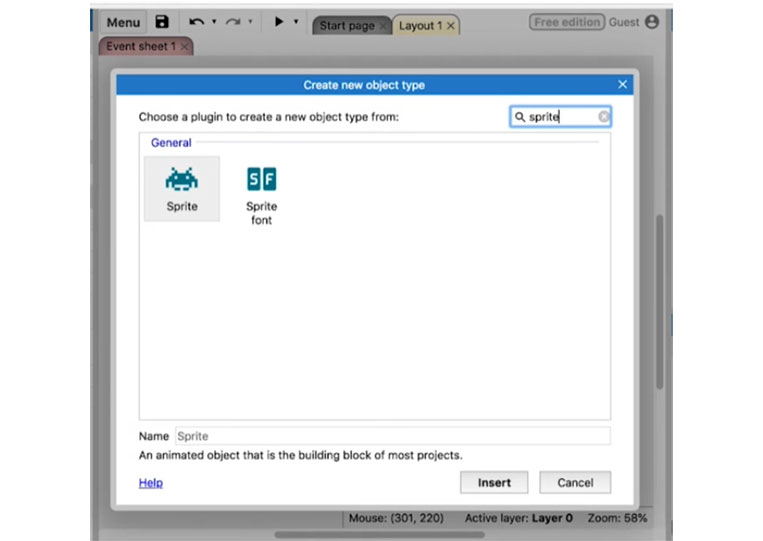
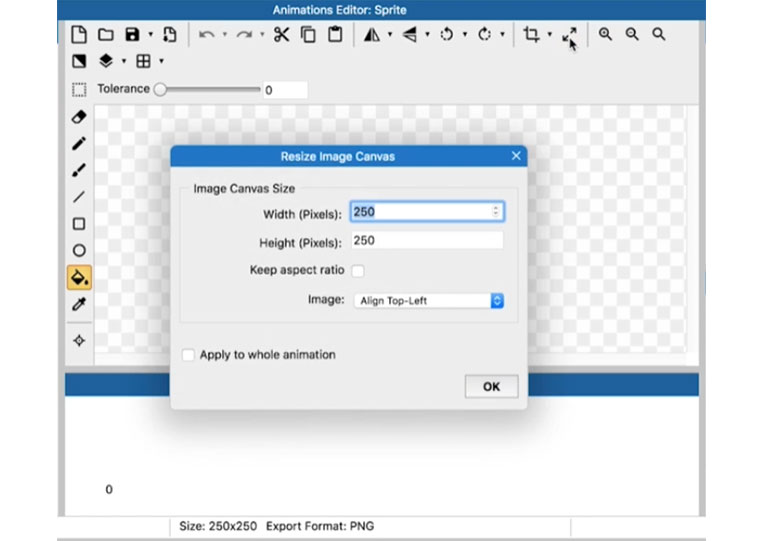
We will create a 32 x 32 black ‘Sprite’
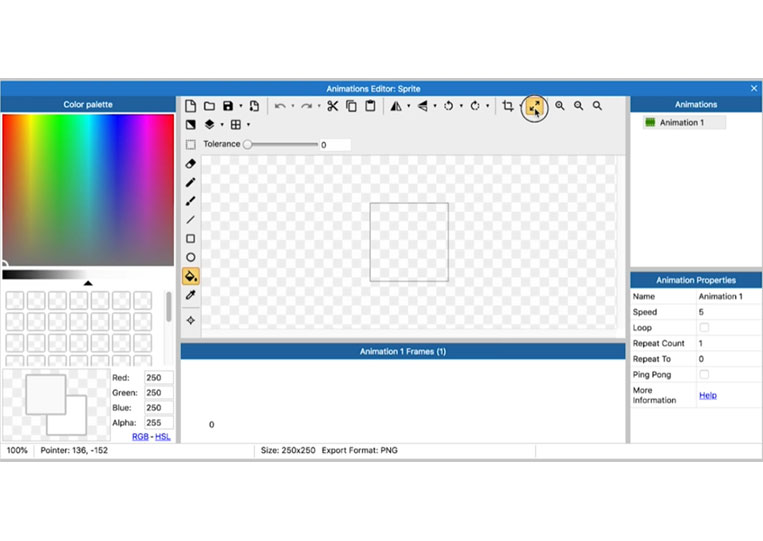

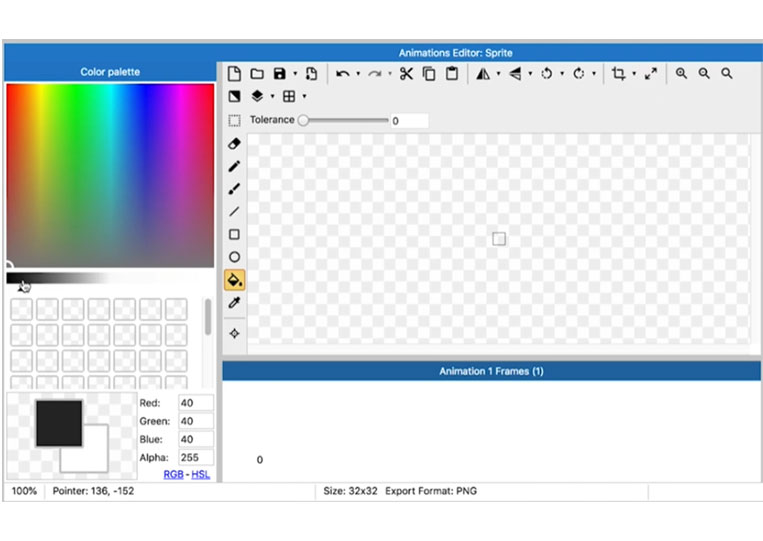
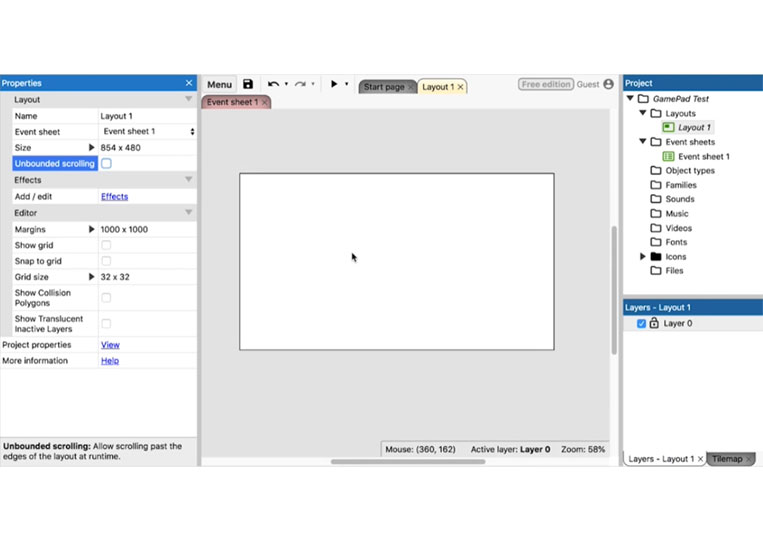
‘Origin’ was not set.

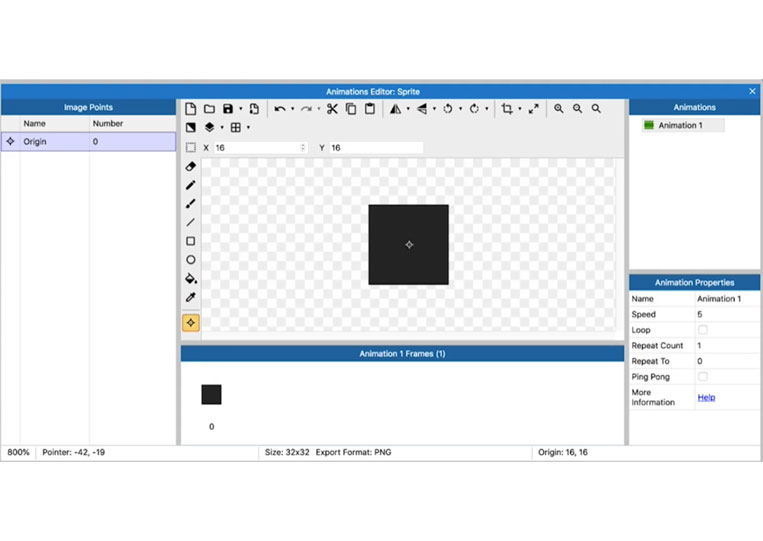
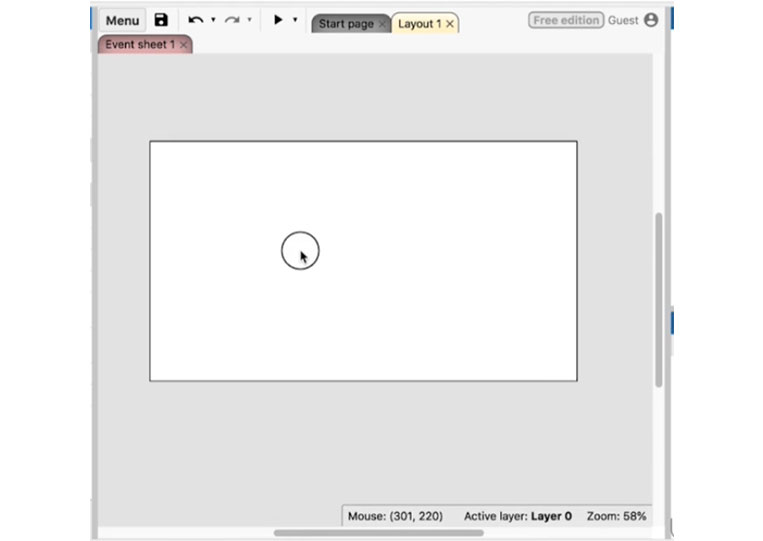
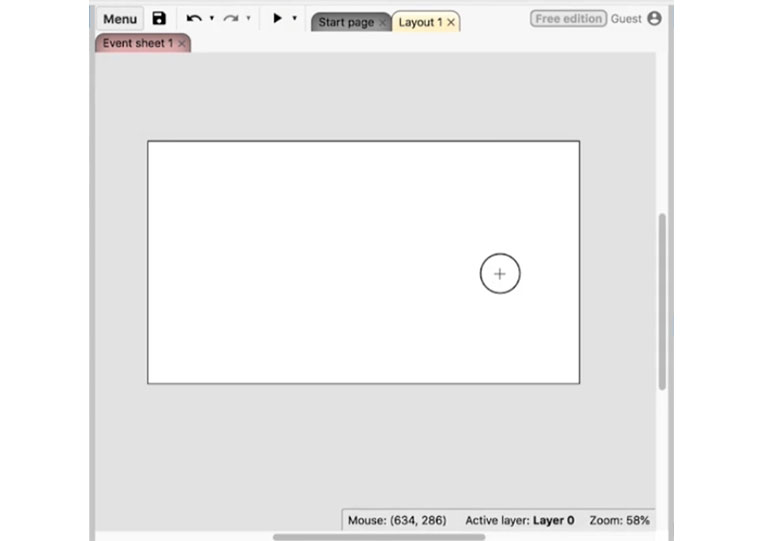
Put that here.
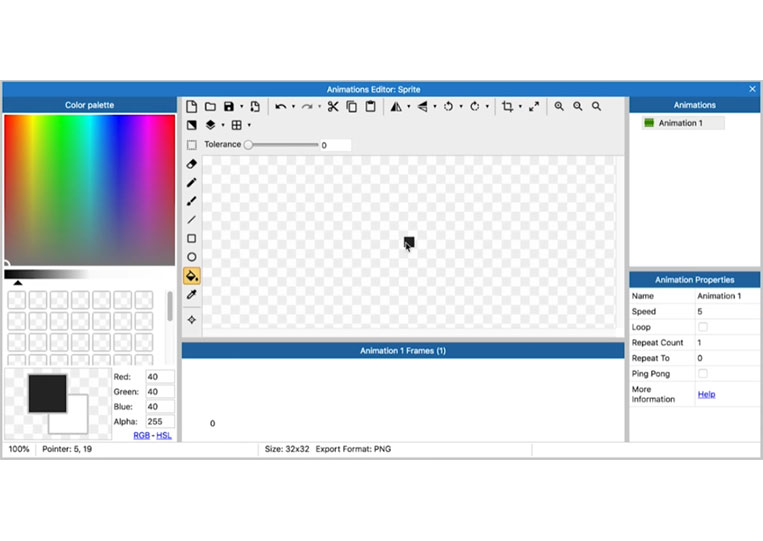
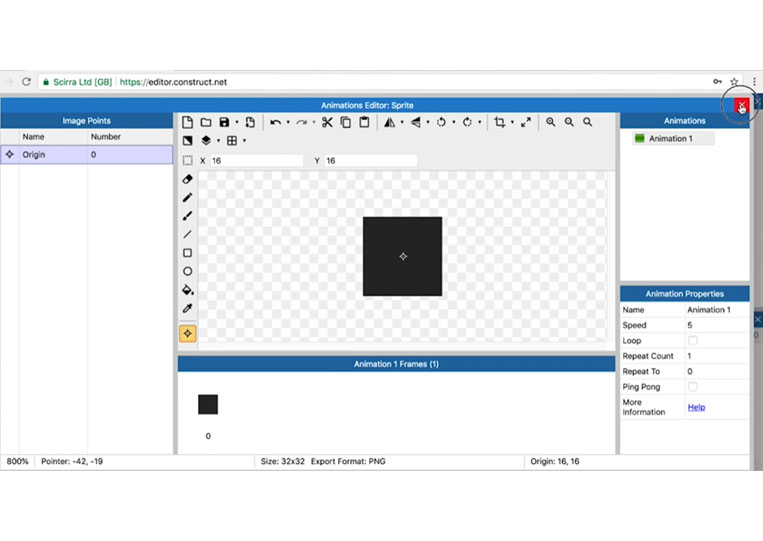
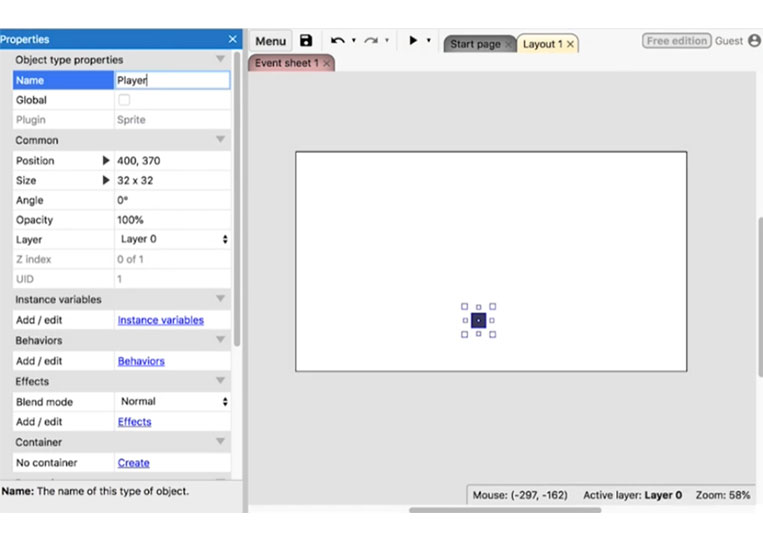
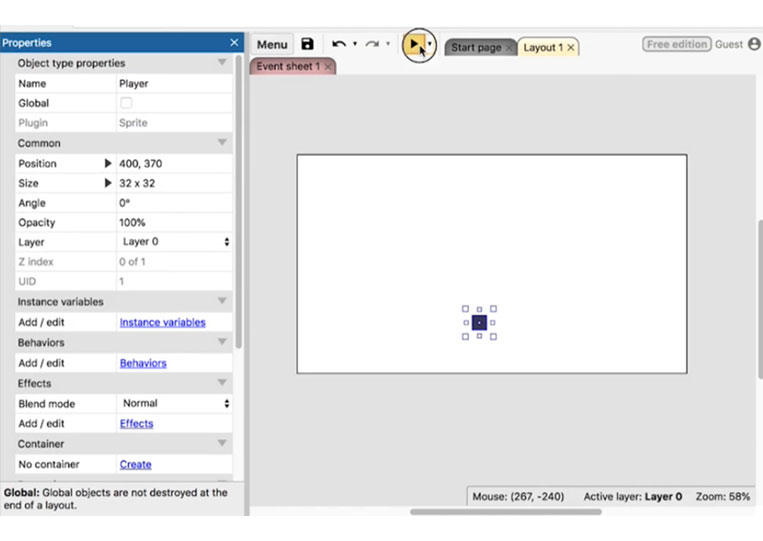
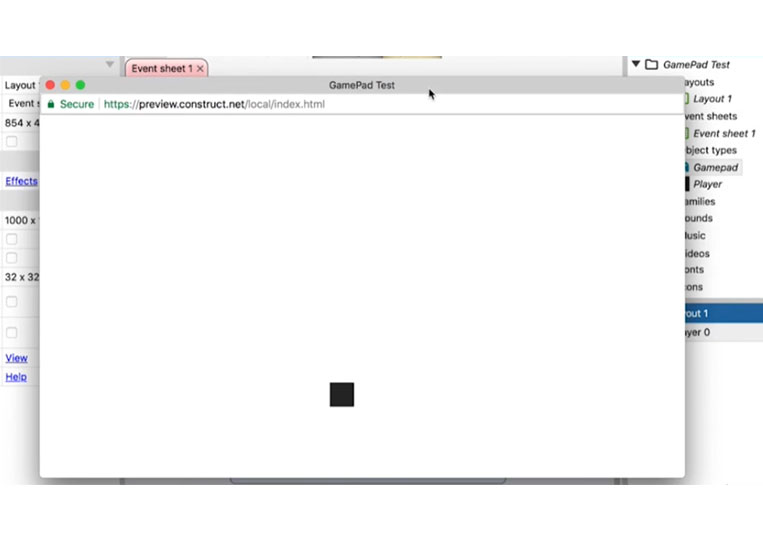
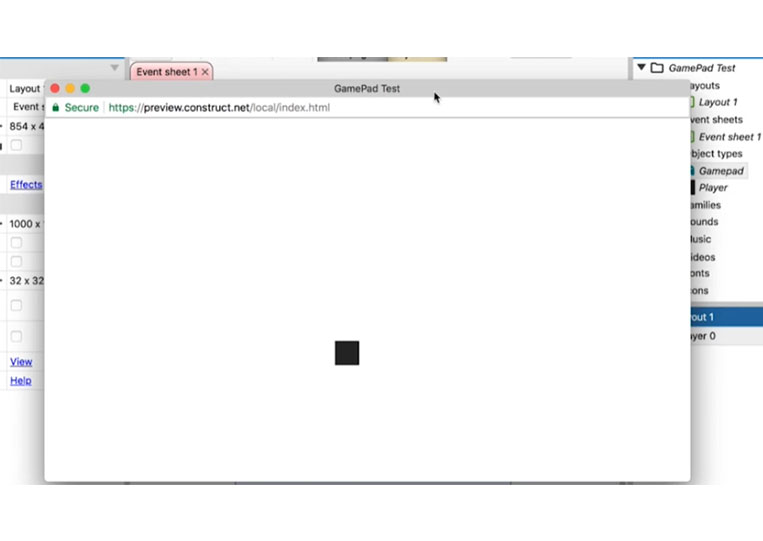
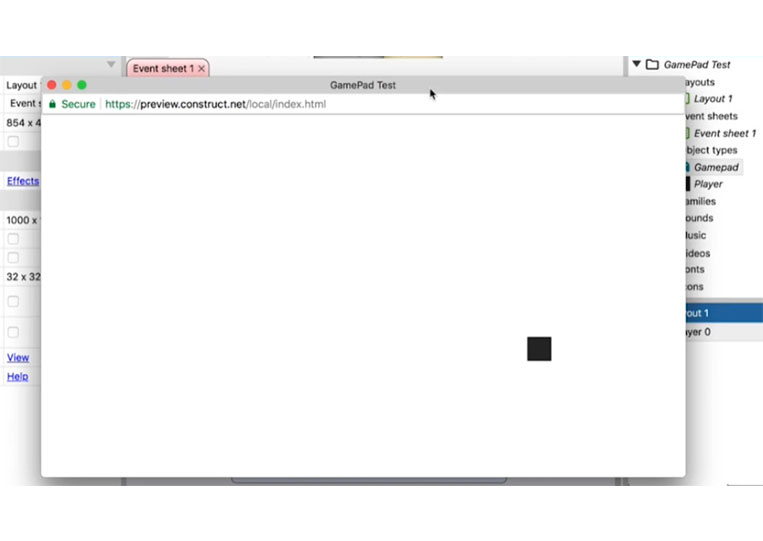
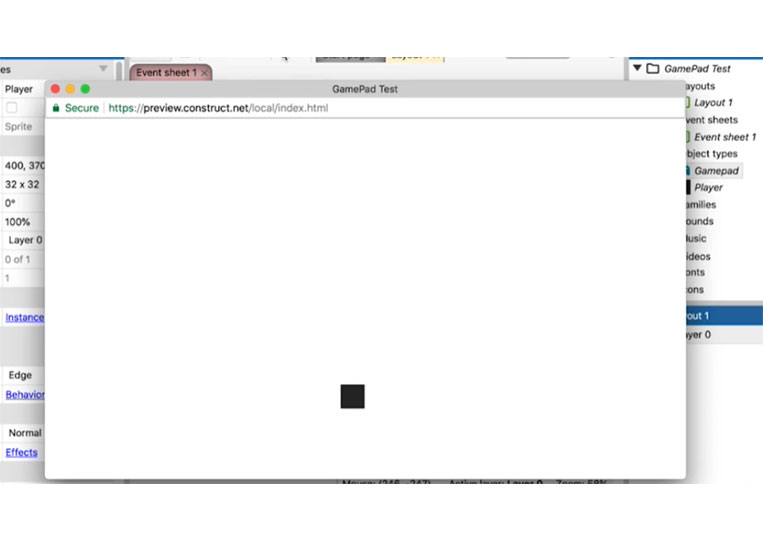
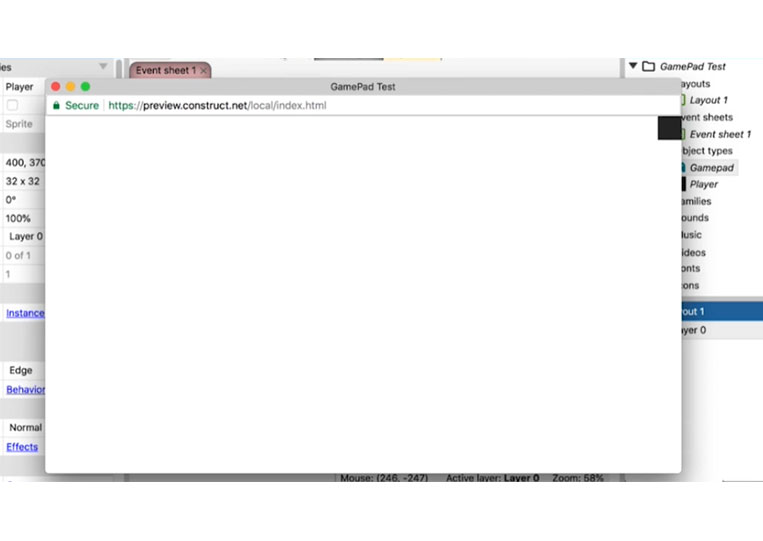
Perfect. Let’s call this the ‘Player’ and run it, and you’ll see that nothing happens because we haven’t done anything yet.

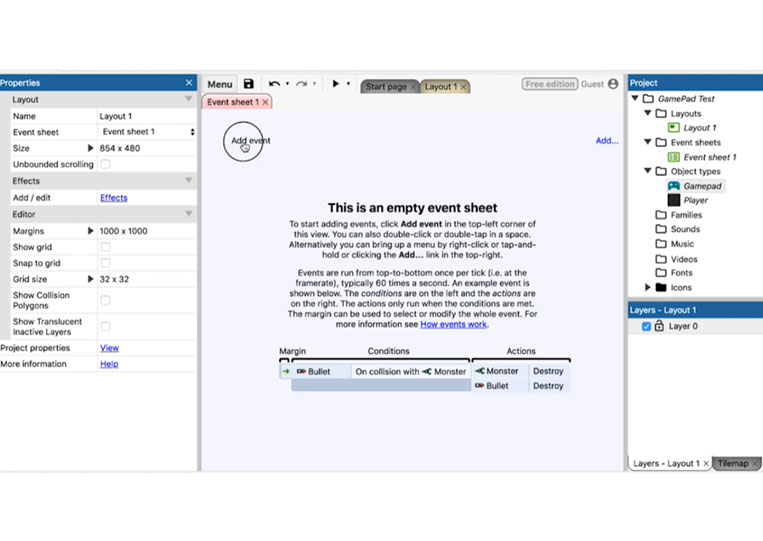
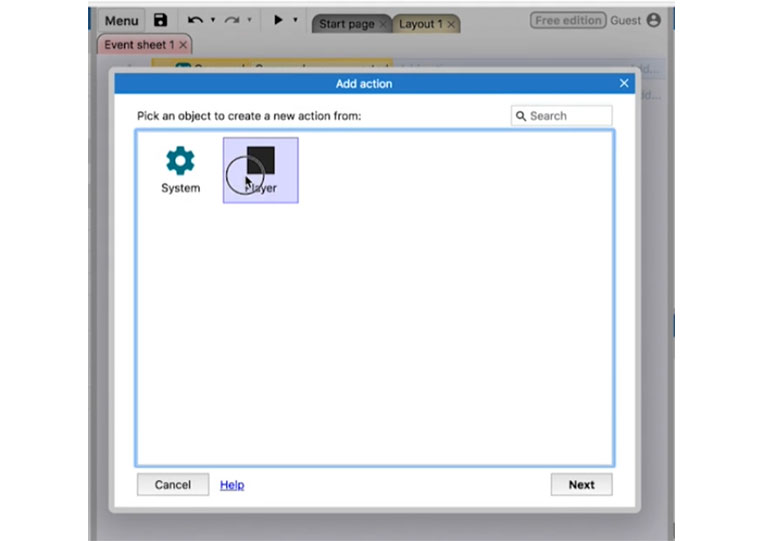
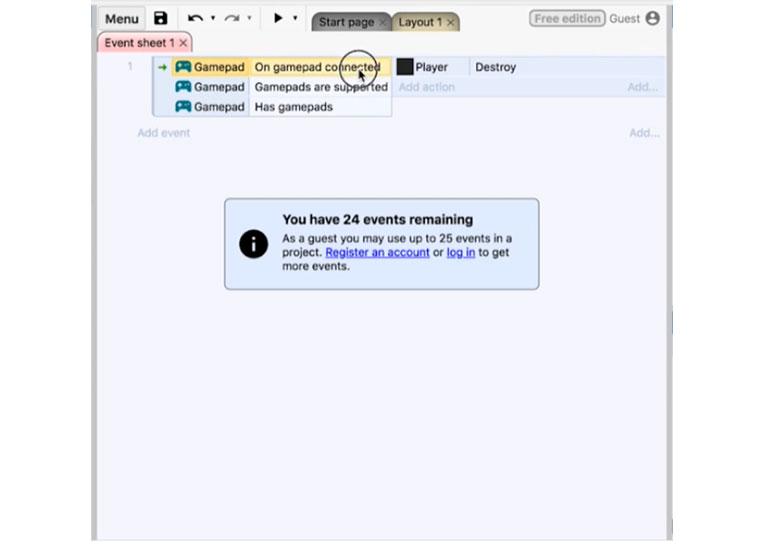
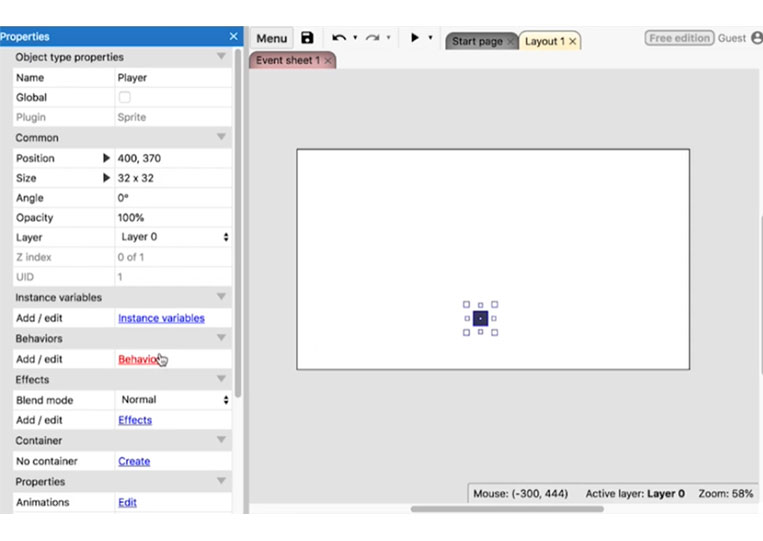
Add the ‘Gamepad’ object for this to work.
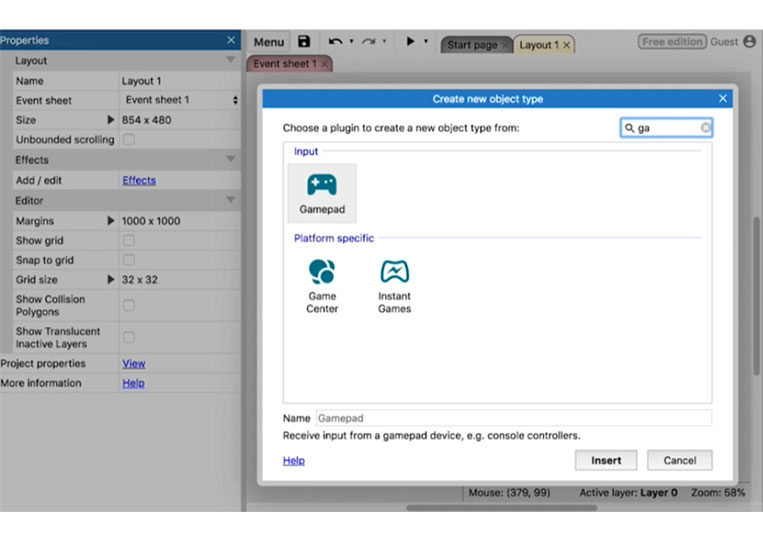
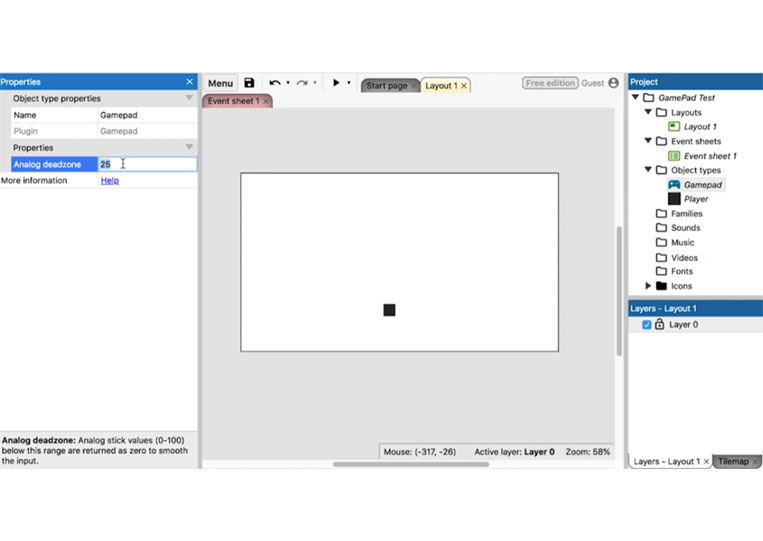
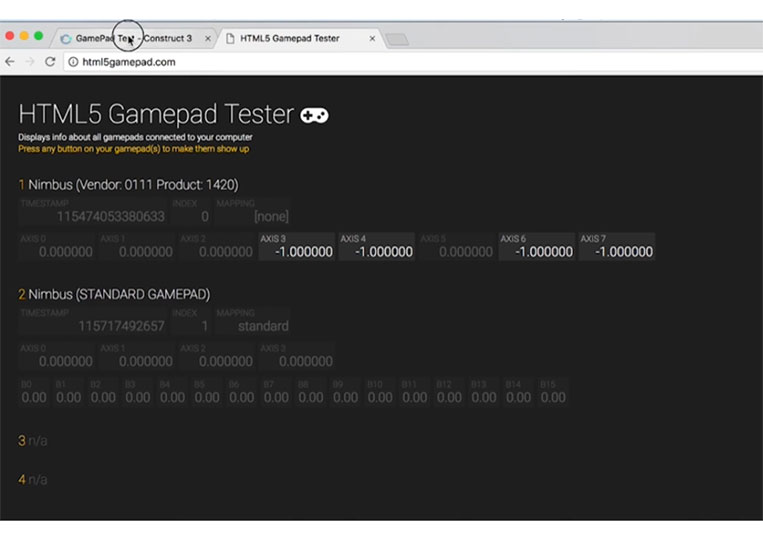
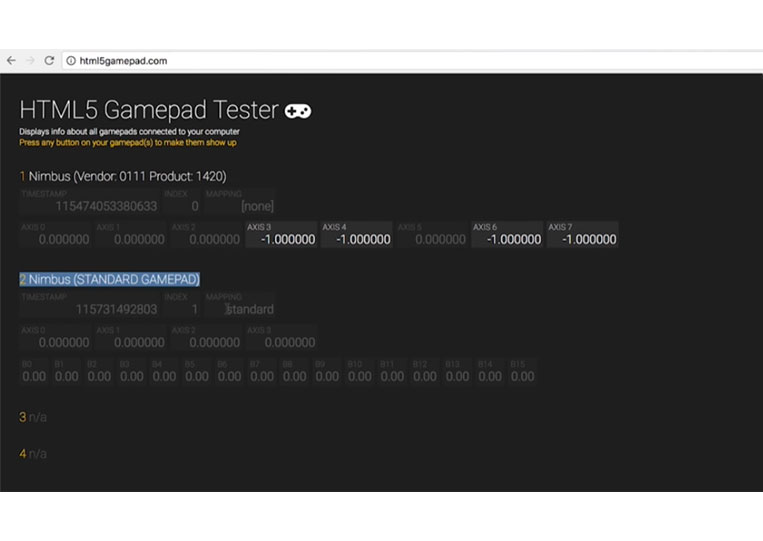
You need the ‘Analog deadzone’ if you don’t want your controls to get too messy. I went to html5gamepad.com
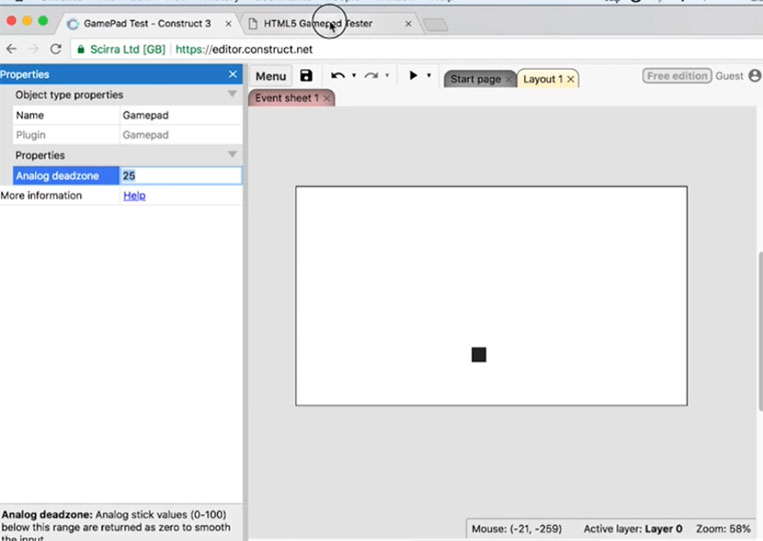
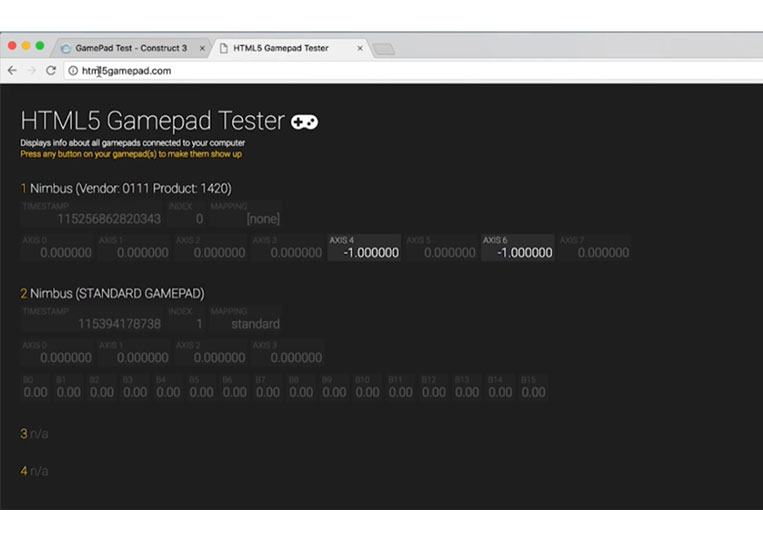
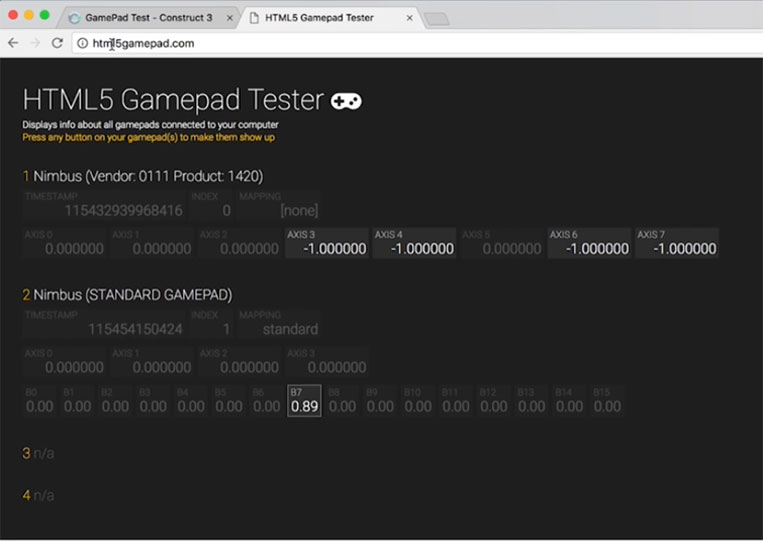
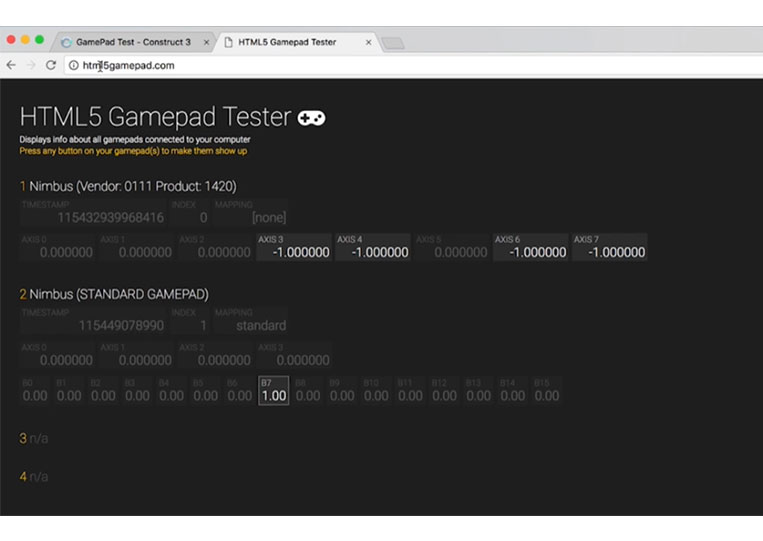
Here you can check your ‘Gamepad’. You connect the ‘Gamepad’ to your computer and if nothing here. That’s a pretty big deal because your computer doesn’t recognize it. It is a steel series ‘Nimbus’ controller. As you can see, I’m pressing some buttons here and there.
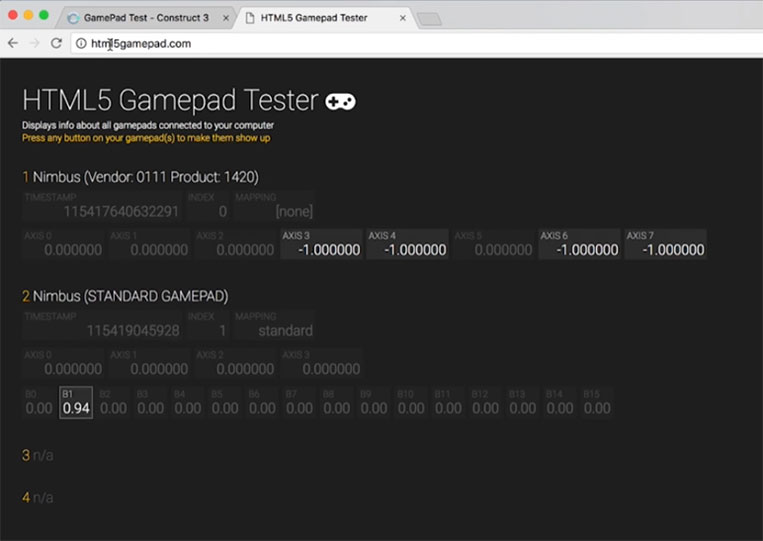
I’m also using some joysticks. Those numbers will be important here. In theory, you can use this number to make the fire rate higher. It is a number between 0 and 1.
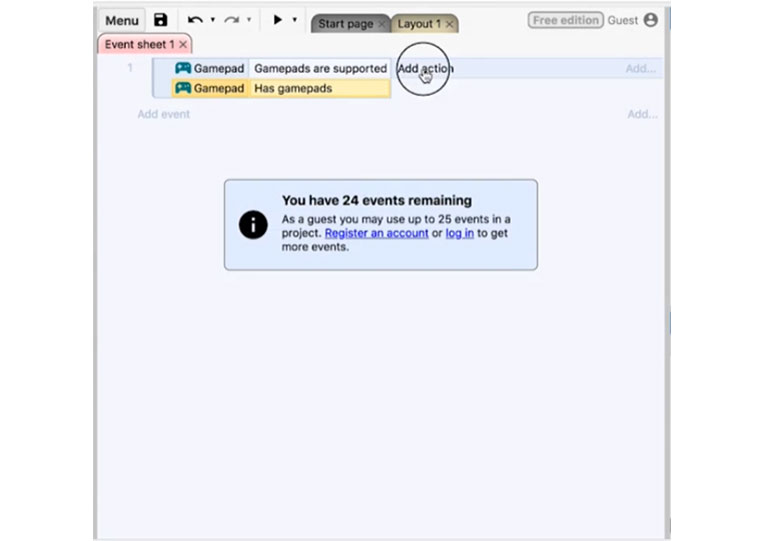
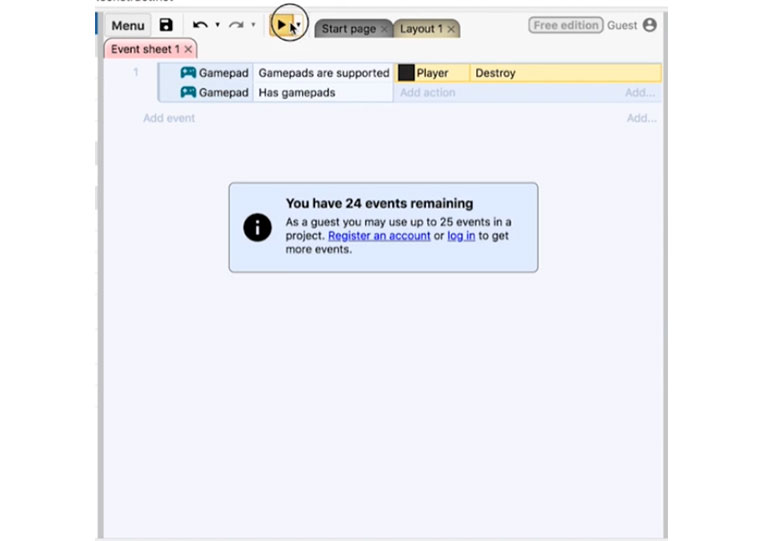
‘Construct 3’ makes things a little easier. We can set this up.


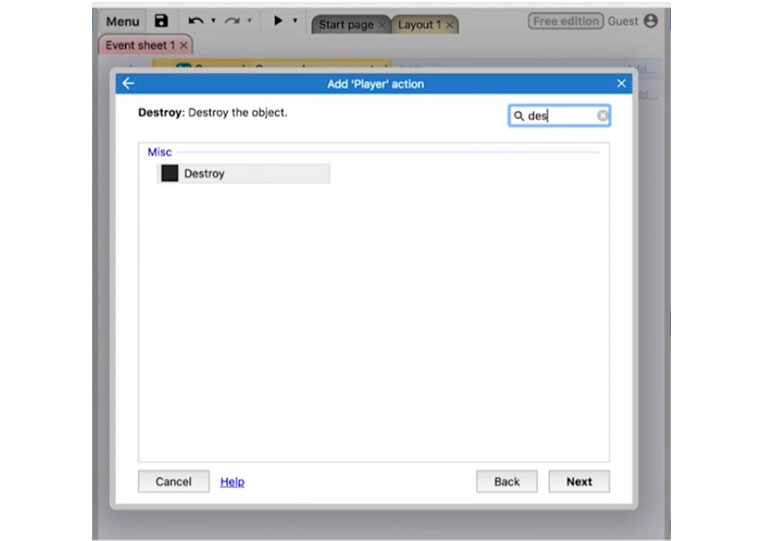
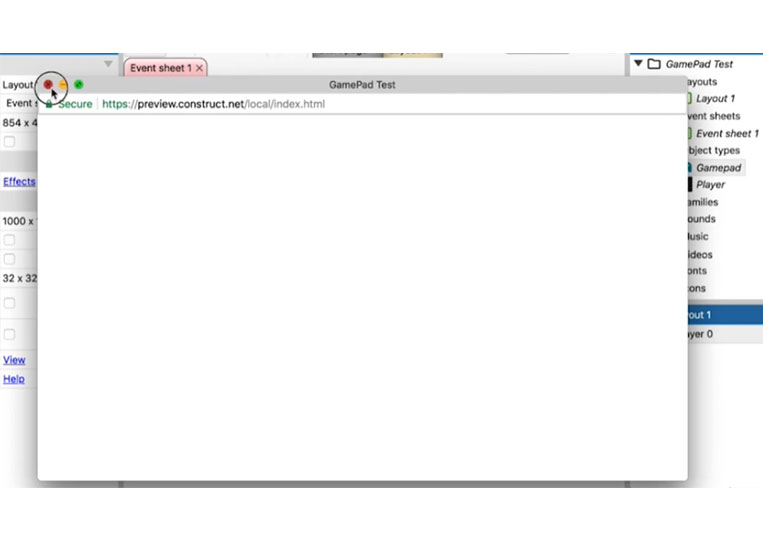
To test this, we destroy ‘Player’
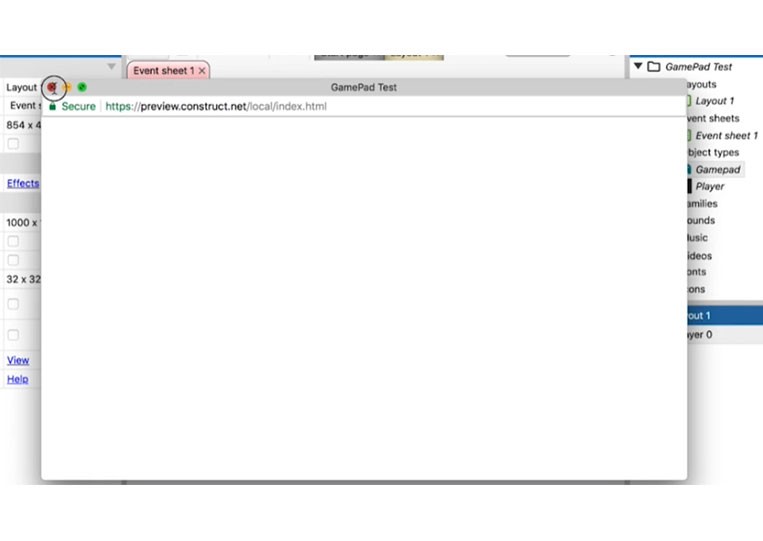
If we run it here, it won’t work.
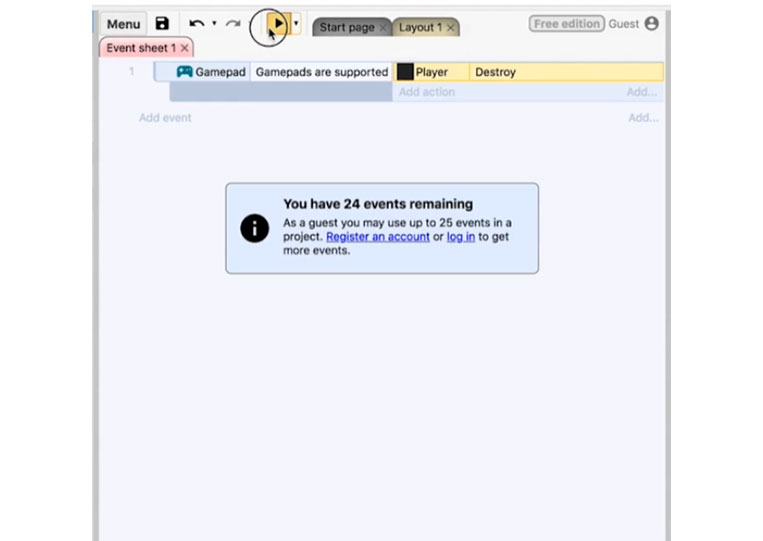

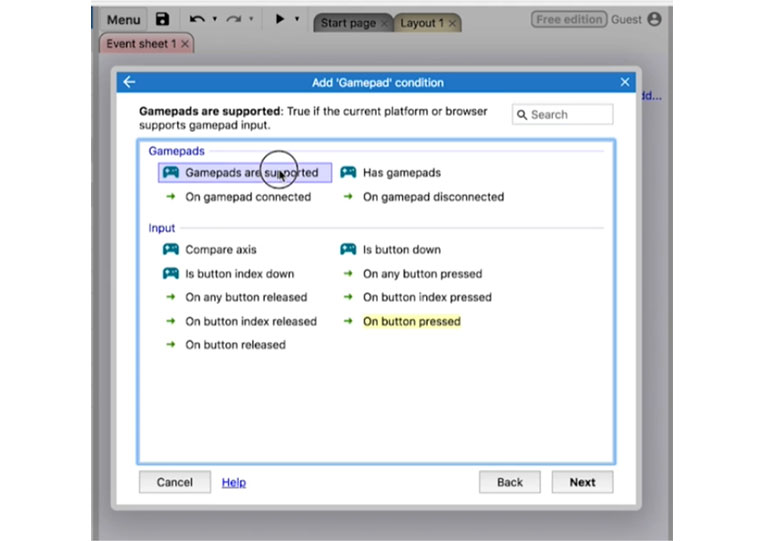
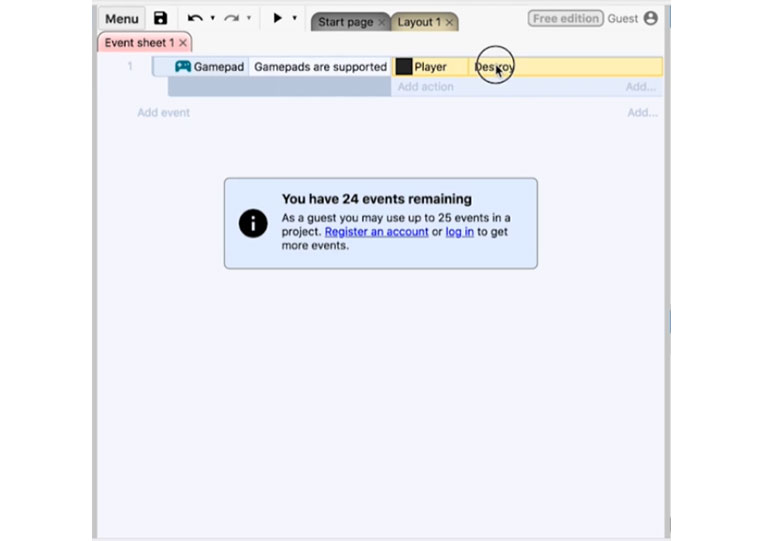
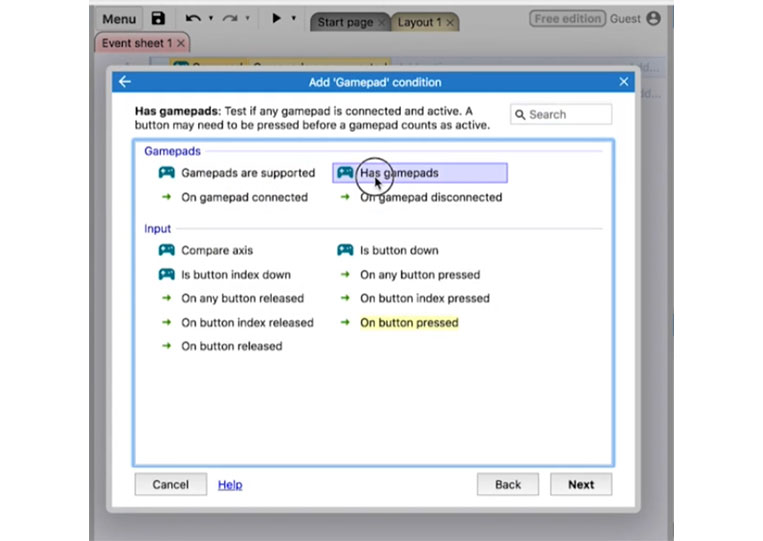
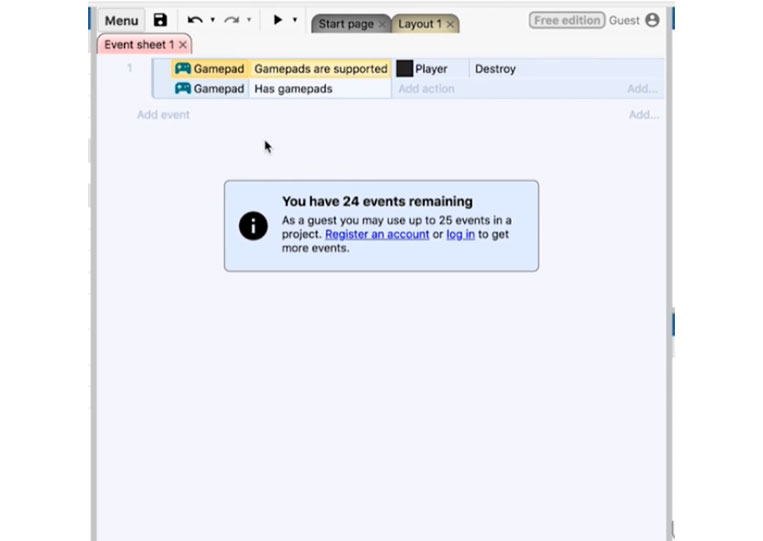
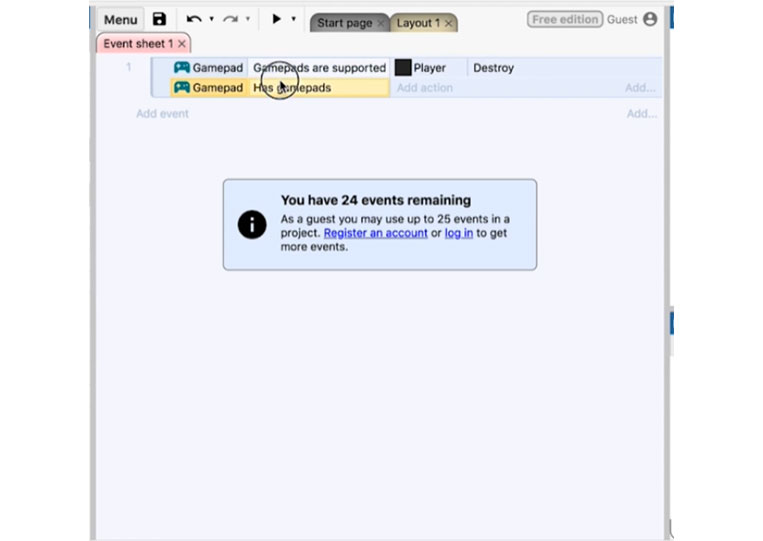
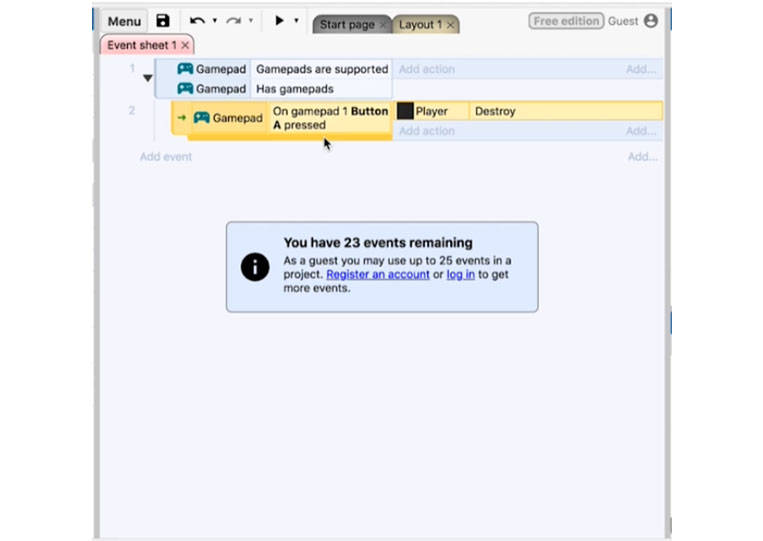
Therefore, if the gamepad is supported, put it here in case you are using a different system that will not accept the ‘Gamepad’
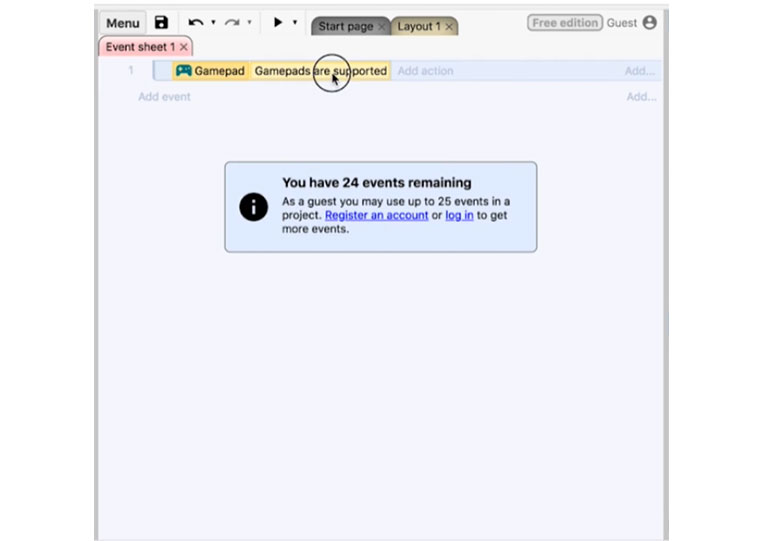
The cool thing about the steel series is that you can technically play it with an iPhone 2. So there are some areas where the gamepad isn’t supported.
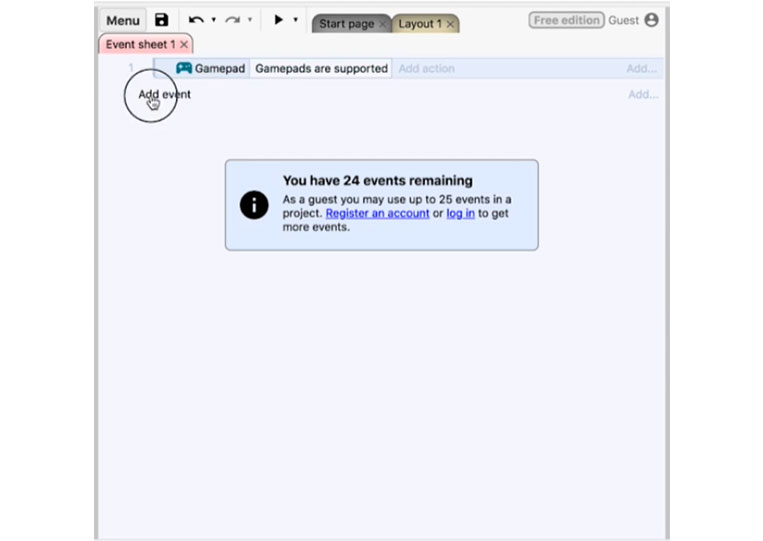
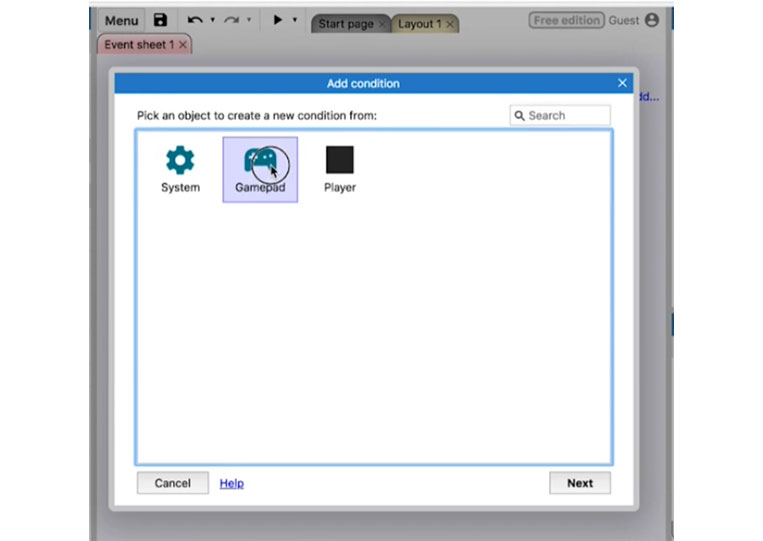
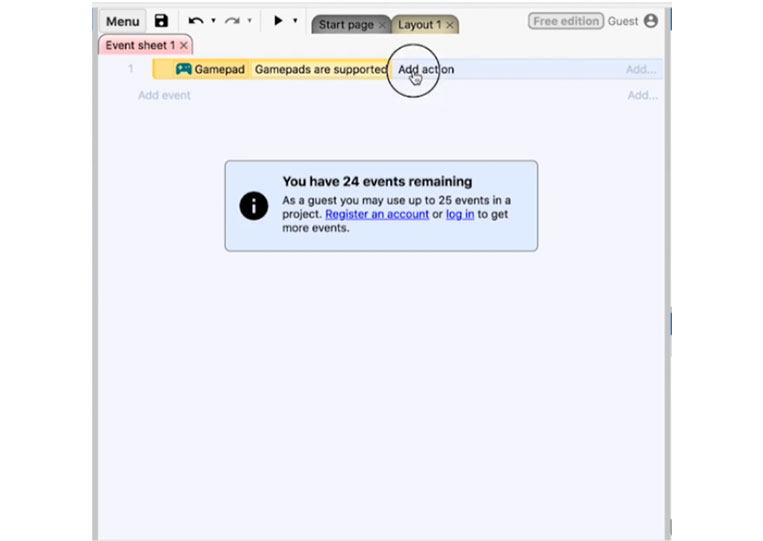
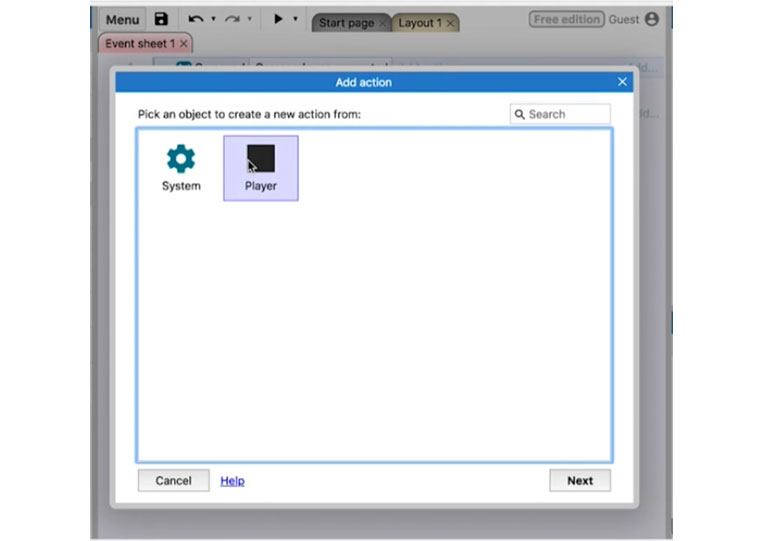
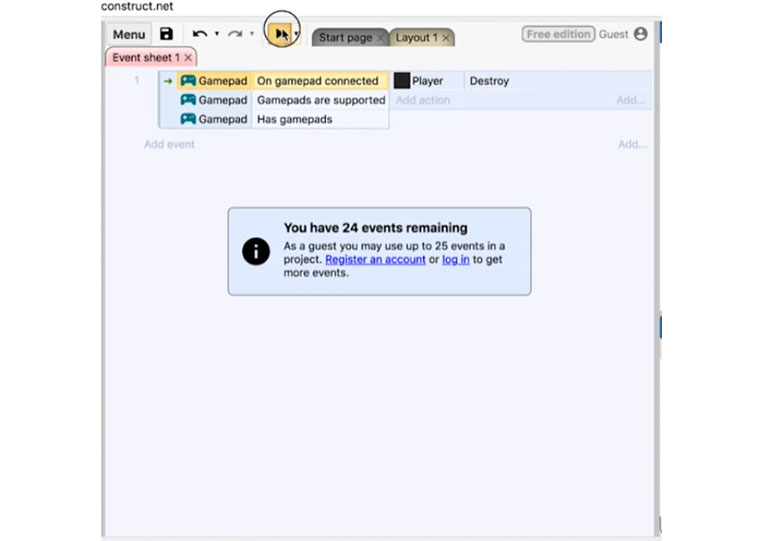
You can add a condition.


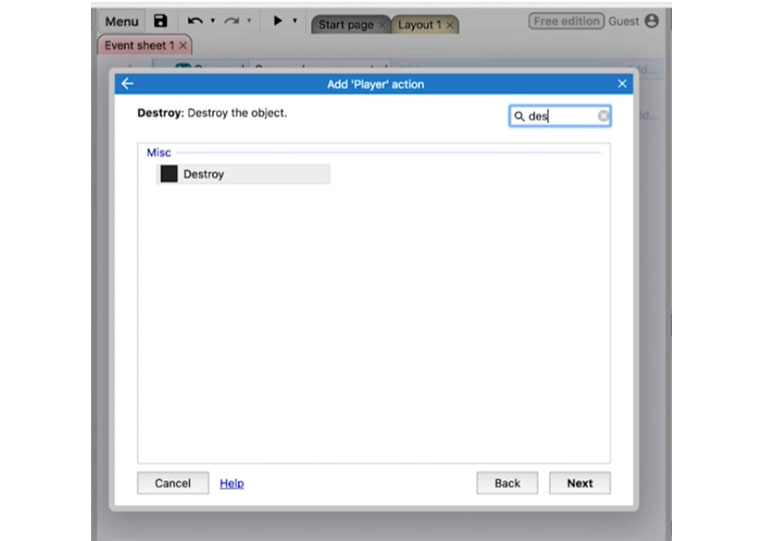
Destroy the ‘Player’

Both have these entries.


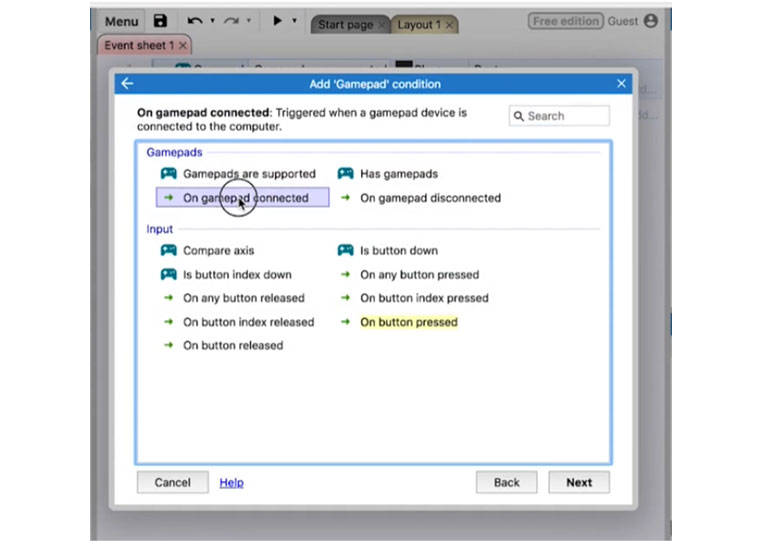
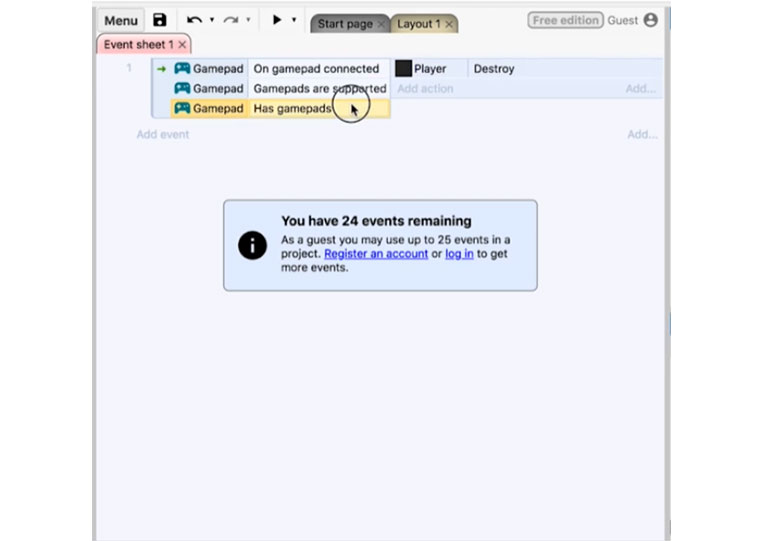
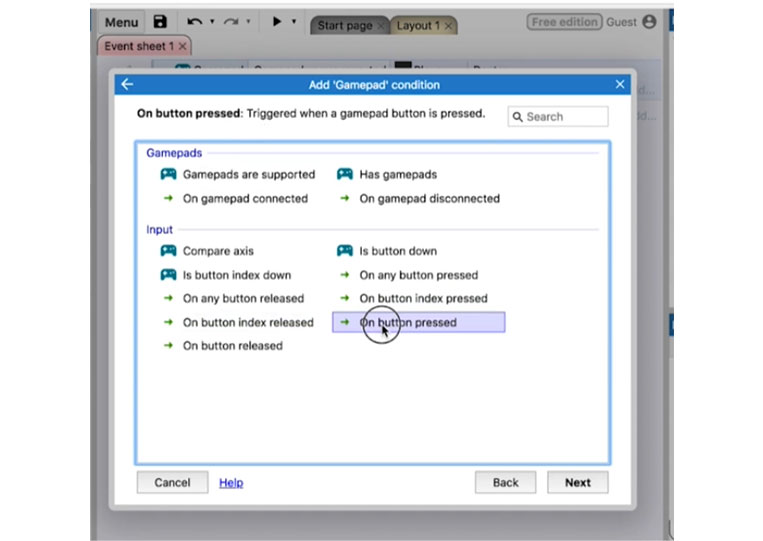
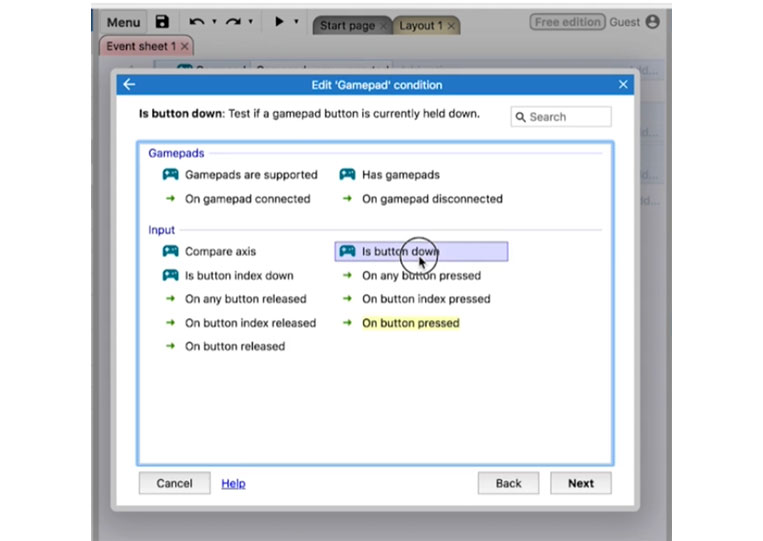
Now, we can add a bunch of sub-conditions.


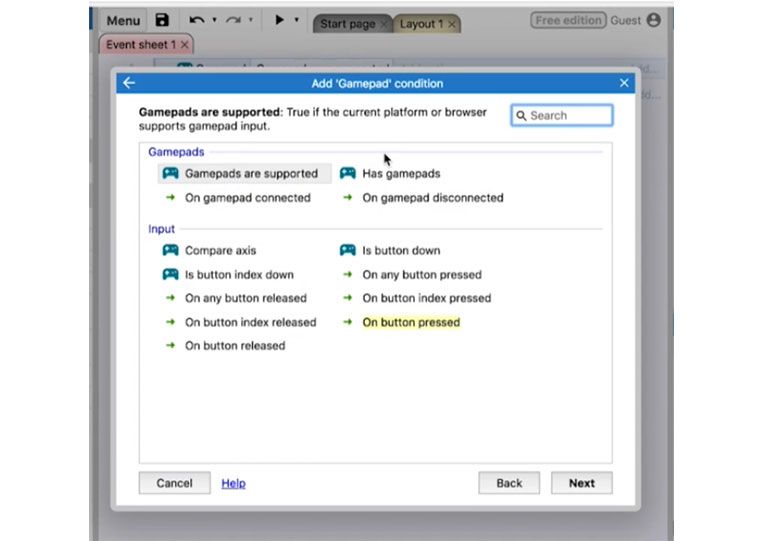
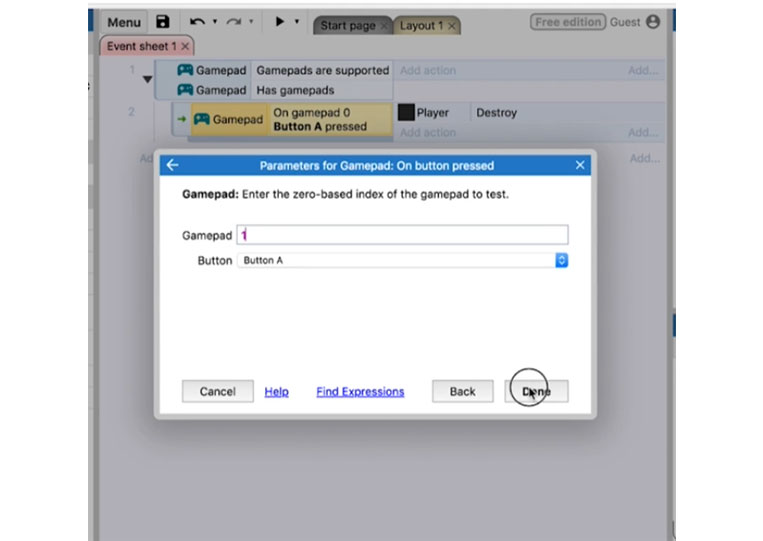
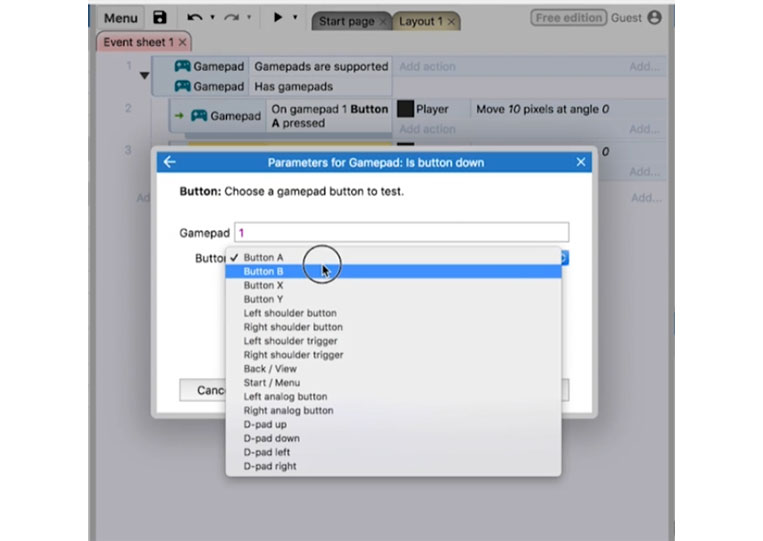
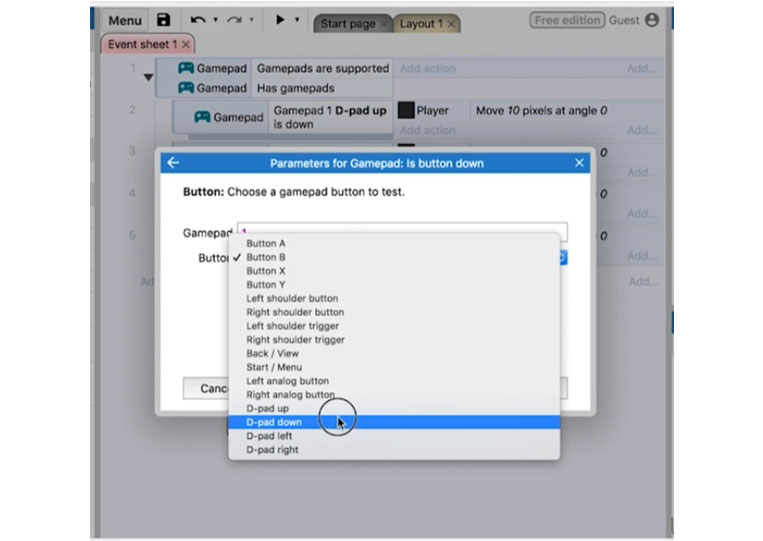
We can technically test the buttons here. Technically, ‘On any button pressed’, you will only use that button for the start screen. You would probably use the ‘On button index pressed’, it has a gamepad and a specific index.
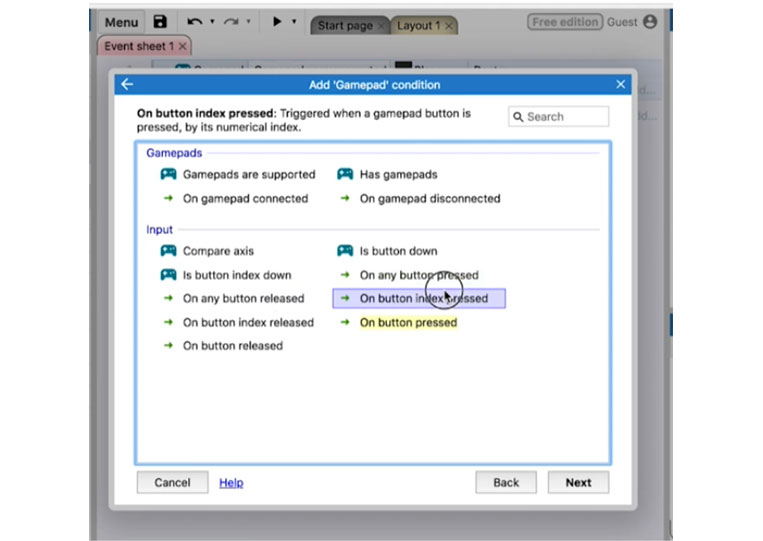
I don’t use it unless there is a specific gamepad with an individual button for that gamepad. They are also rarely used.

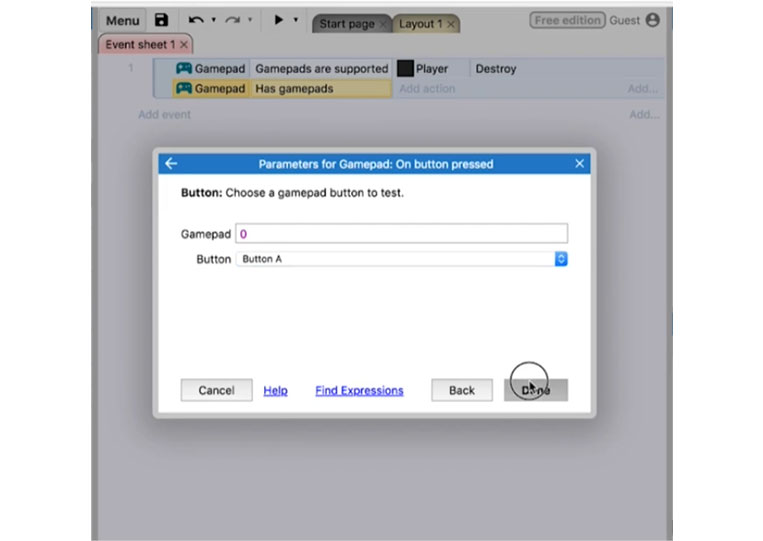
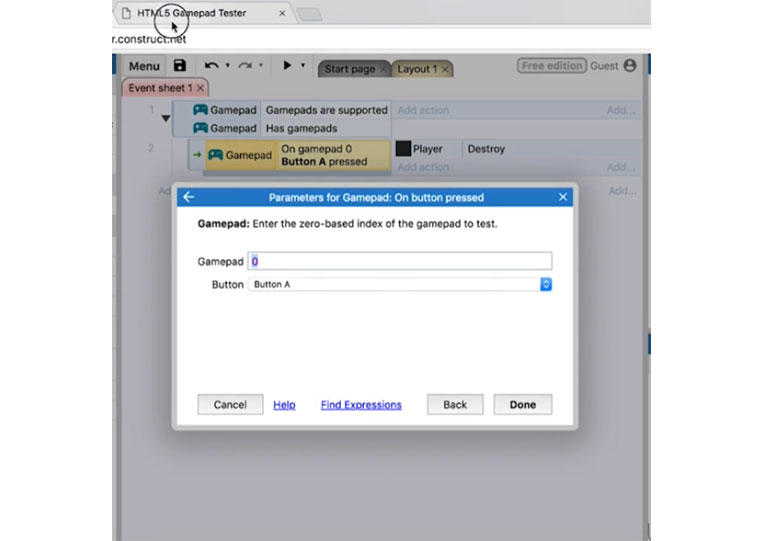
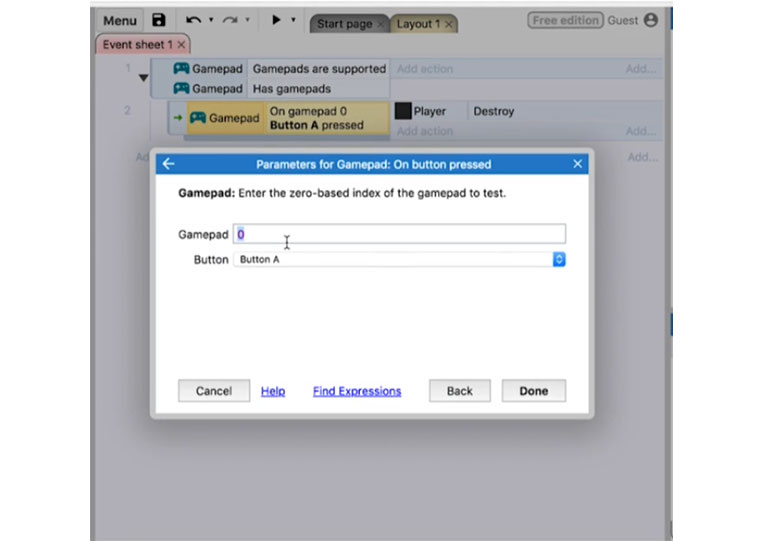
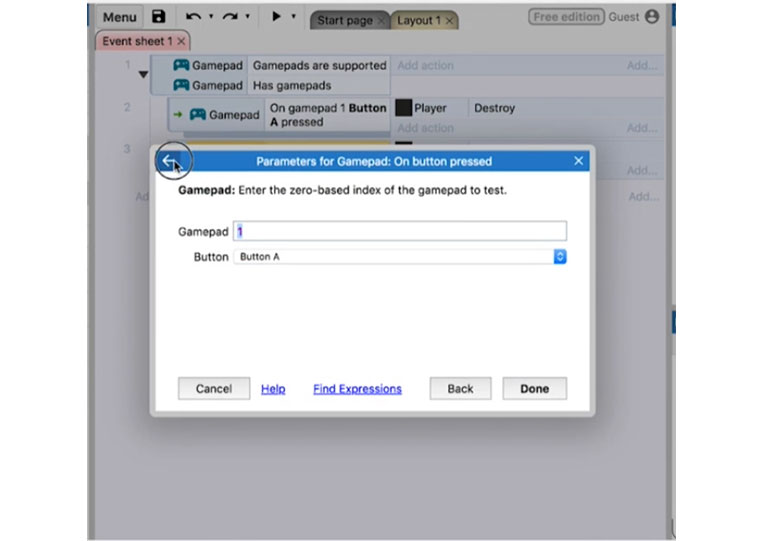
I use the most is ‘On button pressed’
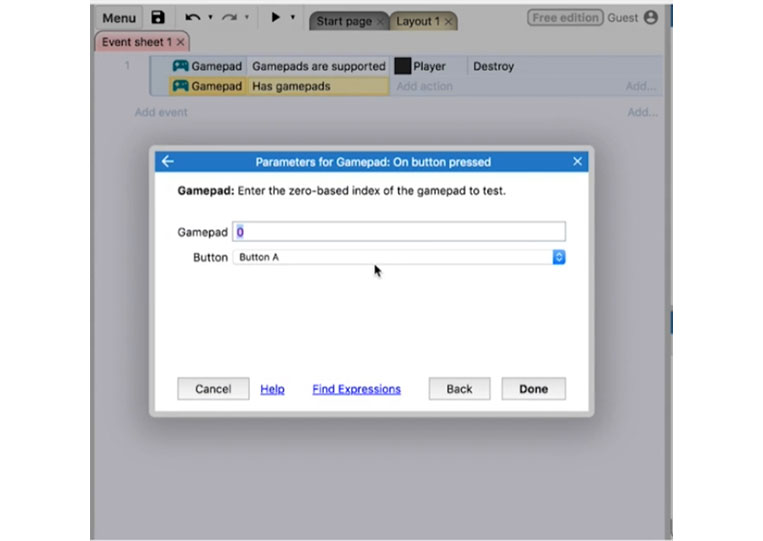
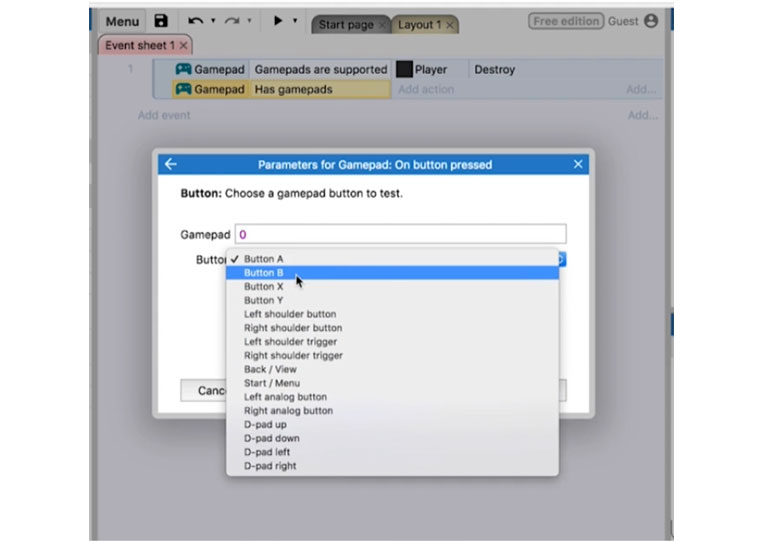
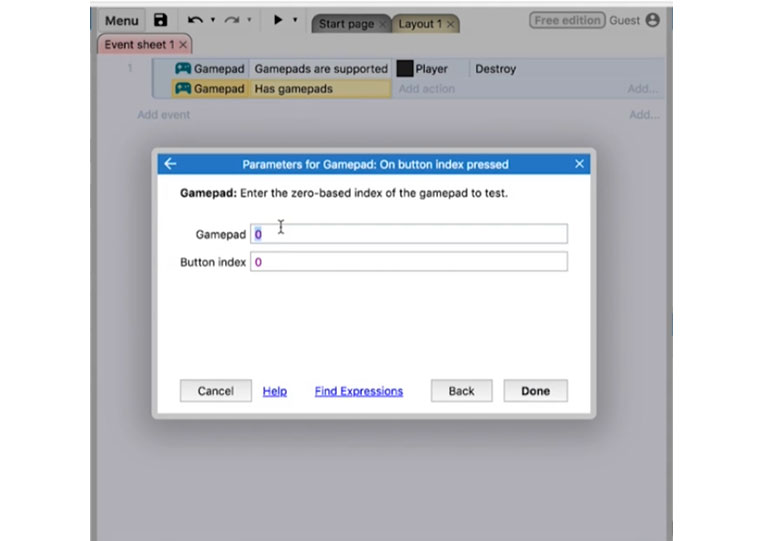
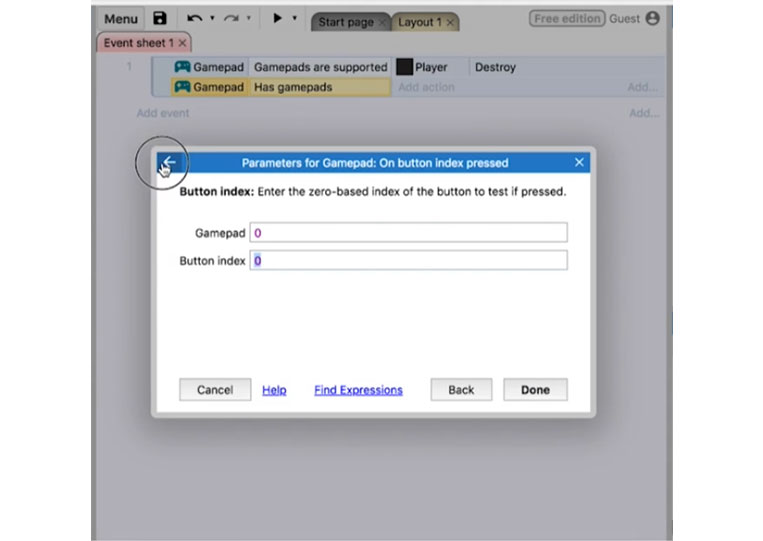
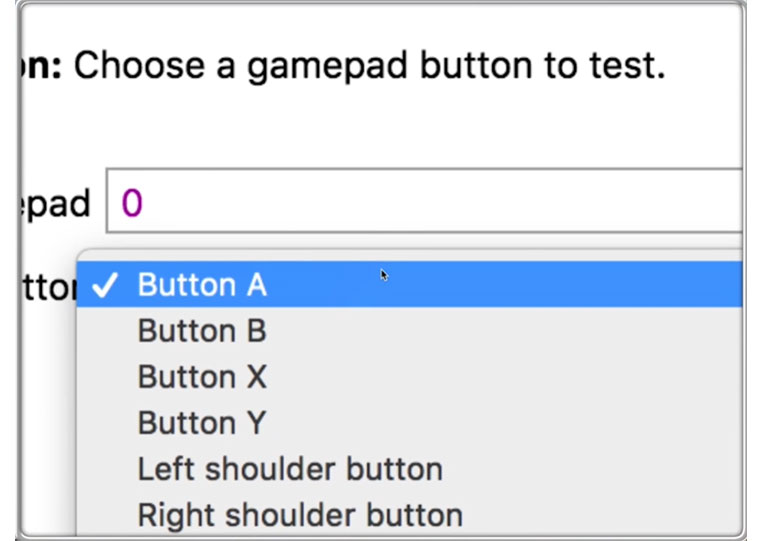
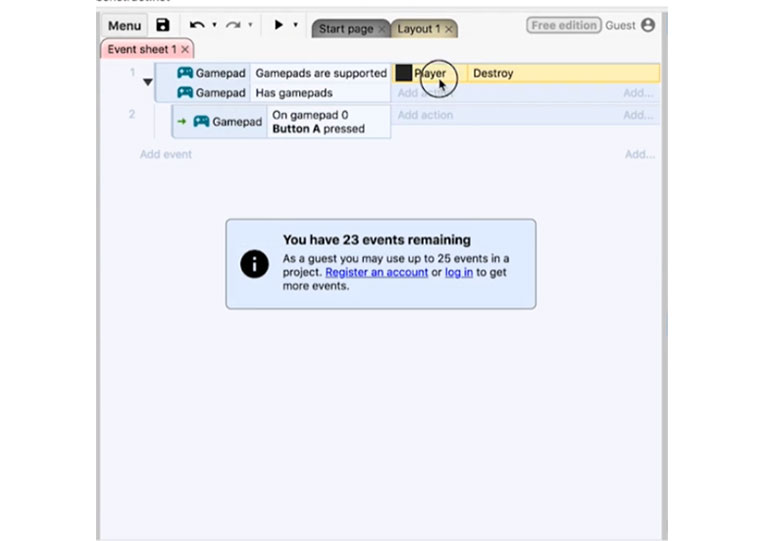
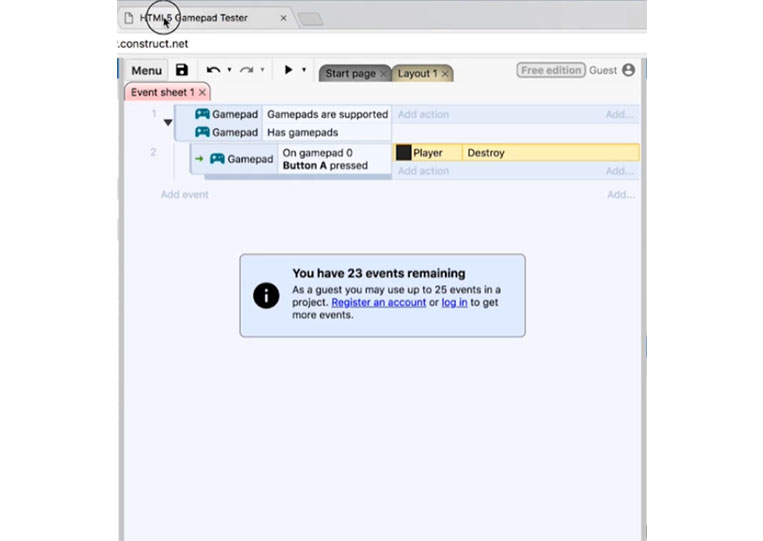
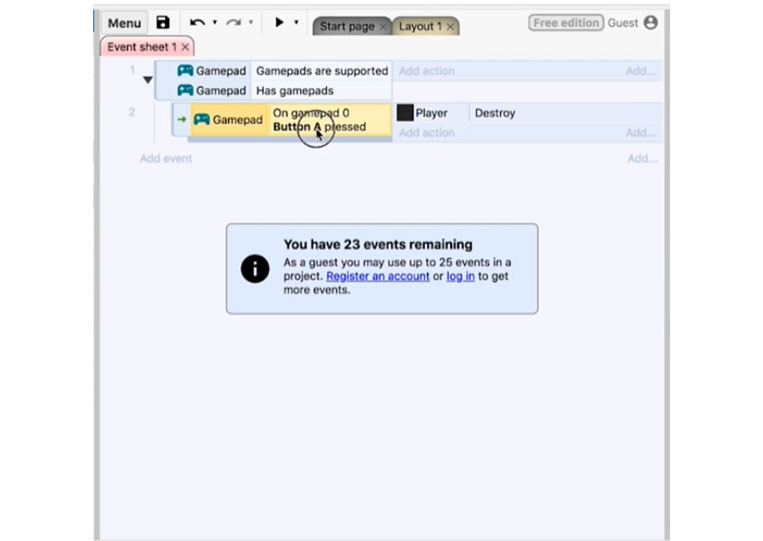
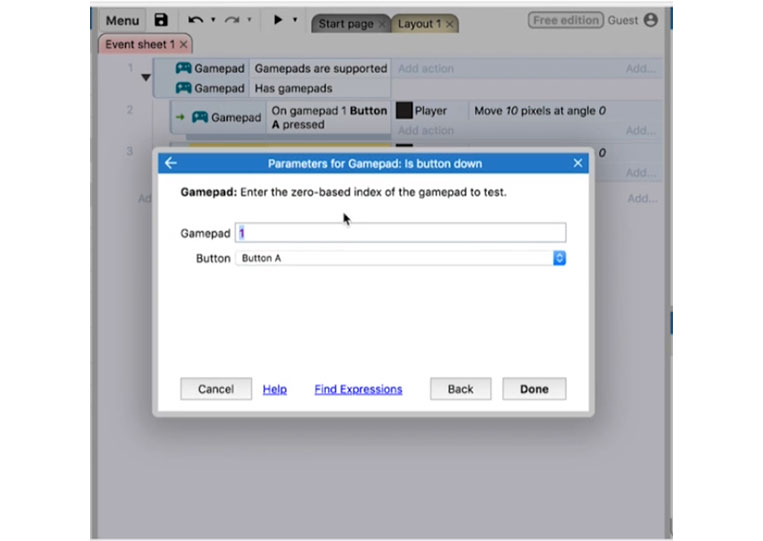
Now the ‘Gamepad’ is 0 and should be the first game card connected. Let’s start with ‘Button A’
We’ll destroy the ‘Player’ when the A button is pressed.
I’m pressing the button, and nothing happens.

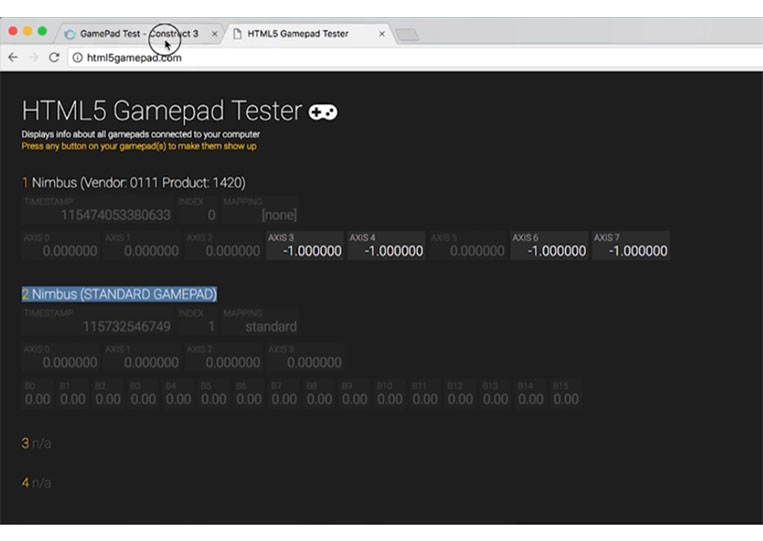
There’s a good reason for that. The Nimbus controller is a bit different.

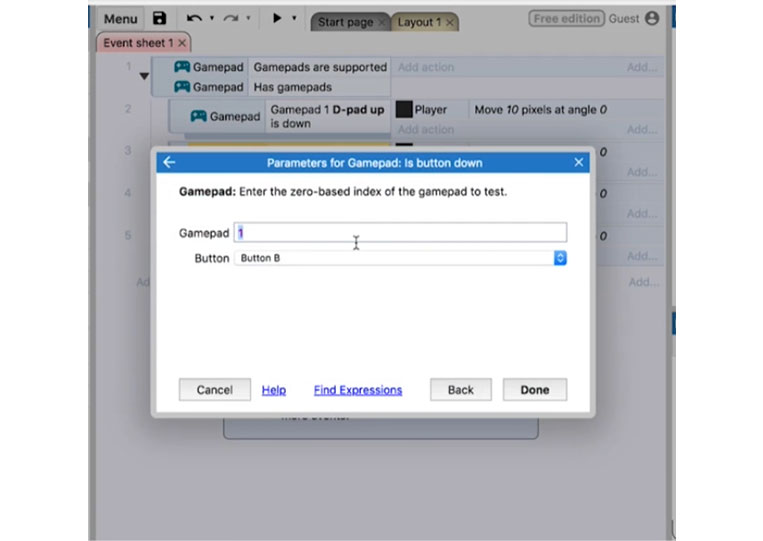
Technically, these are numbers that correlate with the number of gamepads here. ‘GamePad’ 0 has four options.

This gamepad tester starts from 1. When I push the A button.
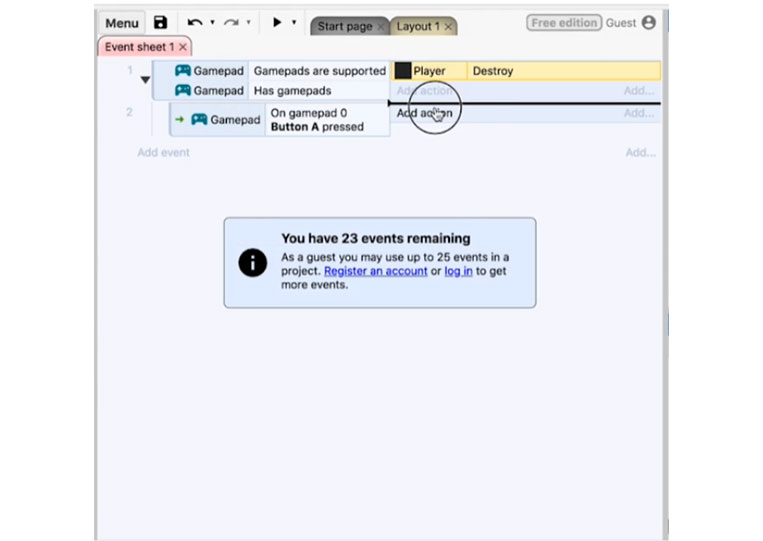
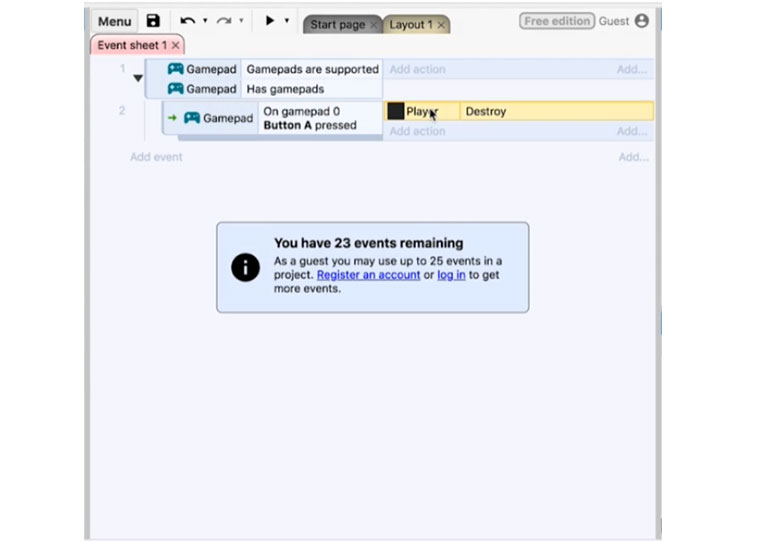
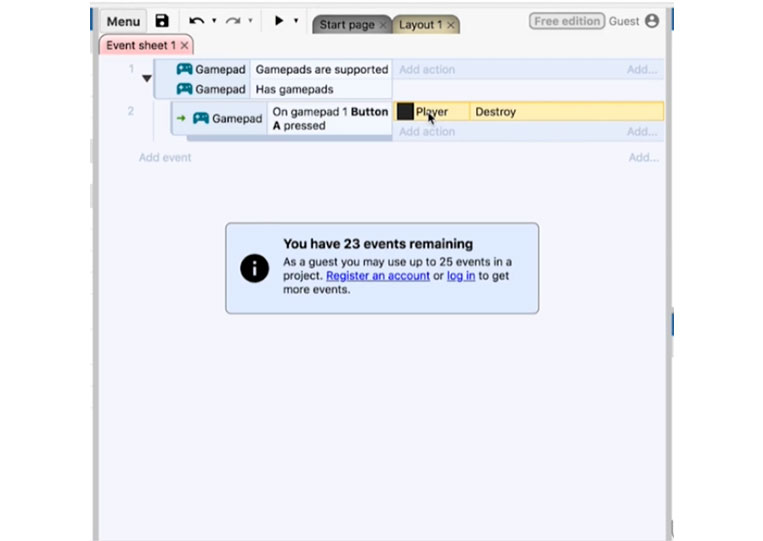
We now have the option to destroy that ‘Player’
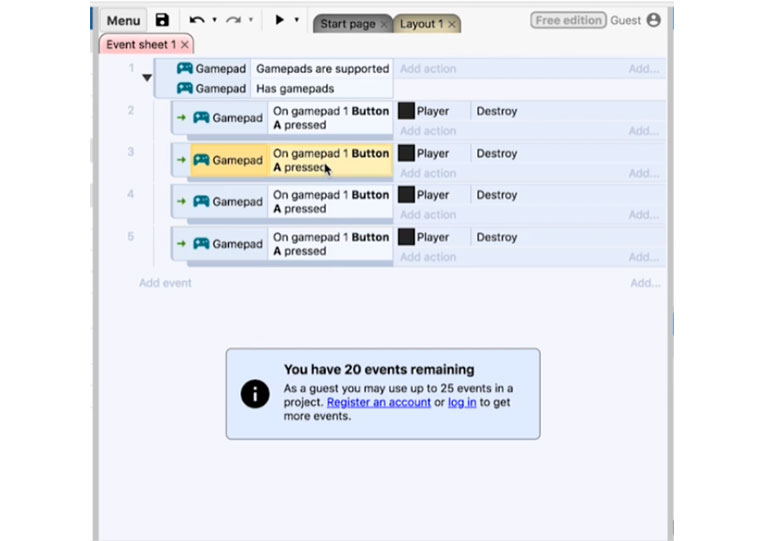
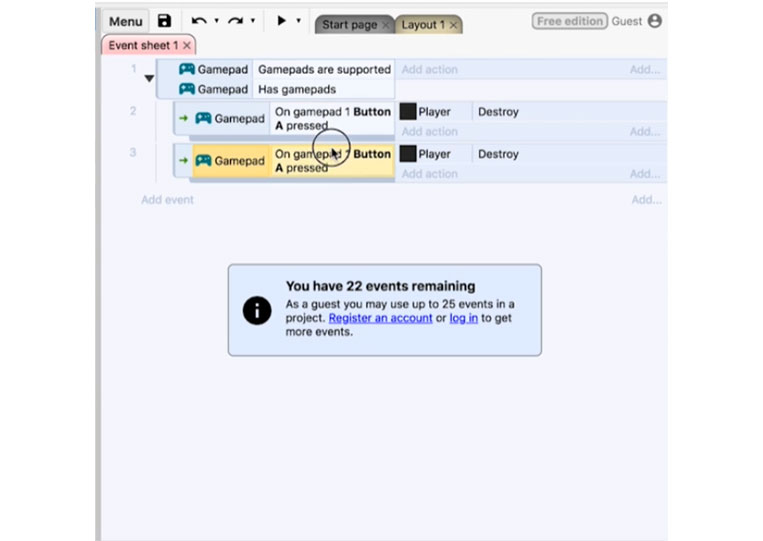
Now you can do as many game buttons as you want.
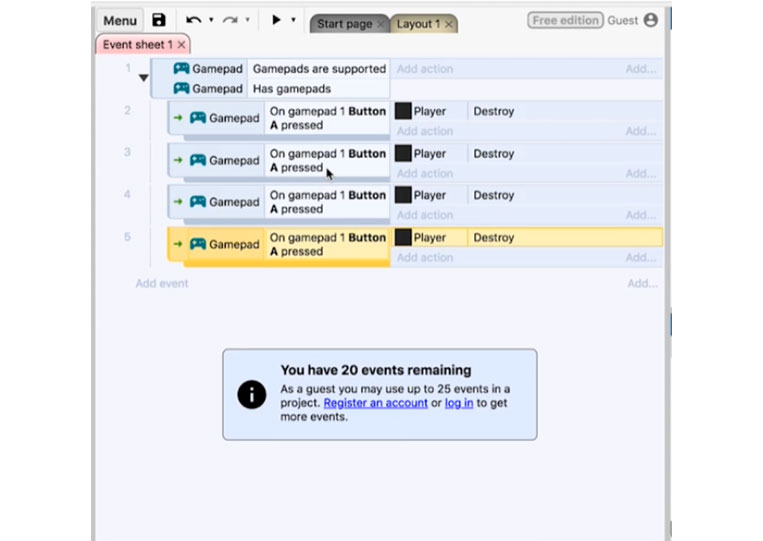
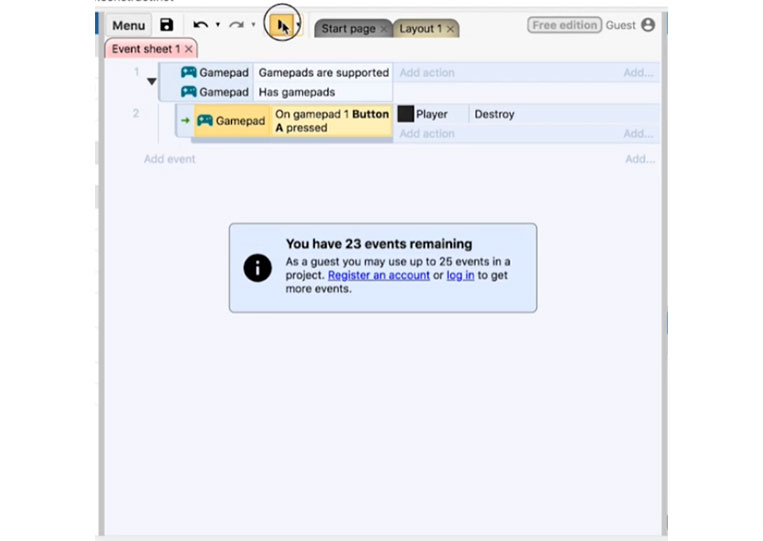
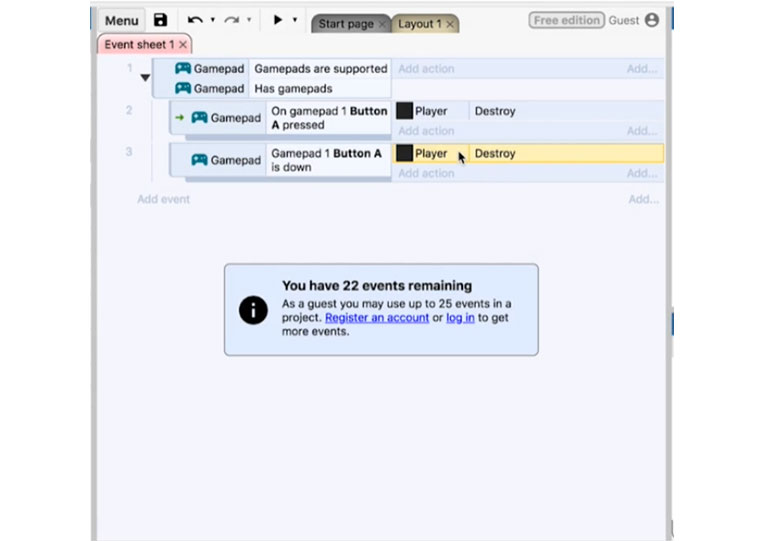
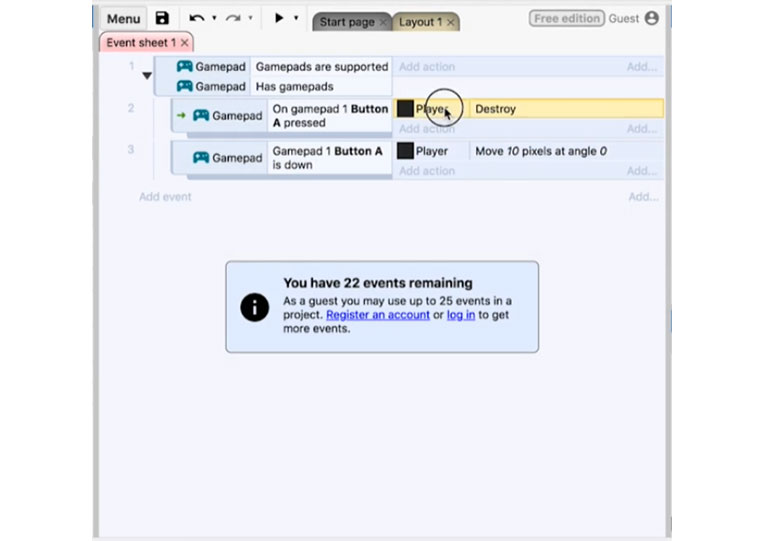
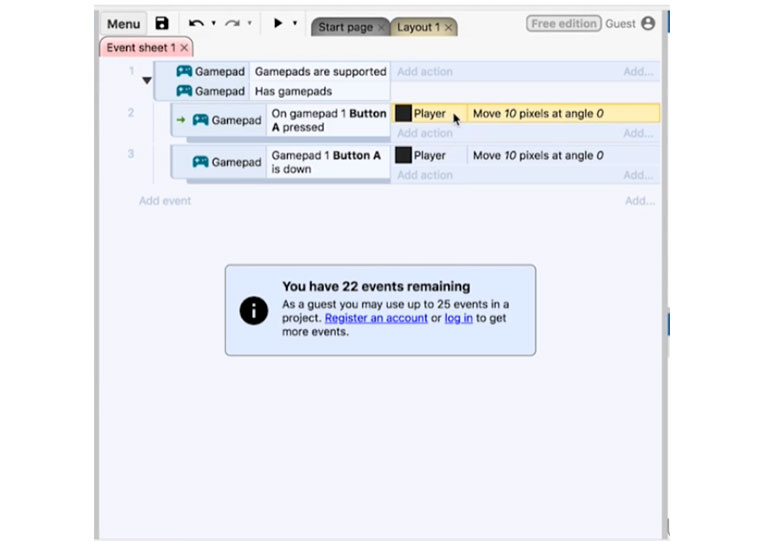
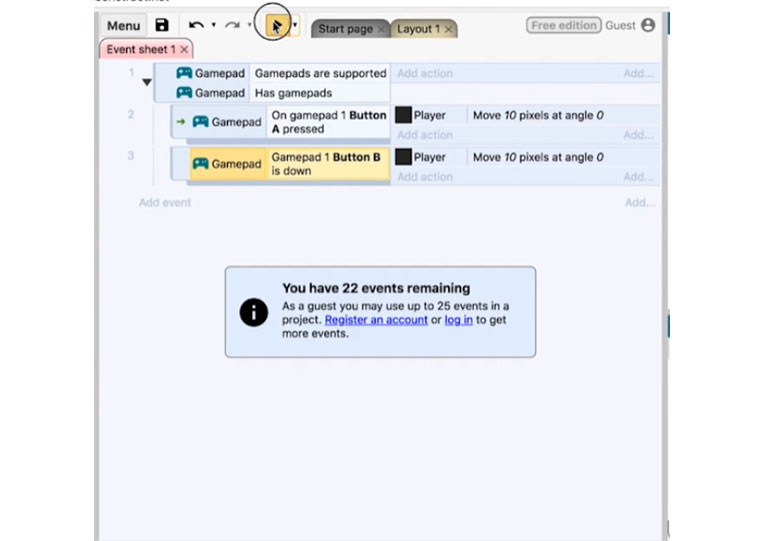
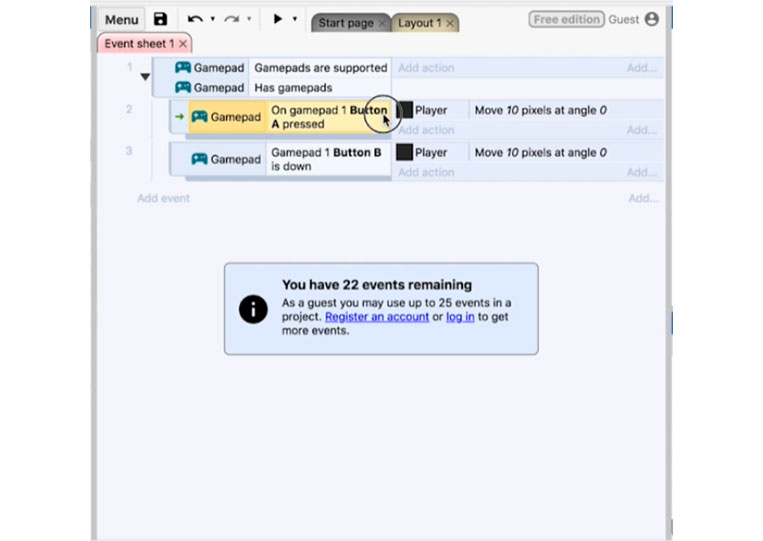
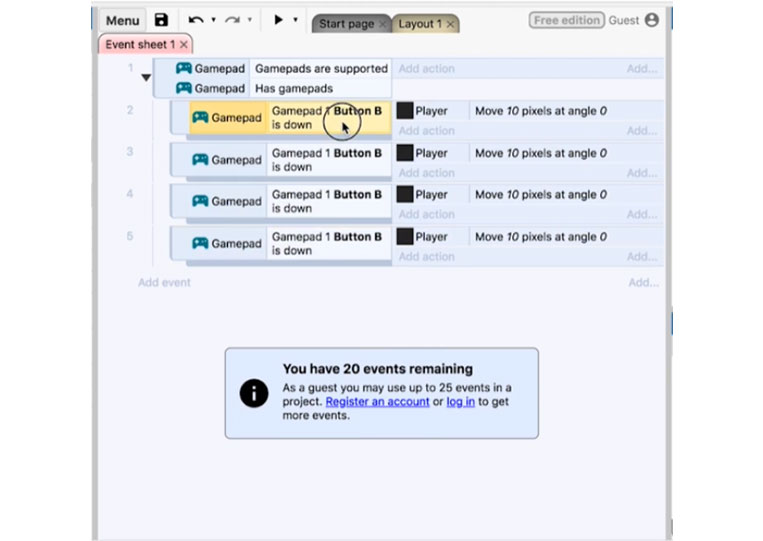
We have the ‘On gamepad 1 Button A pressed’
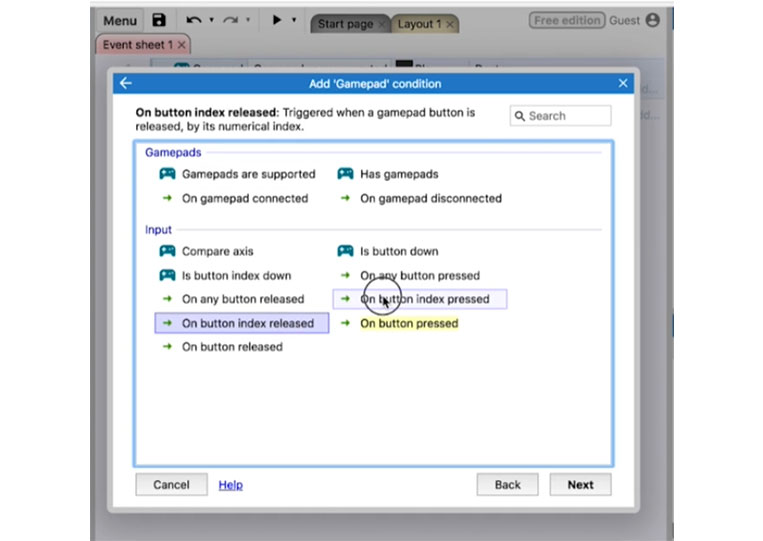
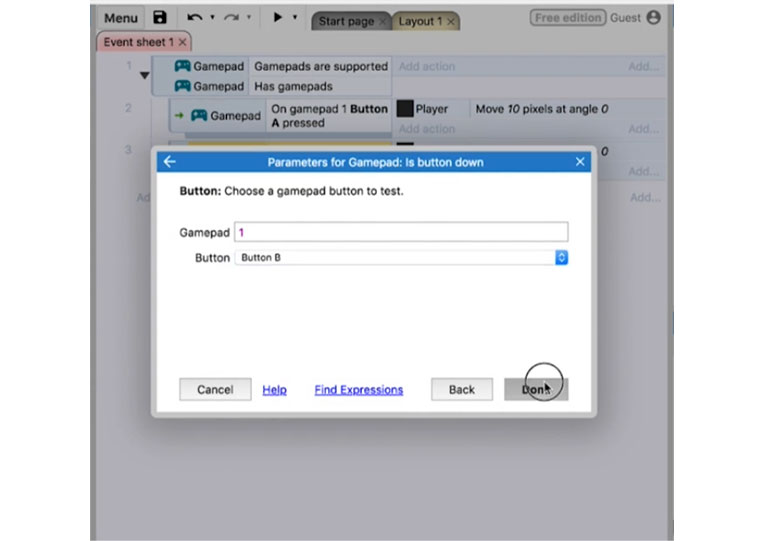
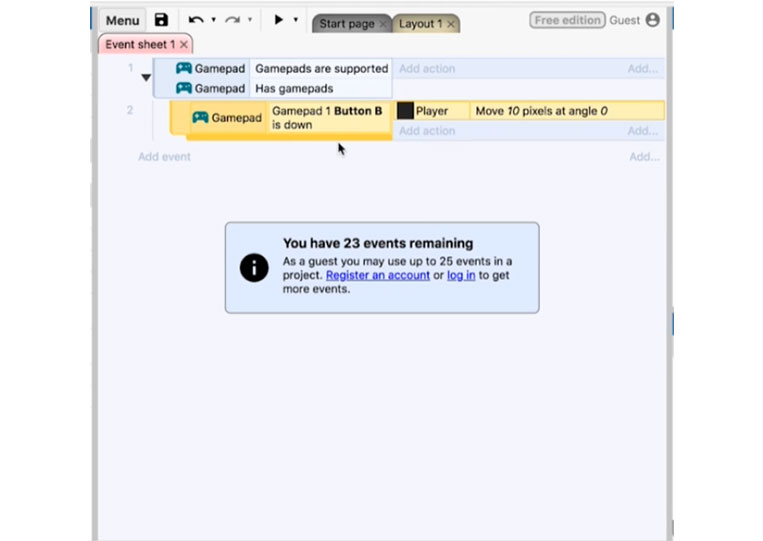
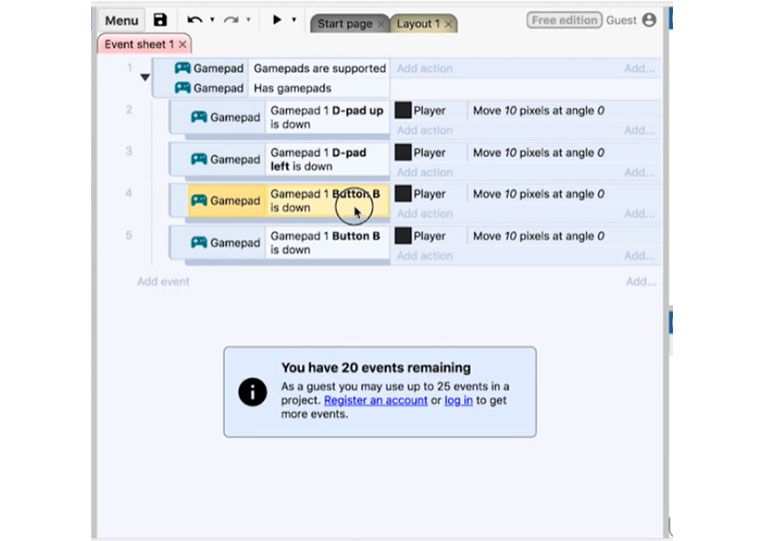
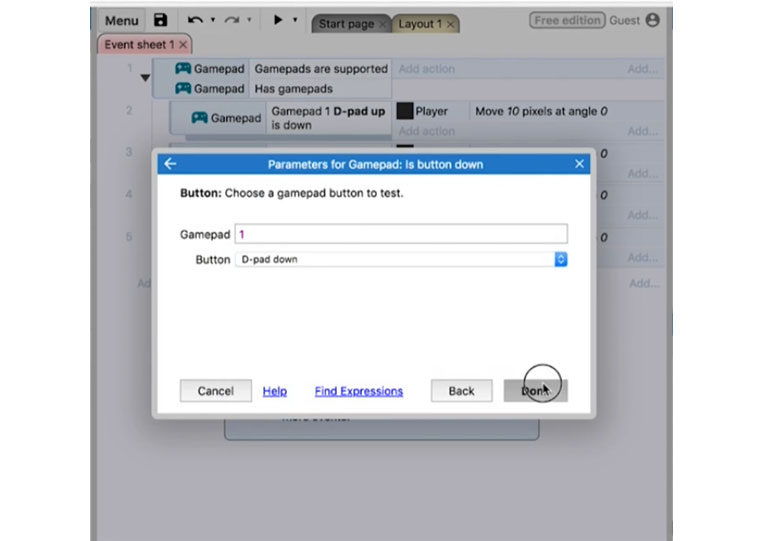
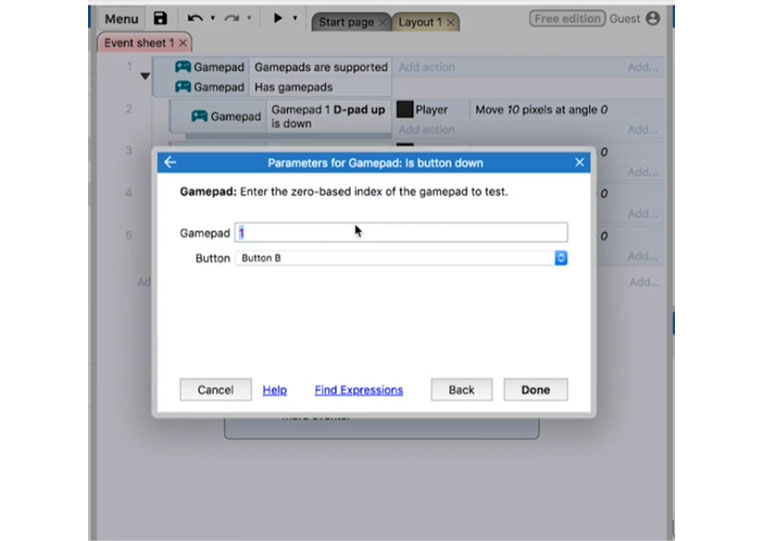
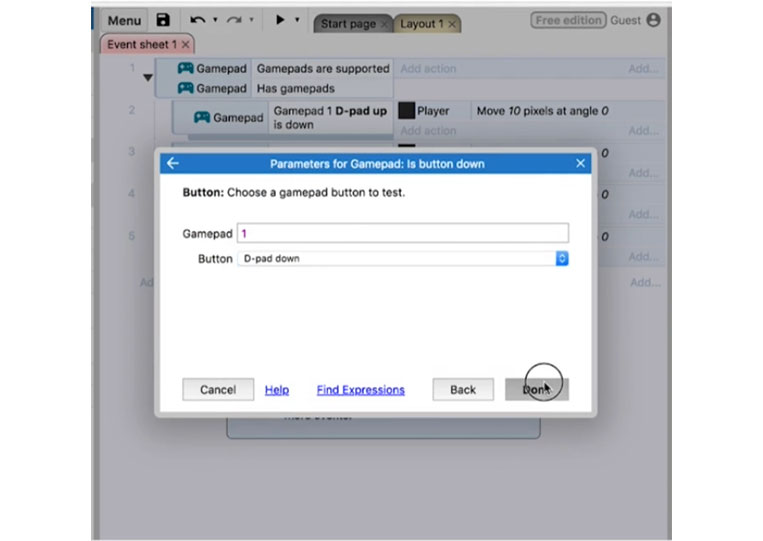
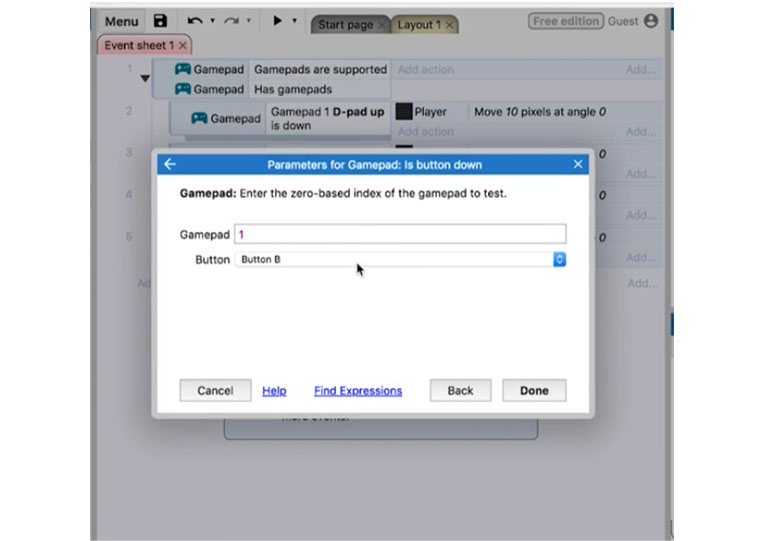
We also have ‘Is button down’
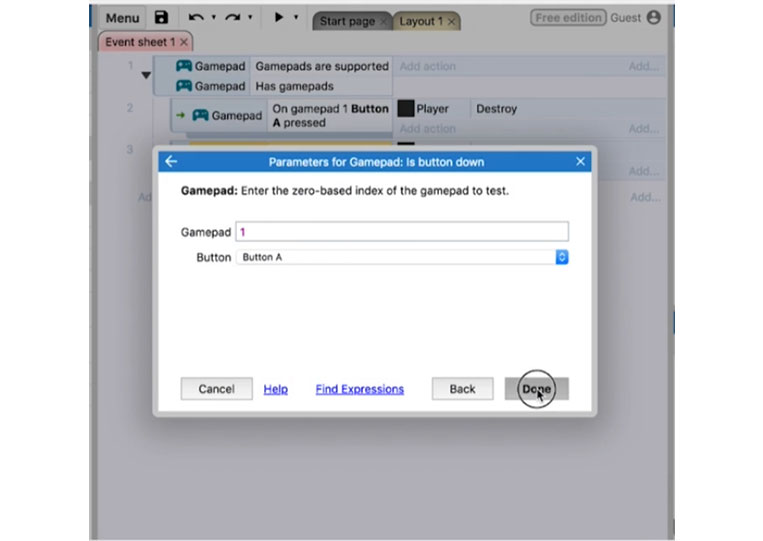
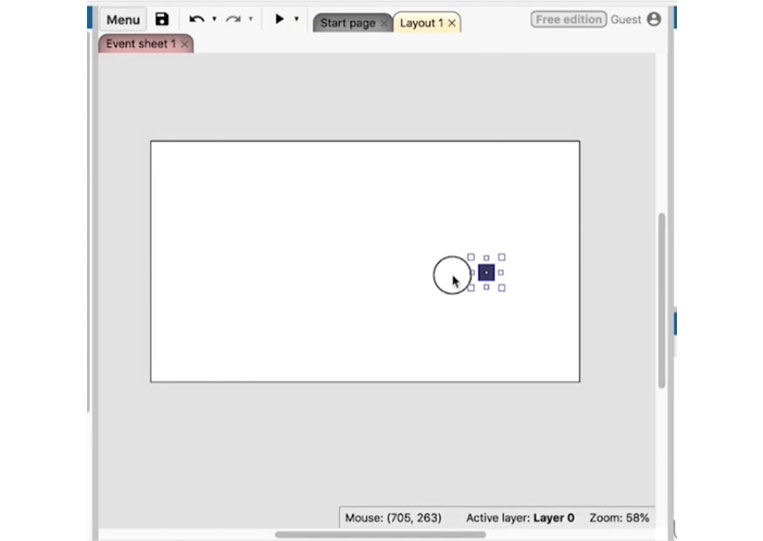
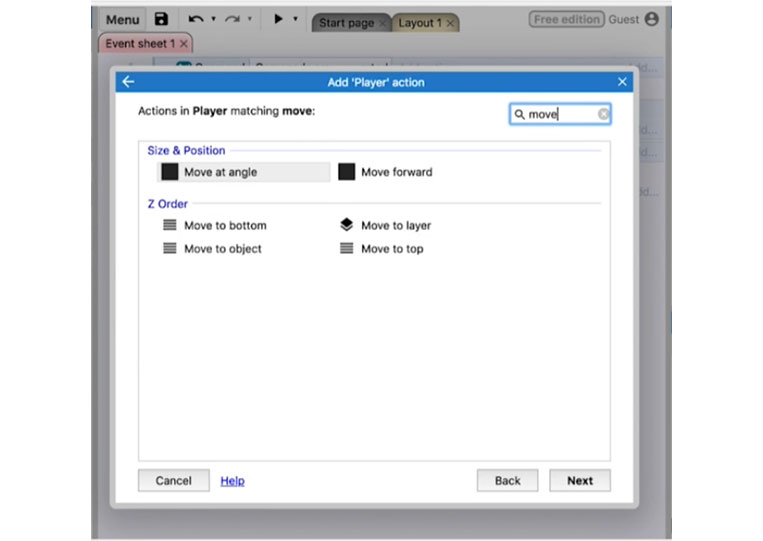
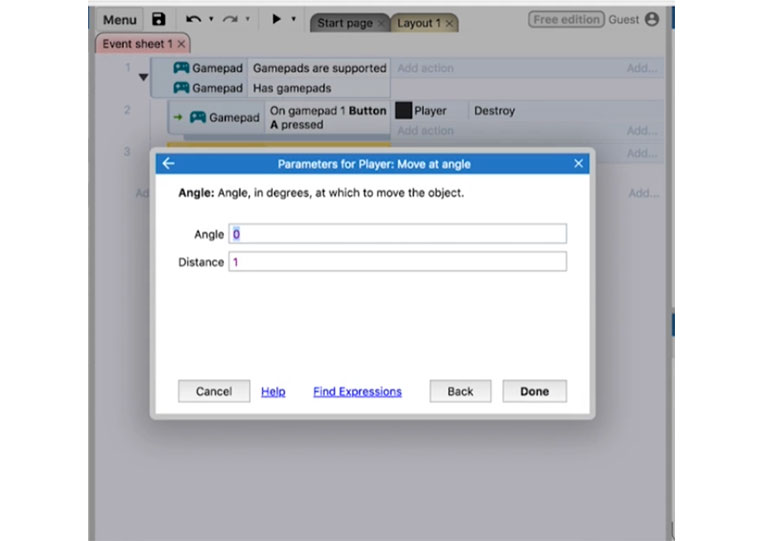
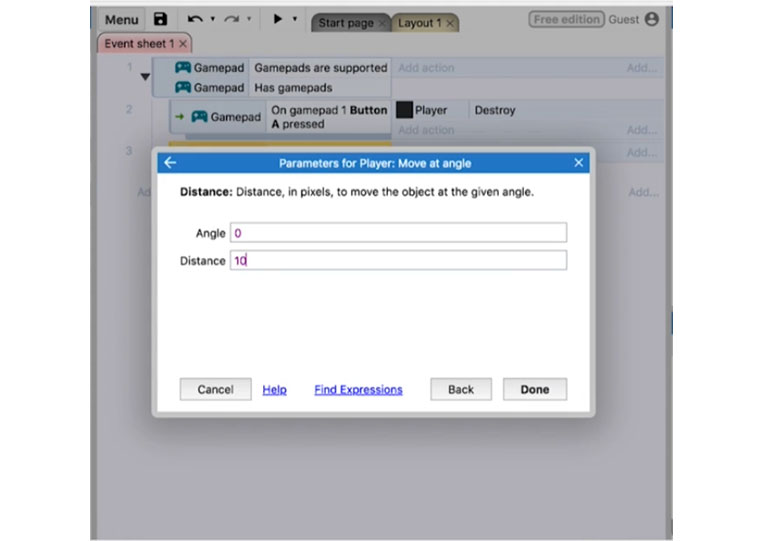
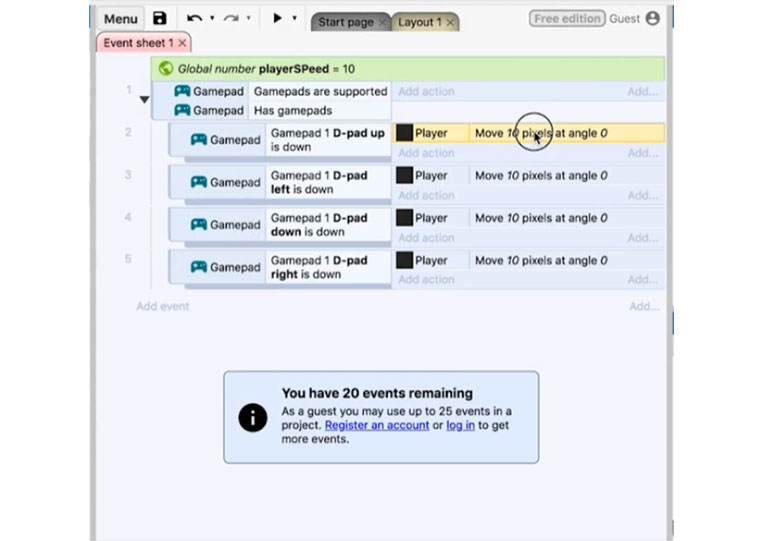
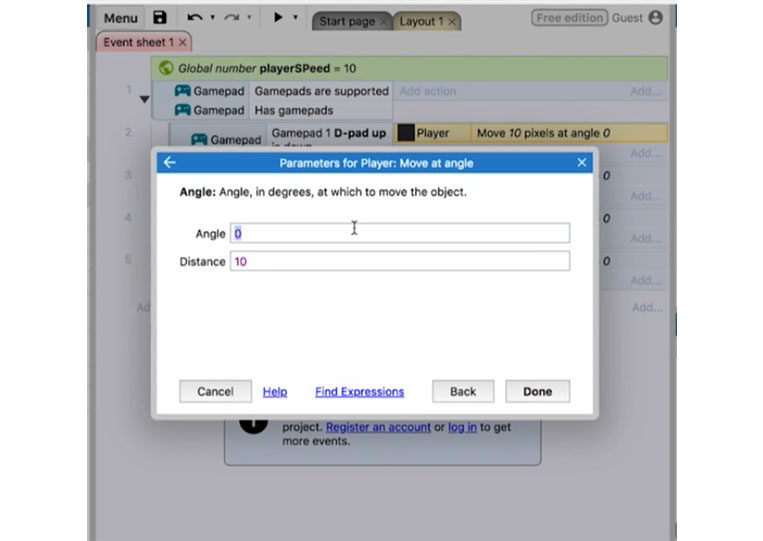
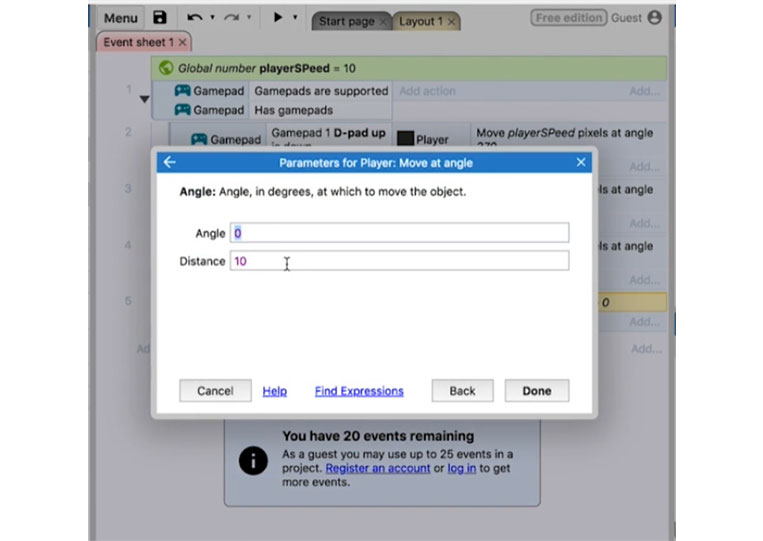
I move ‘Player’ by an angle of 0 and the distance is 10.
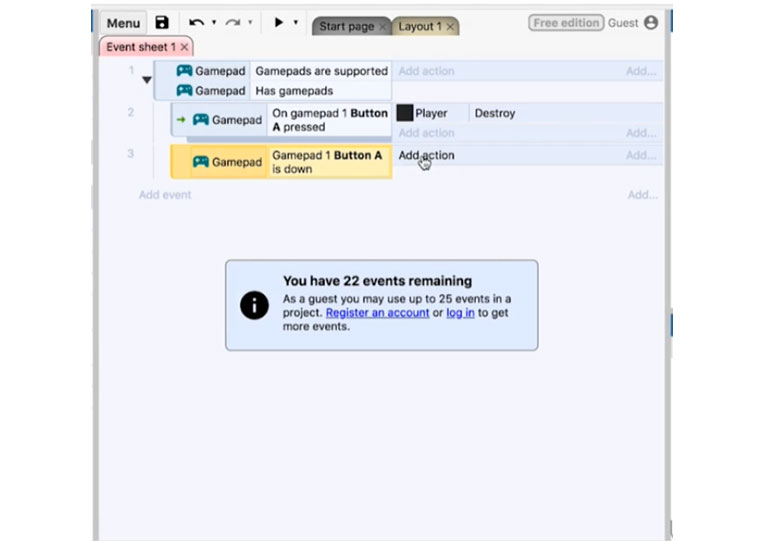
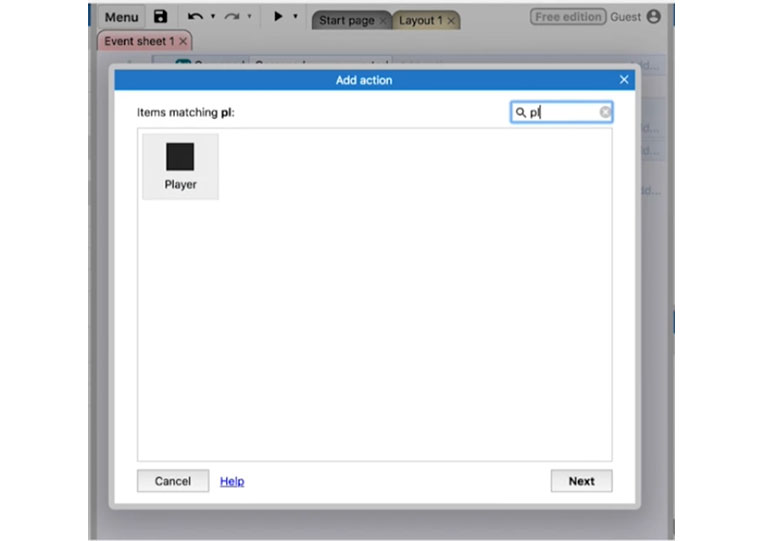
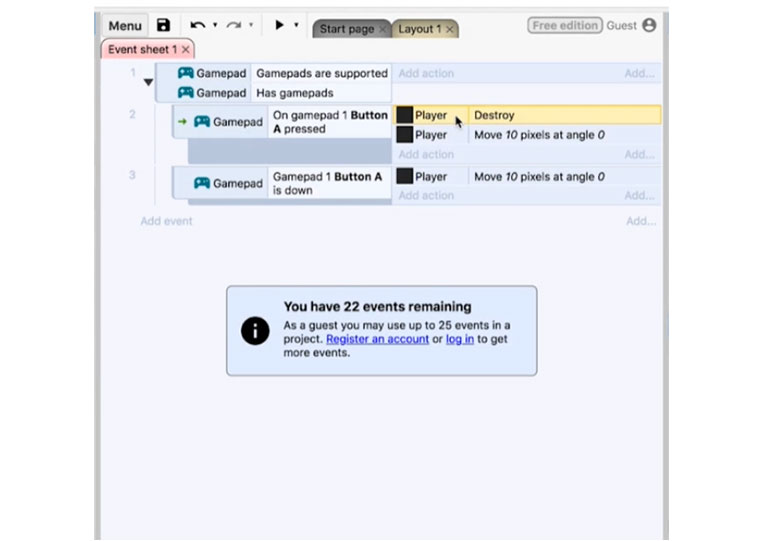
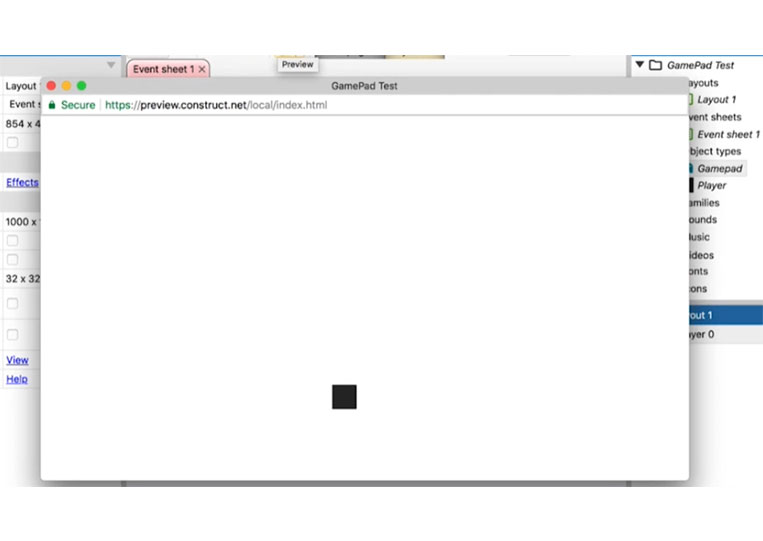
Instead of destroying the ‘Player’, I move it here.
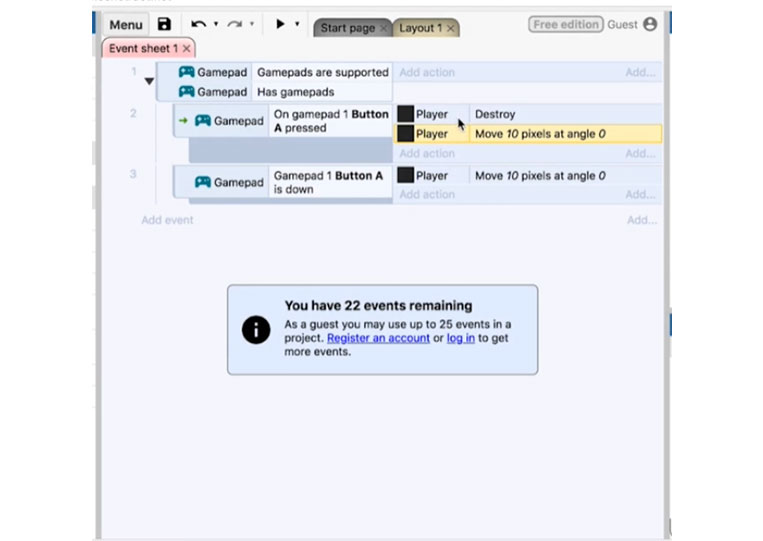
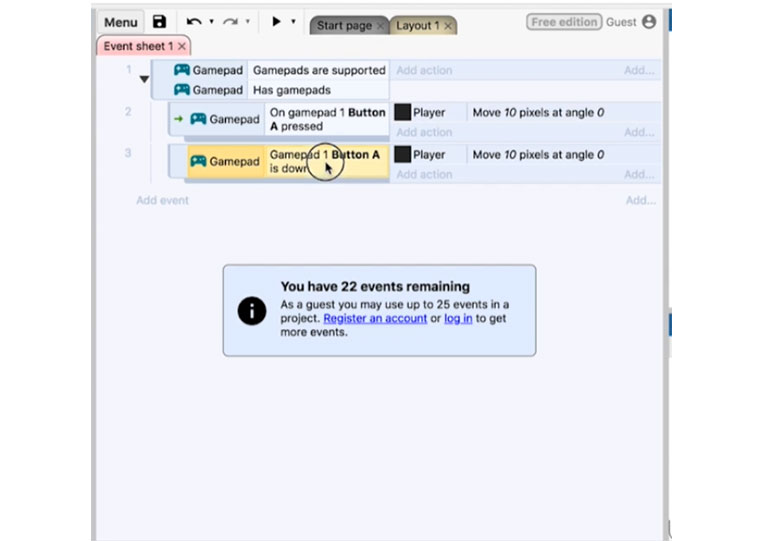
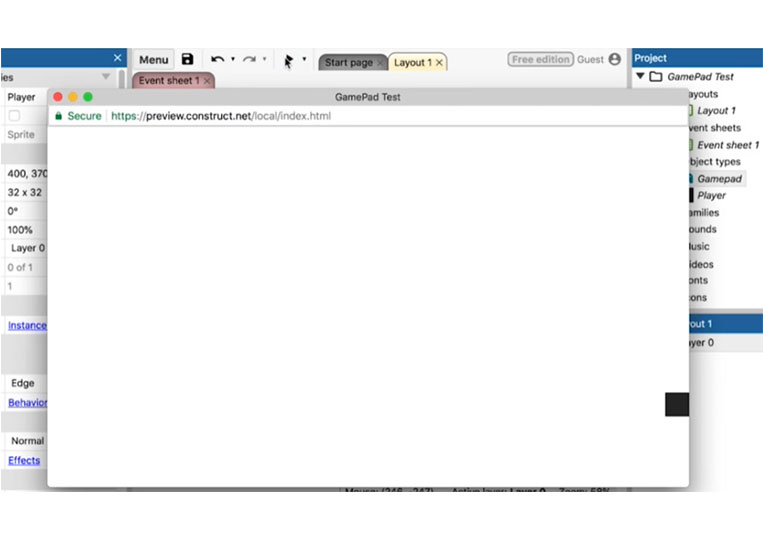
If I press the A button and hold down the B button, it will move.
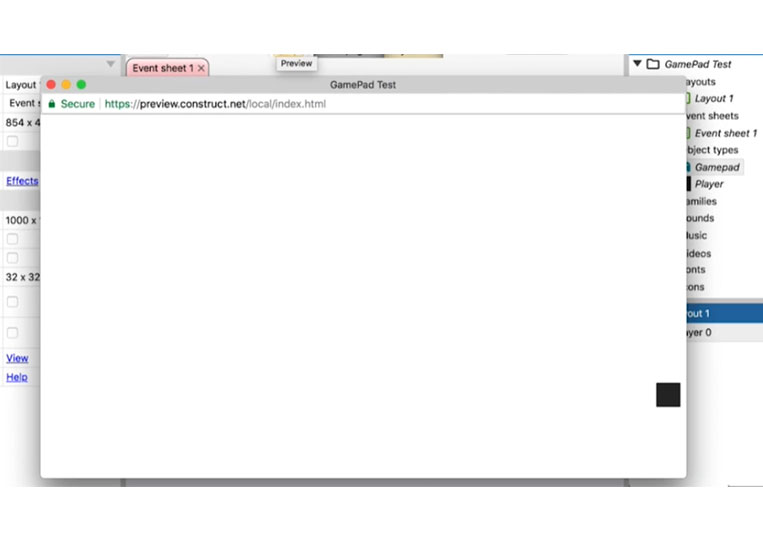
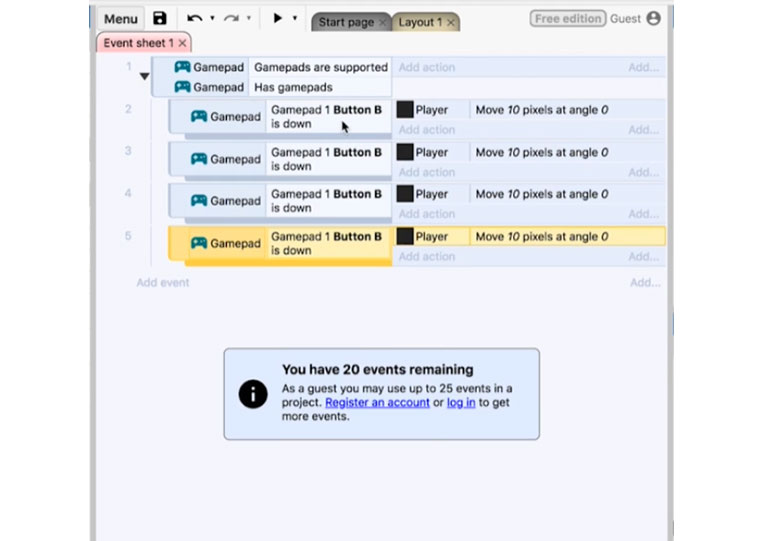
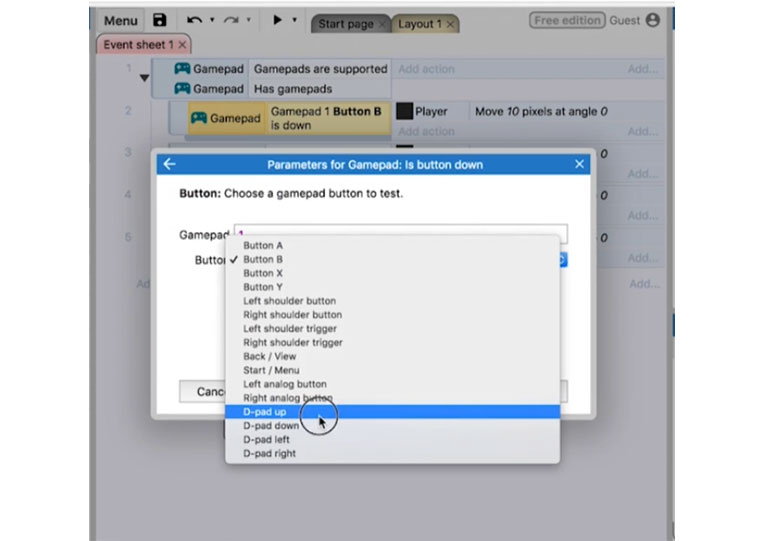
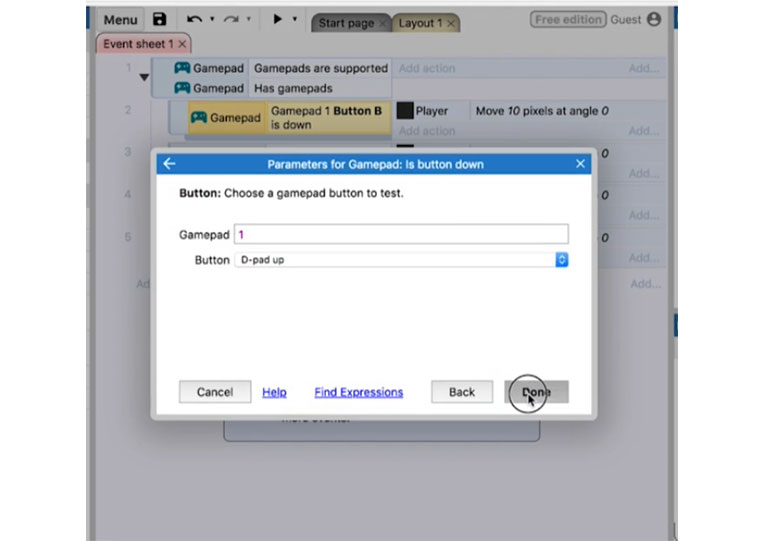
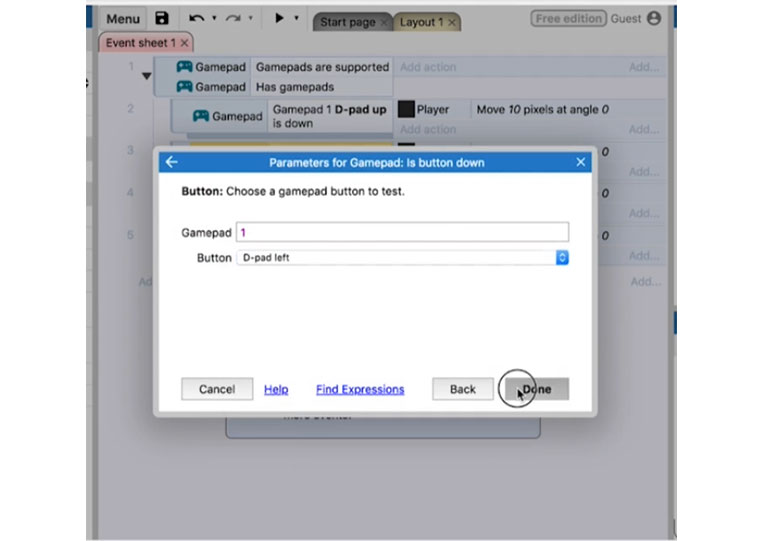
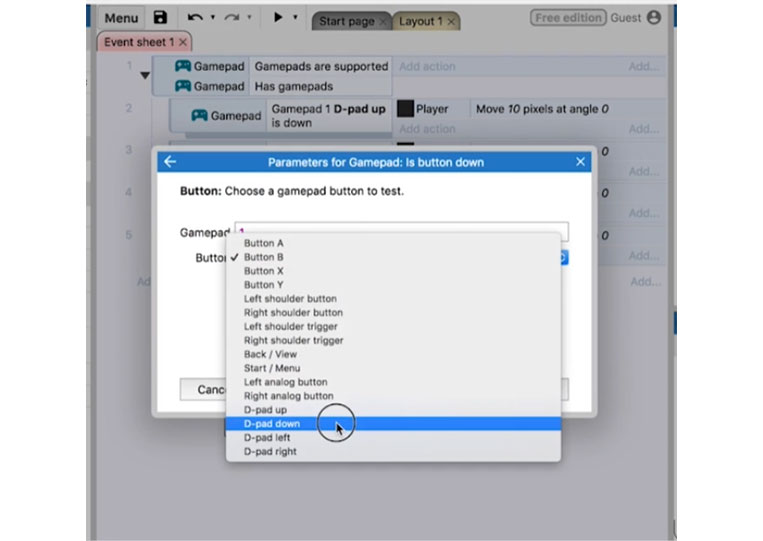
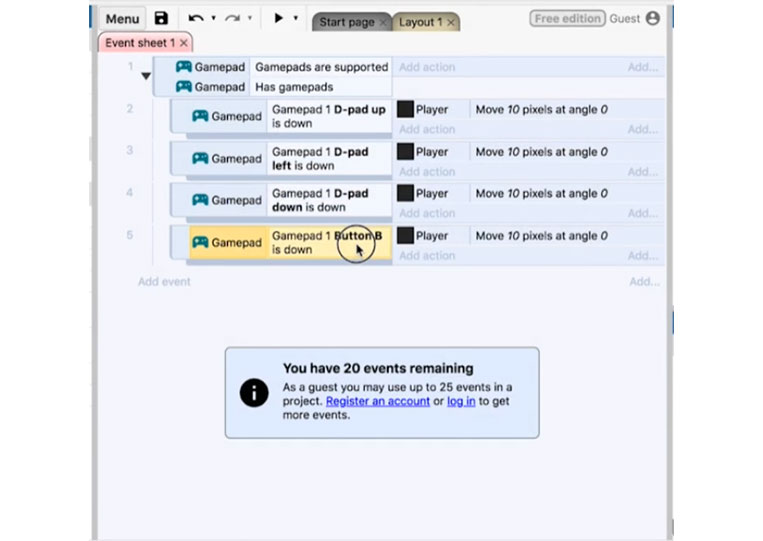
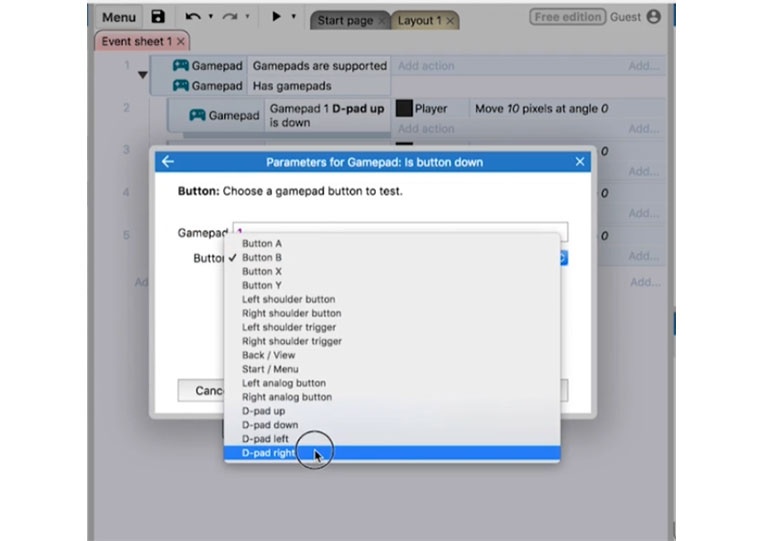
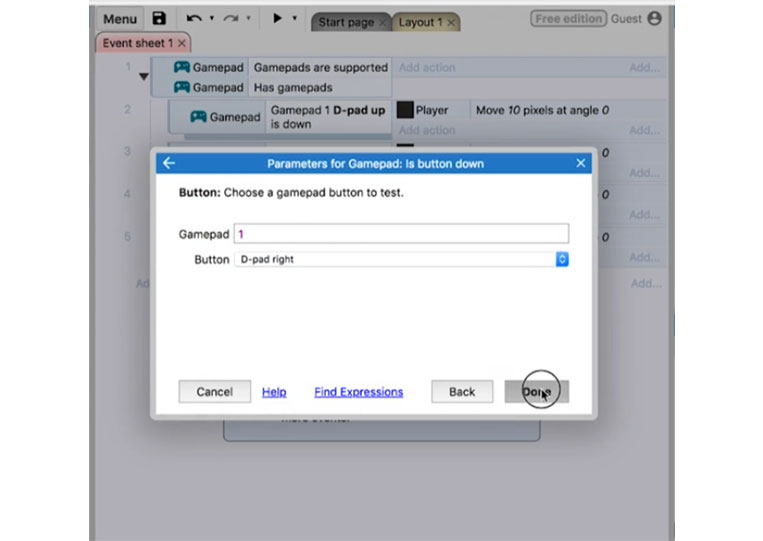
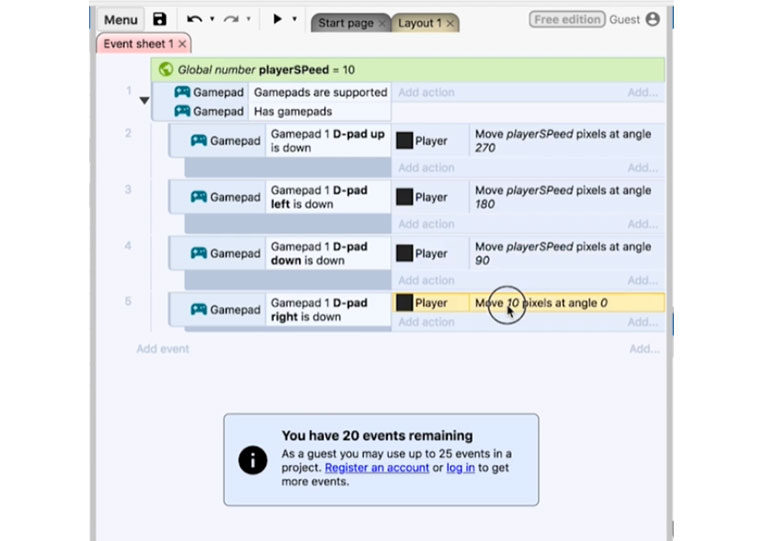
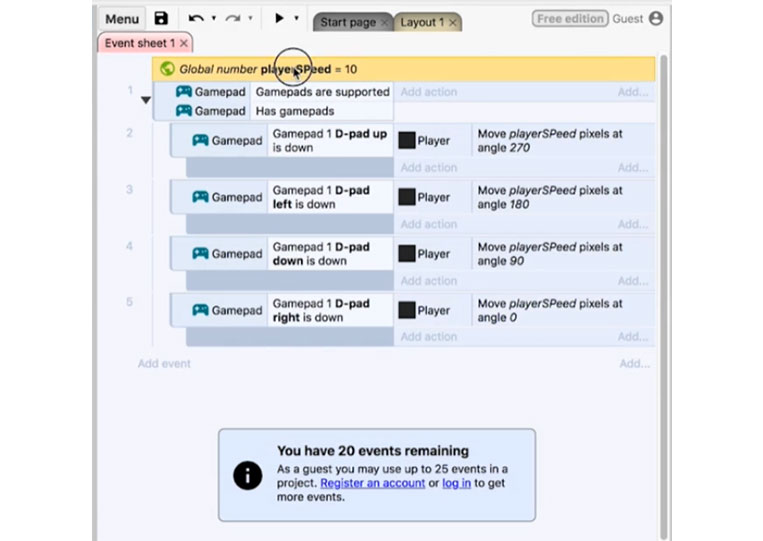
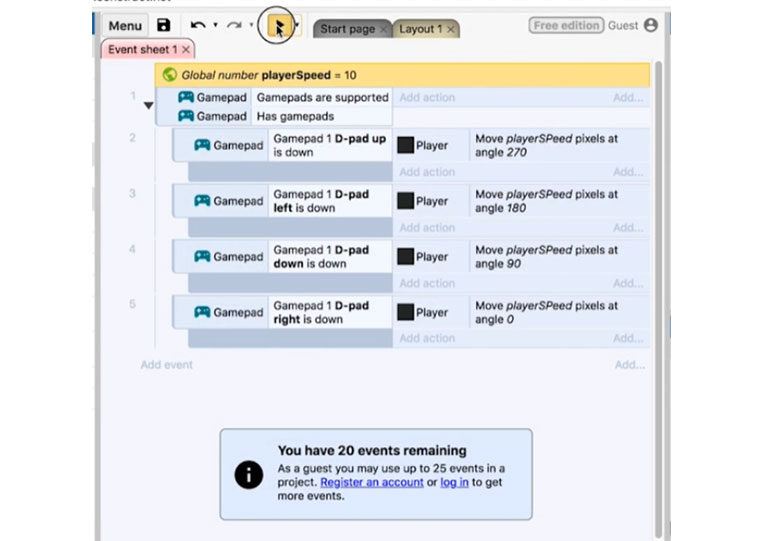
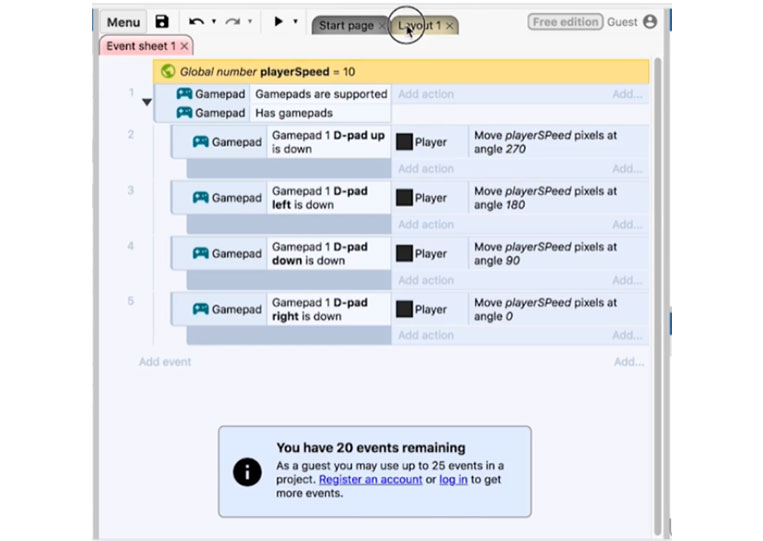
Pressing will do once. But if you hold the button down, it will continually do that. I want to add some basic controls. Therefore, let’s copy and paste this four times, and do the ‘D-pad’


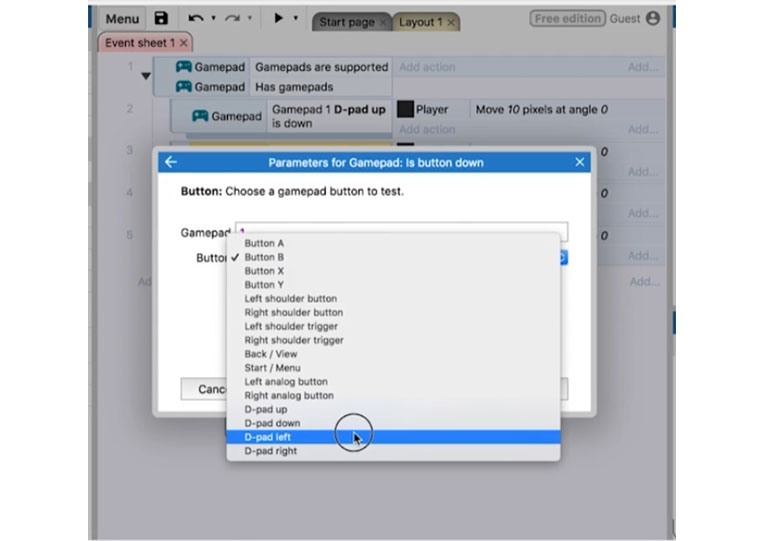


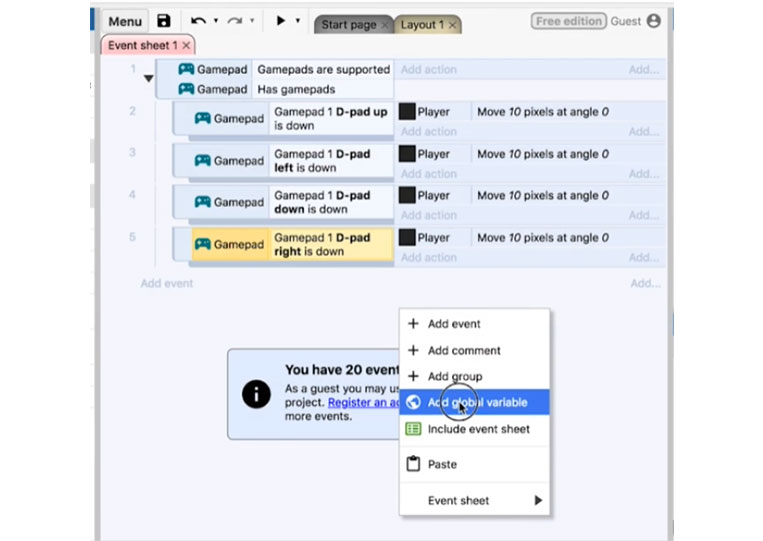
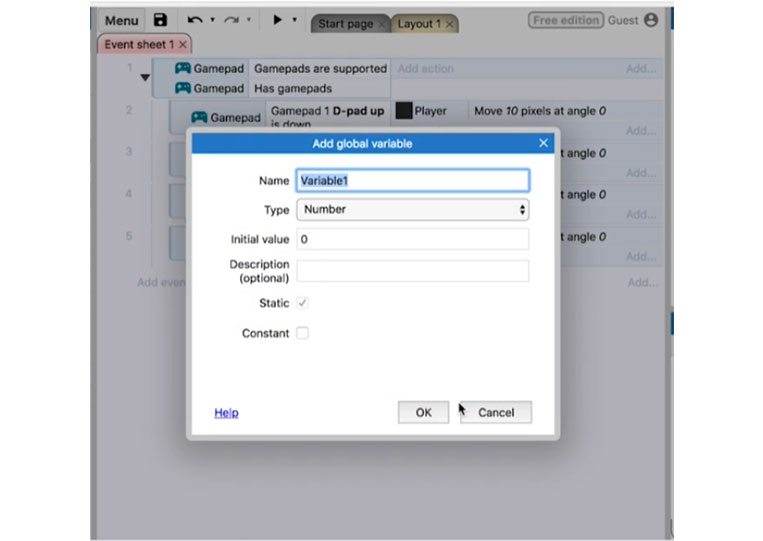
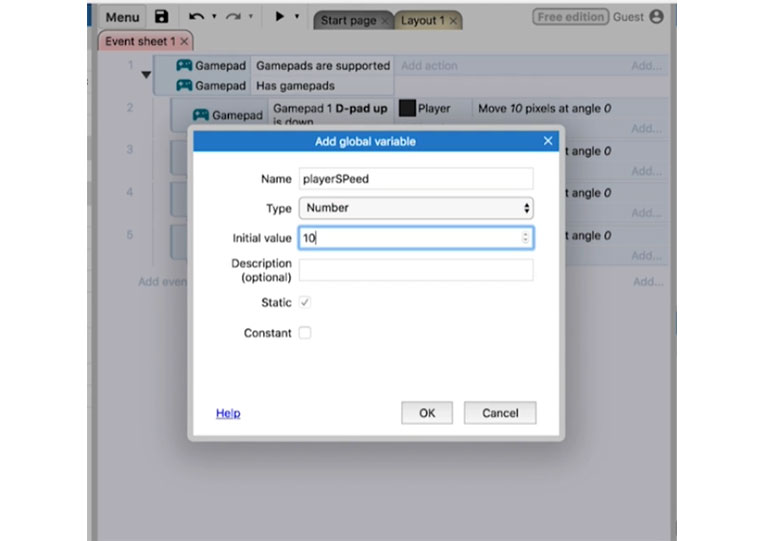
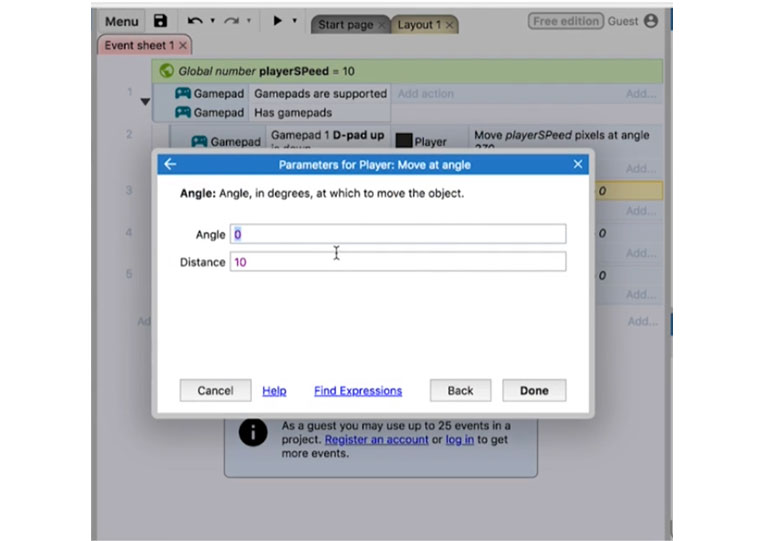
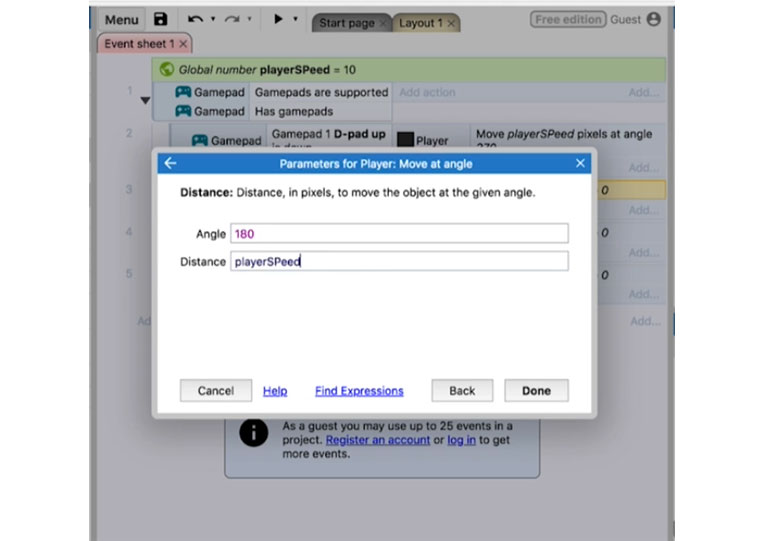
I also add a variable here. We’ll call this ‘playerSpeed’ and set ‘Initial value’ to 10.
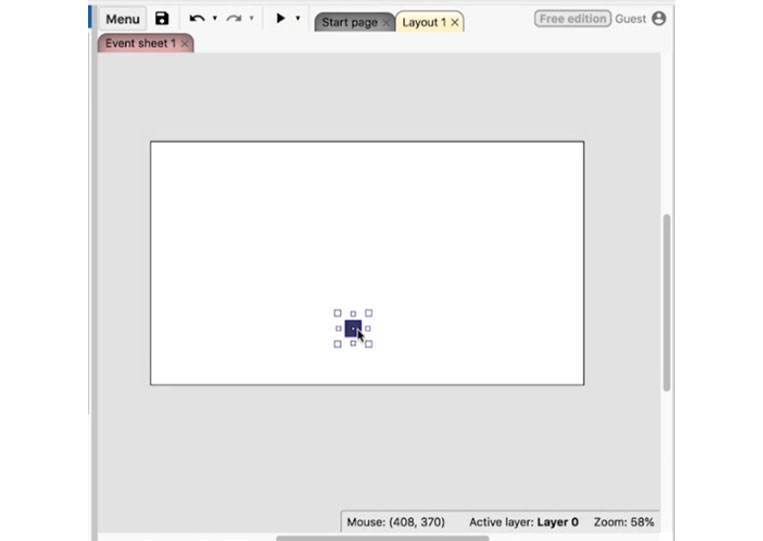
I move ‘Player’ by an angle of 270, 180, and 90.


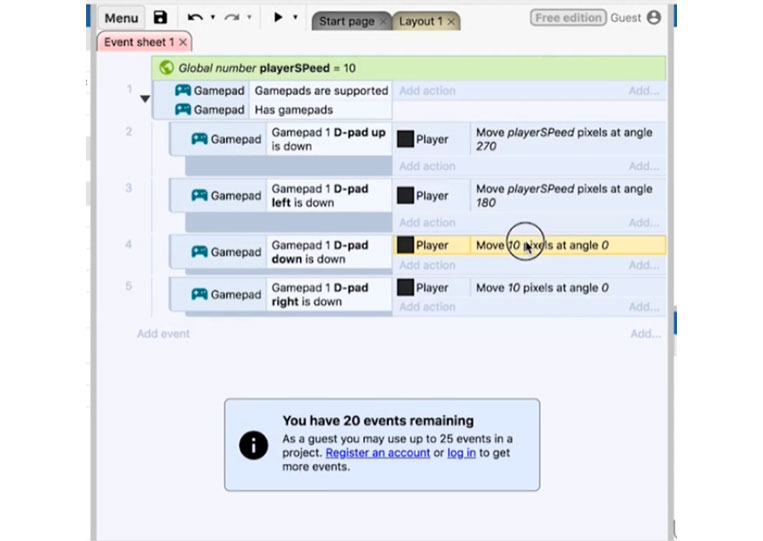

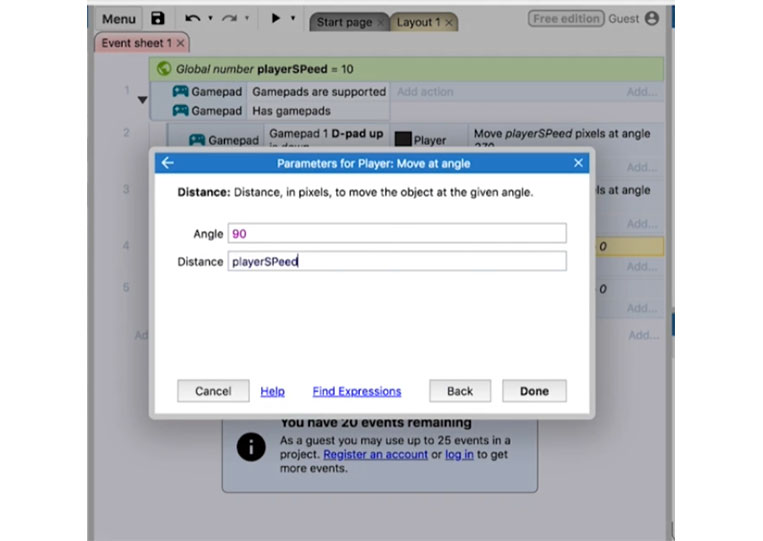
Finally, the ‘playerSPeed’ is zero.
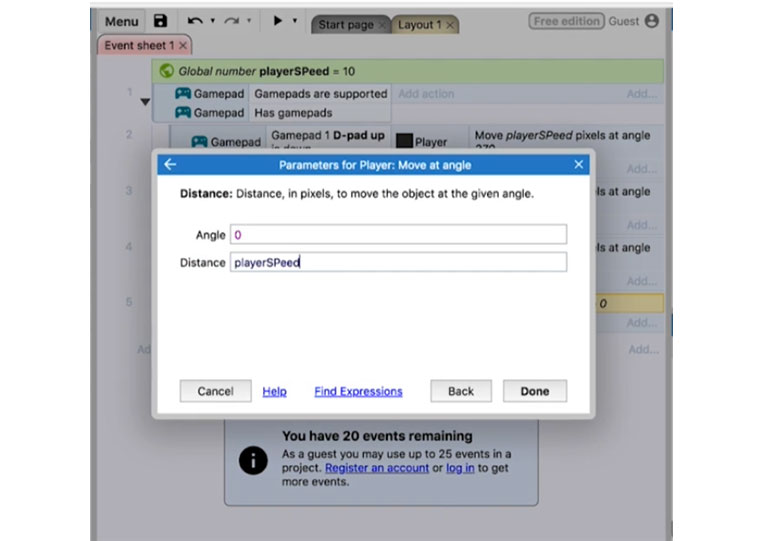
Make sure to capitalize correctly.

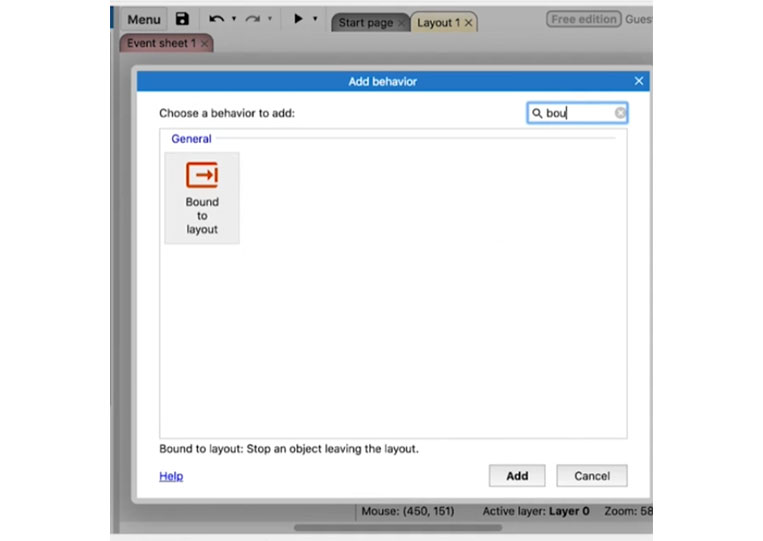
I click the ‘Player’ and add the ‘Behaviors’ to the ‘Layout’
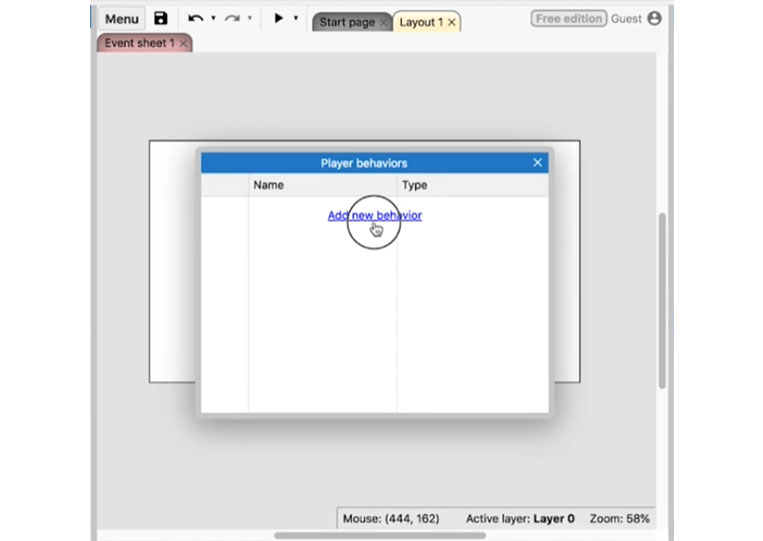
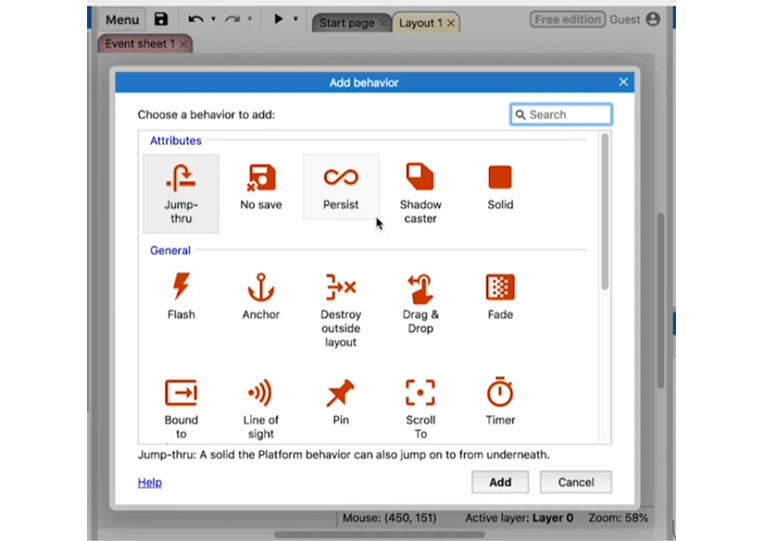
We have set up a ‘Gamepad’