
‘GEO LOCATION’: ADD ‘GEO LOCATION’
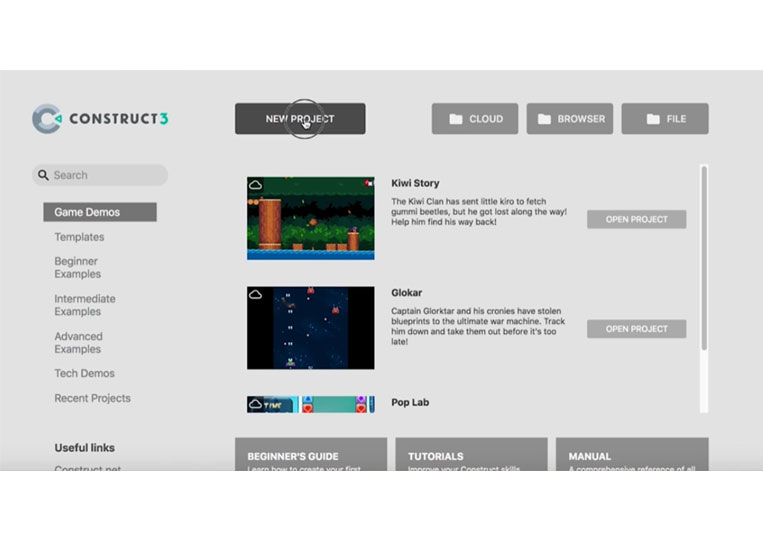
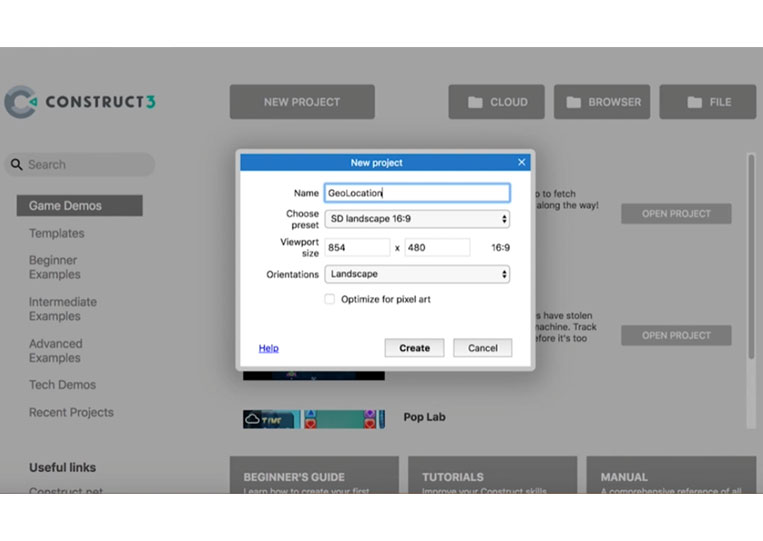
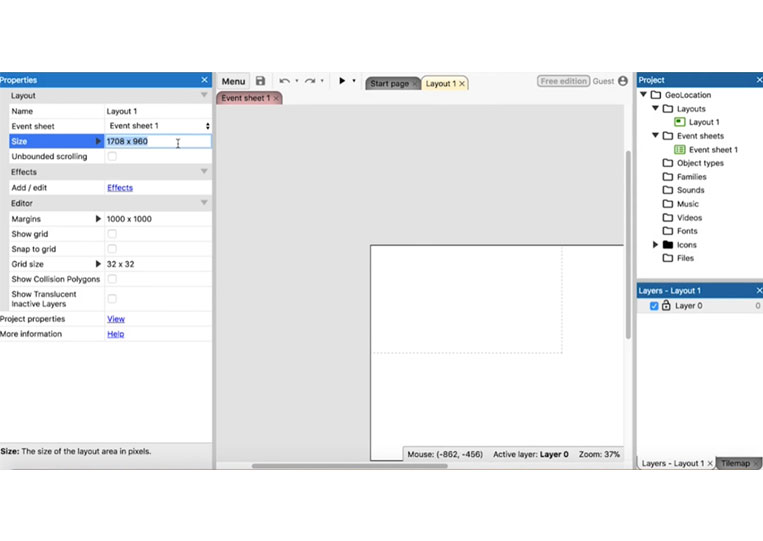
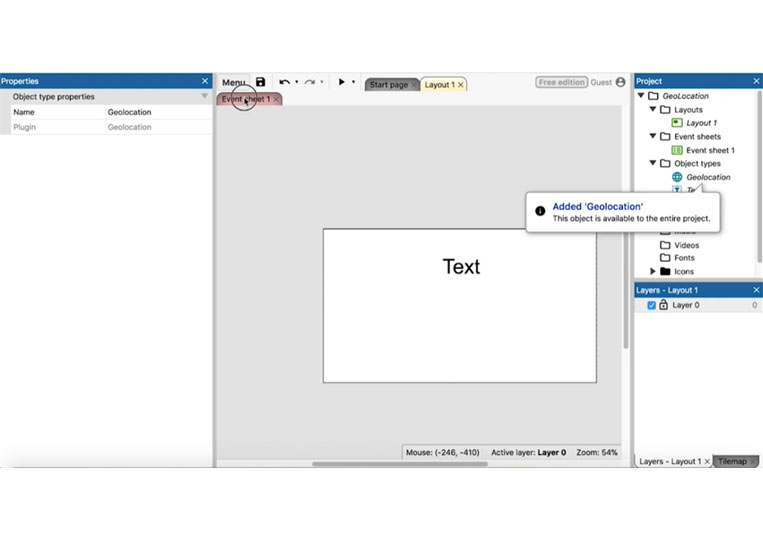
Welcome, everyone. In this document, we talk about ‘Geolocation’. Let’s create a new project named ‘Geolocation’
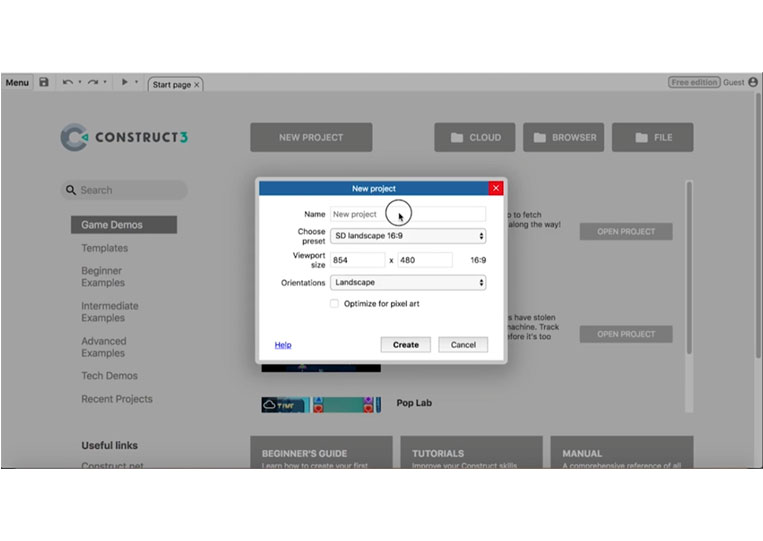
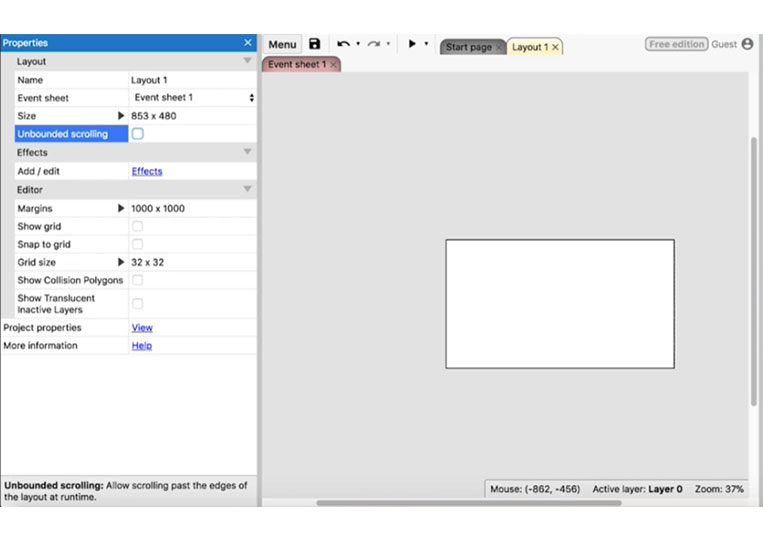
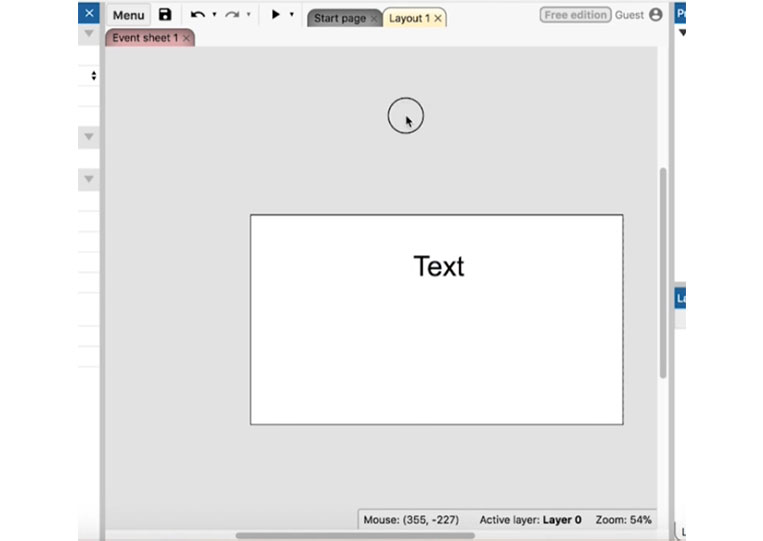
I made this 853 x 480.
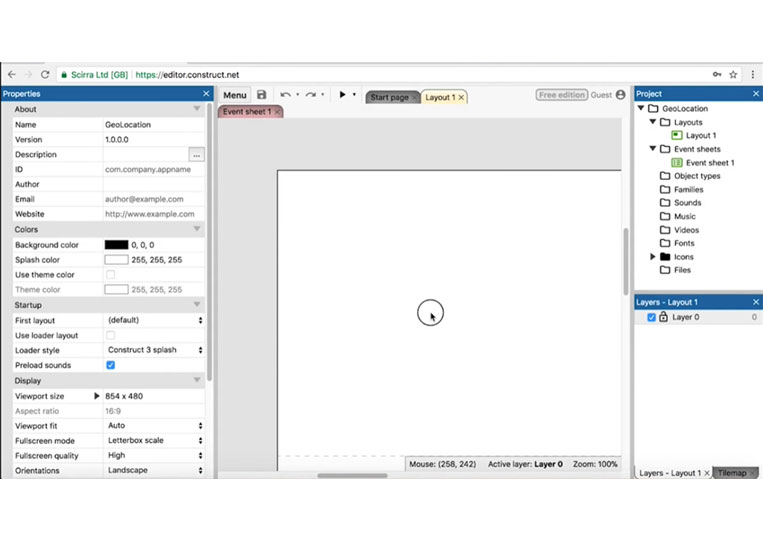
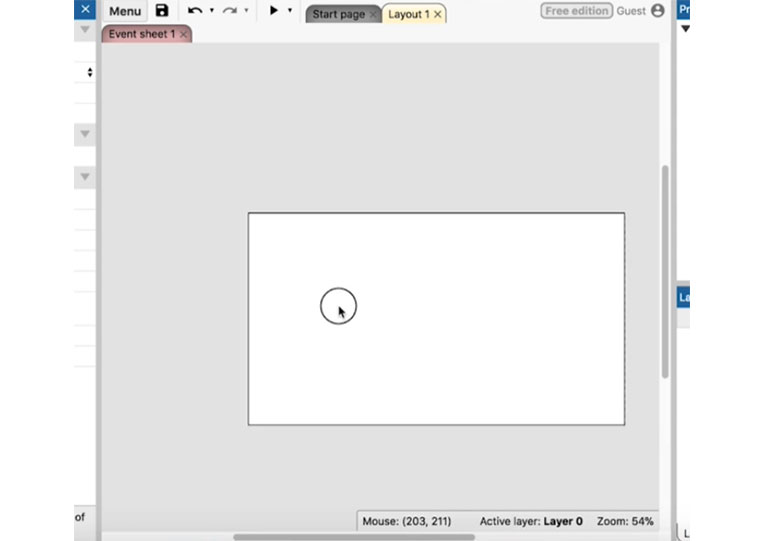
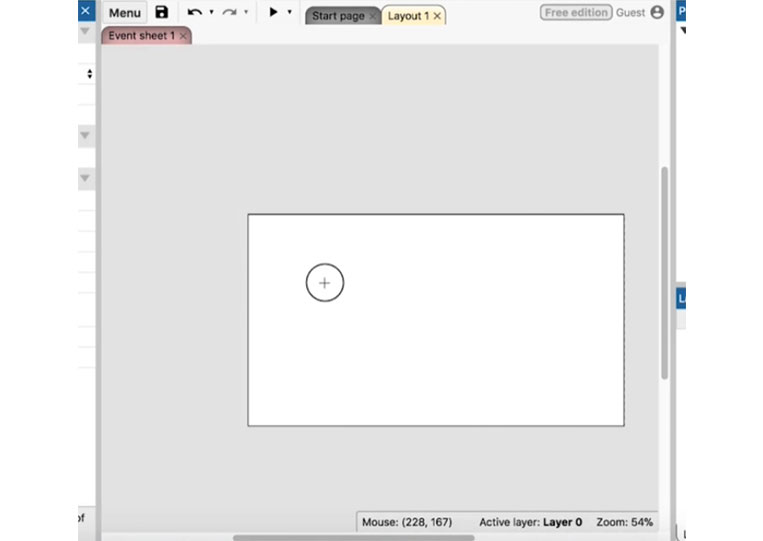
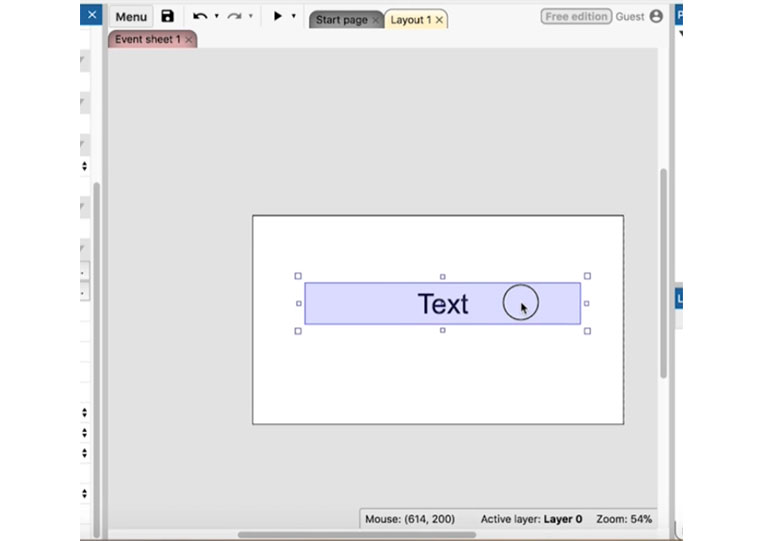
Now we have a simple item here.
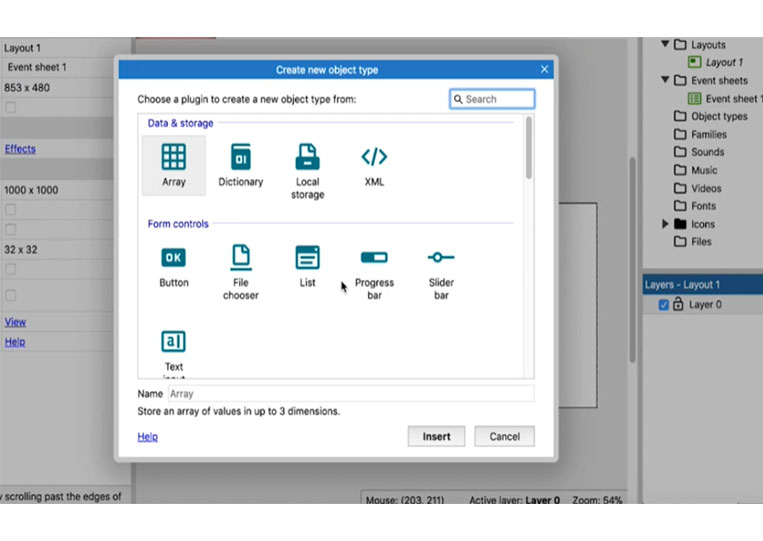
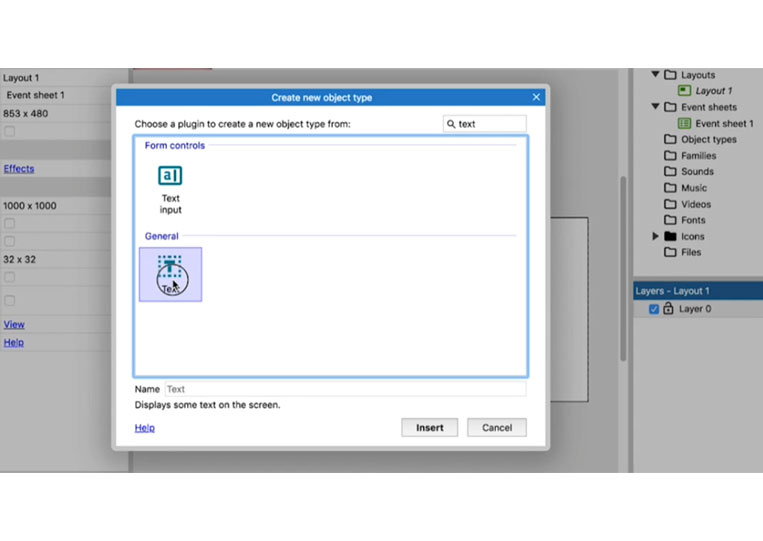
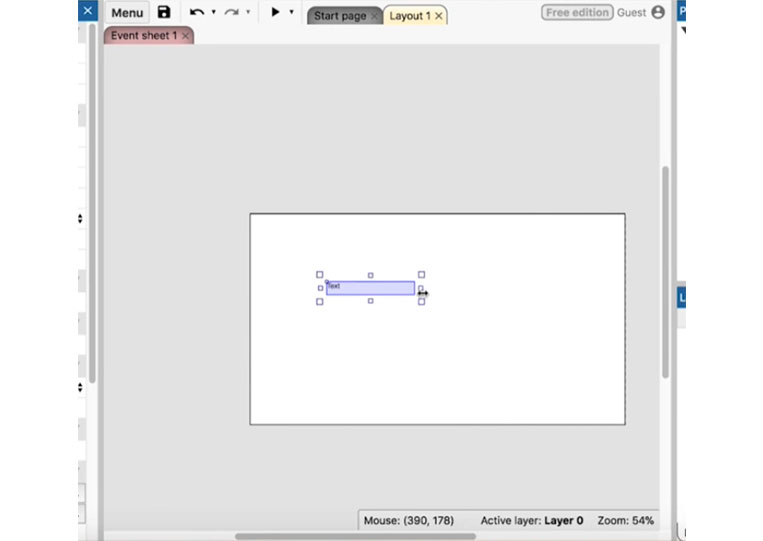
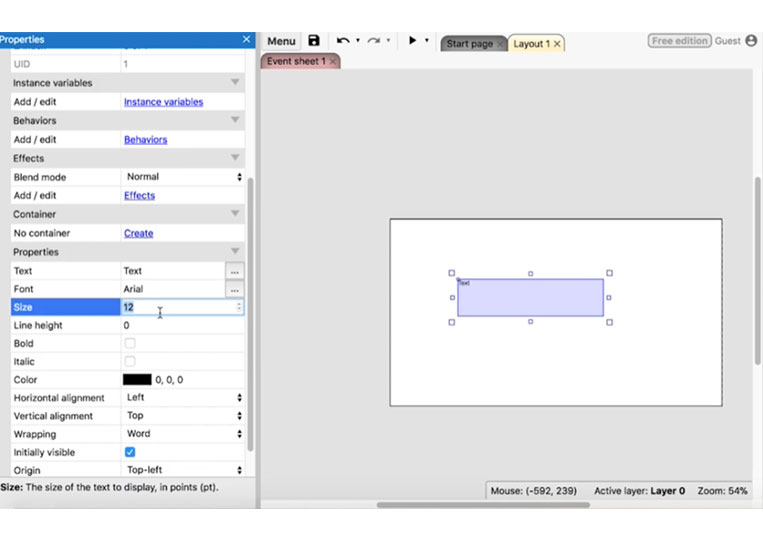
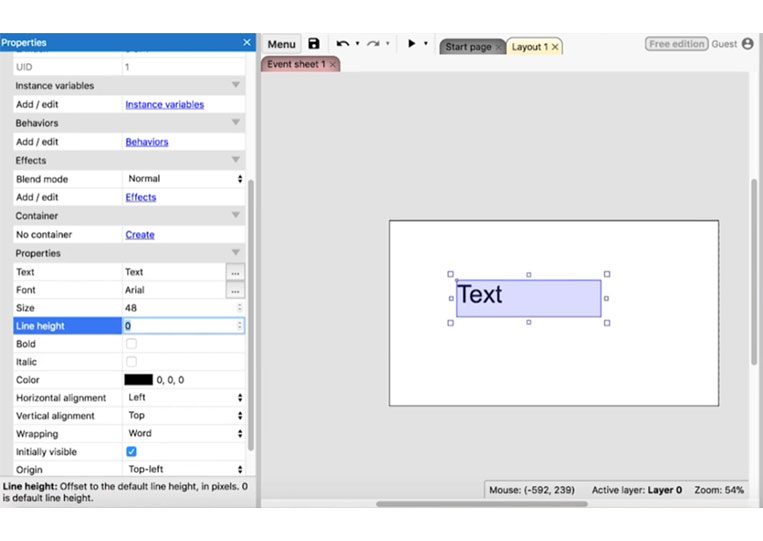
I add a ‘Text’ field here.
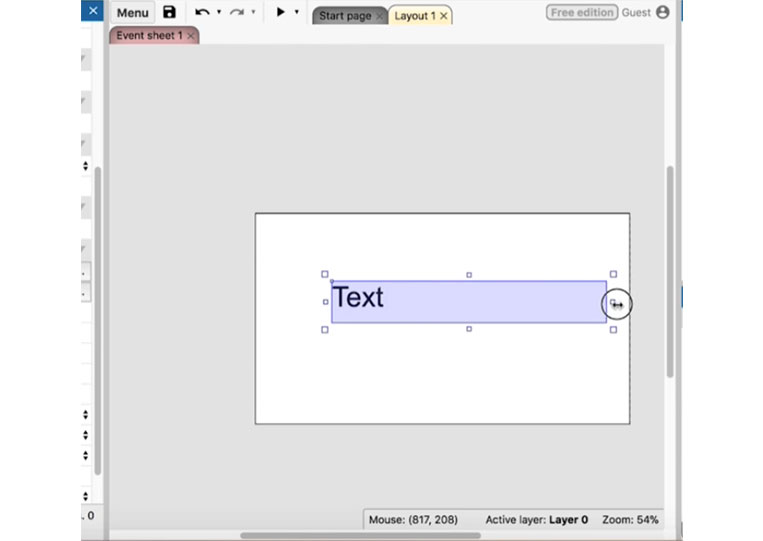
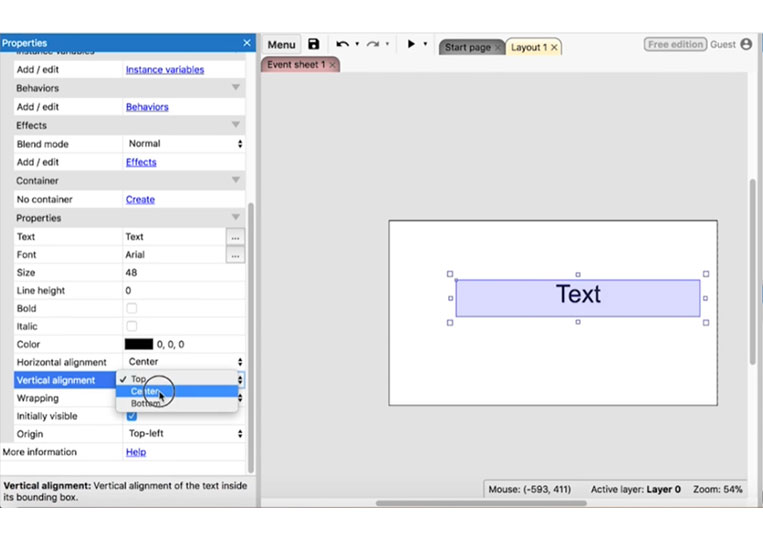
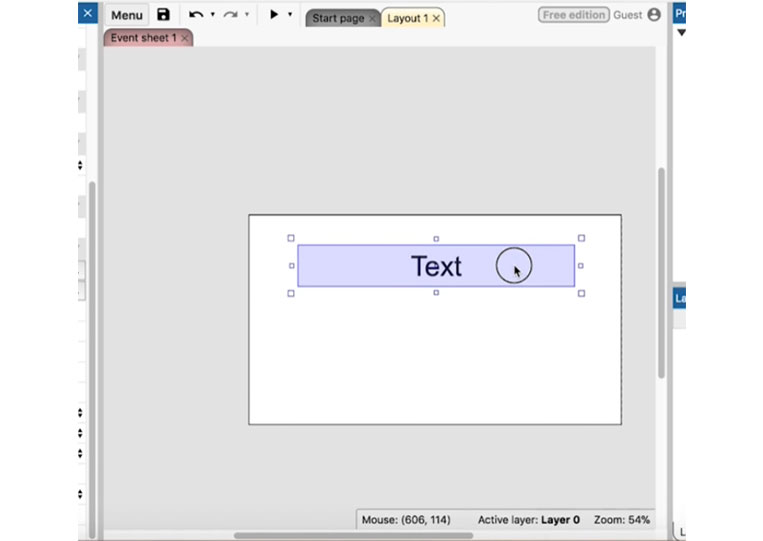
Move it out a bit larger and change it to forty-eight.
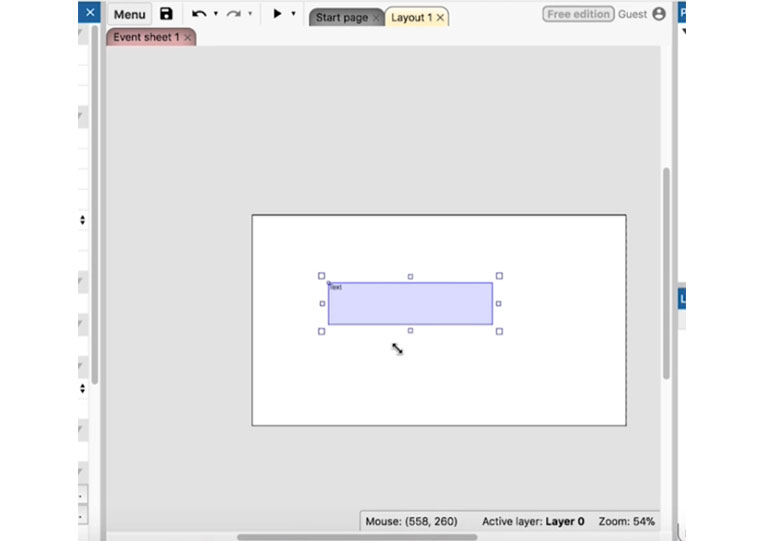
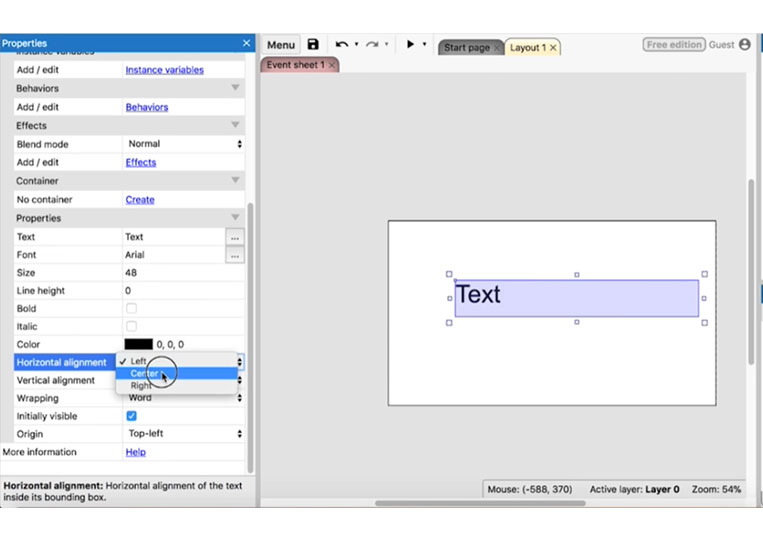
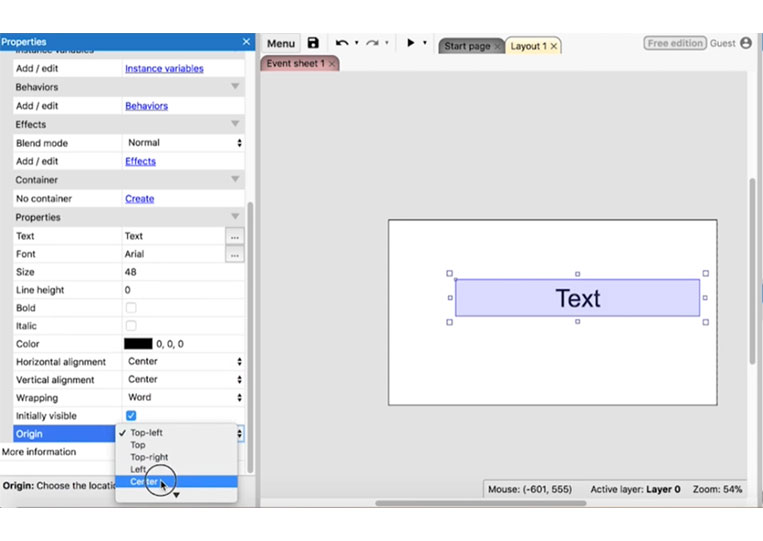
I center everything here and that way we can keep track of ‘Geolocation’
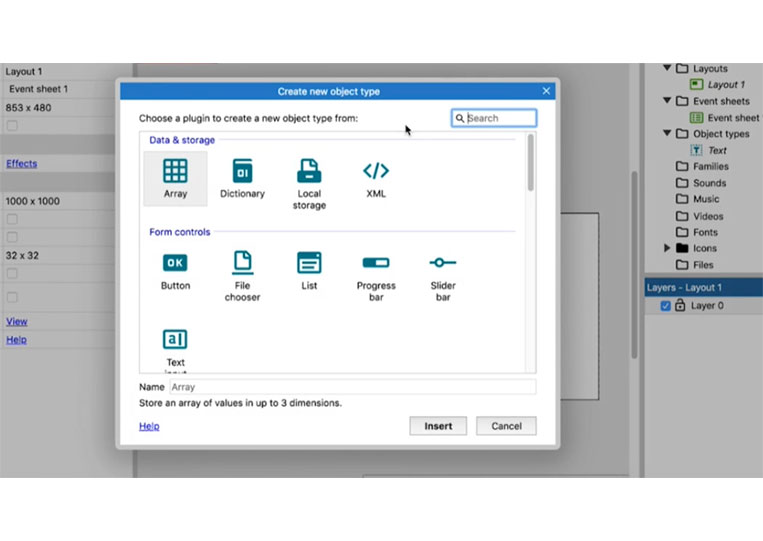
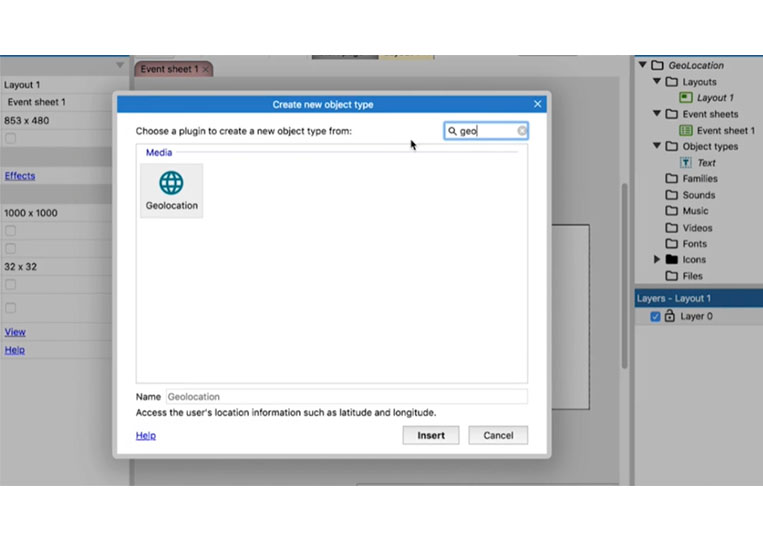
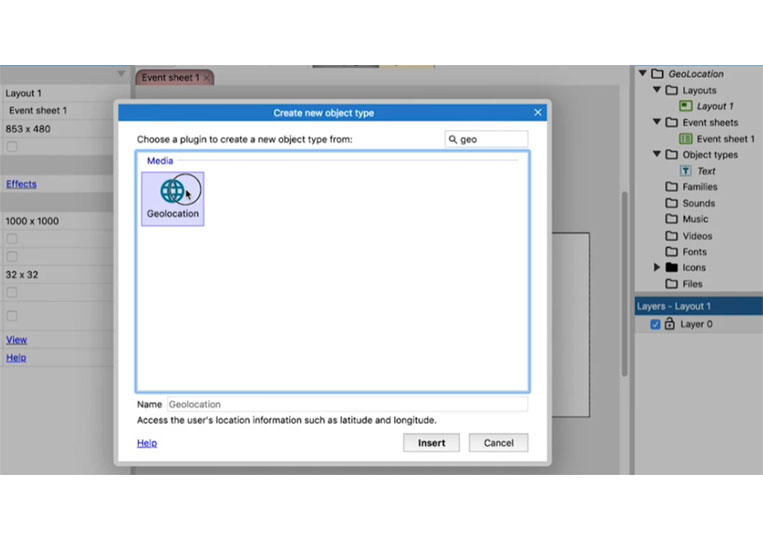
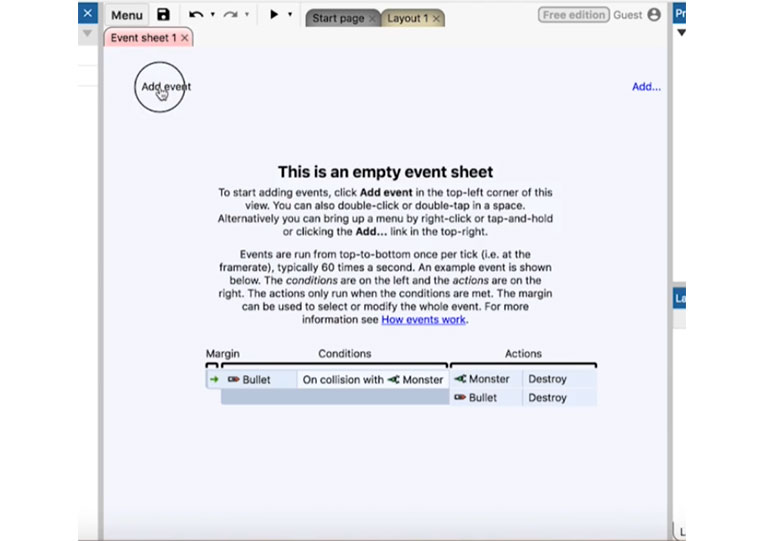
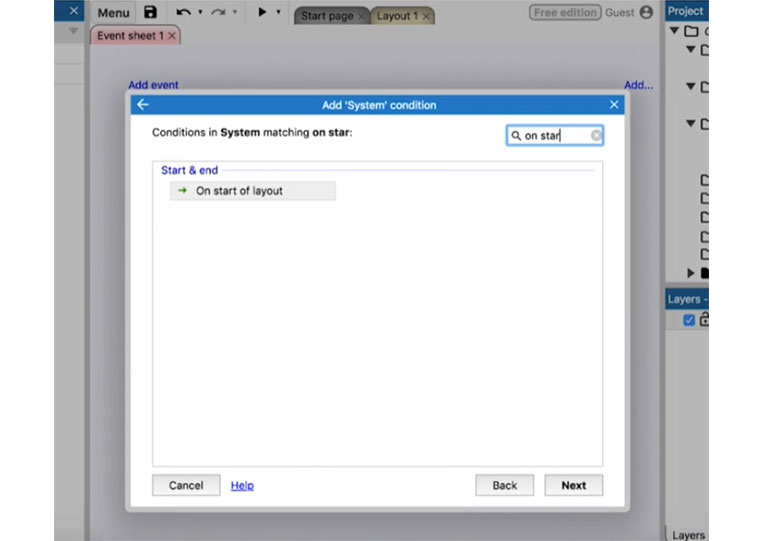
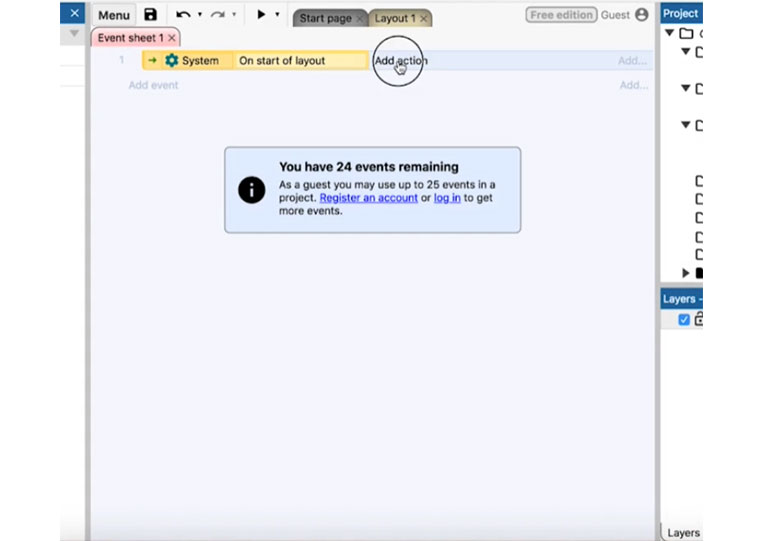
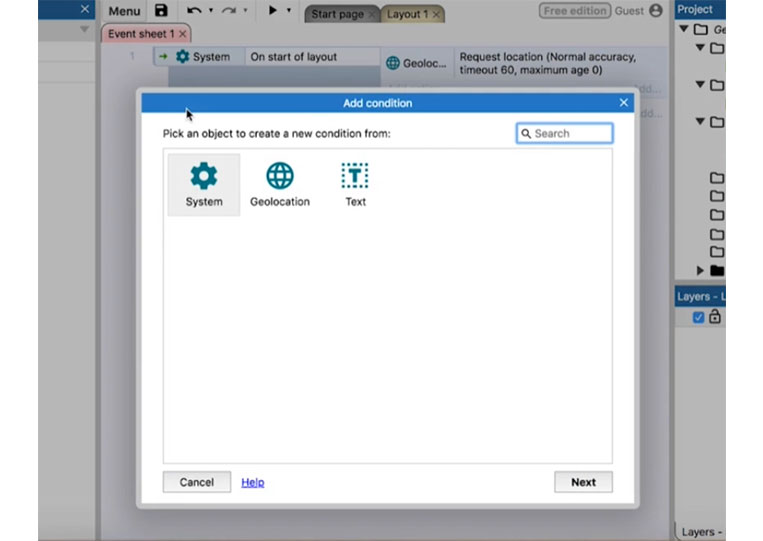
Add ‘Geolocation’
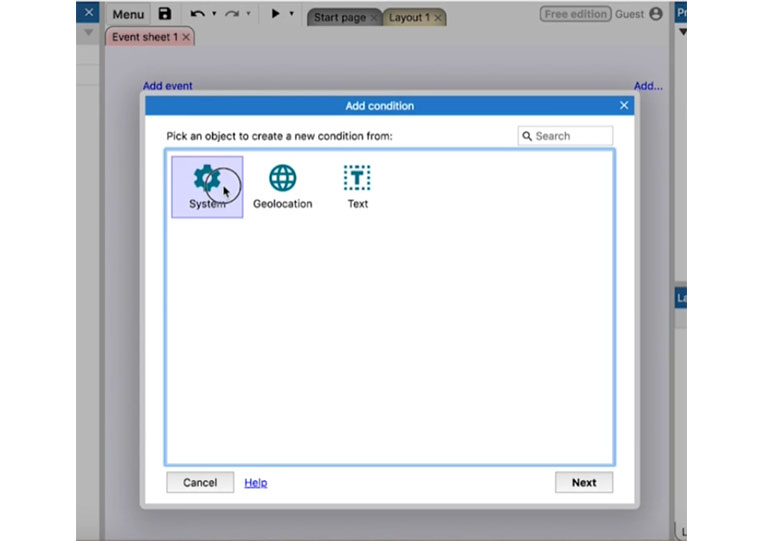
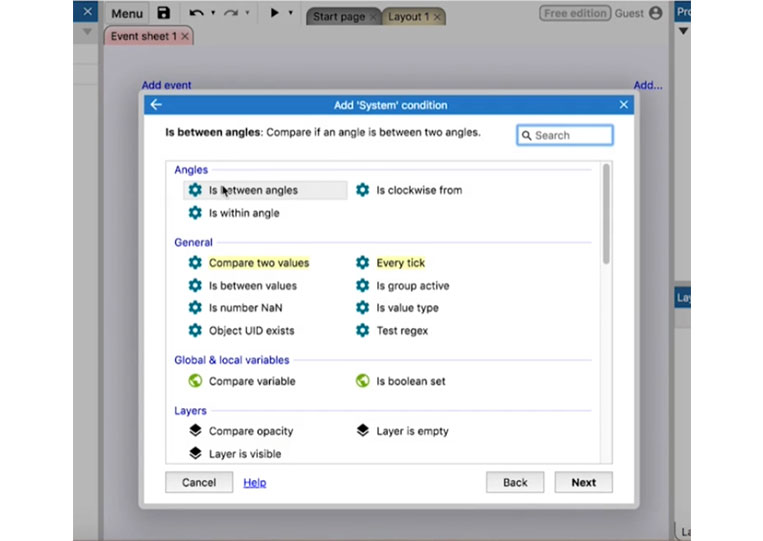
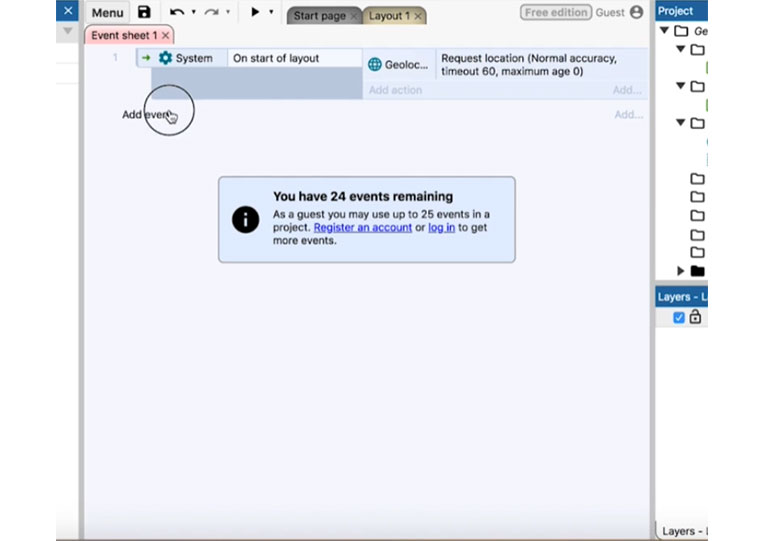
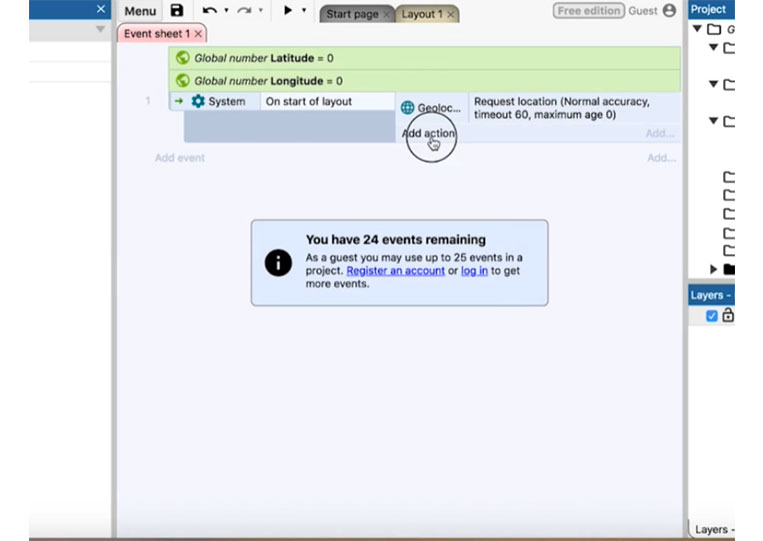
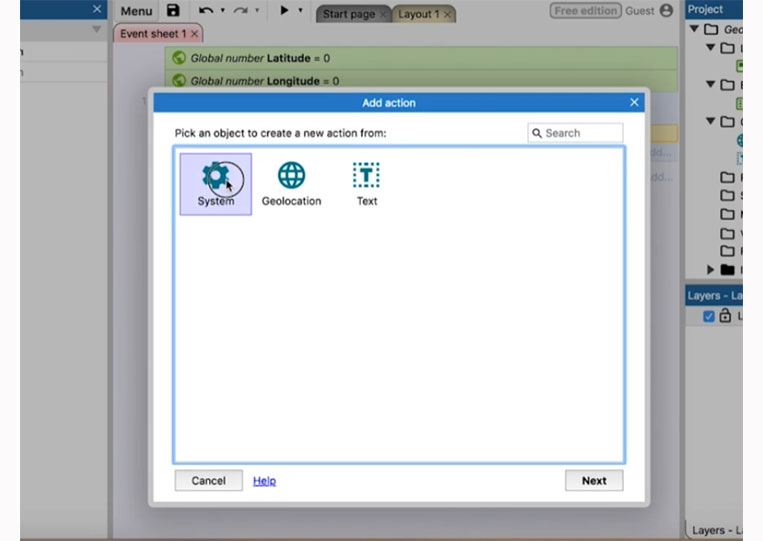
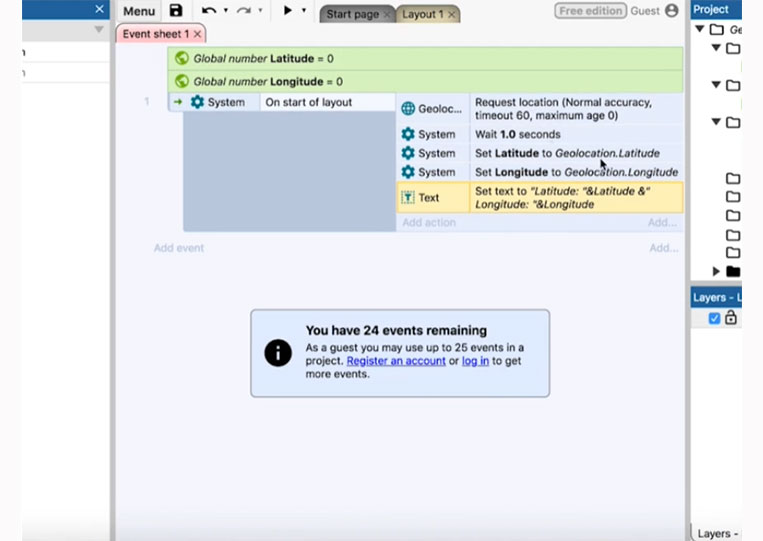
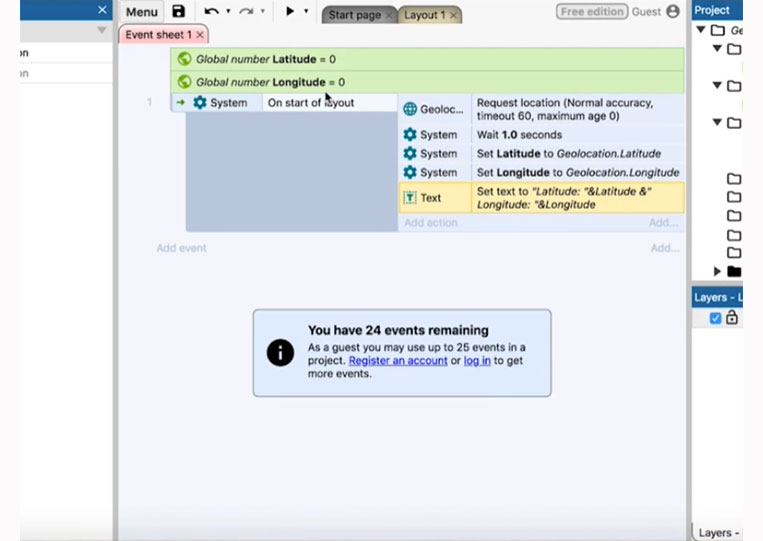
We go to ‘System’ and select ‘On start of layout’
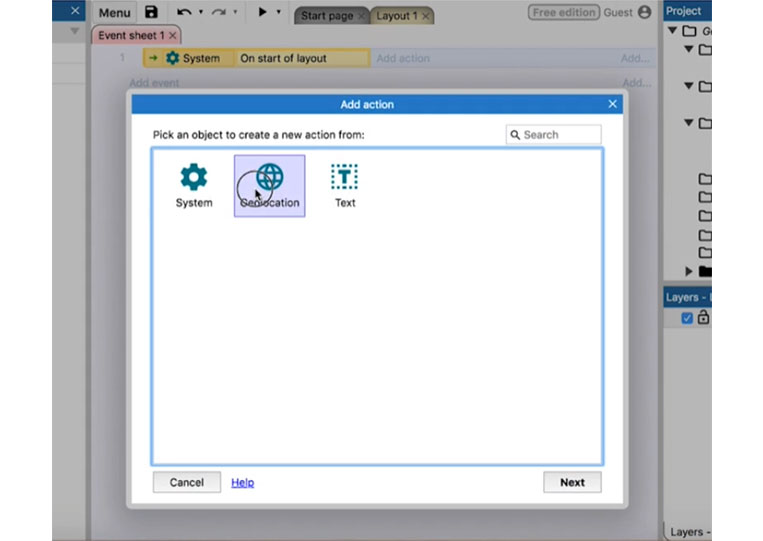
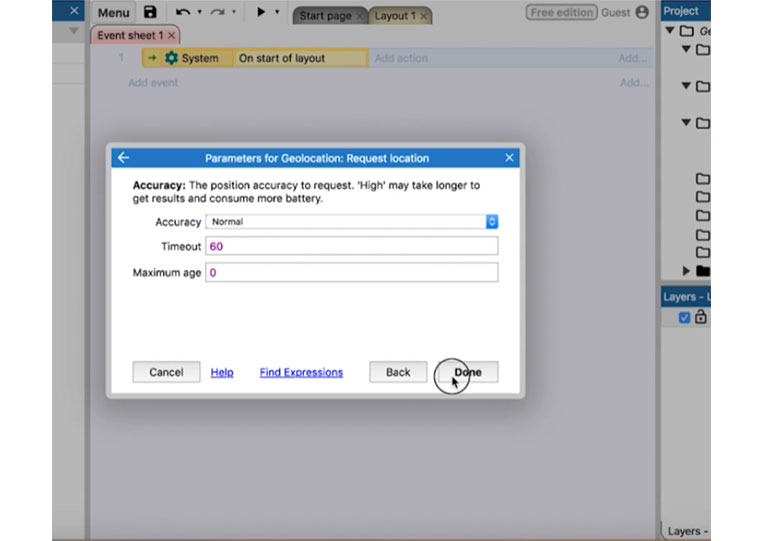
We go to ‘Geolocation’ and ‘Request location’
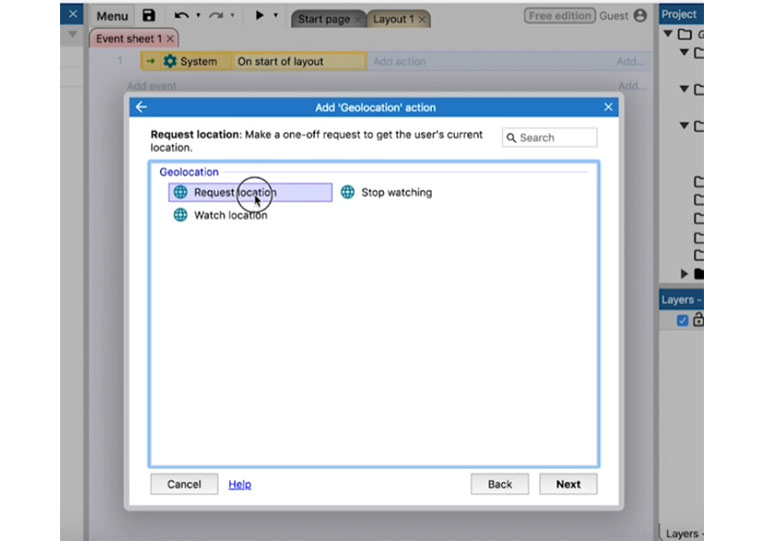

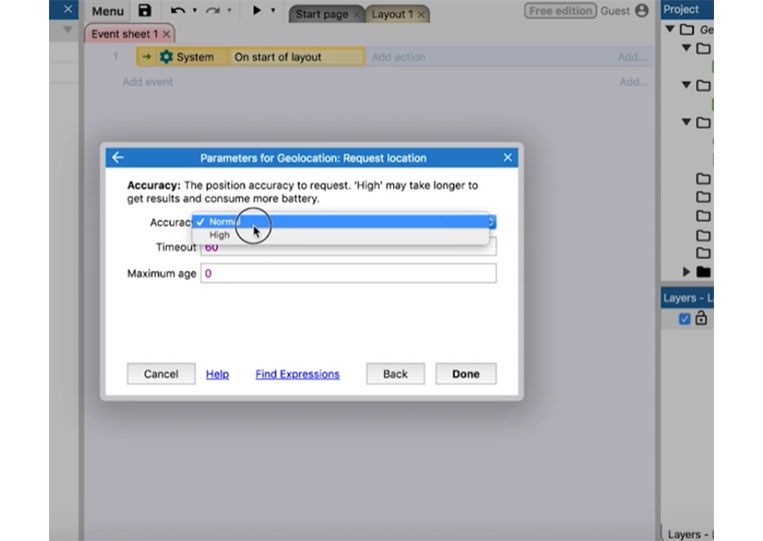
You now have a range of accuracy settings on the mobile platform. There are many different options. For example, ‘Apple’ has the option to go from the nearest 10 km even the nearest 100 km, which is quite a distance. We have ‘Normal’ and ‘High’
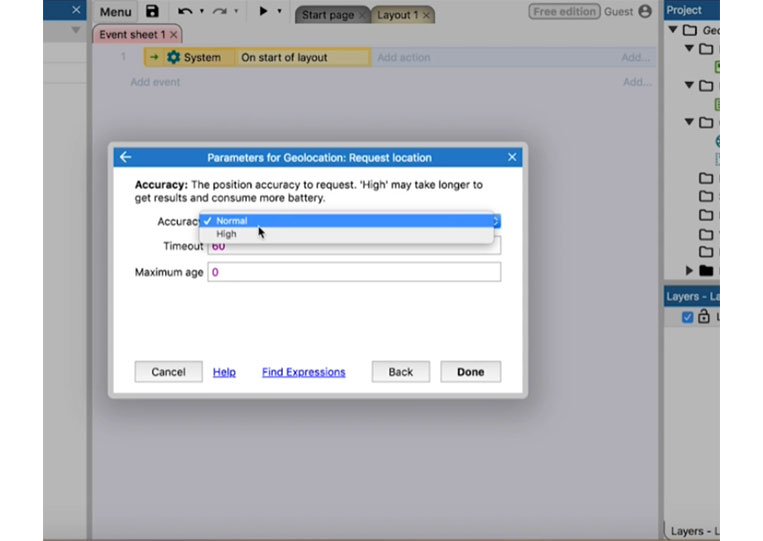
You want ‘Normal’ because battery life is a factor in this.
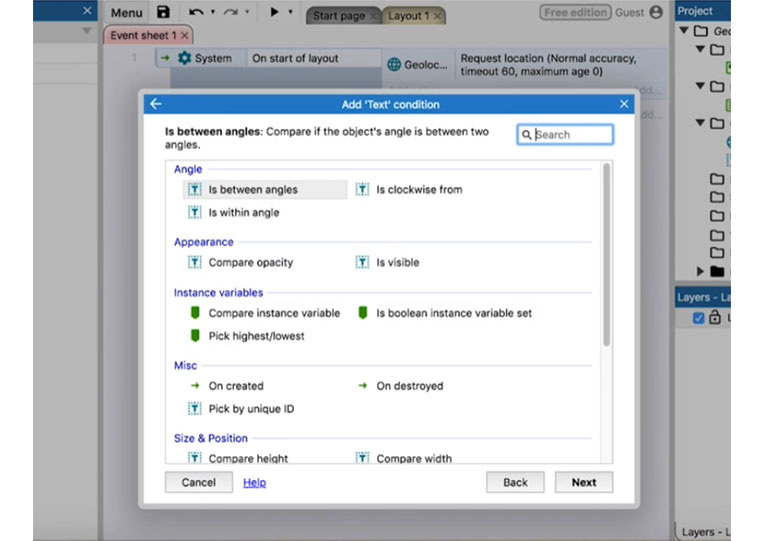
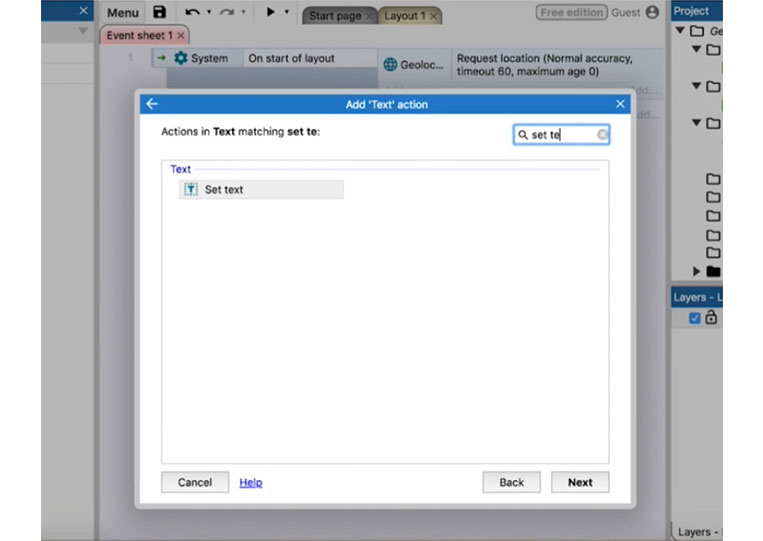
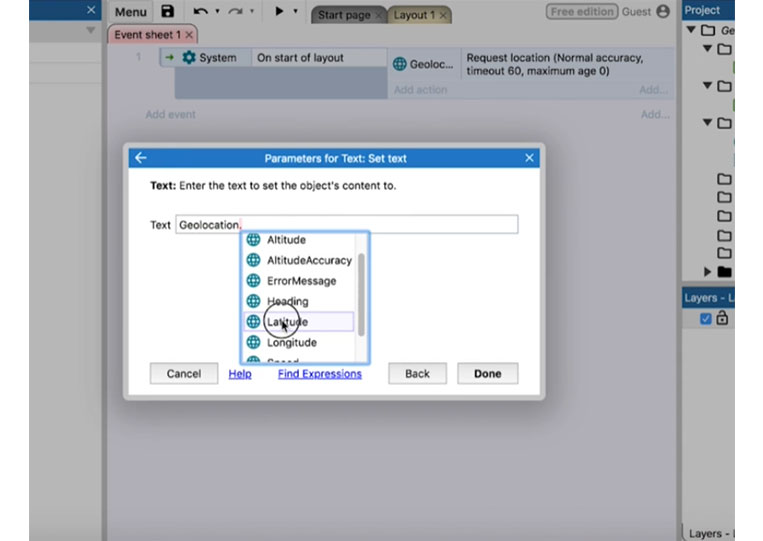
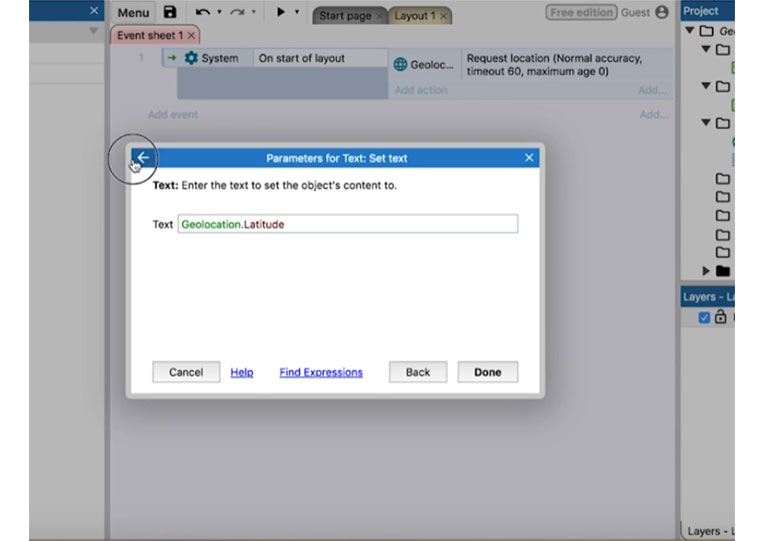
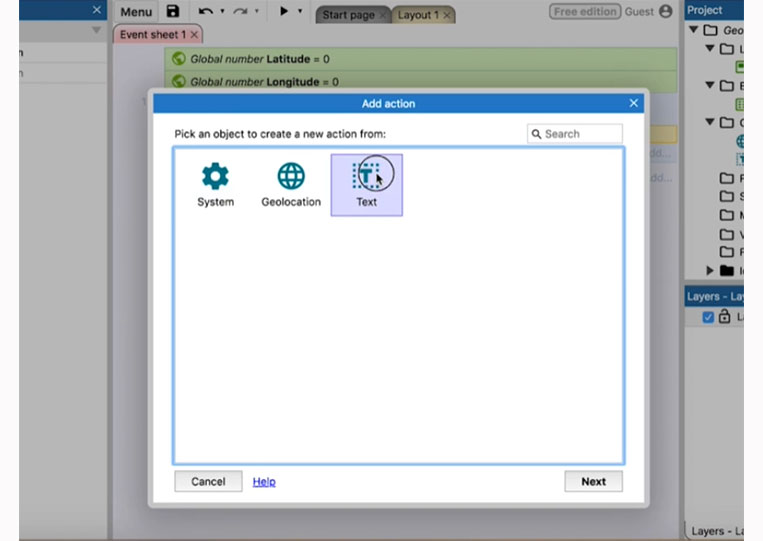
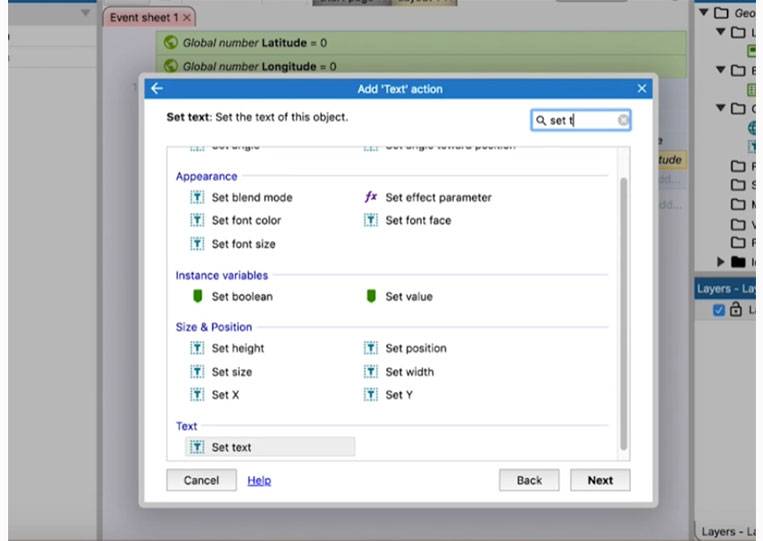
We come to the ‘Text’ section.


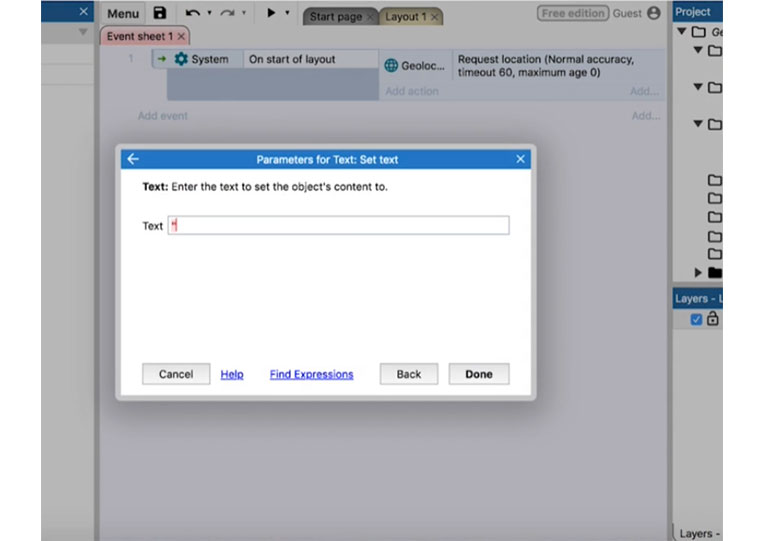
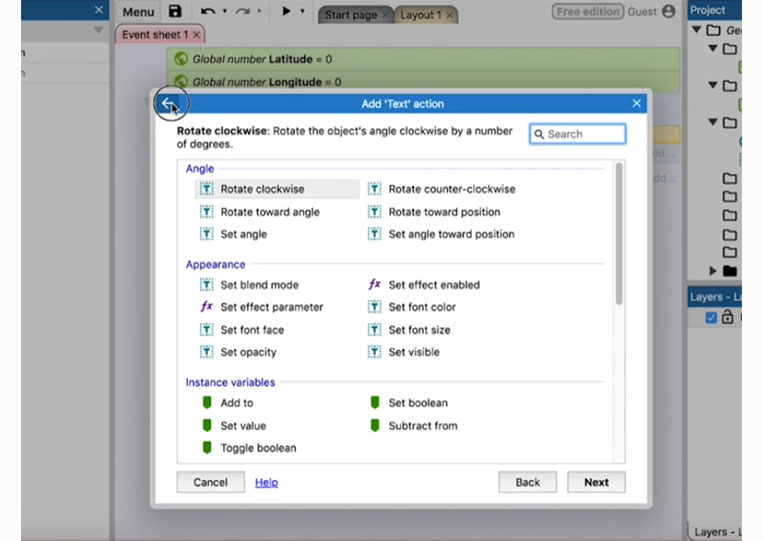
We then set ‘Text’ to ‘Geolocation.Latitude’


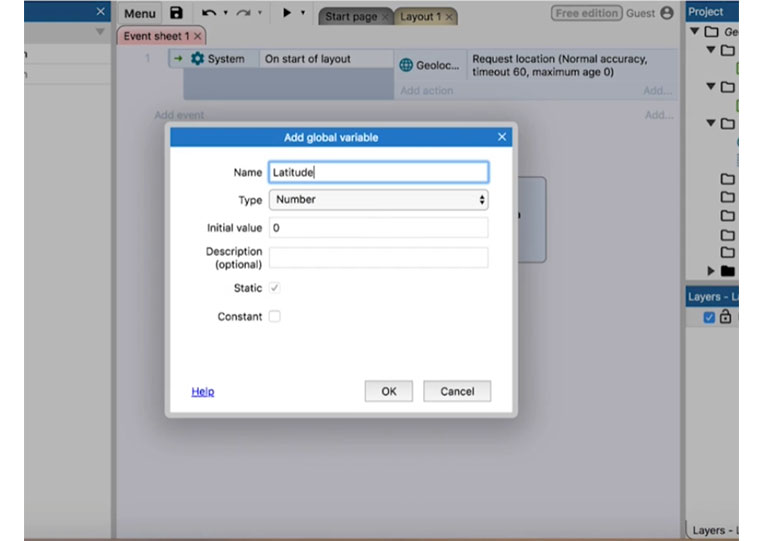
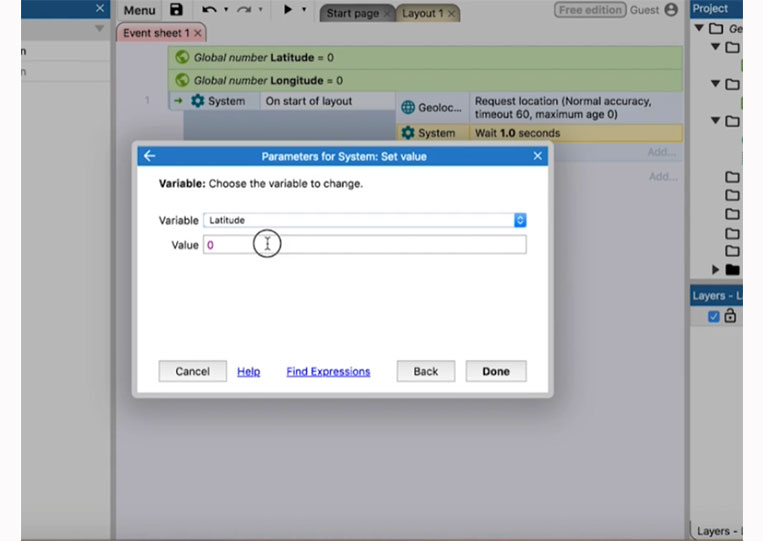
Whenever I create ‘Geolocation’ apps, I always put them in variables.
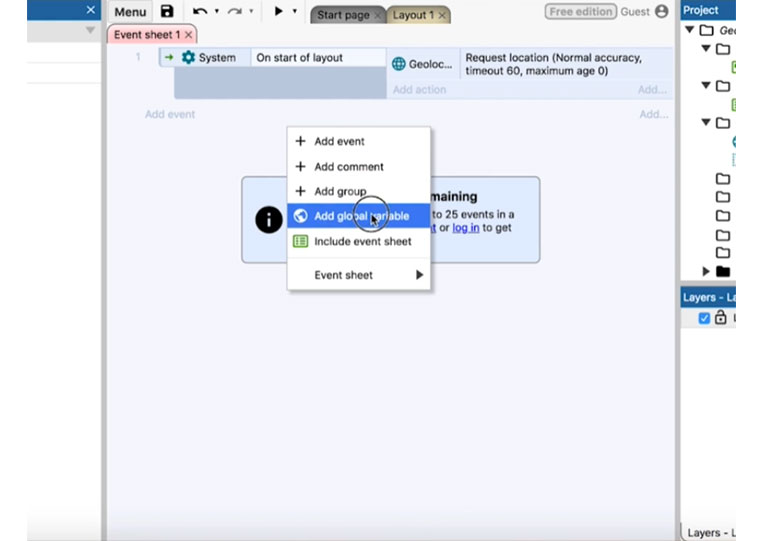
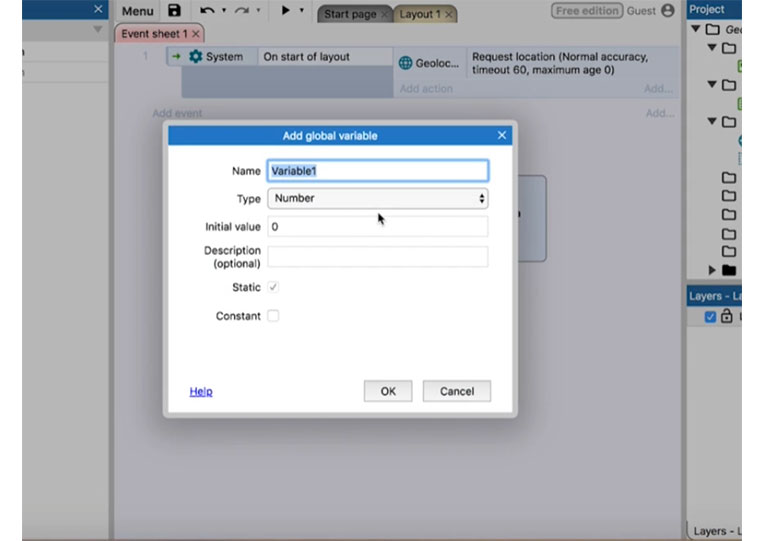
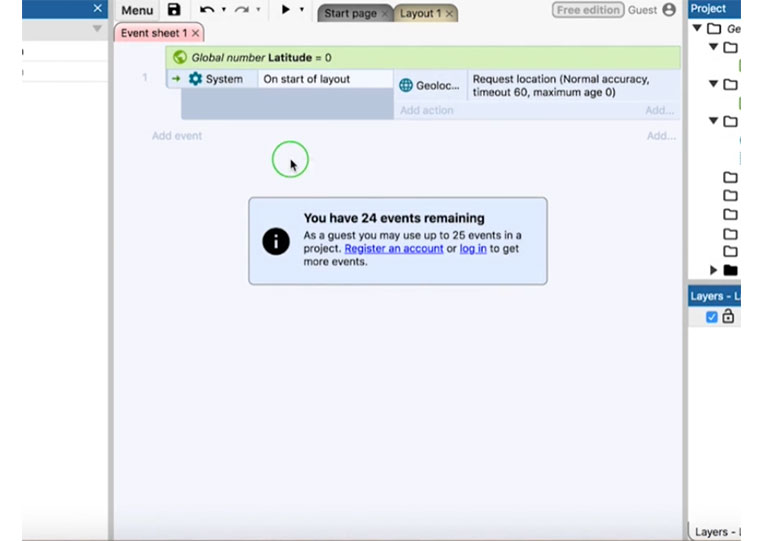
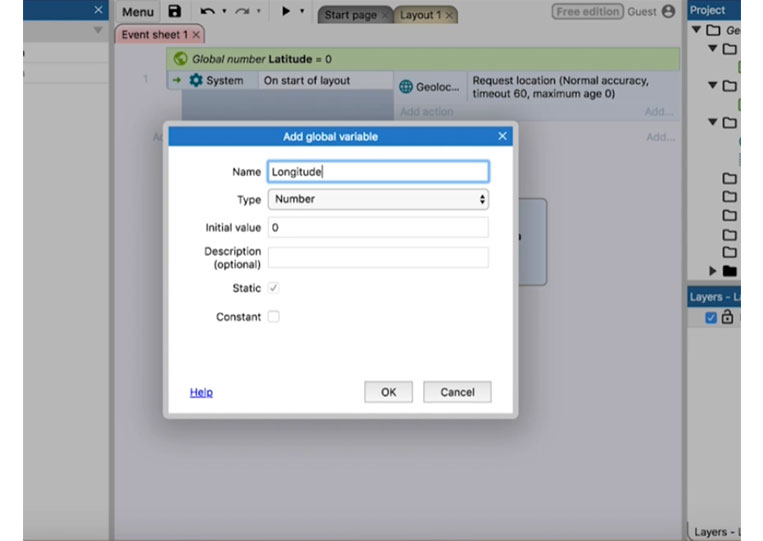
We call this ‘Latitude’
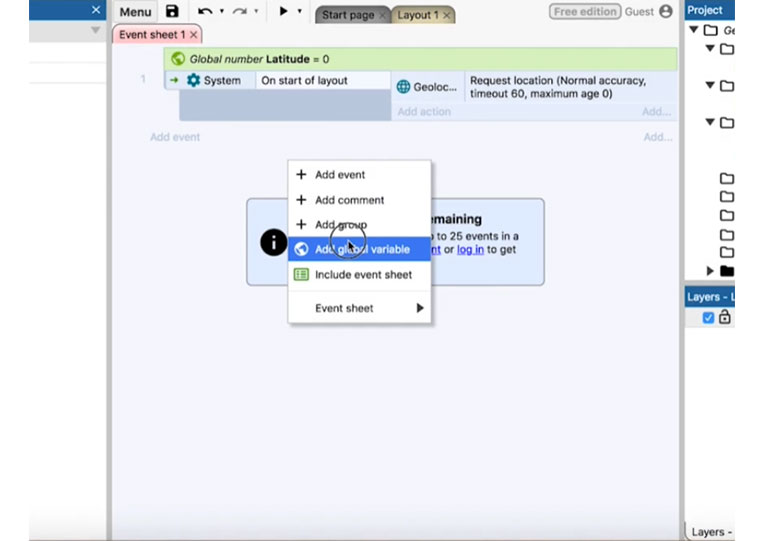
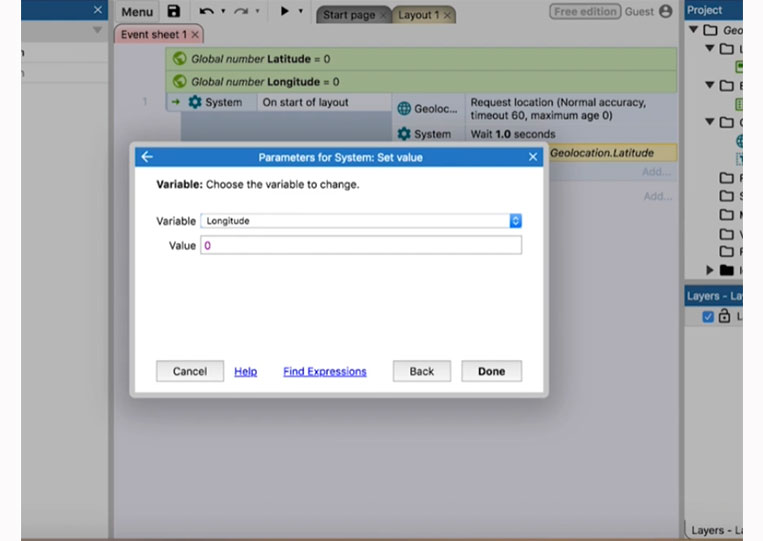
Then we also add another ‘Longitude’

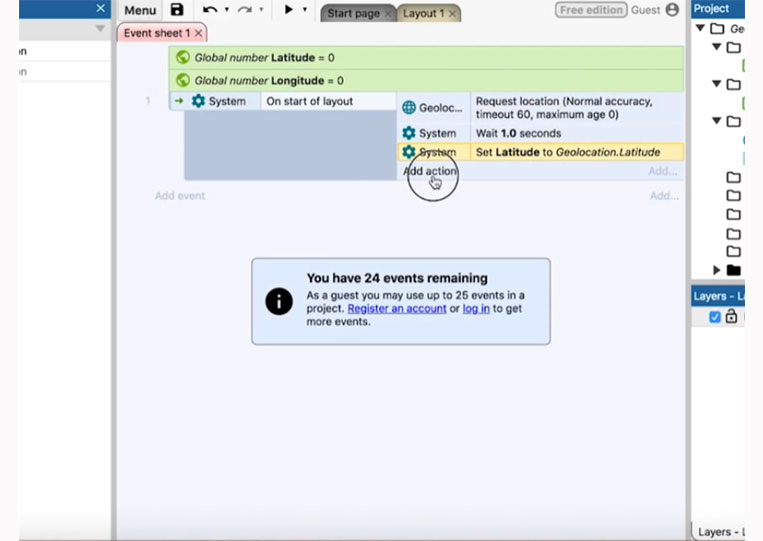
I add ‘Wait’ here for one second.

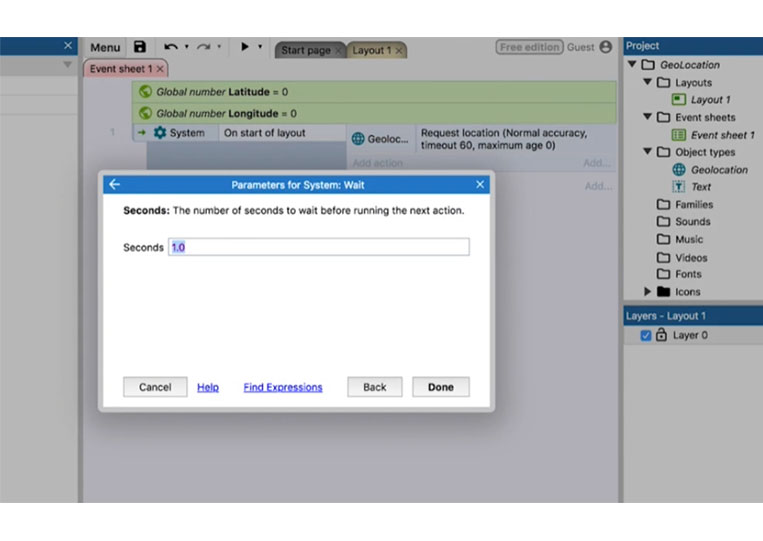
Since I want to make sure that the position accuracy is not working, you can remove this later.

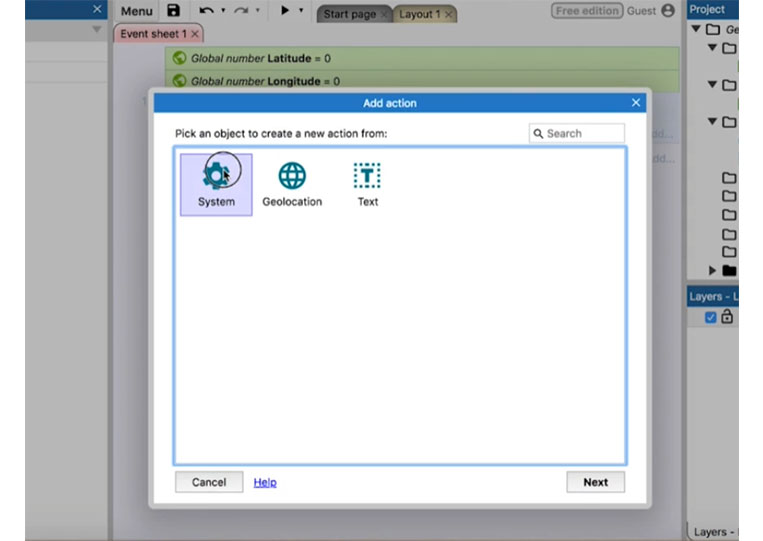
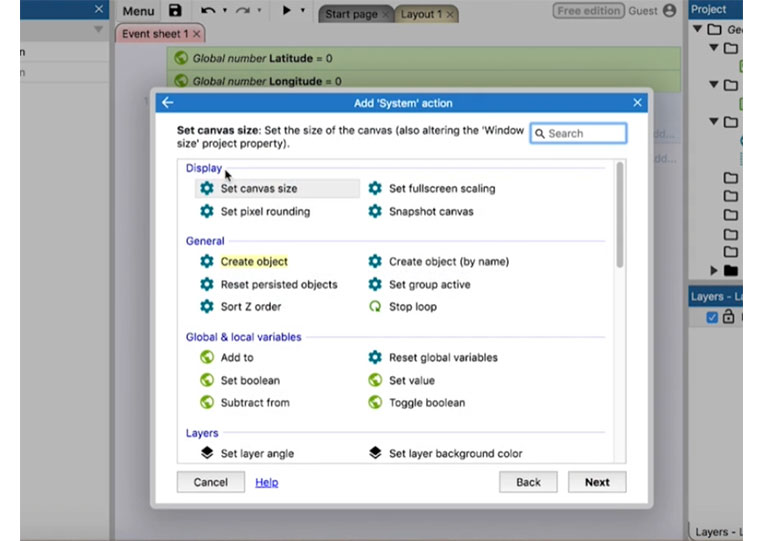
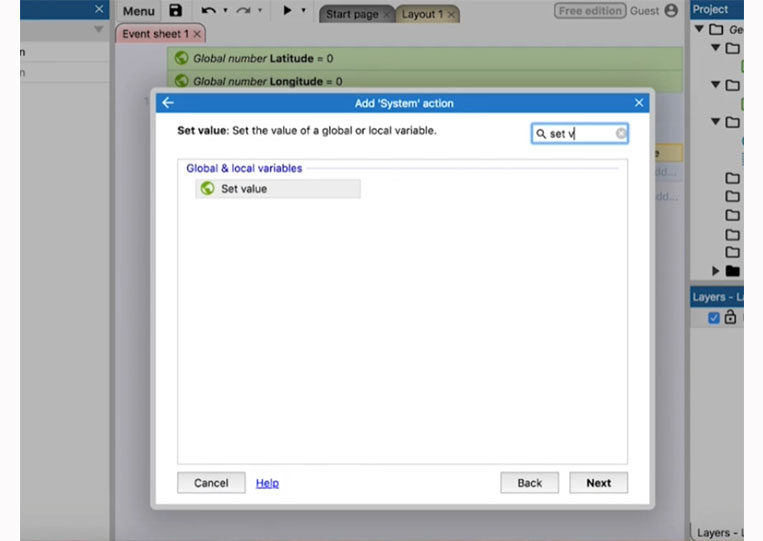
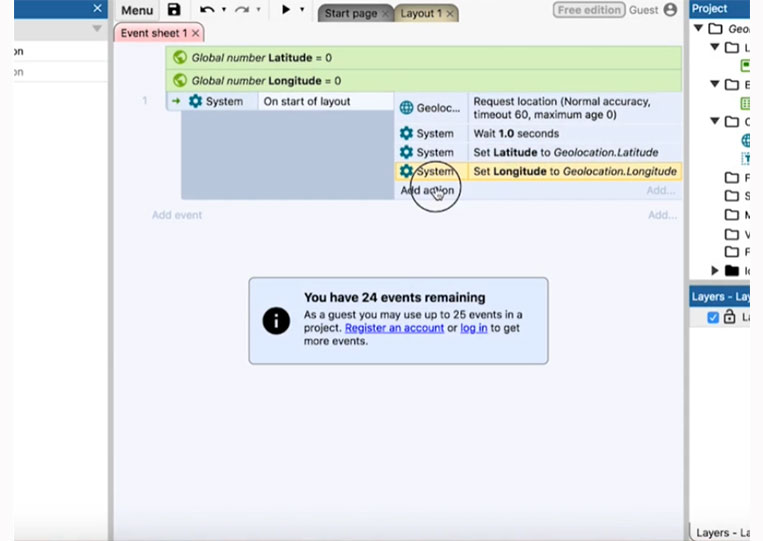
We go to ‘System’ and set the value of ‘Latitude’ to ‘Geolocation.Latitude’


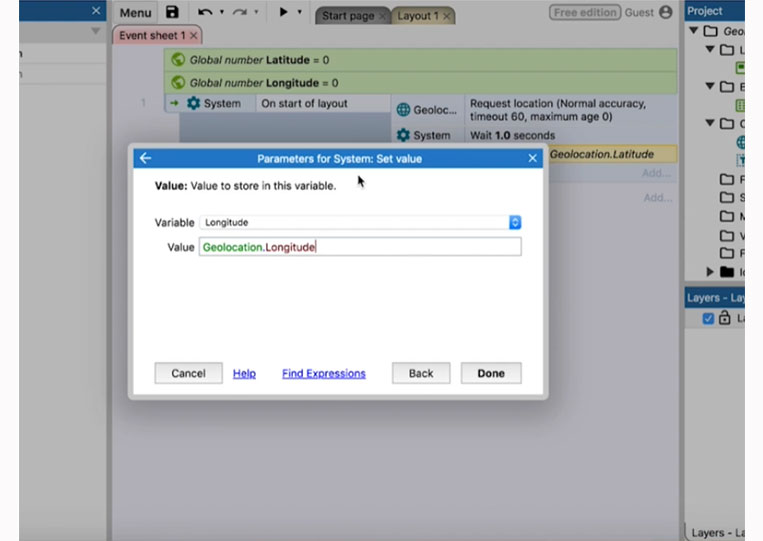
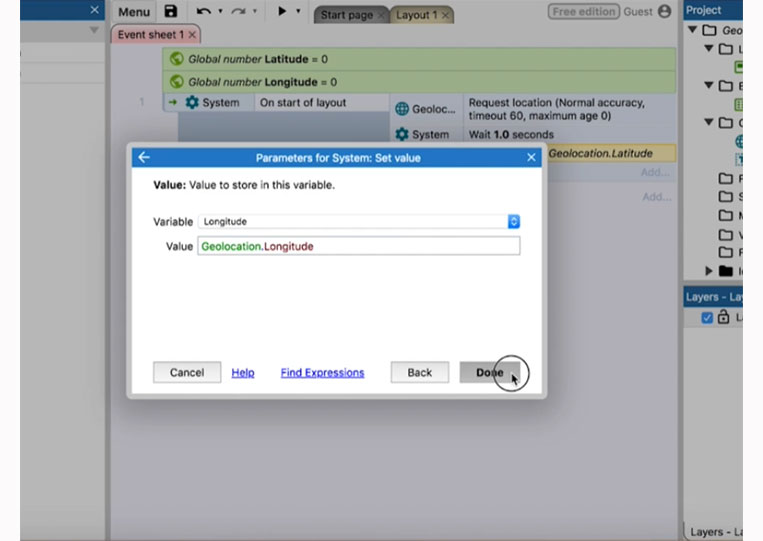
We set the value of ‘Longitude’ to ‘Geolocation.Longitude’

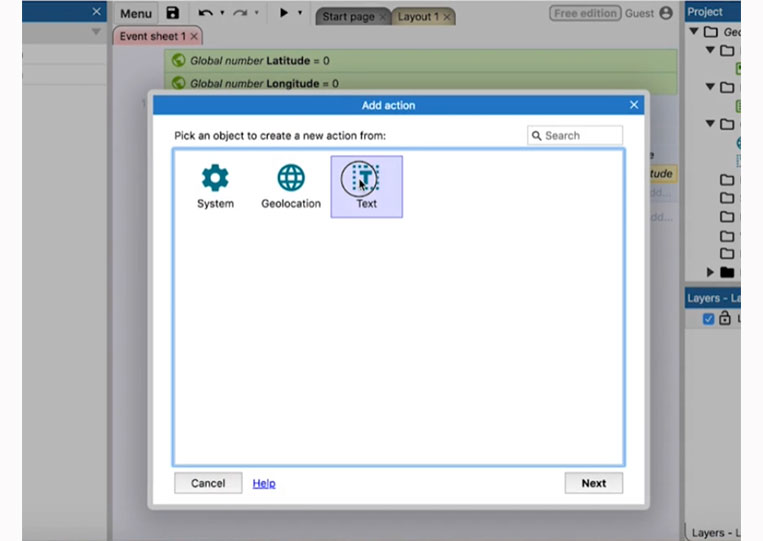
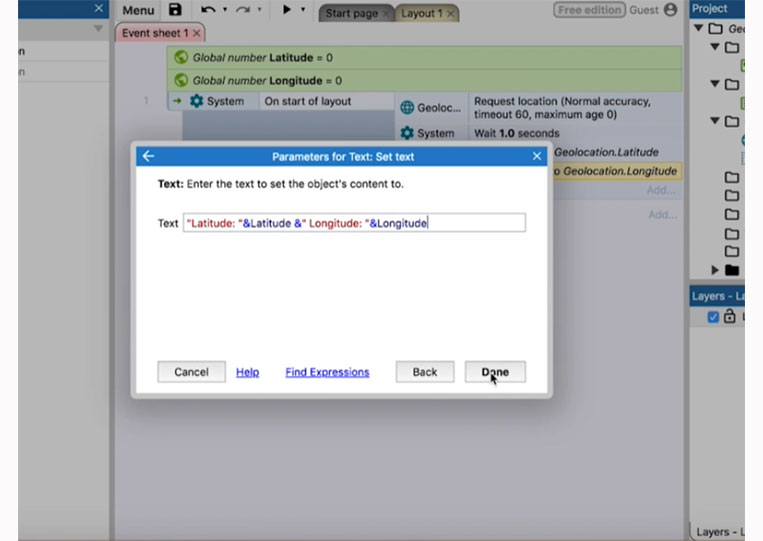
Then we set ‘Text’ to “Latitude:” & Latitude & “Longitude:” & Longitude

That way, it’s easier to use latitude and longitude throughout your project.
By adding latitude variables and setting them at ‘On start of layout’, you can do this and use that variable over and over again.


