
LEARN TO MASTER CONSTRUCT 3’s PIXEL ART ENGINE
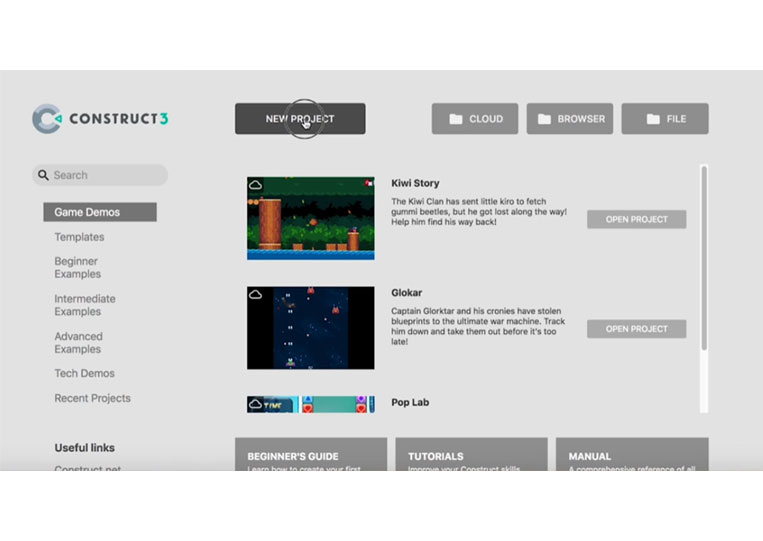
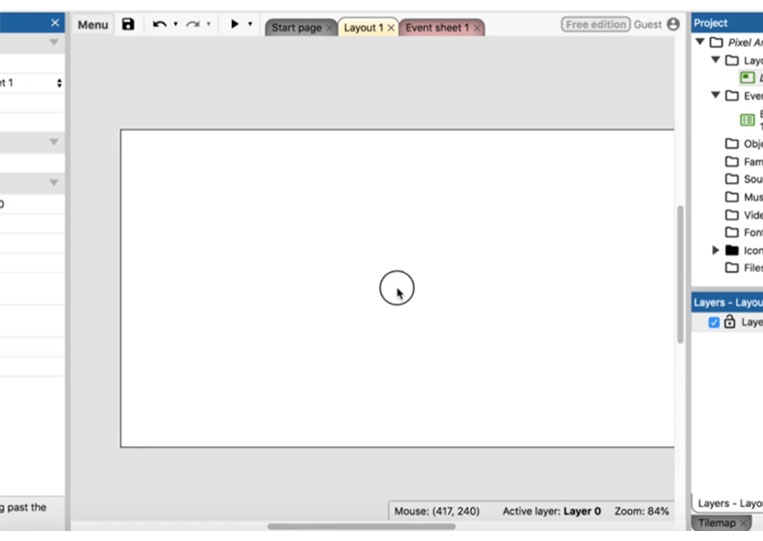
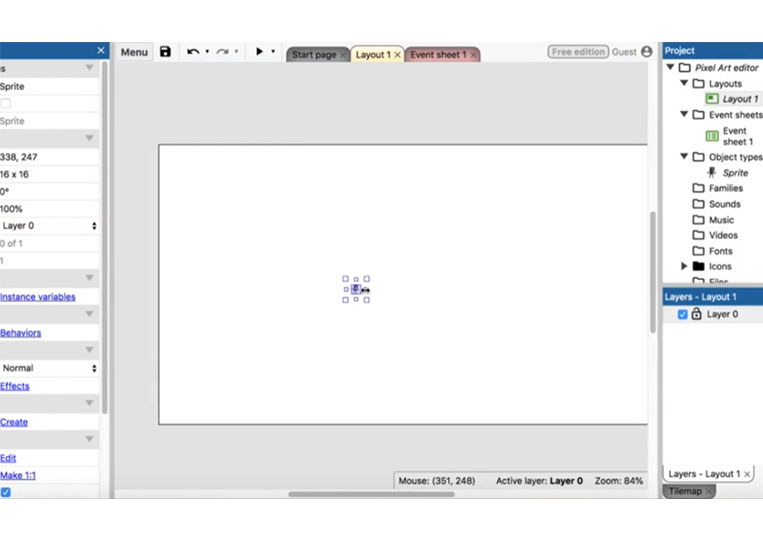
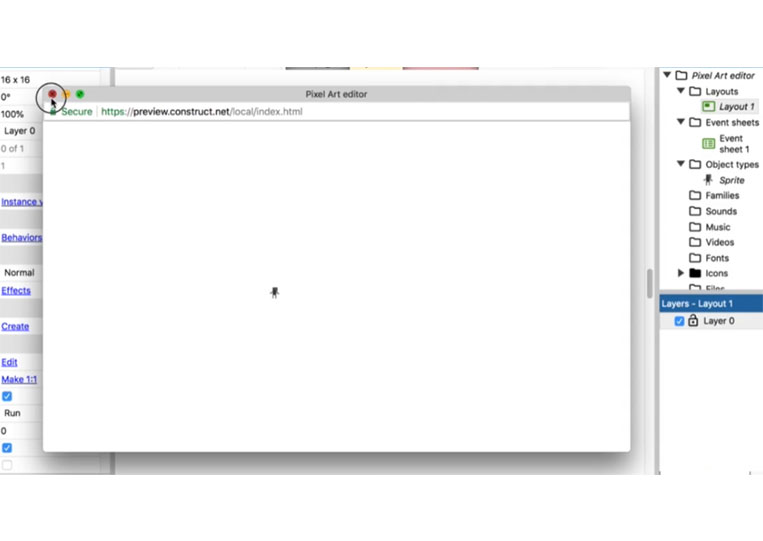
Welcome to this story. We’ll be looking at Construct 3’s pixel art. To do that, we need to create a new project here.
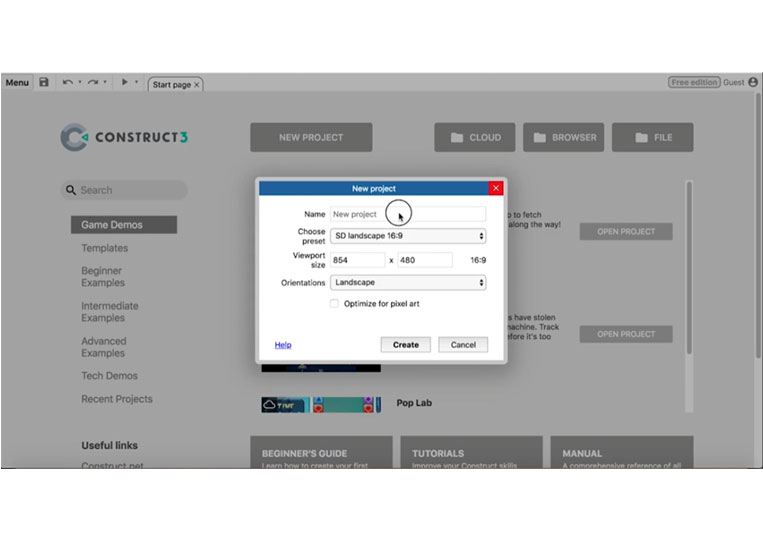
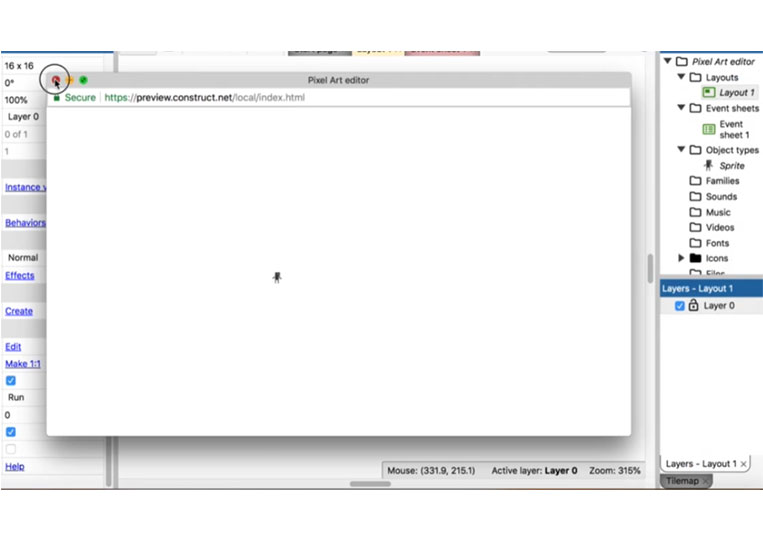
We call this the Pixel Art editor, and there are many things that we can do with the Pixel Art editor
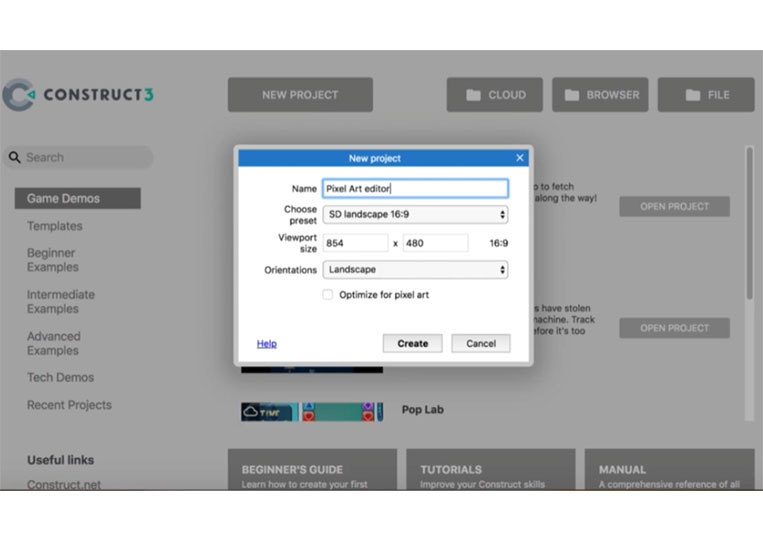
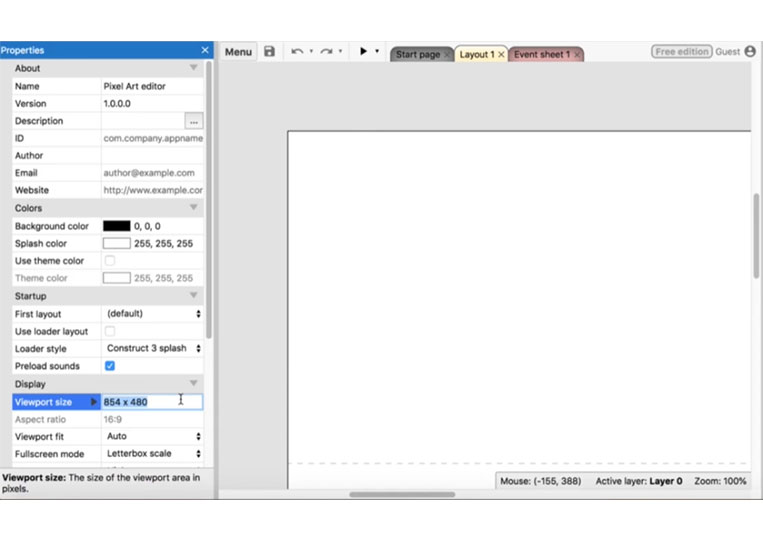
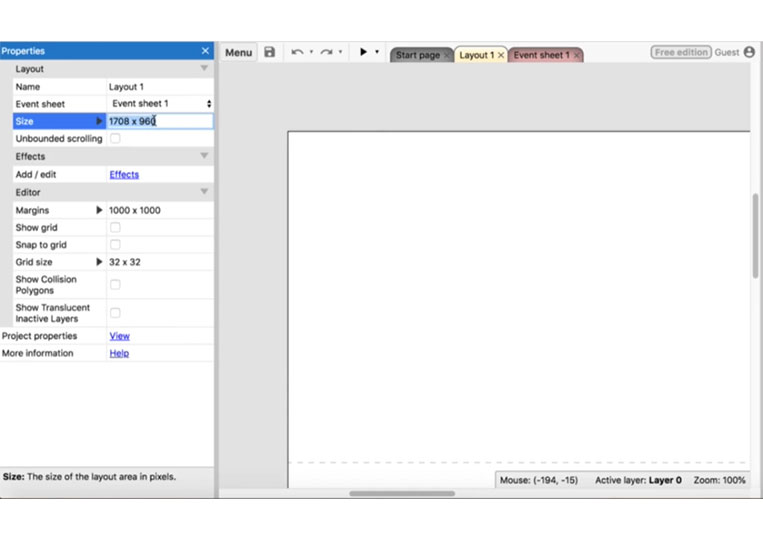
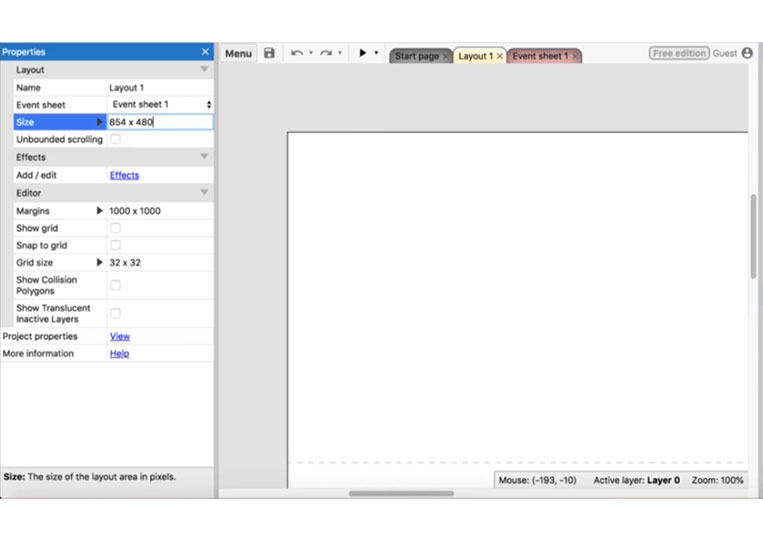
First, get the viewport size and then resize its layout.
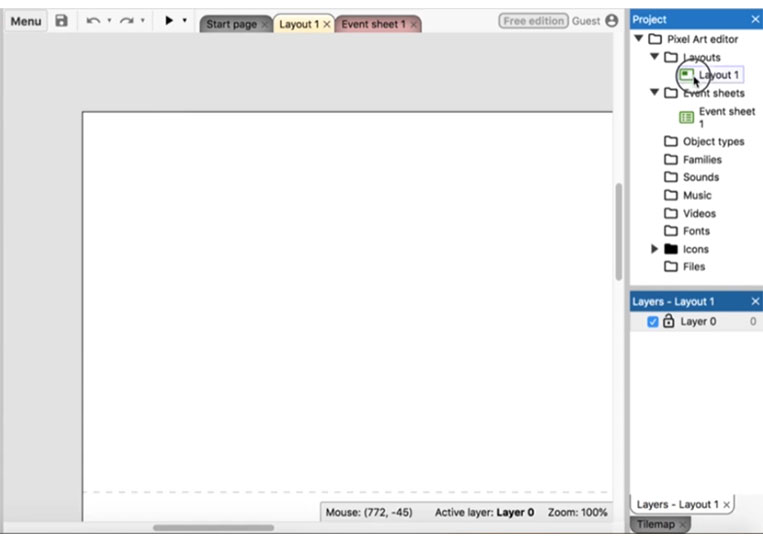
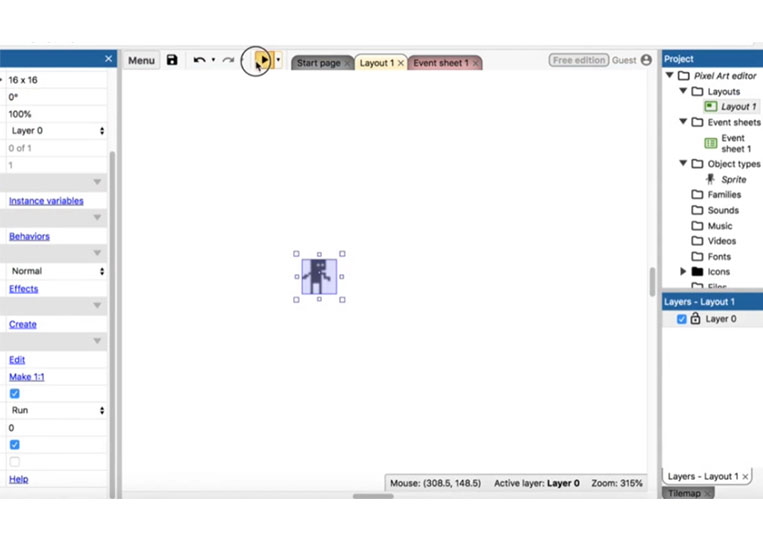
Let’s see how we can access the Pixel Art editor
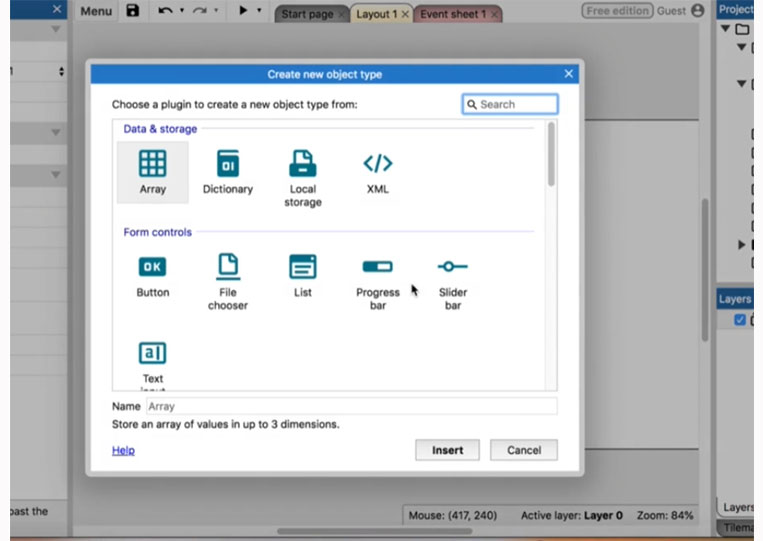
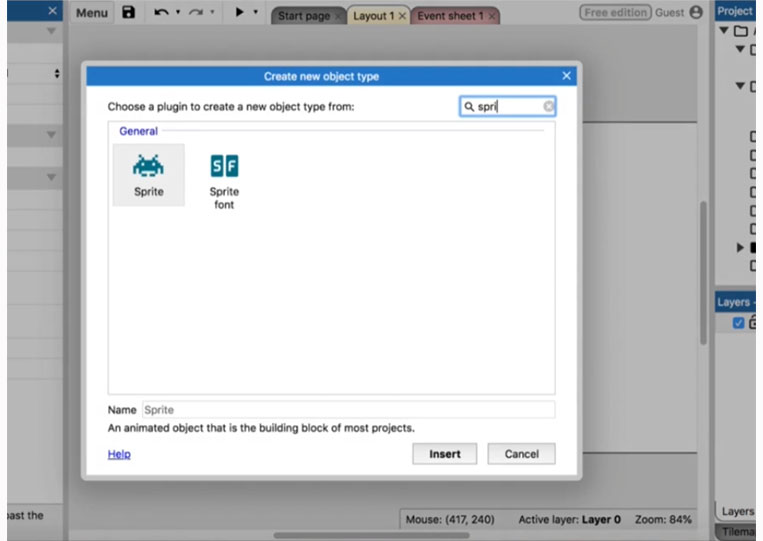
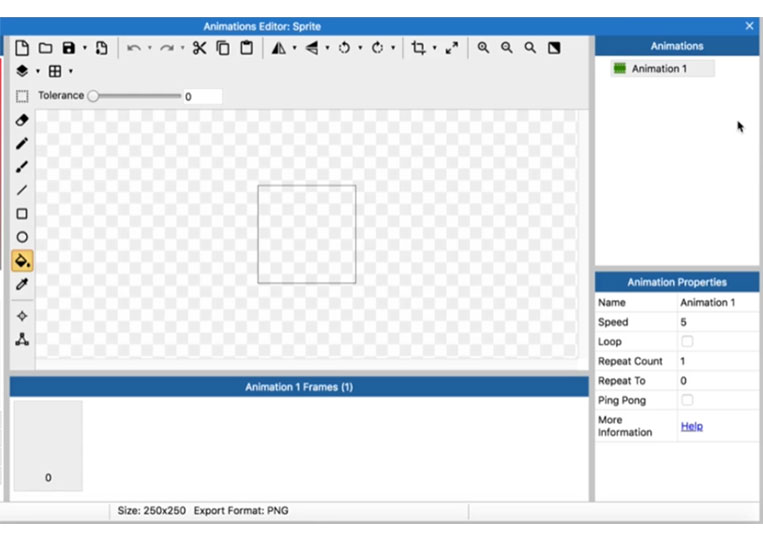
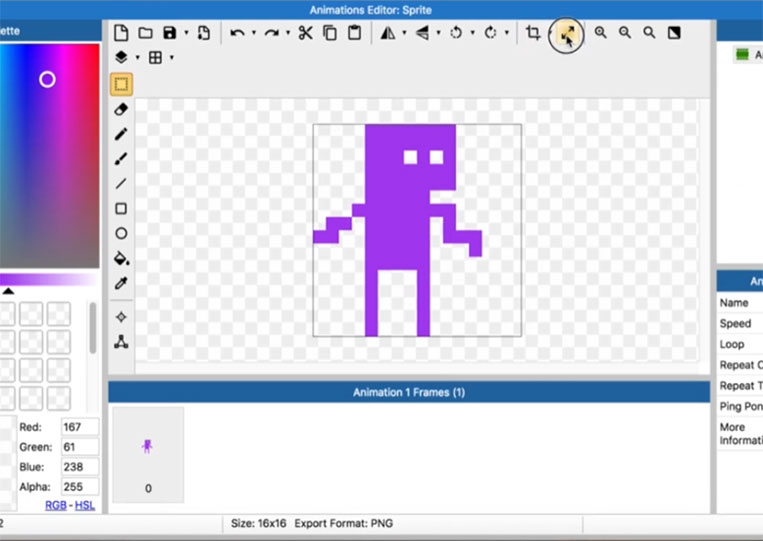
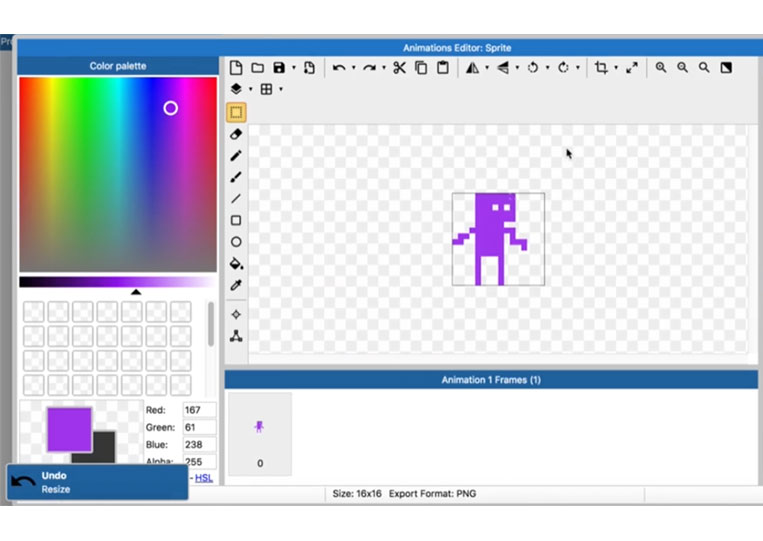
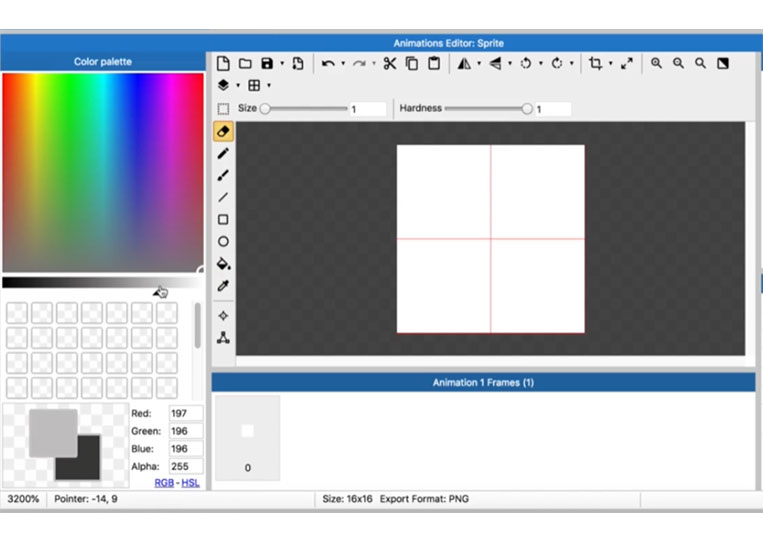
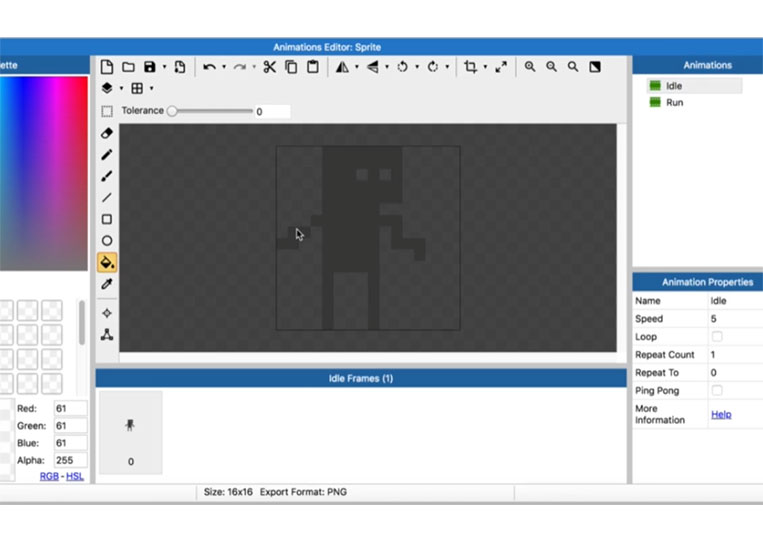
The Pixel Art editor can also be called the ‘Sprite’ editor. Let’s create a ‘Sprite’
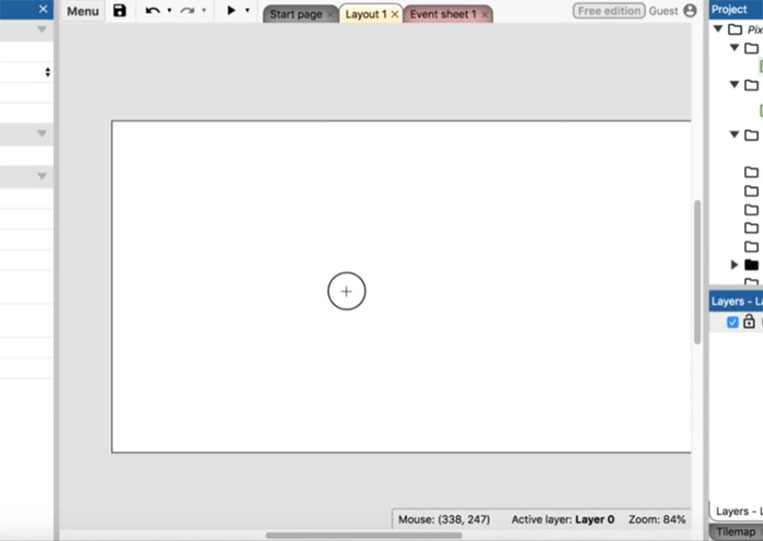
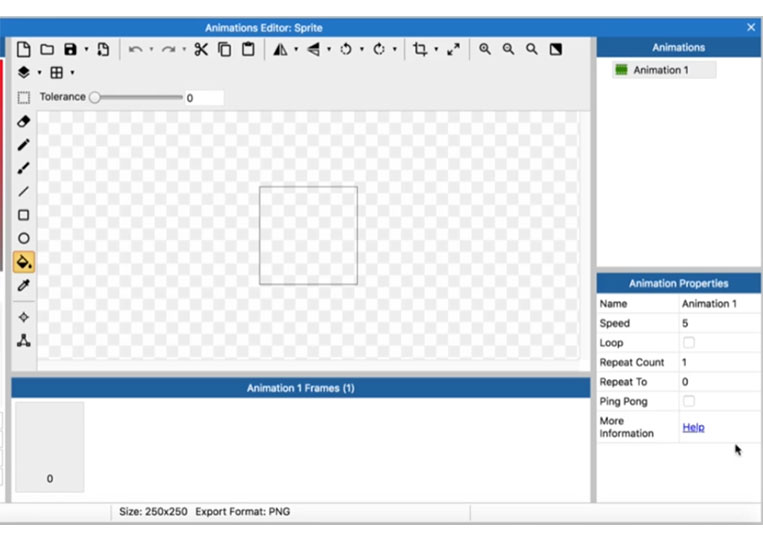
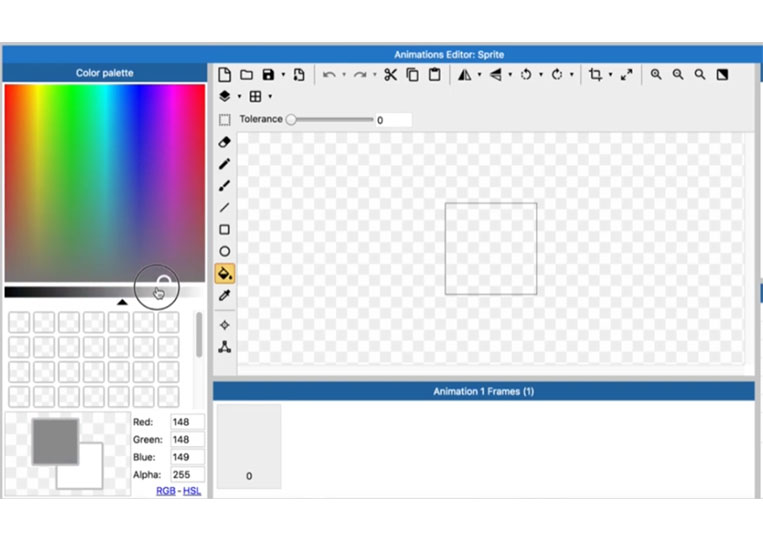
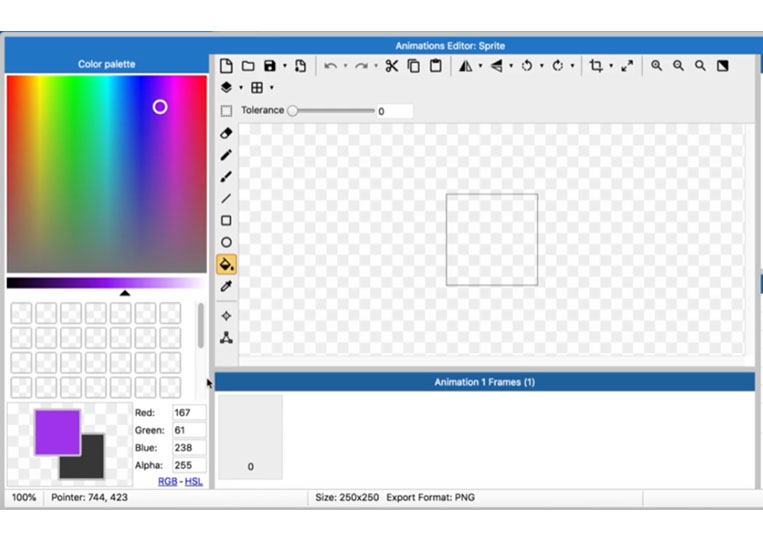
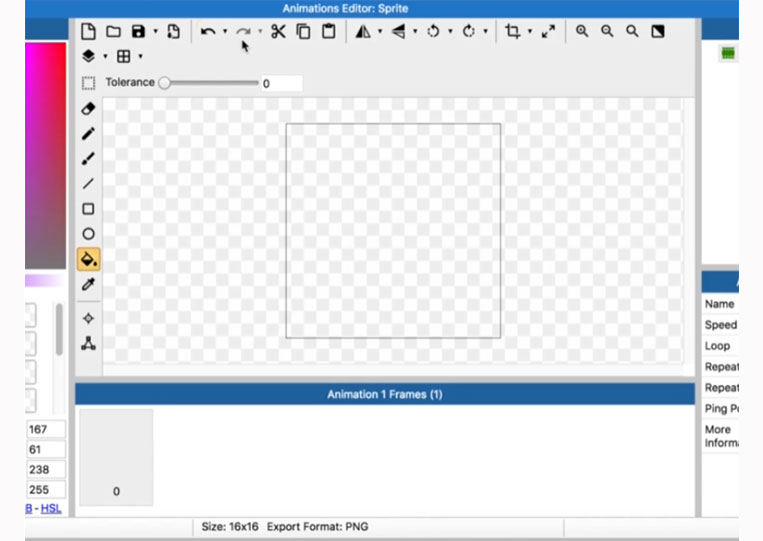
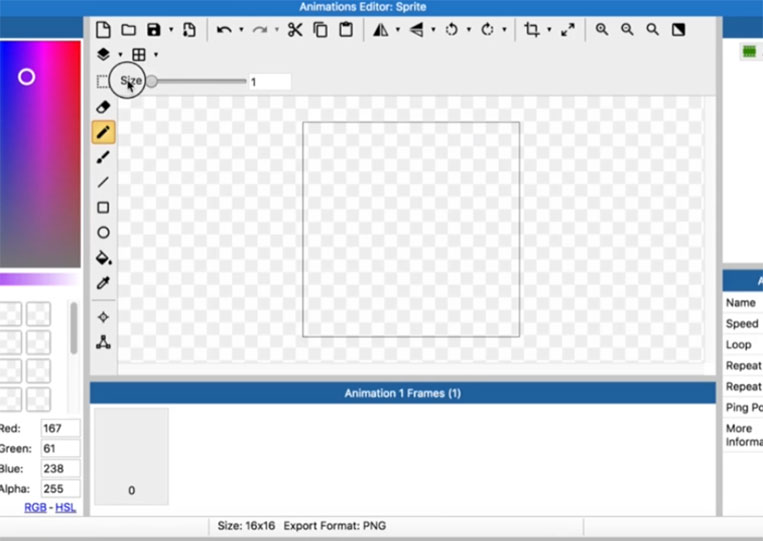
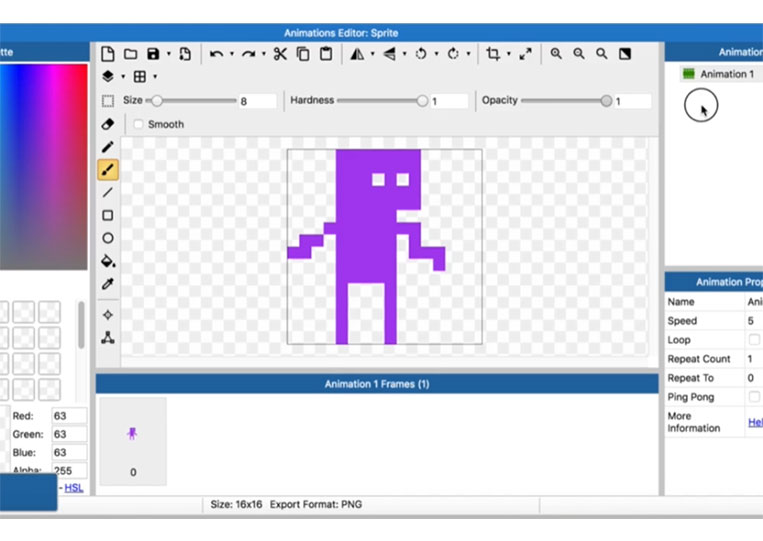
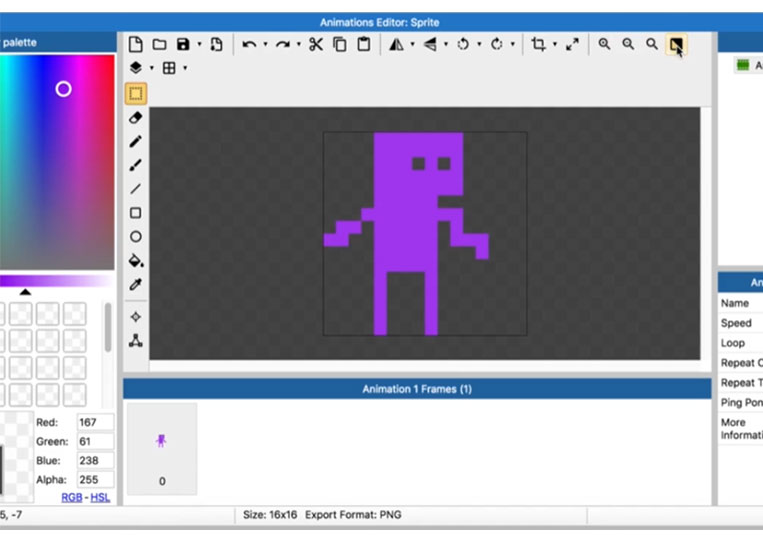
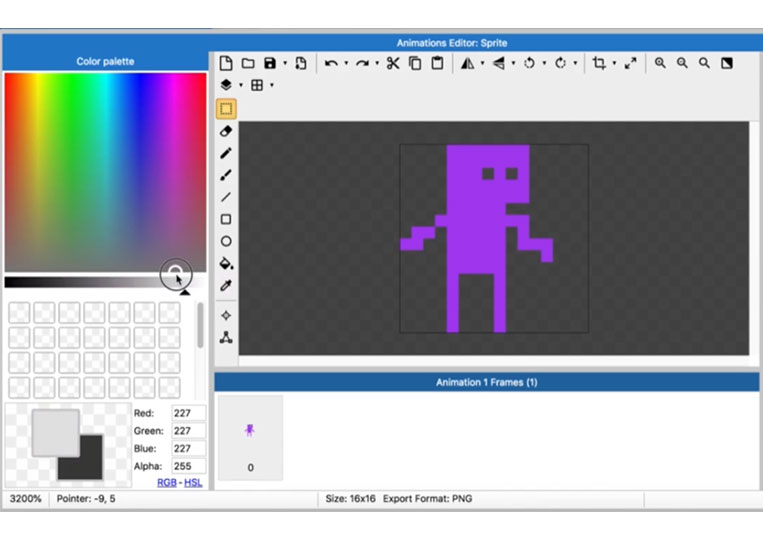
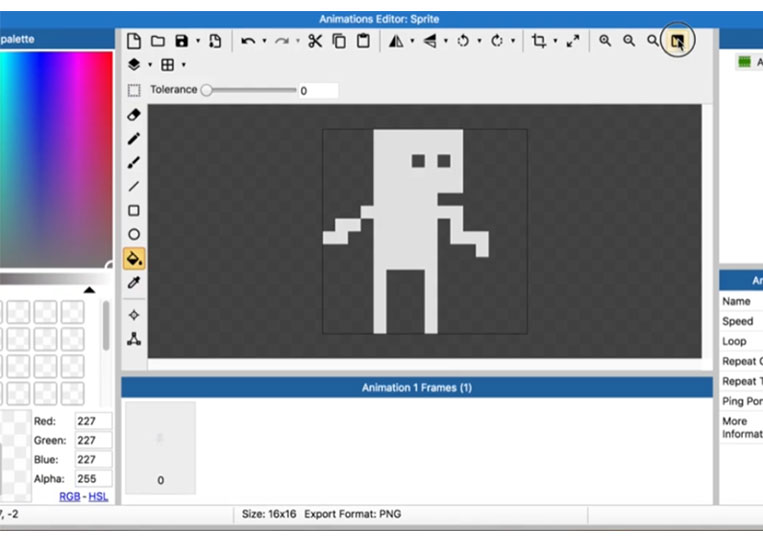
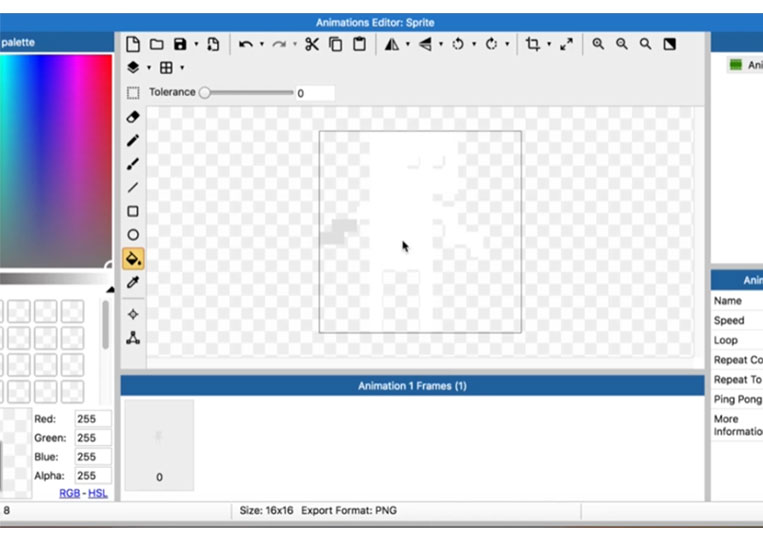
Now in this Pixel Art editor, you will see various options.

You can move this window around depending on your screen size. You might have to resize it.
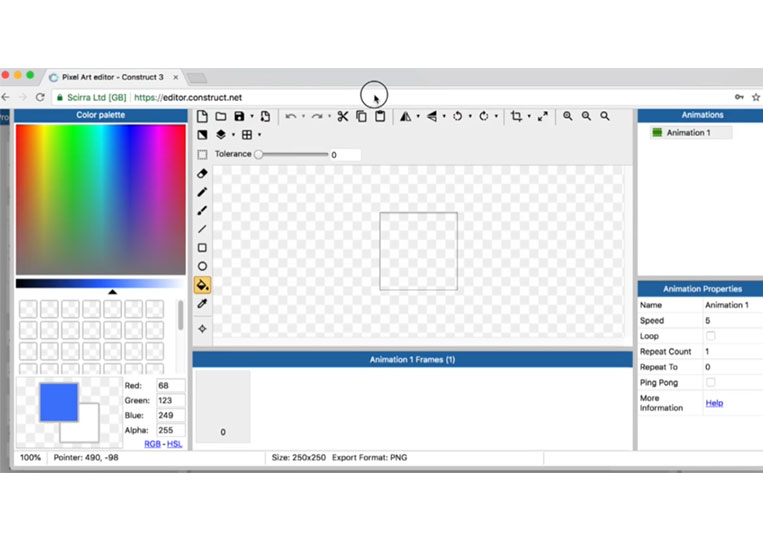
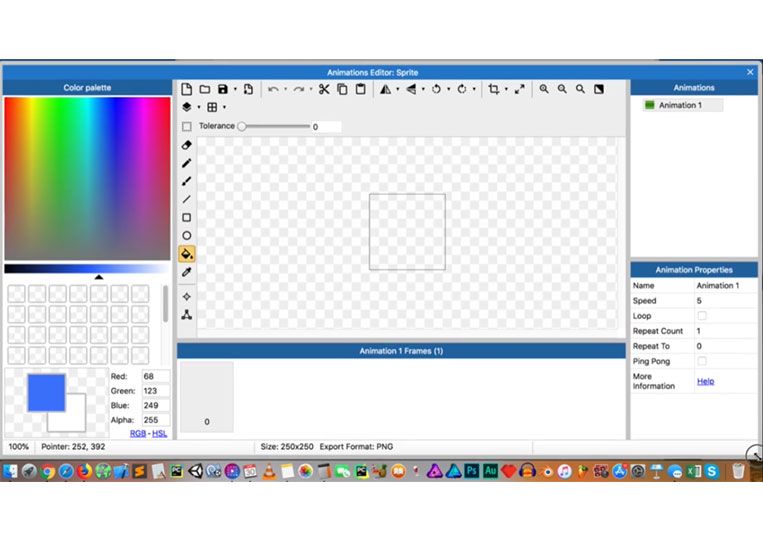
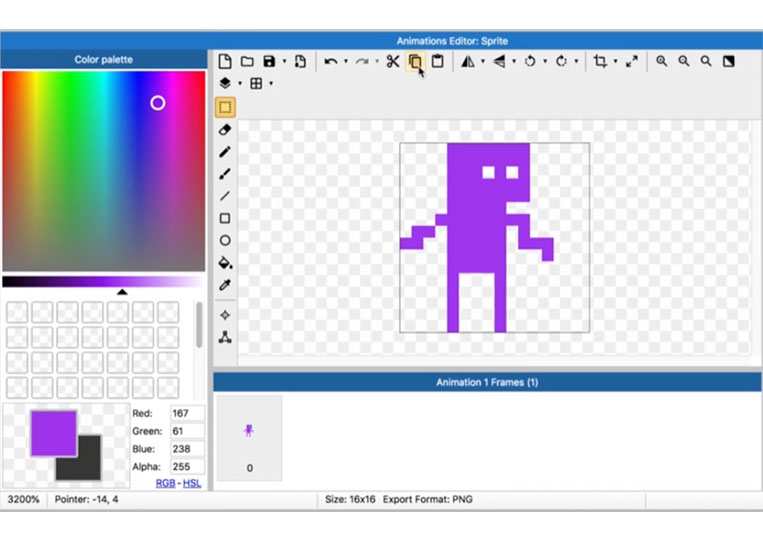
Sometimes I find that some options are not available in uncertain sizes. Essentially, we have four or five main areas. We have a color palette.
We have the animation properties as well as the animation frames.
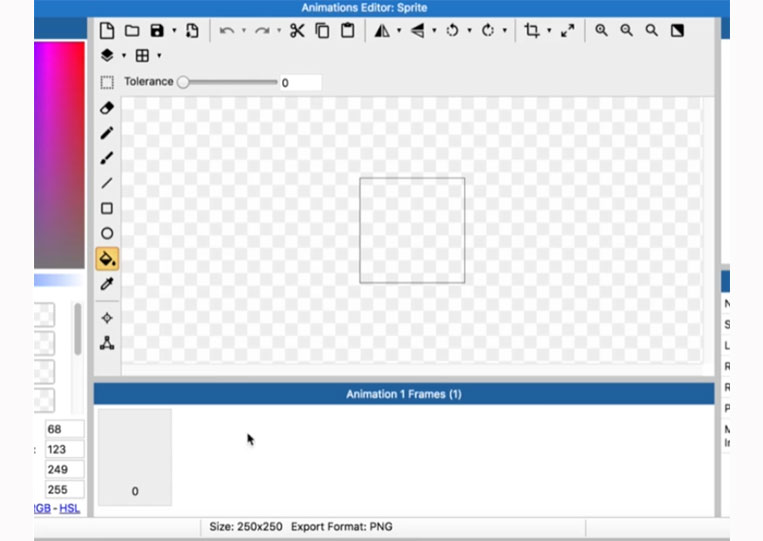
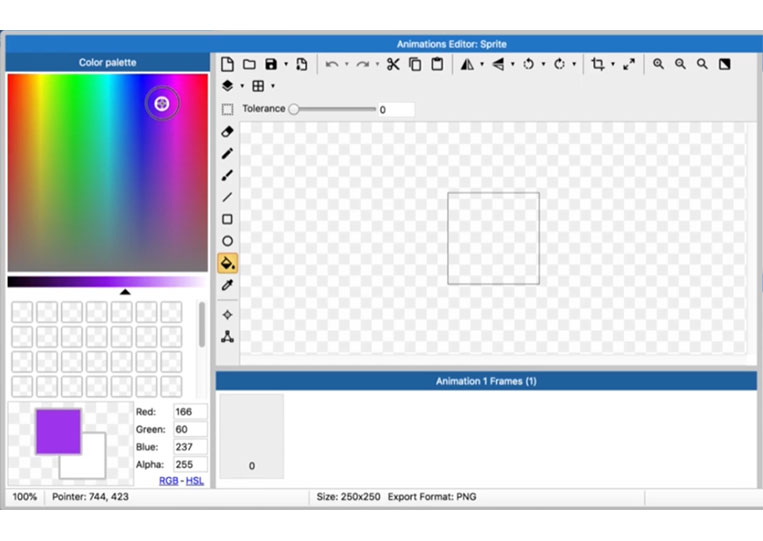
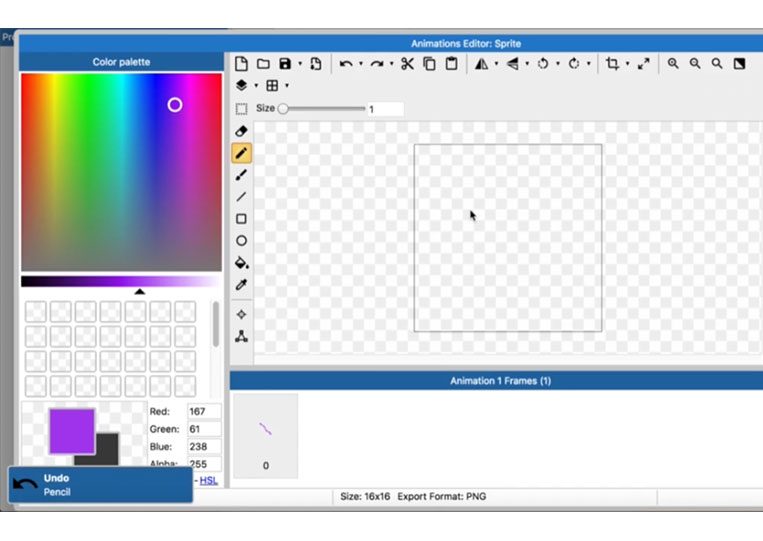
We also have more items with the color palette here.
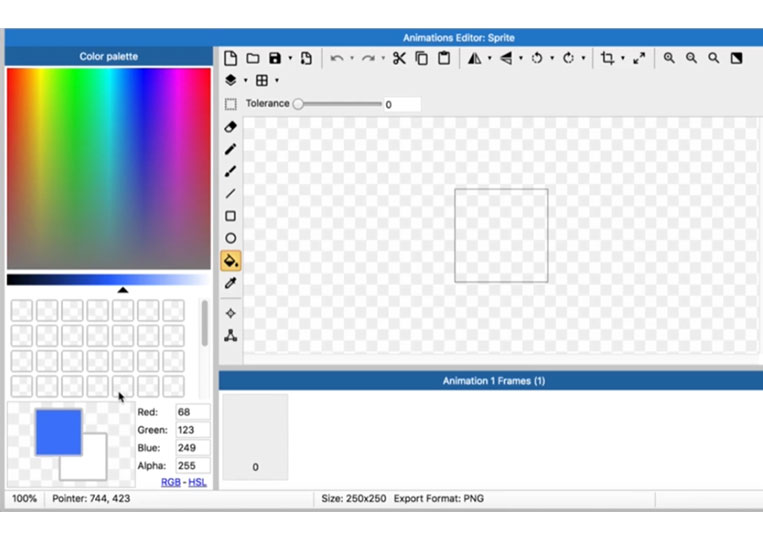
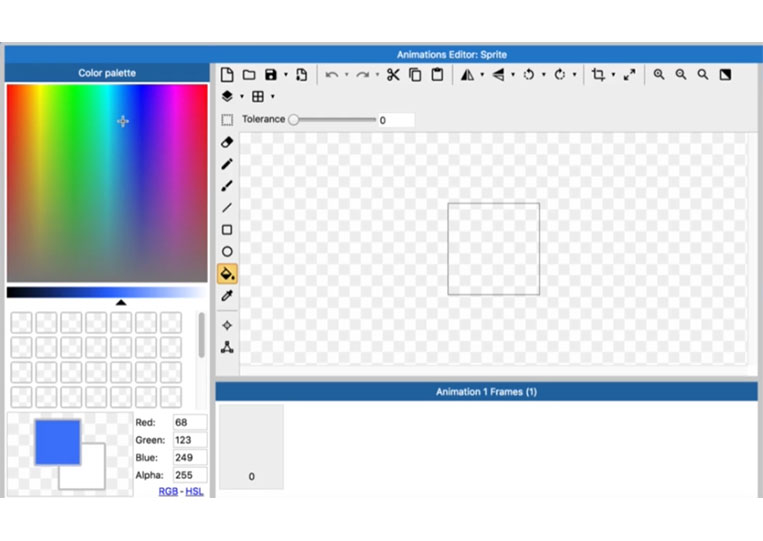
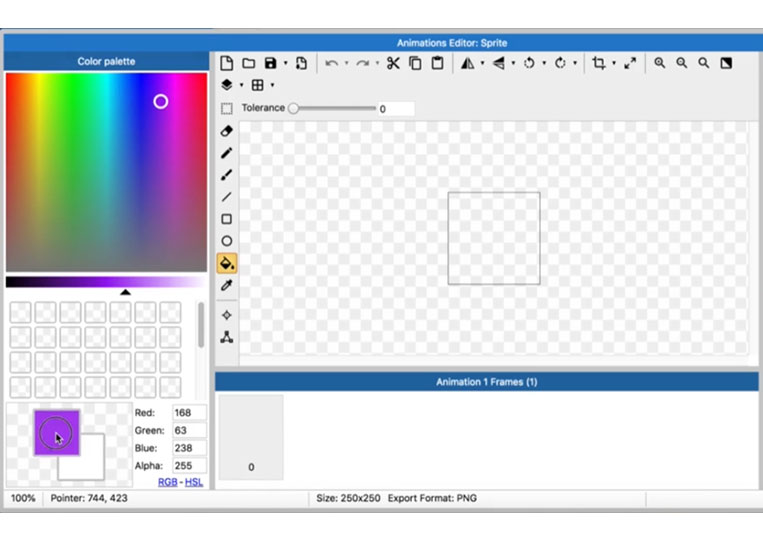
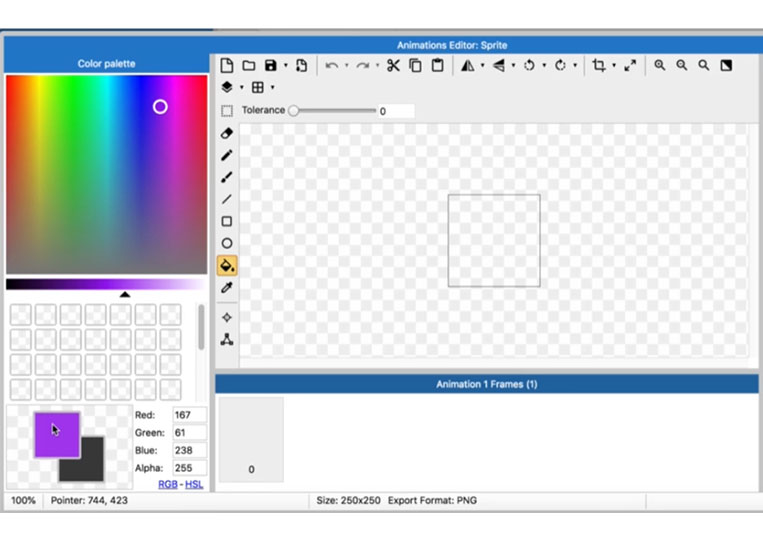
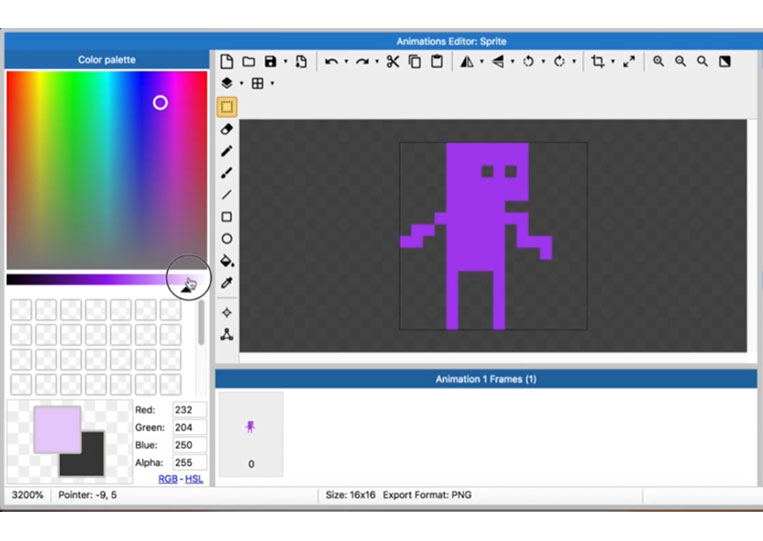
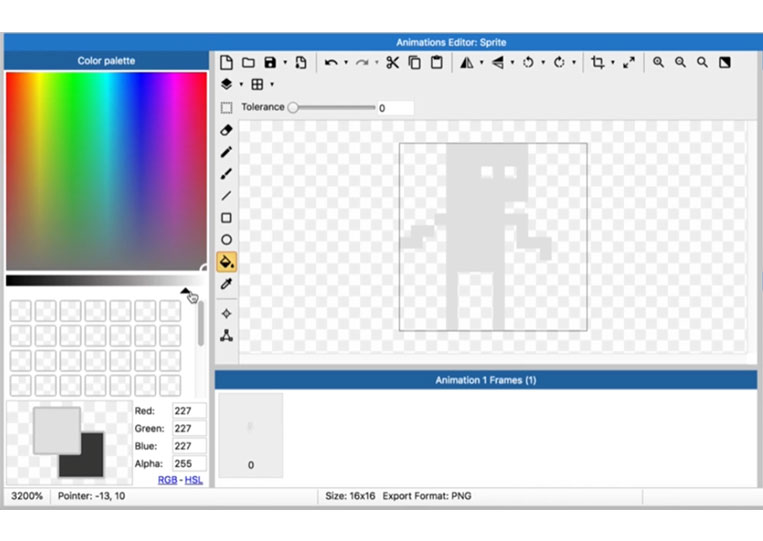
The color palette is pretty self-explanatory.
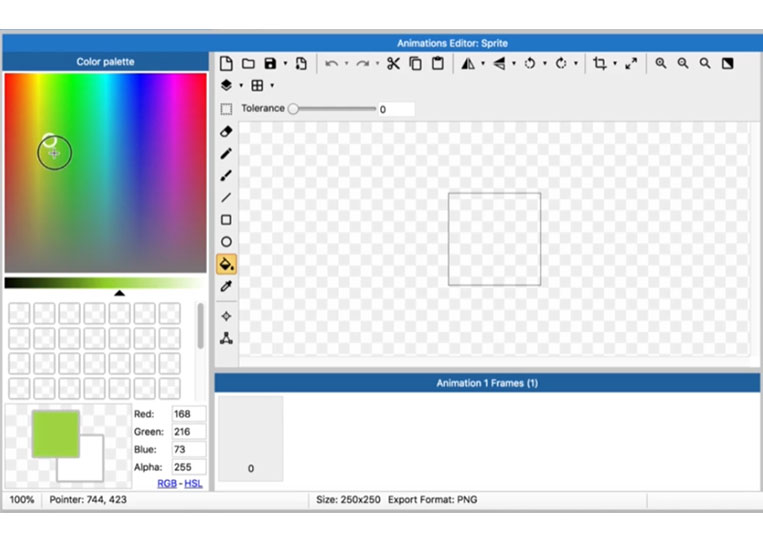
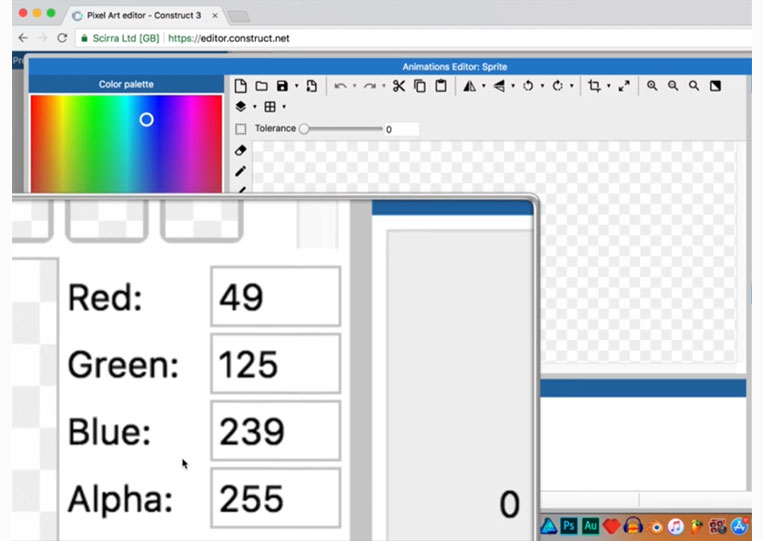
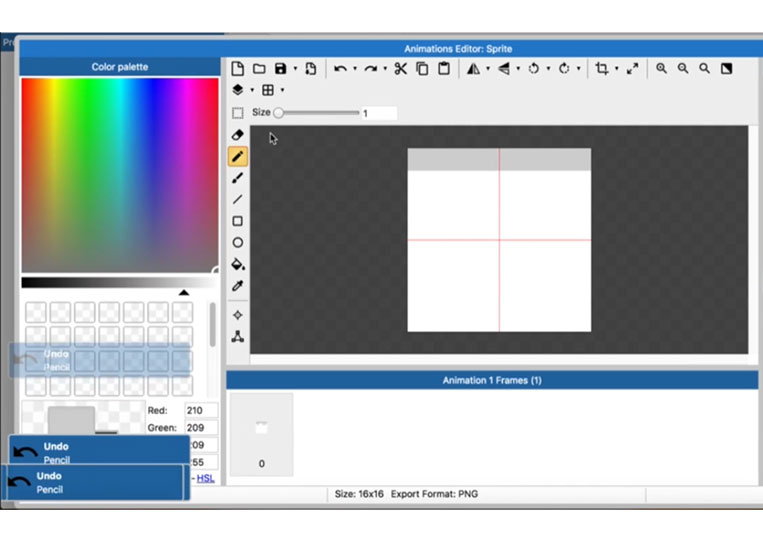
We have the RGA values here.
The red, green, blue, and alpha values are down here.
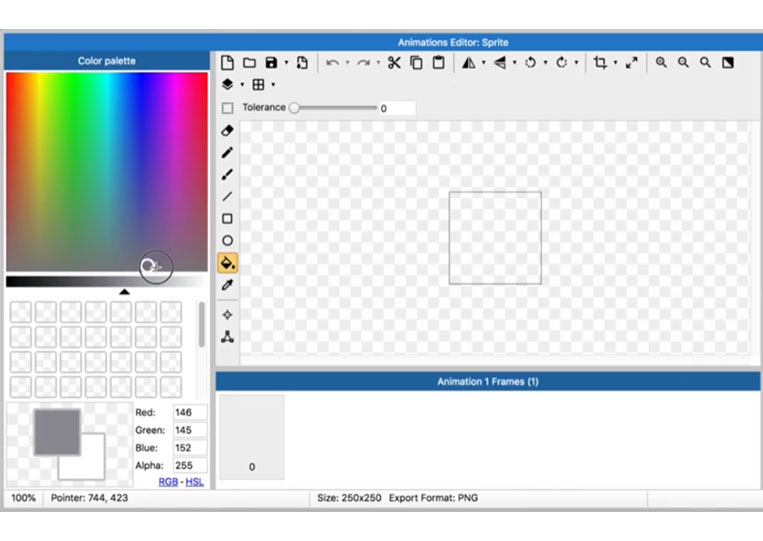
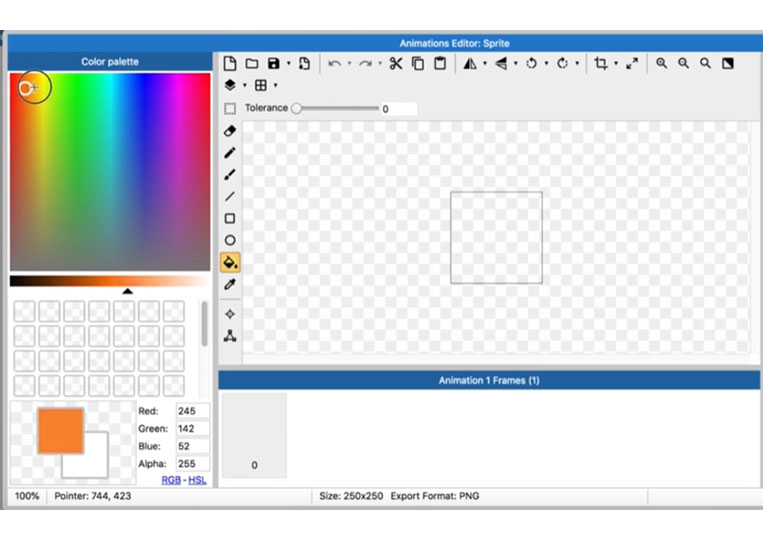
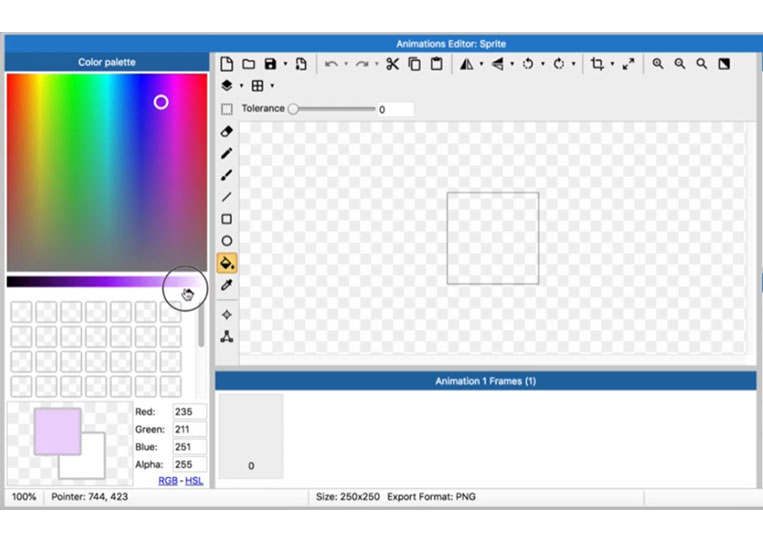
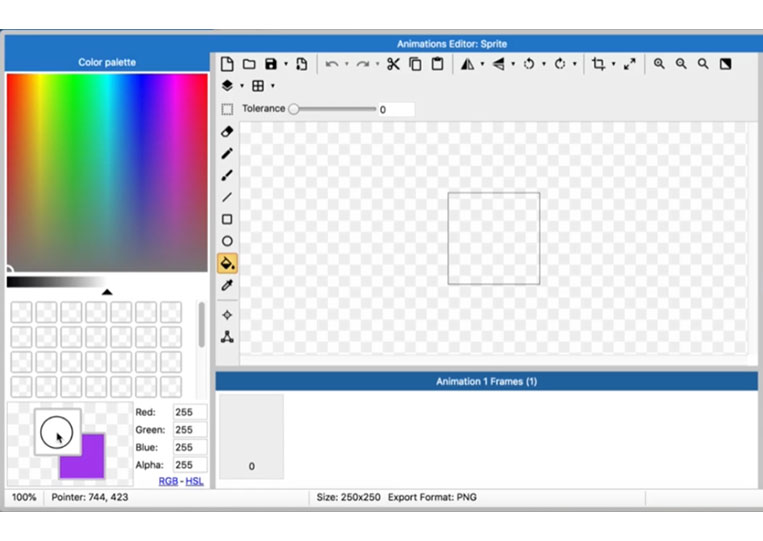
You can also increase the brightness.
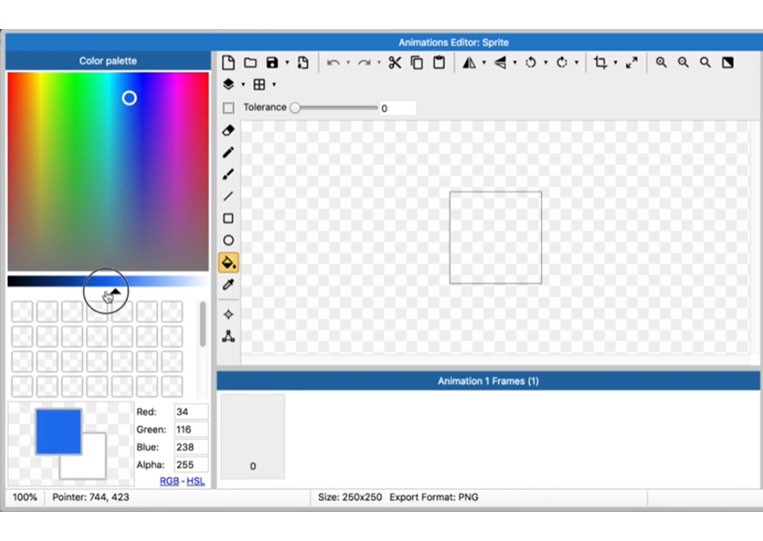
If you want gray, you have to move it to the bottom to choose the color as well as the brightness.
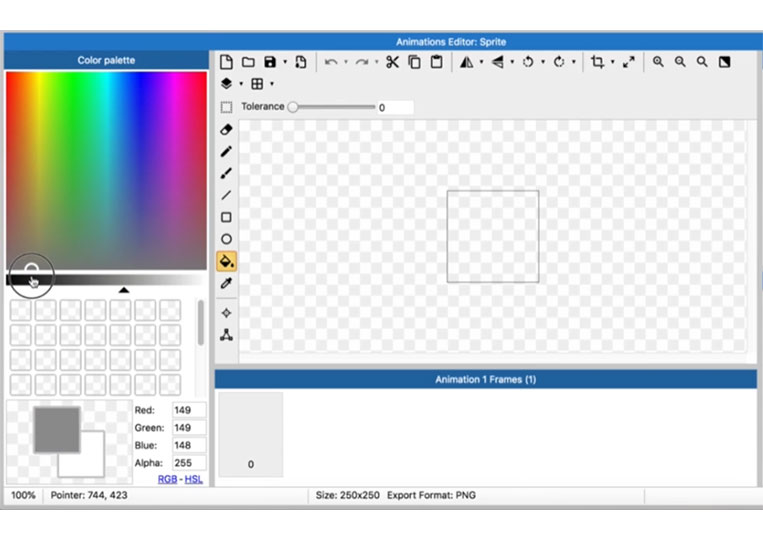
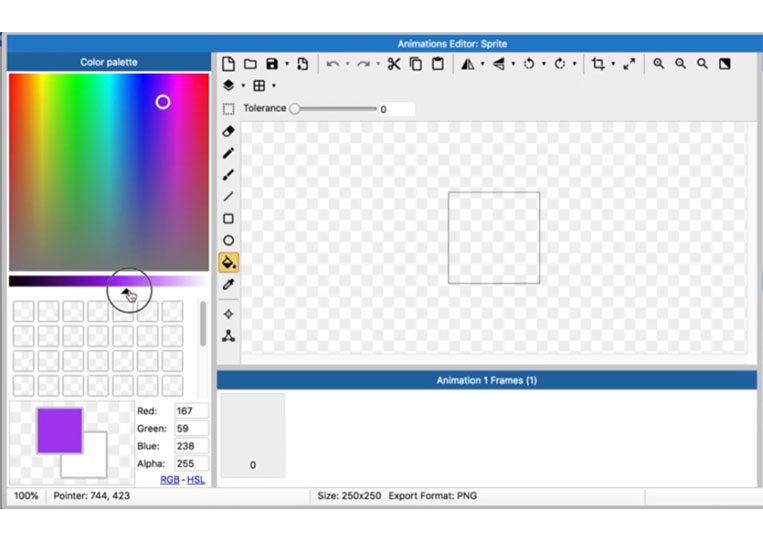
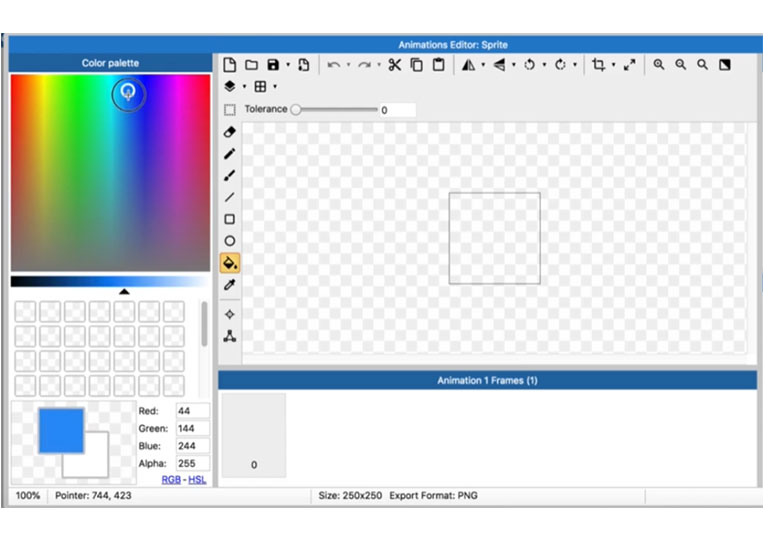
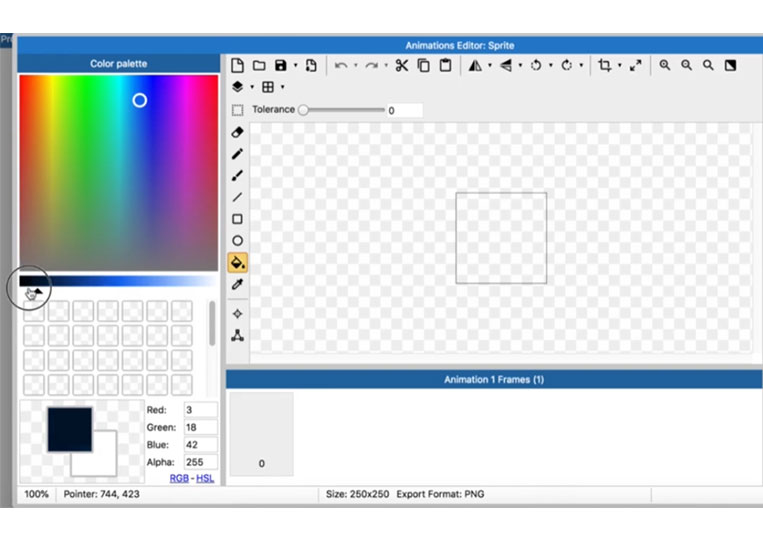
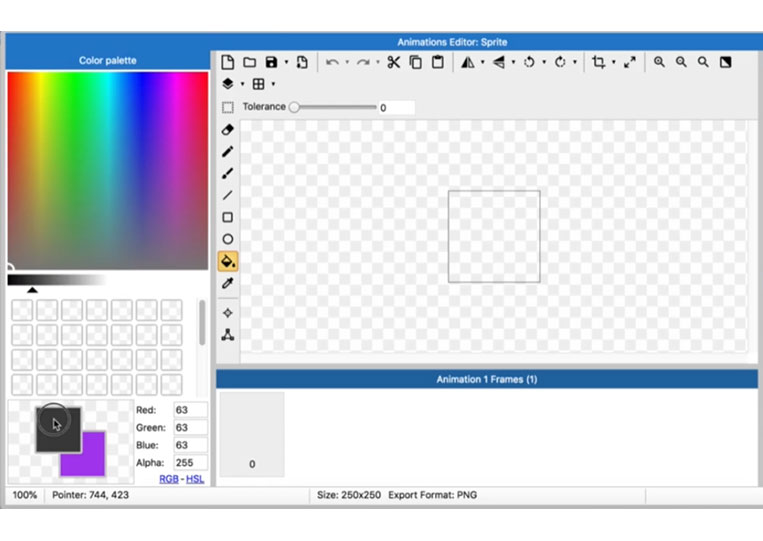
If you click this, it will change to a border.
Anything at the bottom here is the border. Let’s change it to black.
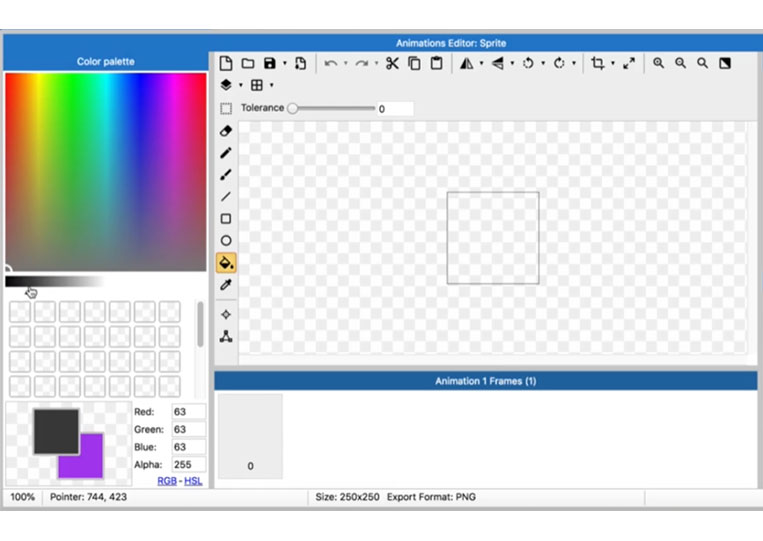
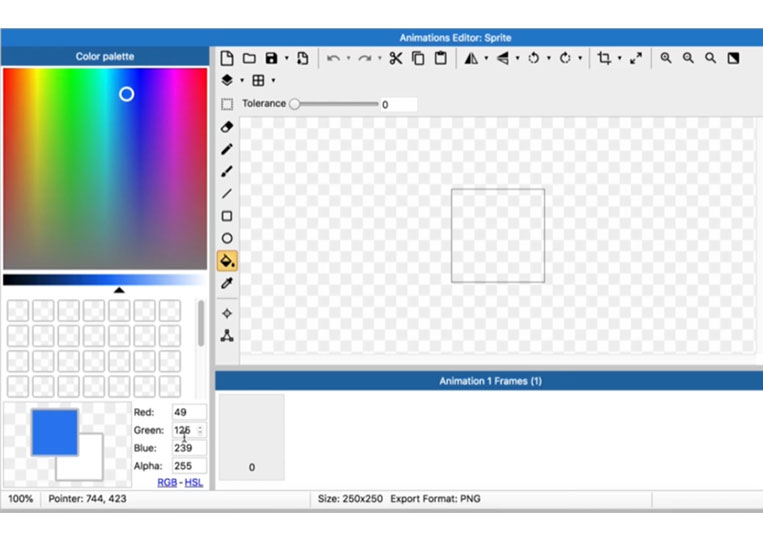
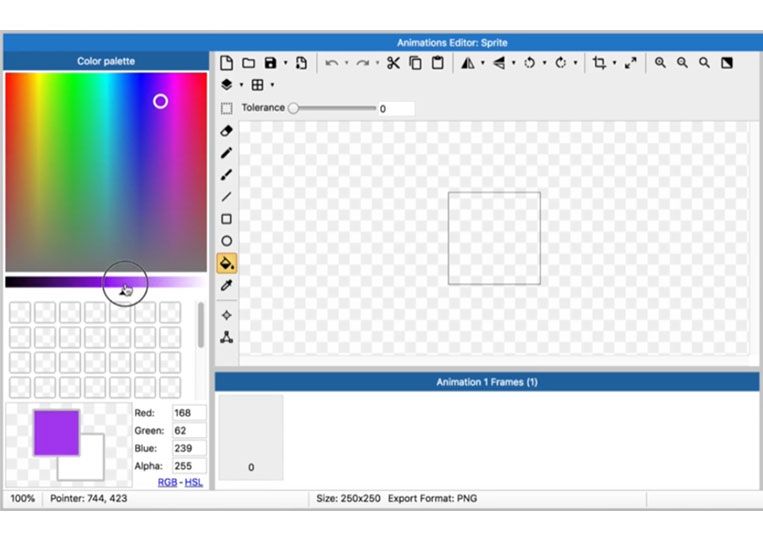
We have hue, saturation, lightness, and alpha HSL or RGB
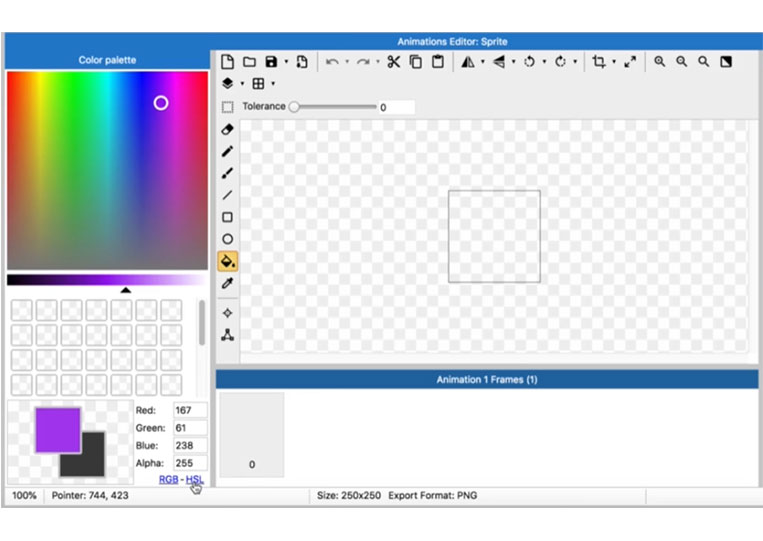
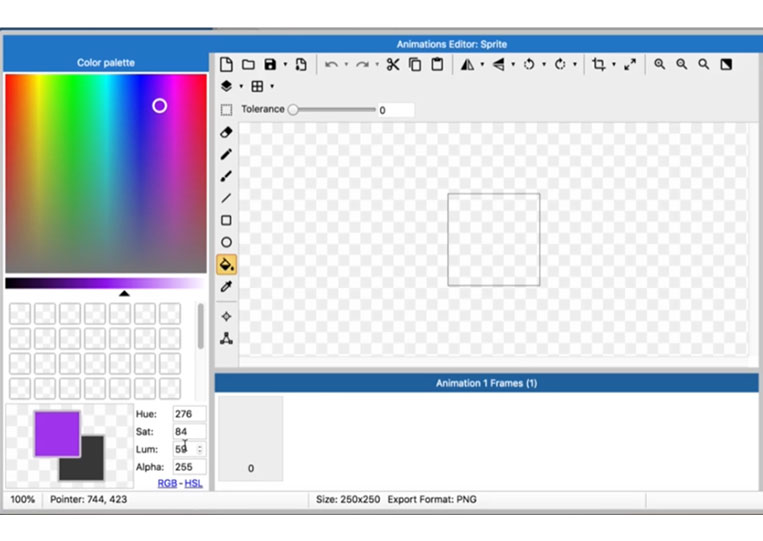
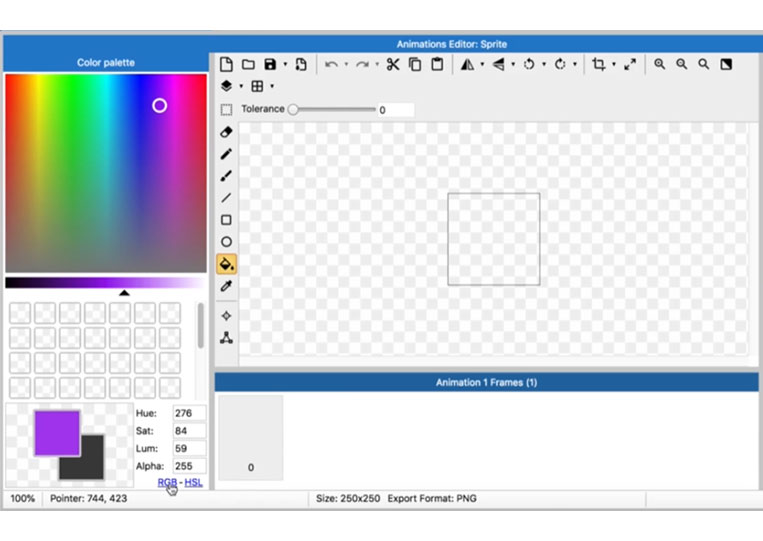
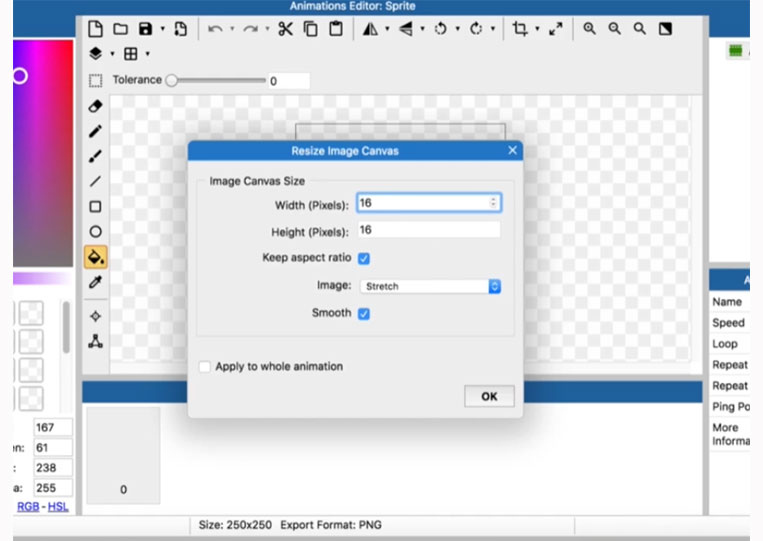
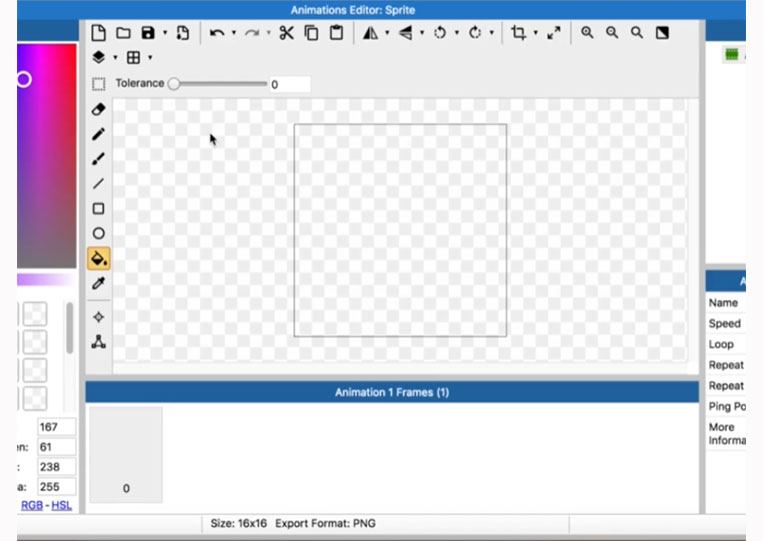
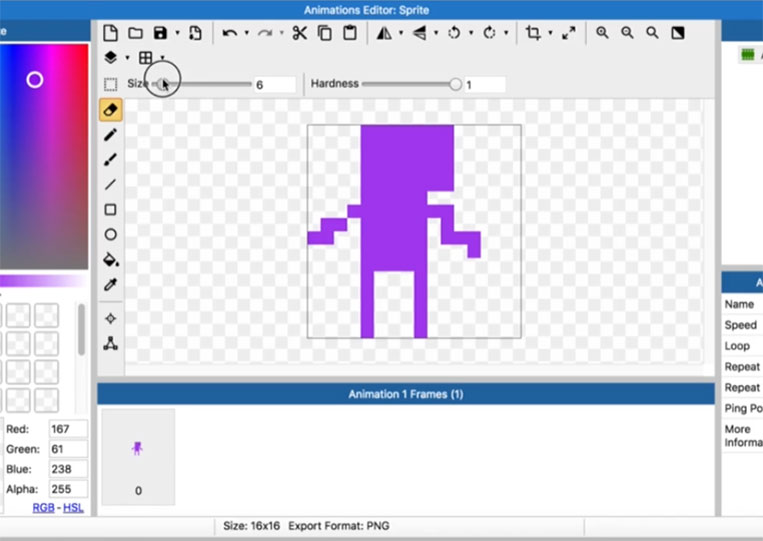
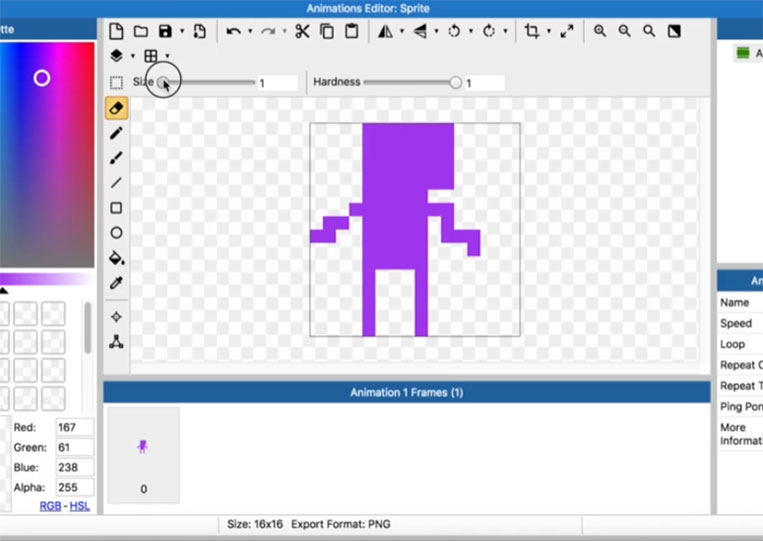
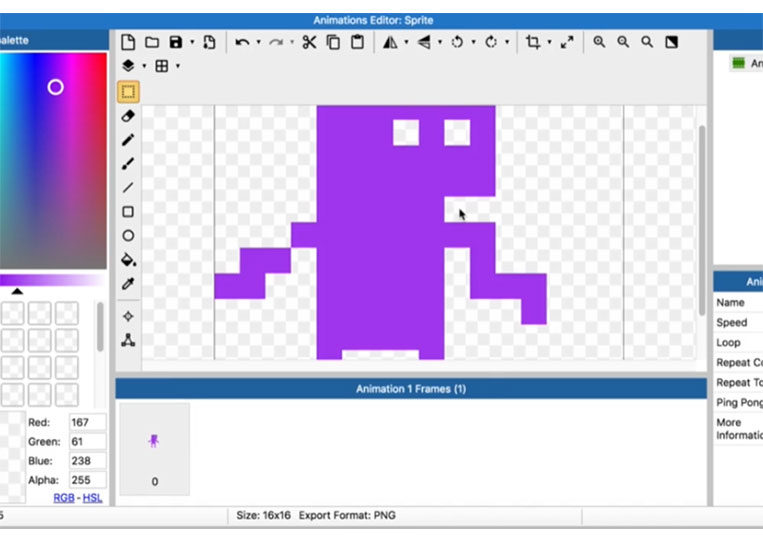
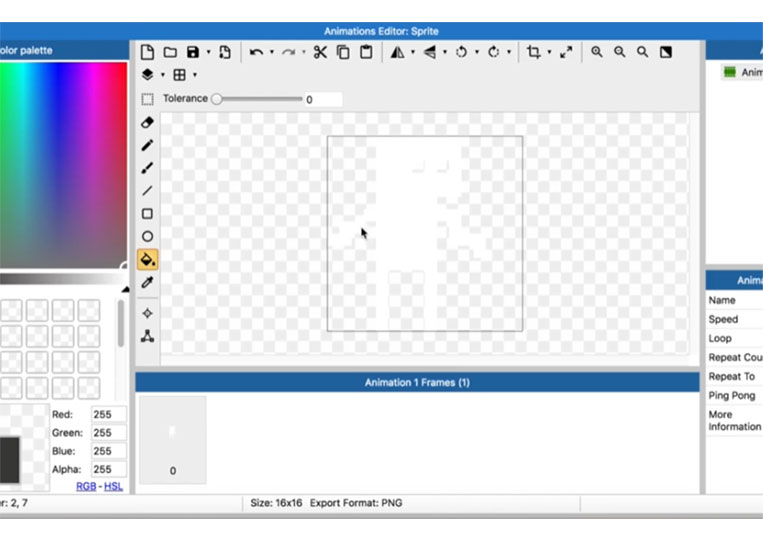
It is pretty standard. Let’s change the pixel size here.

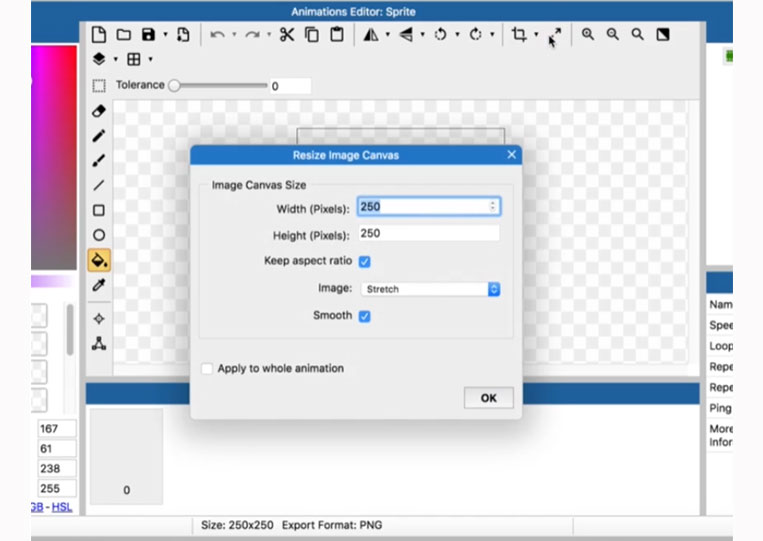
128 x 128 is a pretty big pixel. Normally, they are 256 x 256 in some higher-definition pixel art games. If you’re looking to do a classic art game, make it 16 x 16.
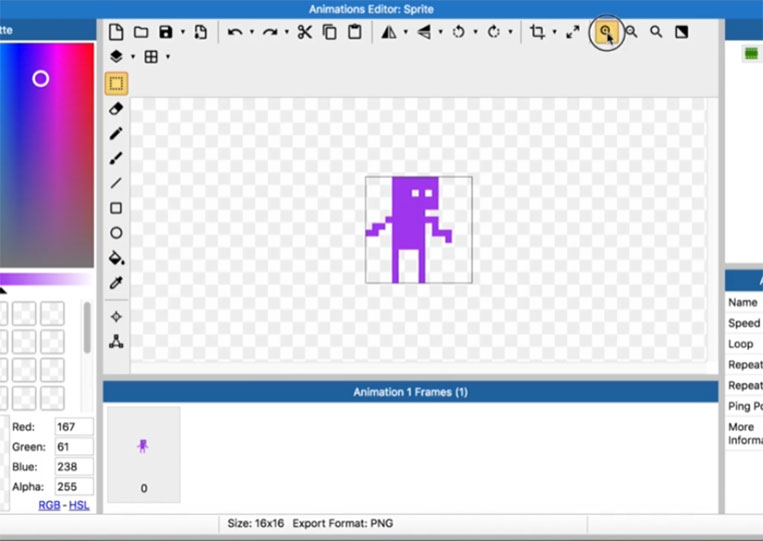
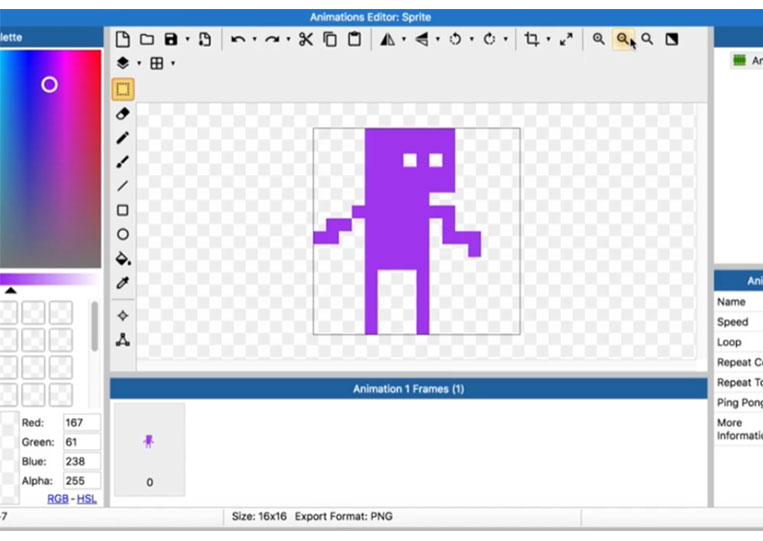
You can zoom in.


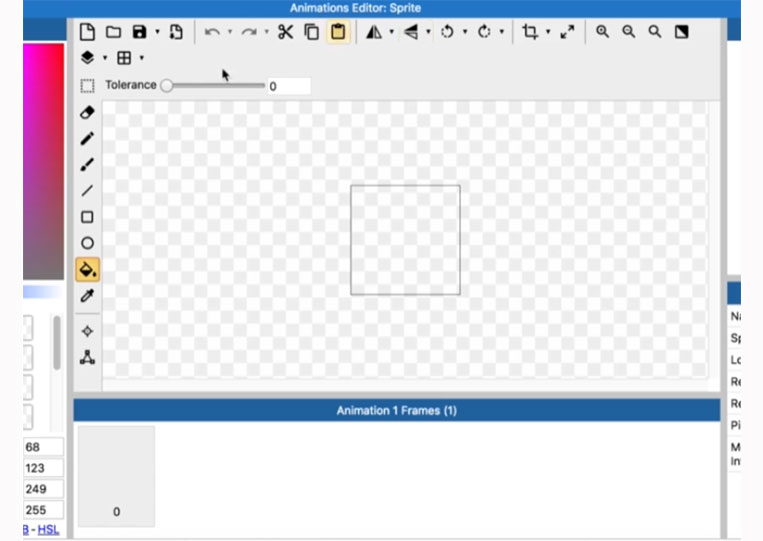
Now there are a lot of different options here.
Let’s look at some basics, then move on to more interesting things.
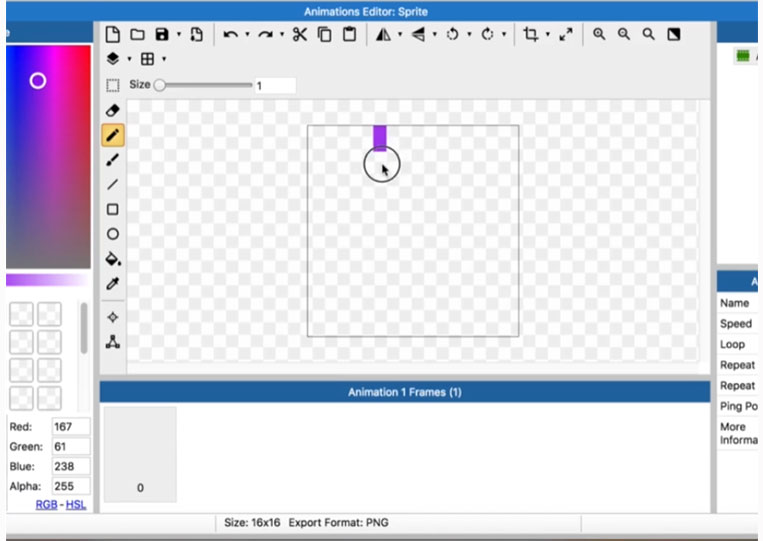
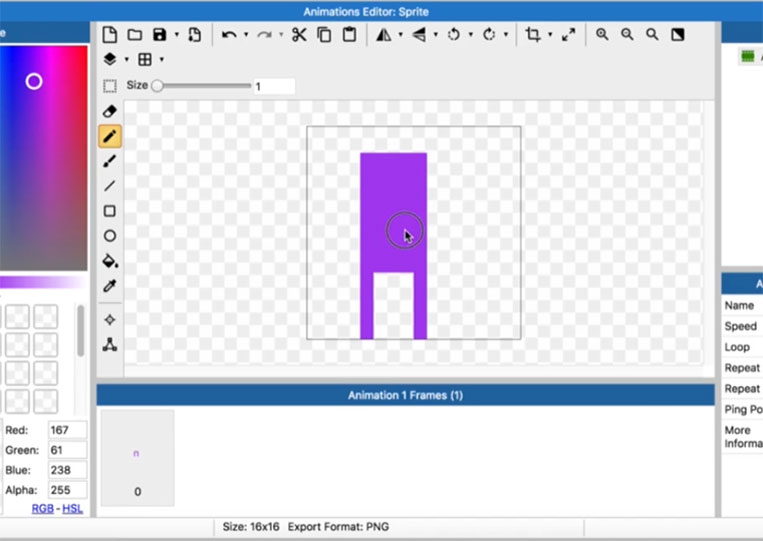
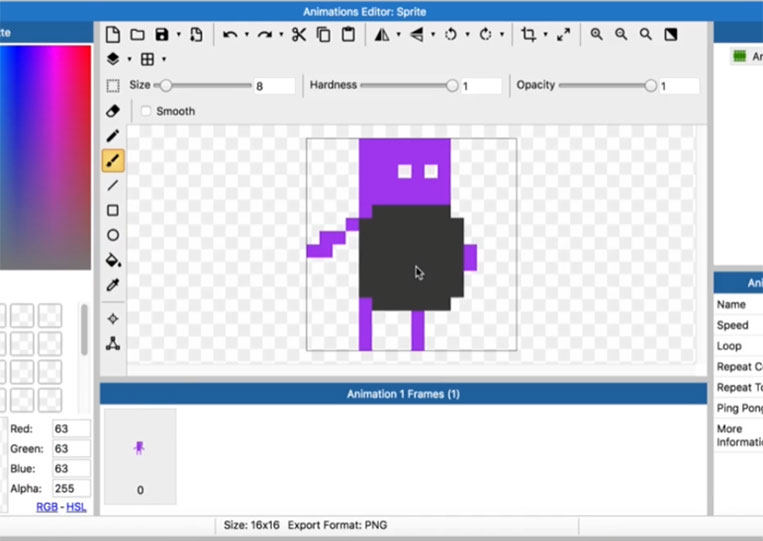
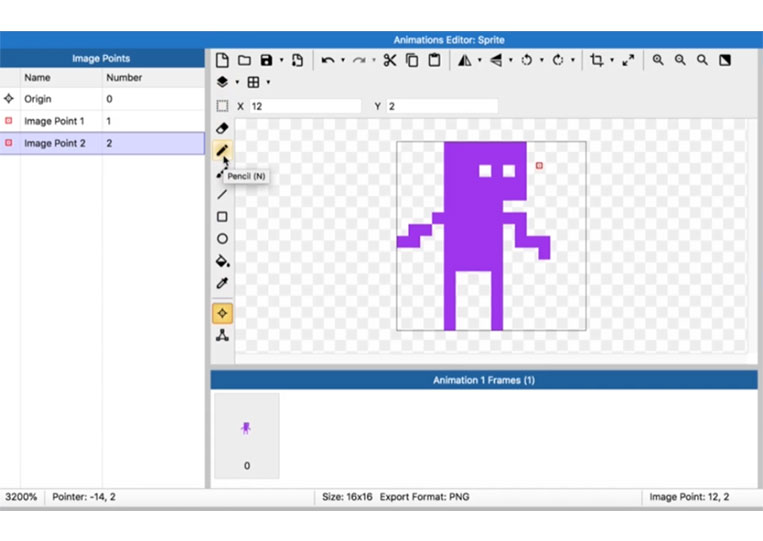
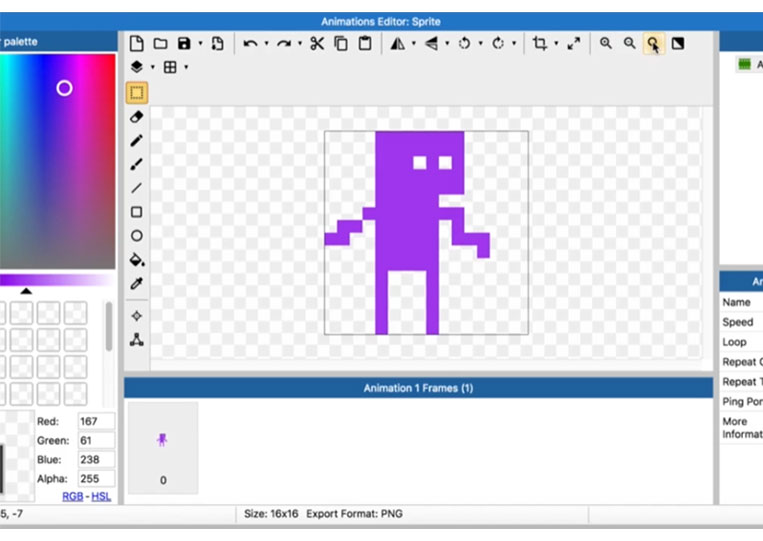
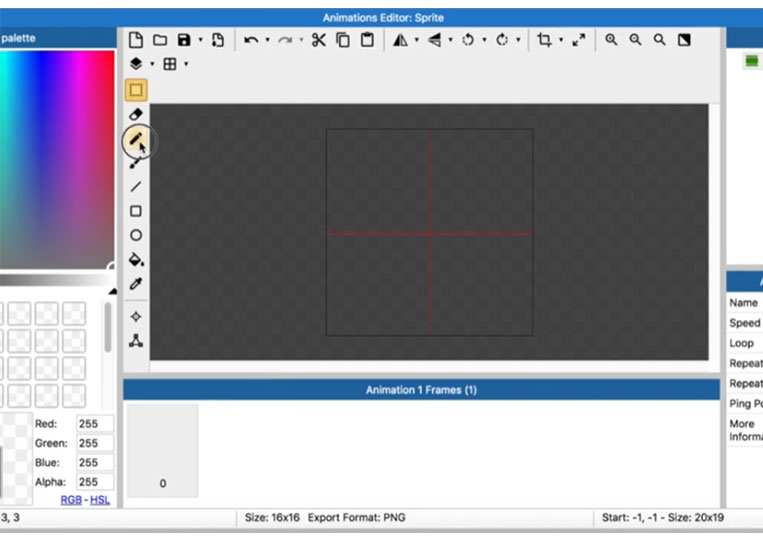
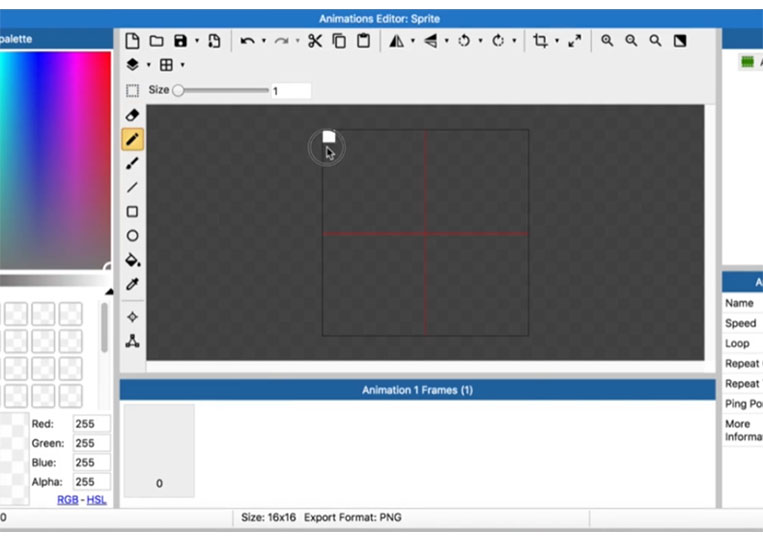
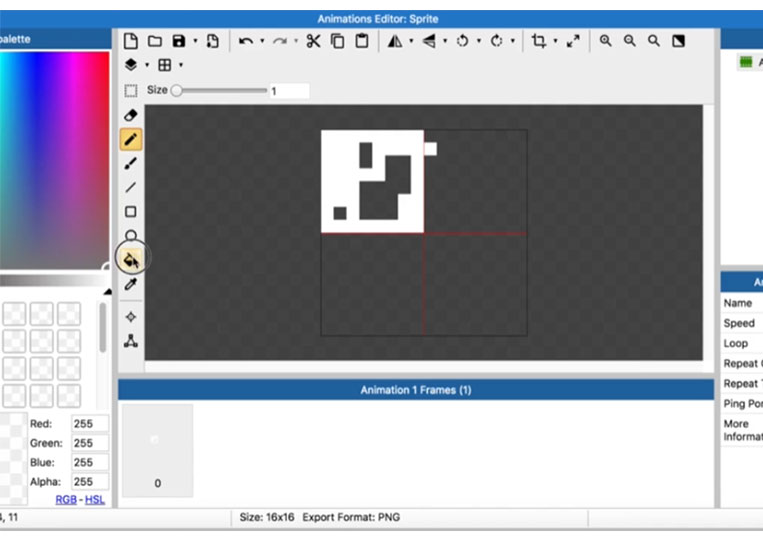
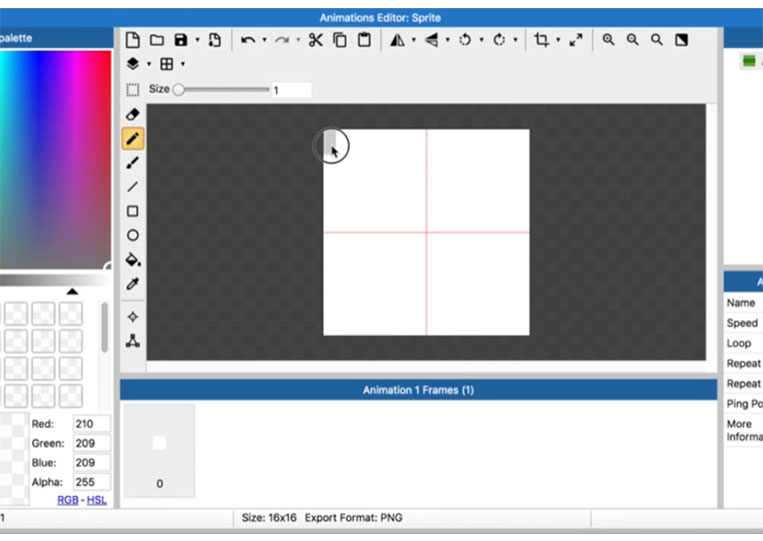
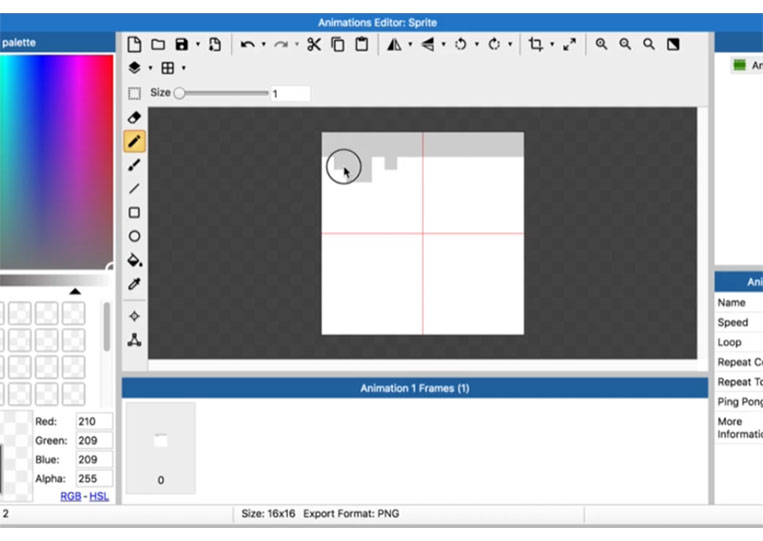
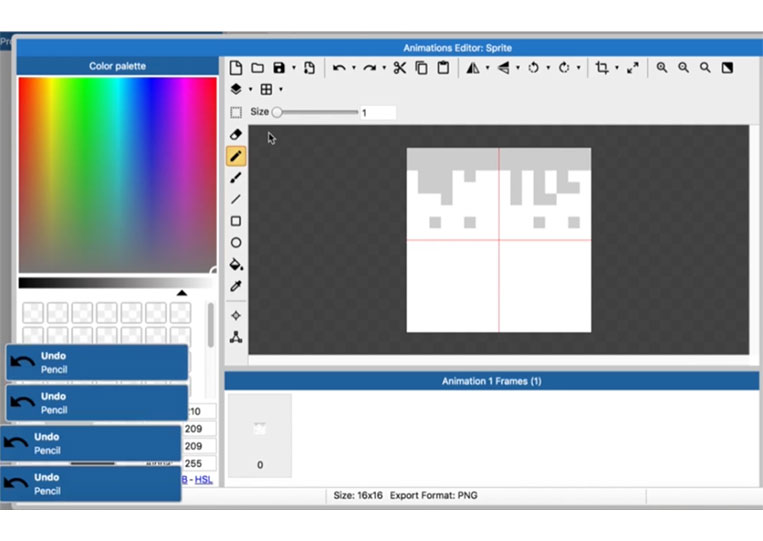
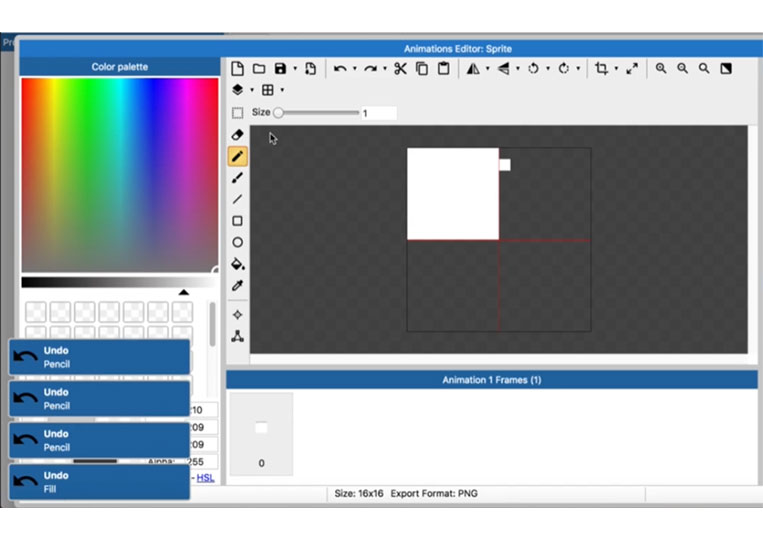
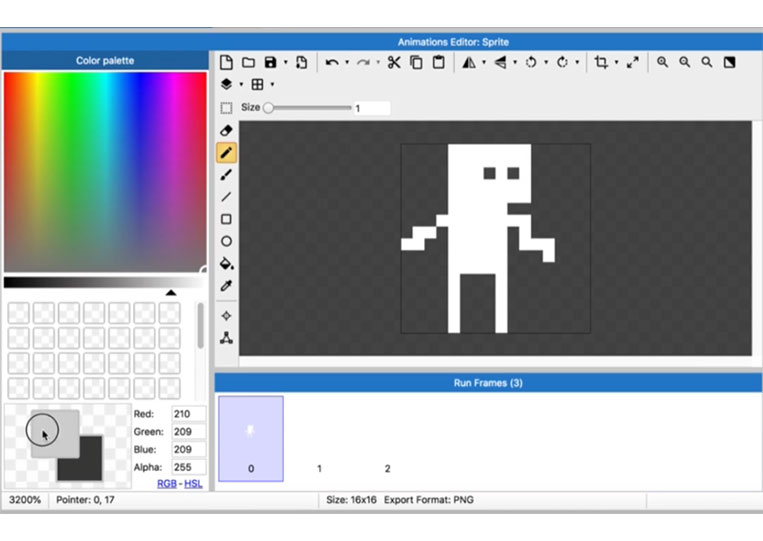
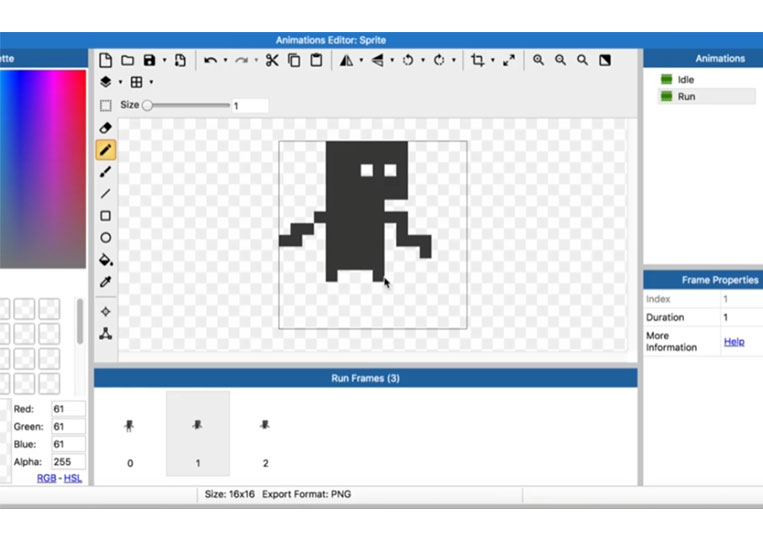
Note that this Pixel Art Editor is pretty good. There are many things you can do throughout this section. Look at this ‘Pencil’ tool.

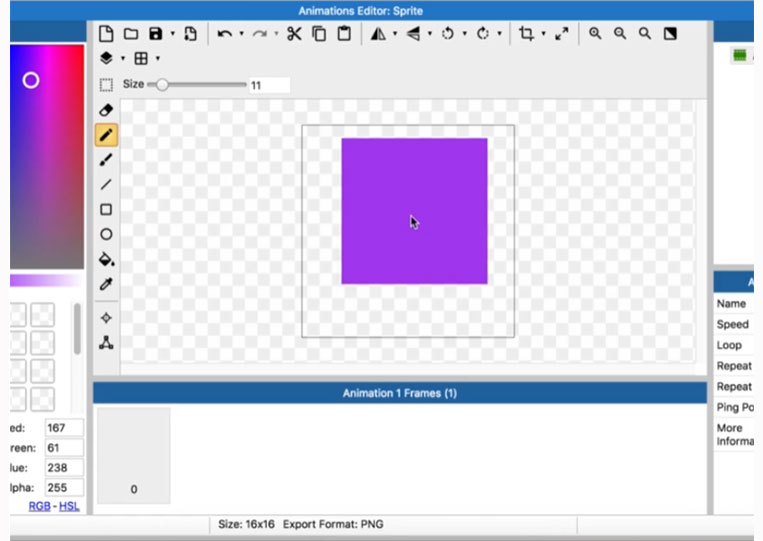
You have dimensions.
One pixel.
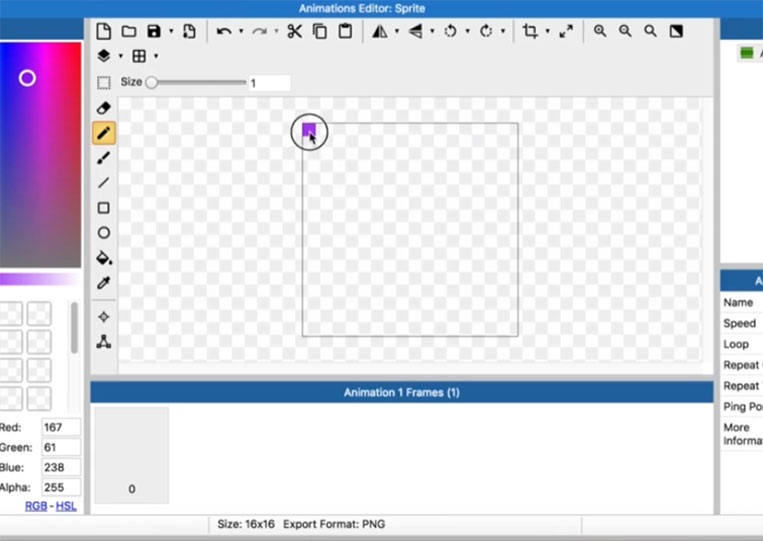
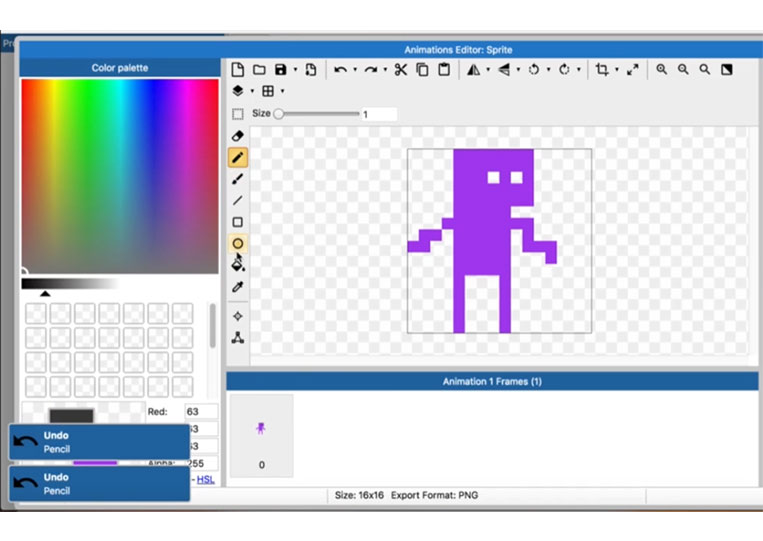
It’s pretty good. You can also undo it here.
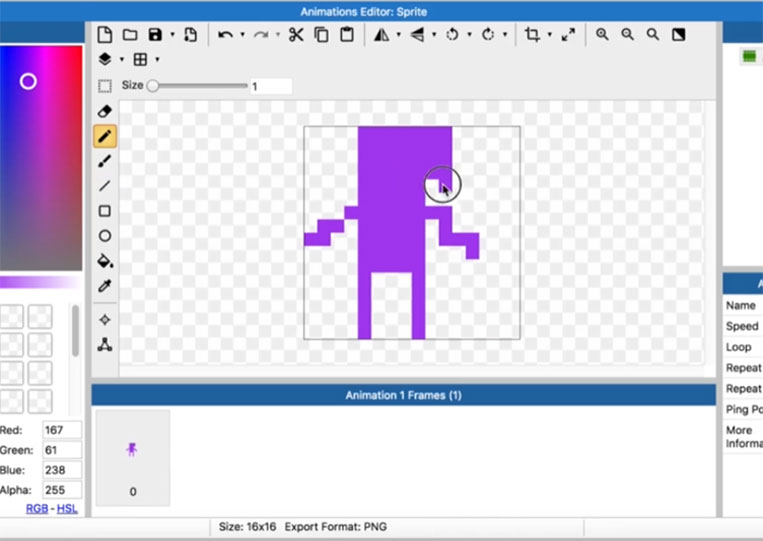
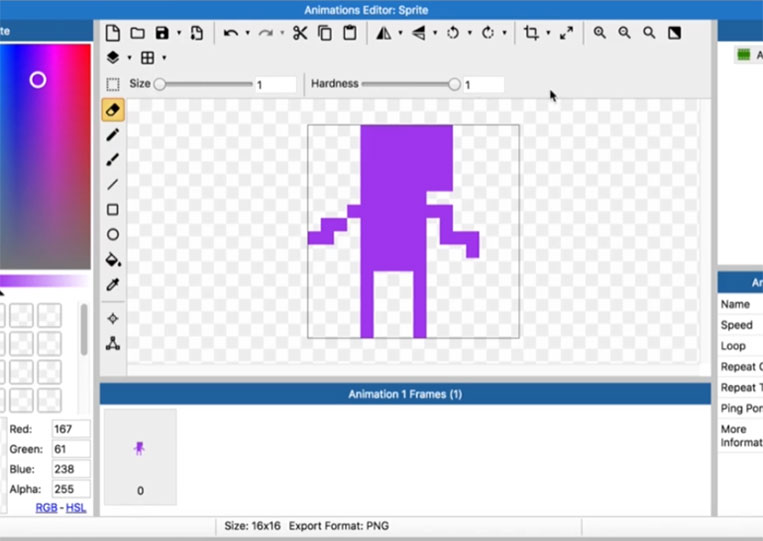
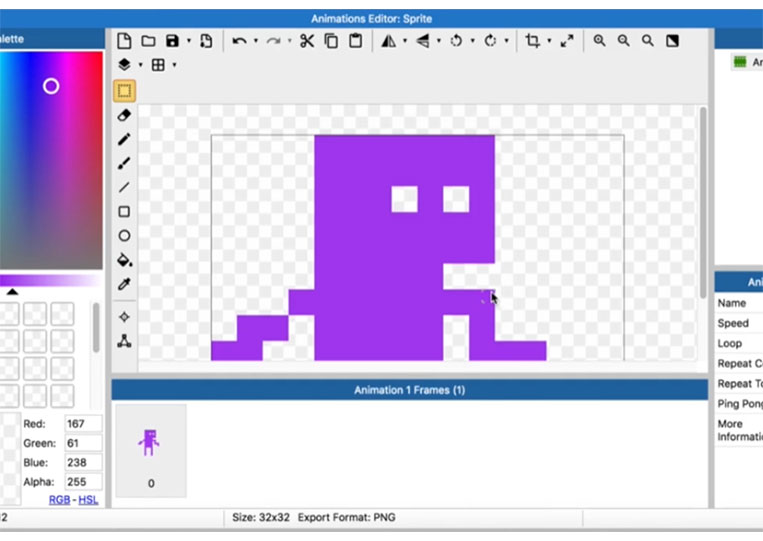
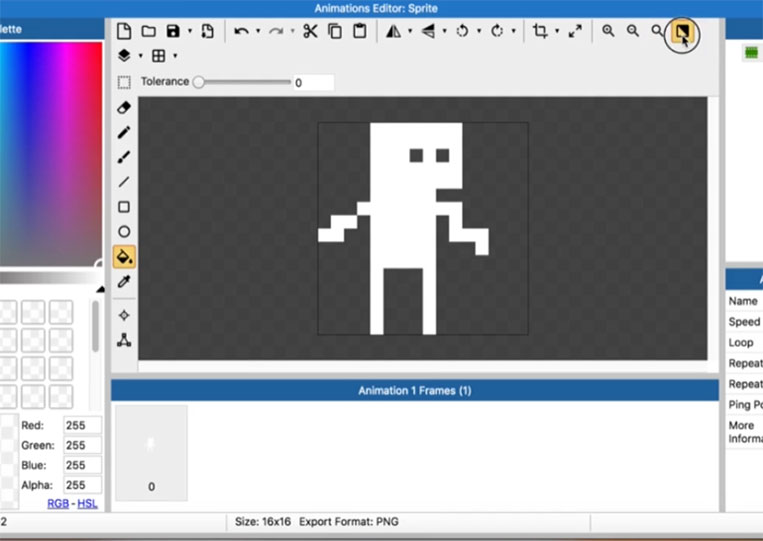
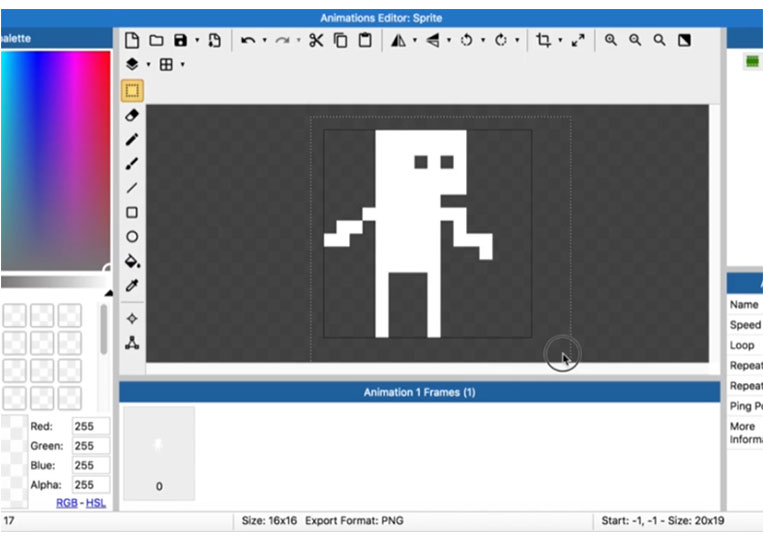
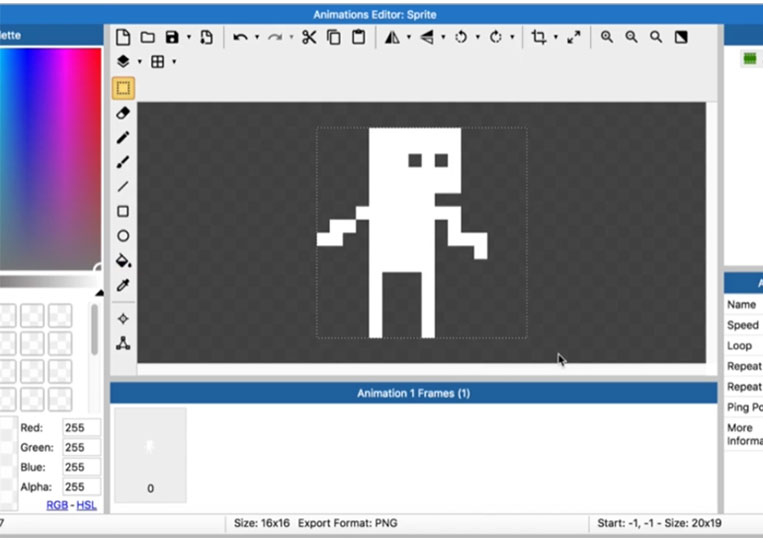
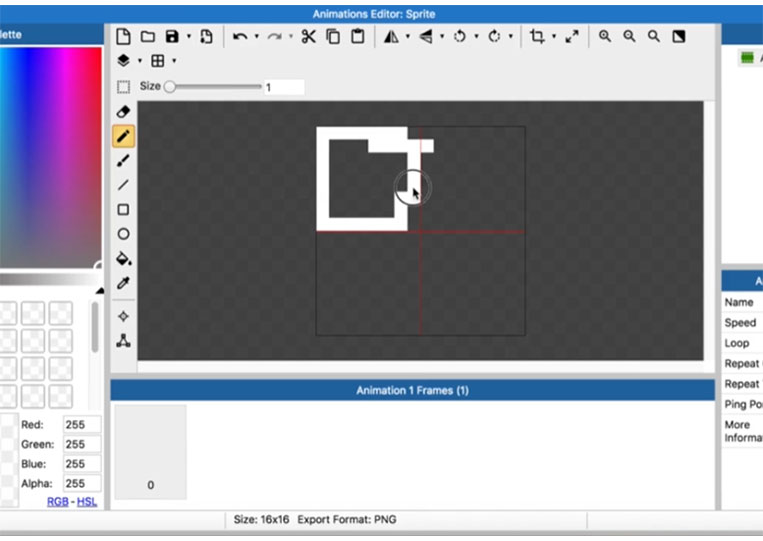
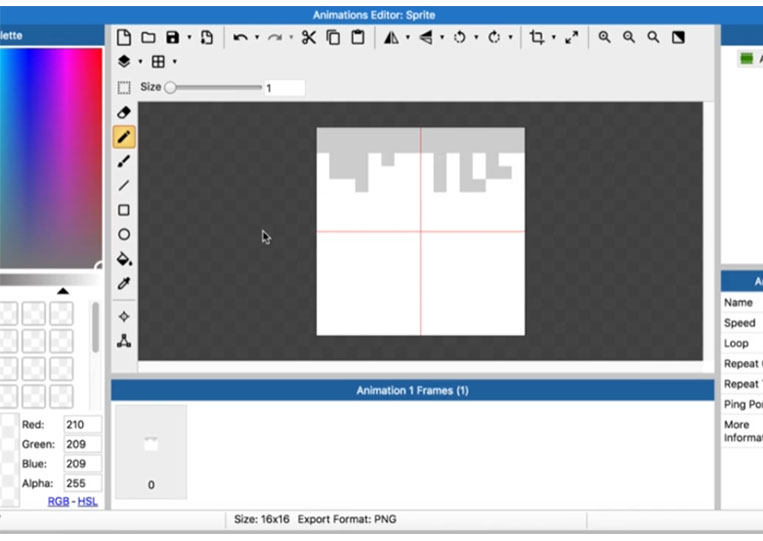
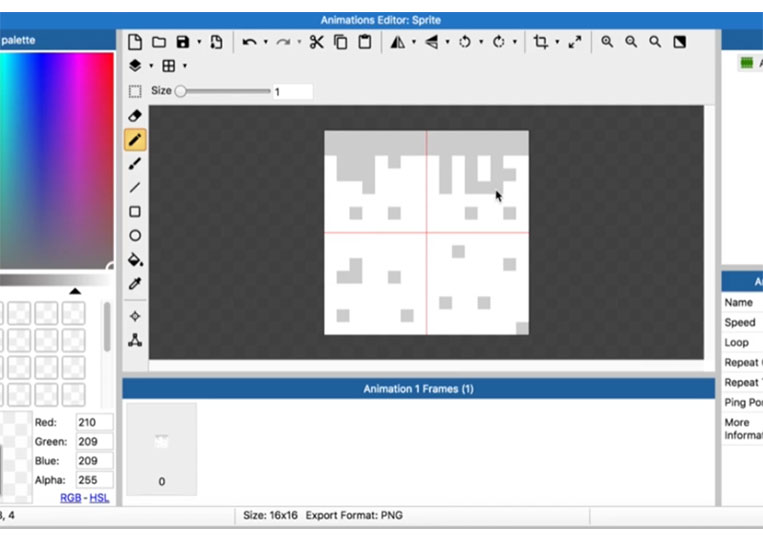
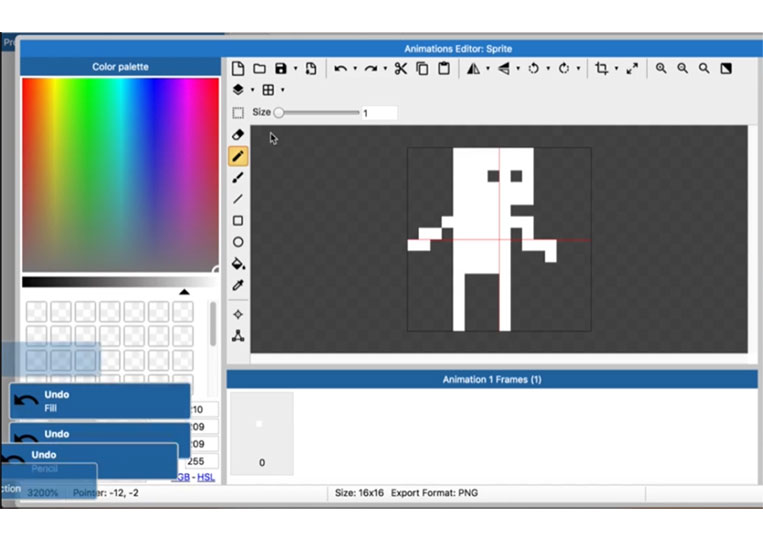
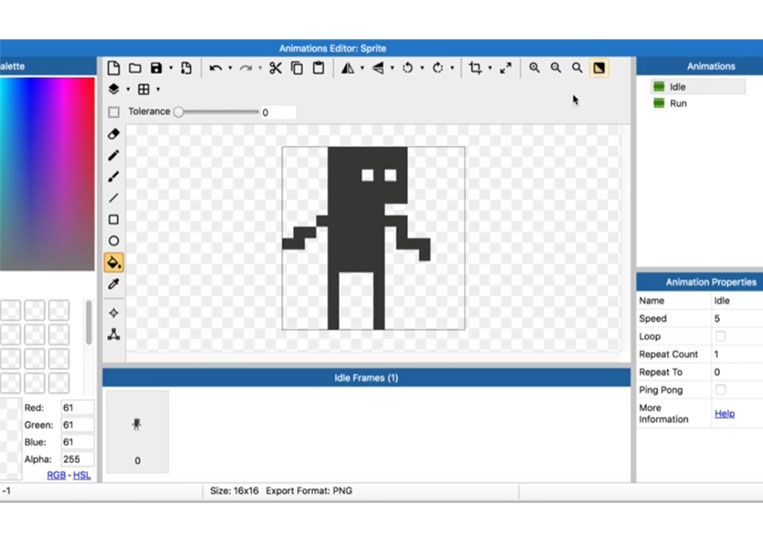
We can create simple pixel art here.
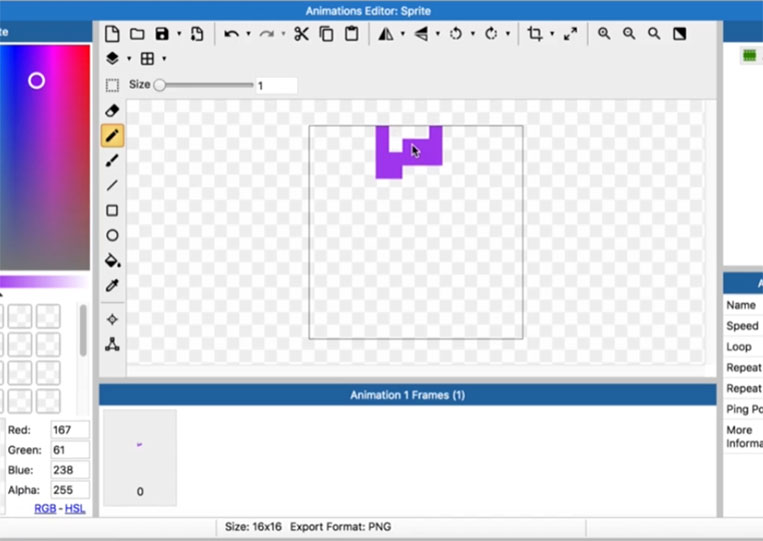
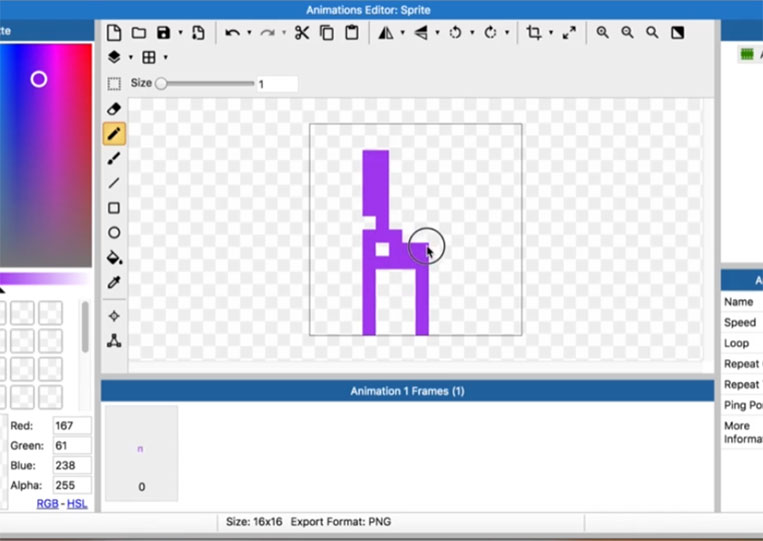
Nothing too complicated. By the way, if you’ve never drawn pixel art characters, I would take five seconds to draw what you think pixel-hard characters should look like.
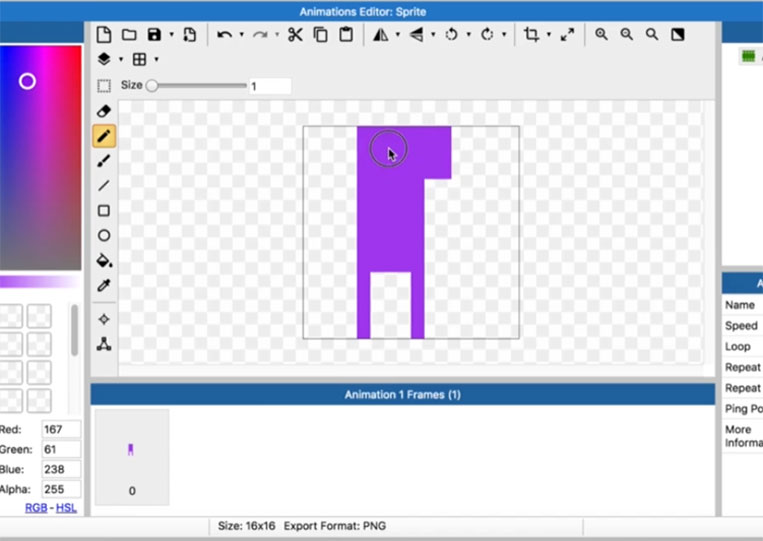
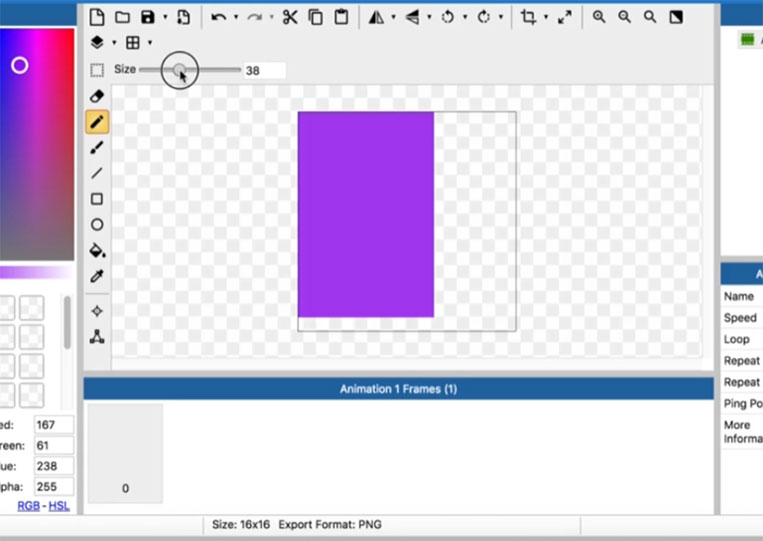
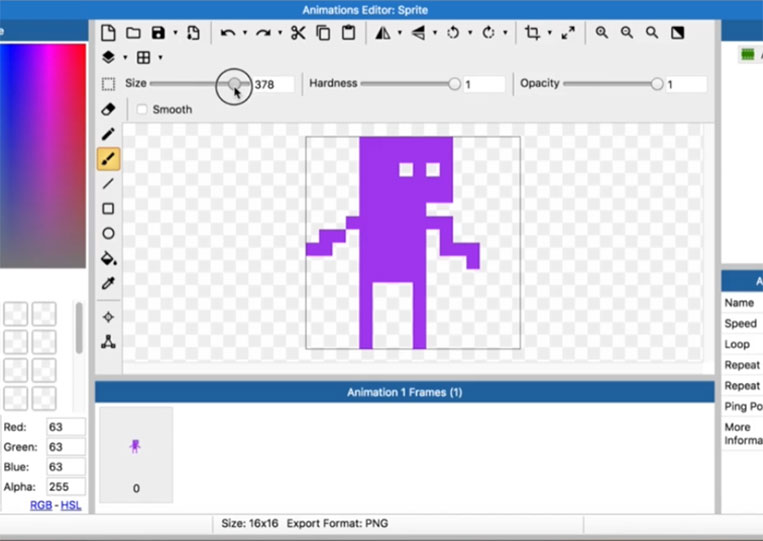
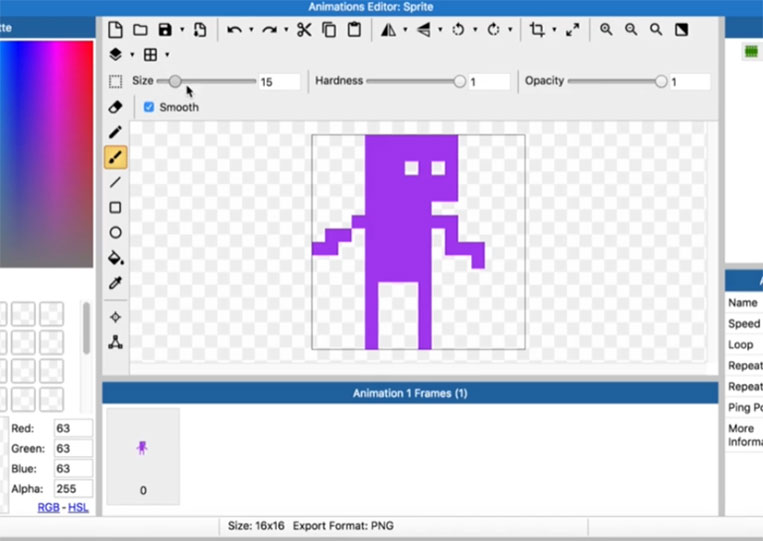
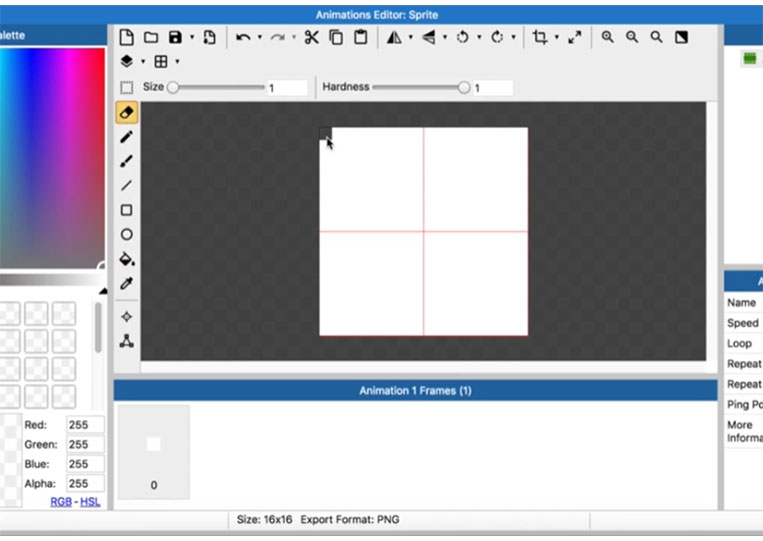
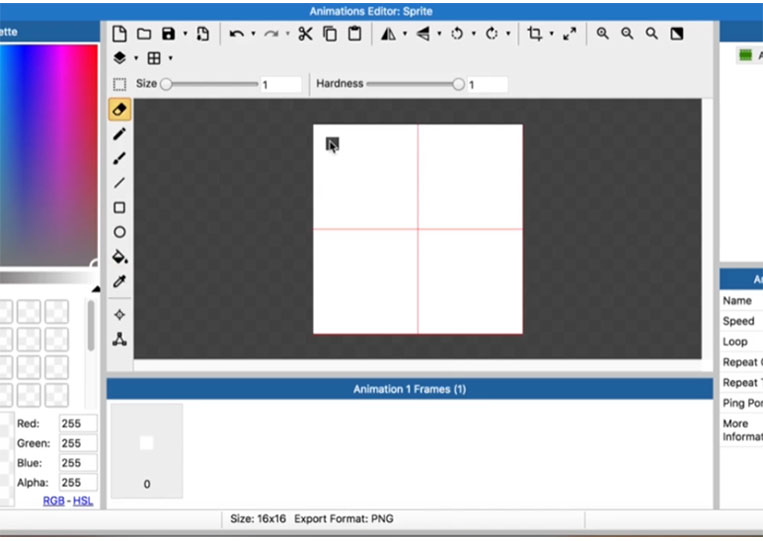
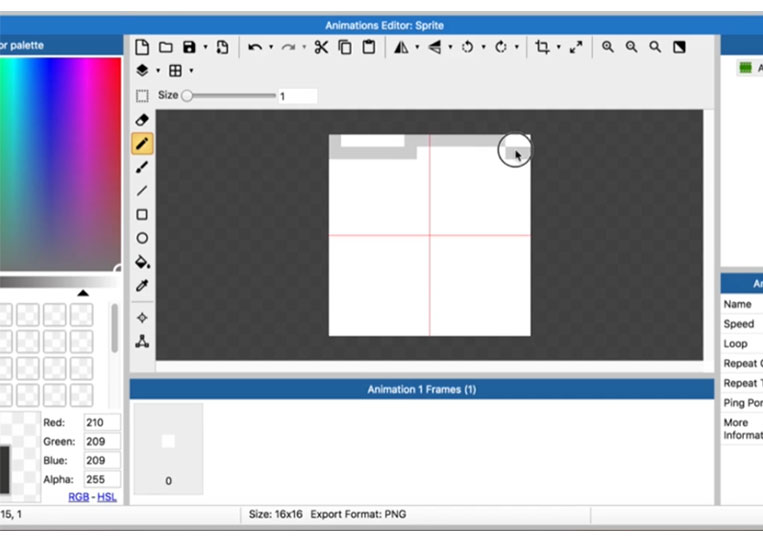
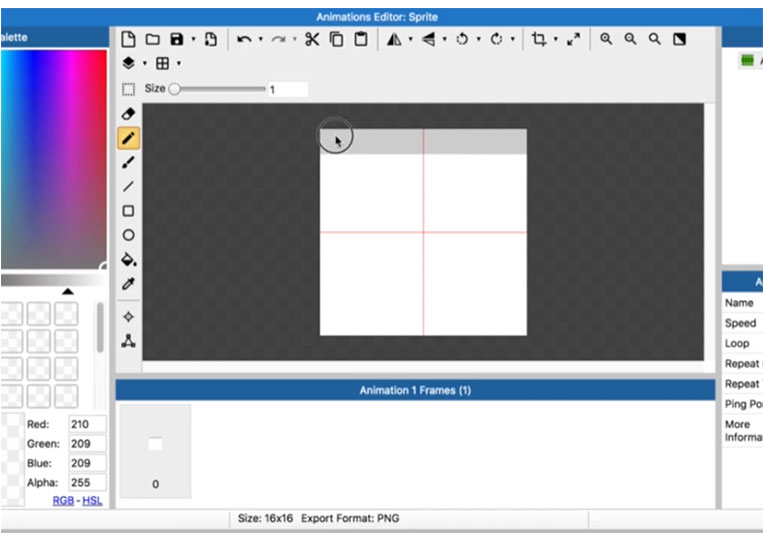
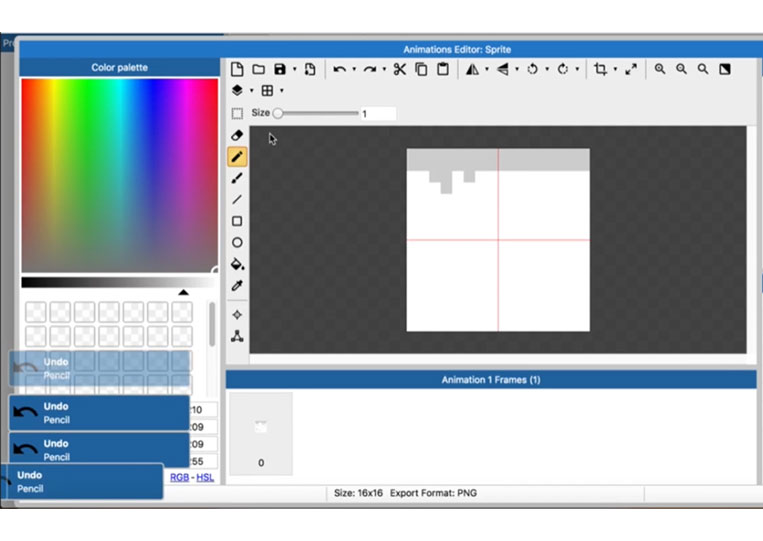
Now, what happens if you want to resize something?
The Size works the same way as a Pencil but as you get bigger and bigger, it’s not necessarily a square.

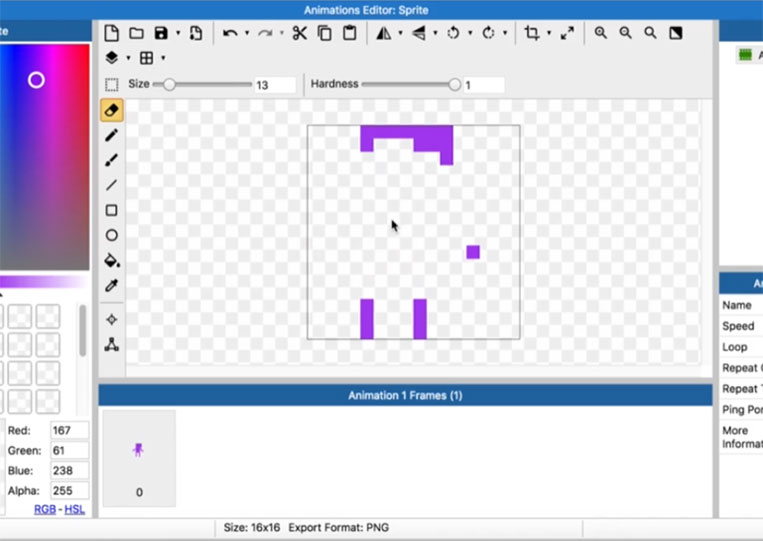

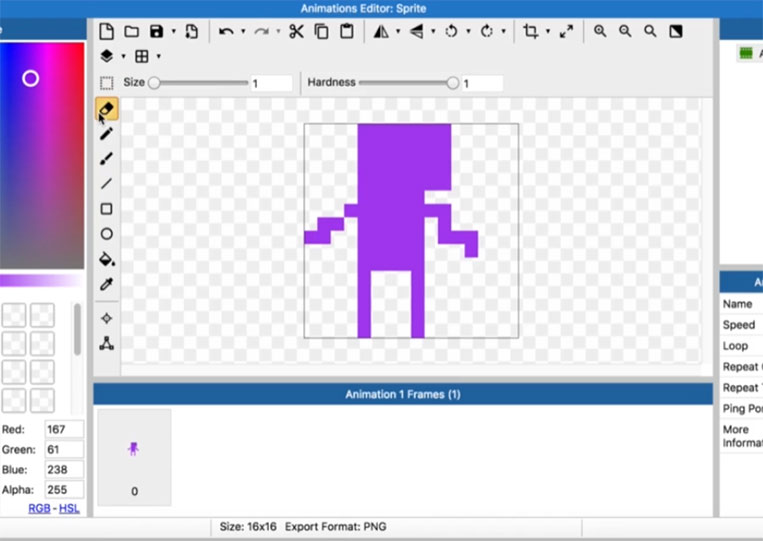
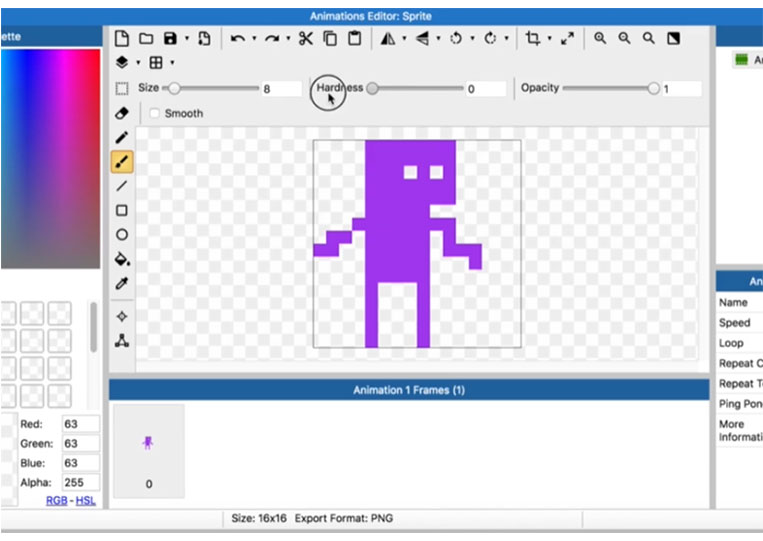
If you change the Hardness down, you’ll see in the middle it will technically not.


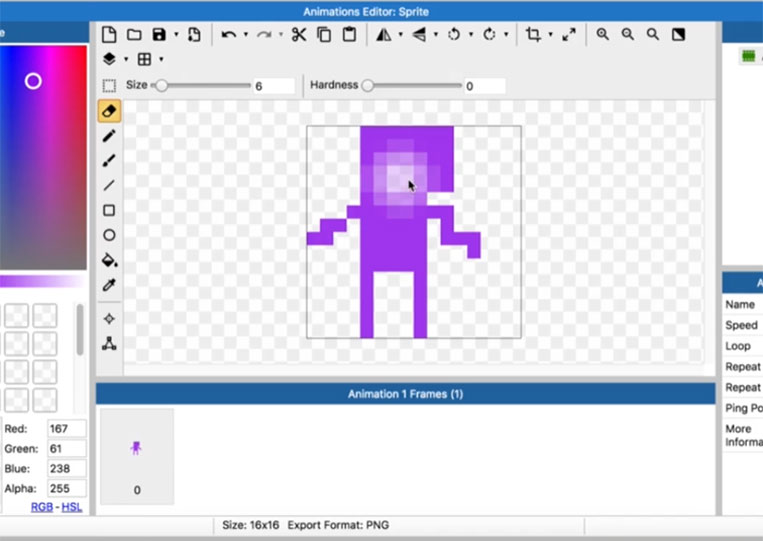


It will technically add in some capacity to the eraser there. You generally want the Hardness to be one.


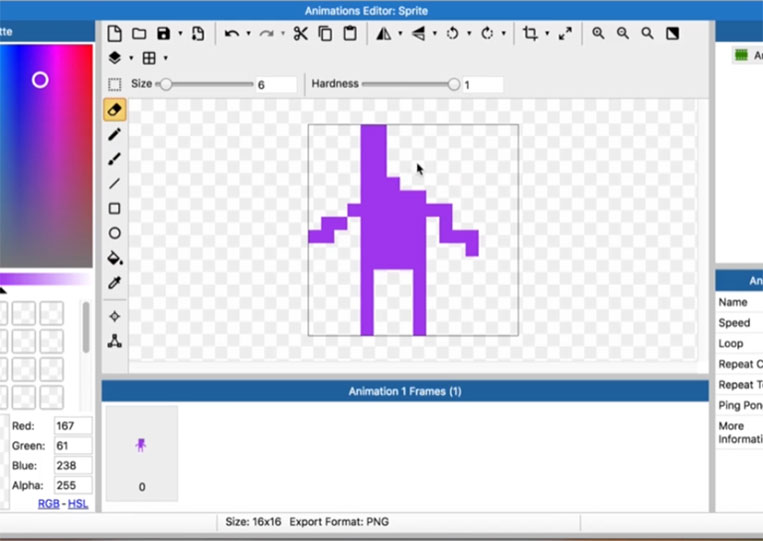
It will be great.

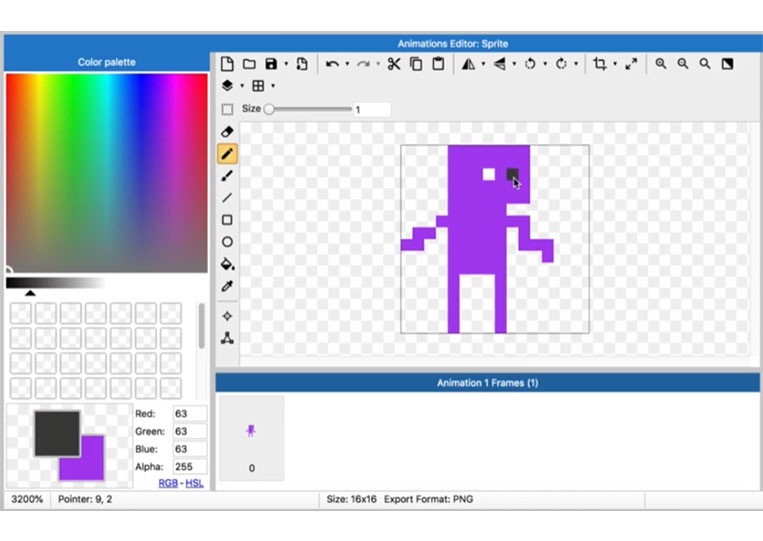
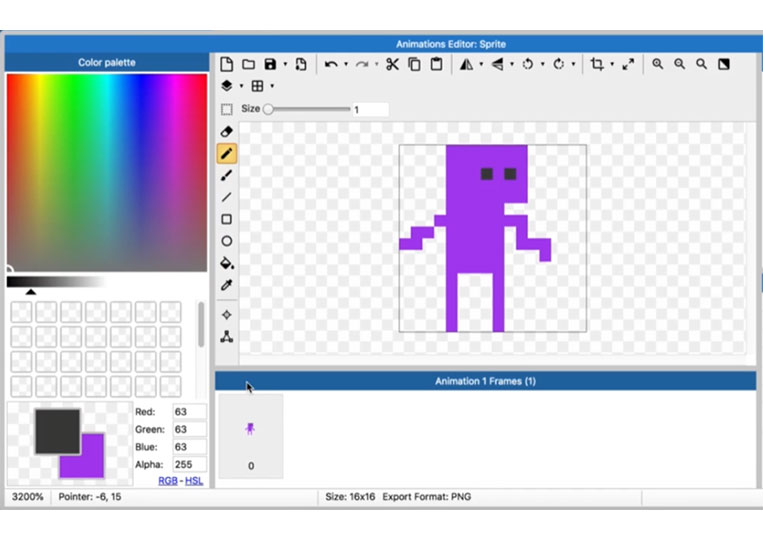
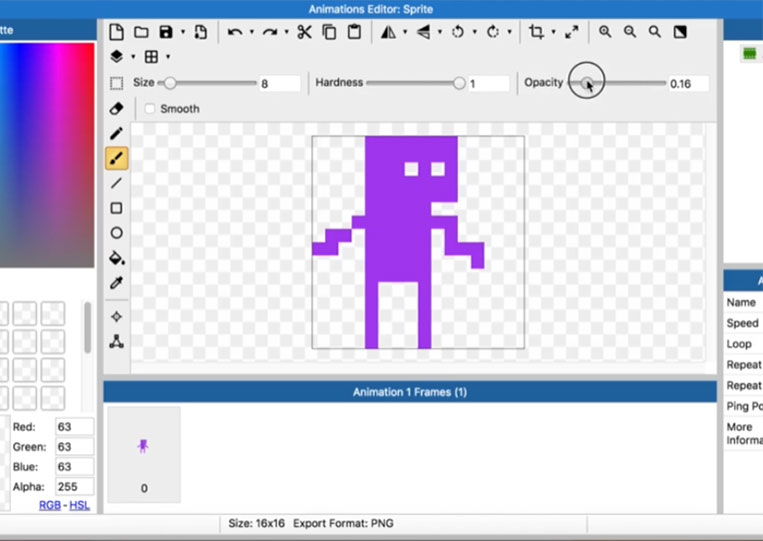
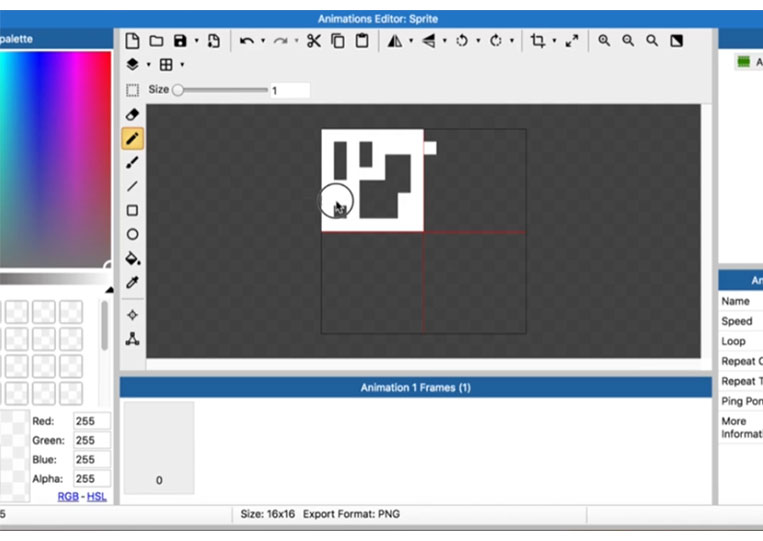
If you want to give it two eyes.


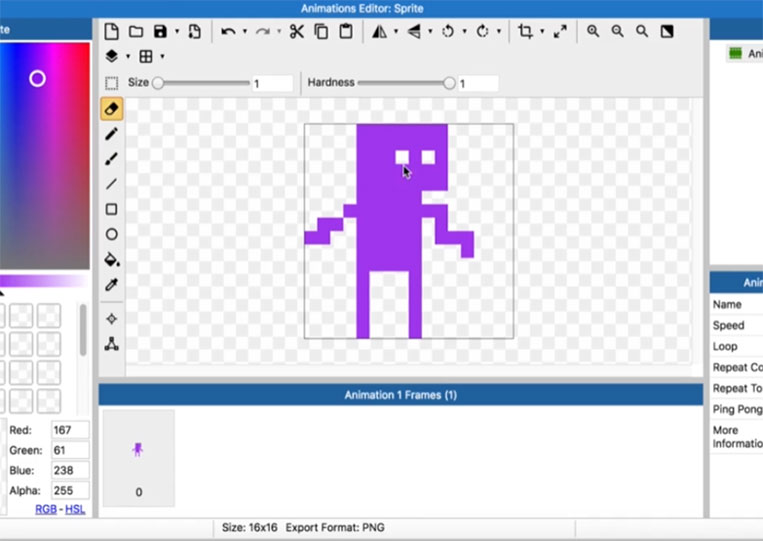
That looks pretty good, and you can make it. You can cut them out if you want. If you want to change them to black, you can do that too! Up to you!

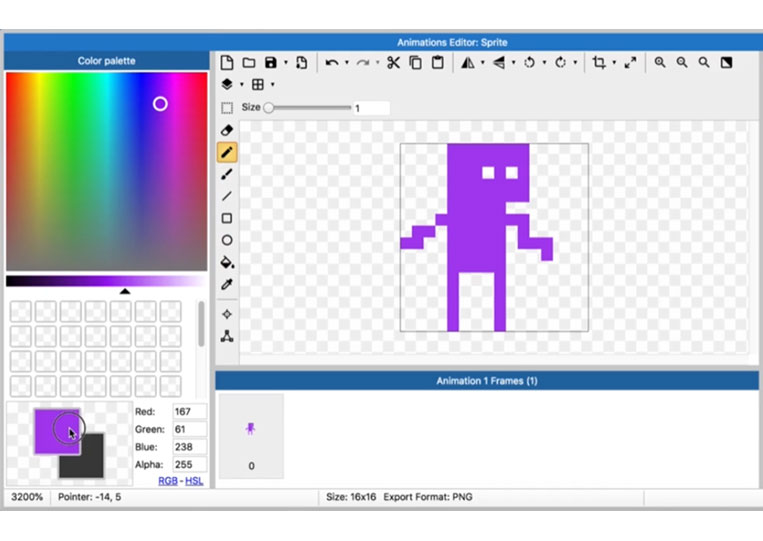

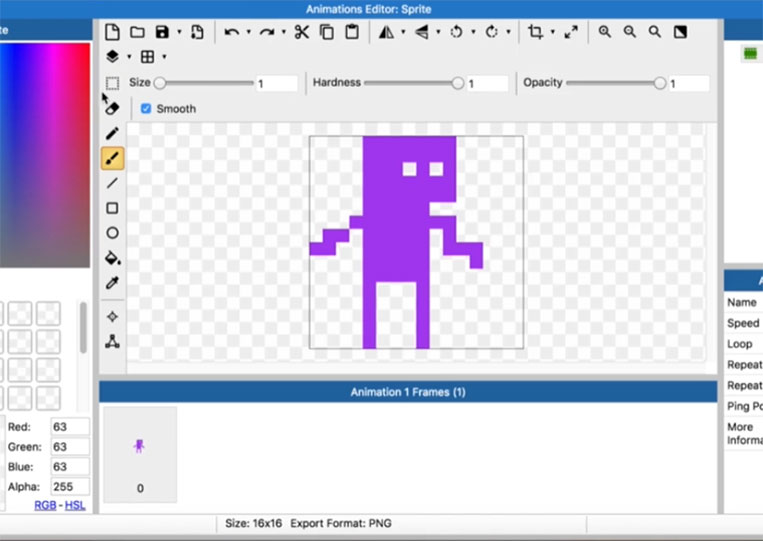
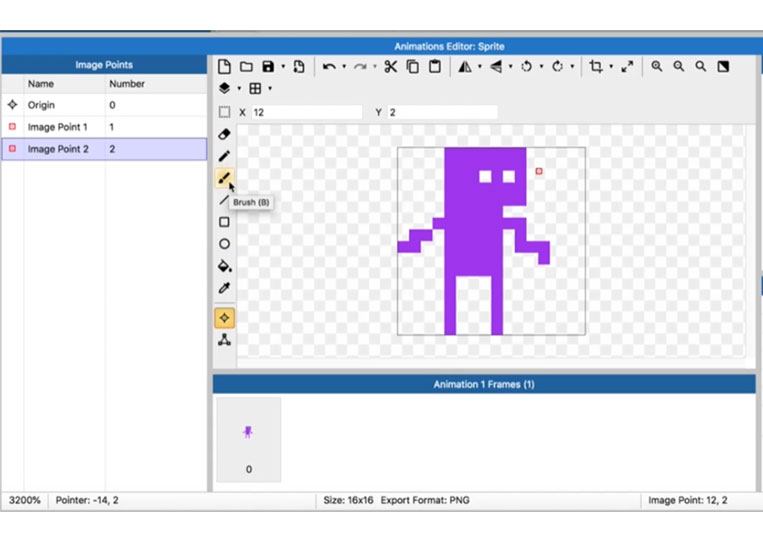
That’s a fun thing to do. We have the Brush tool.
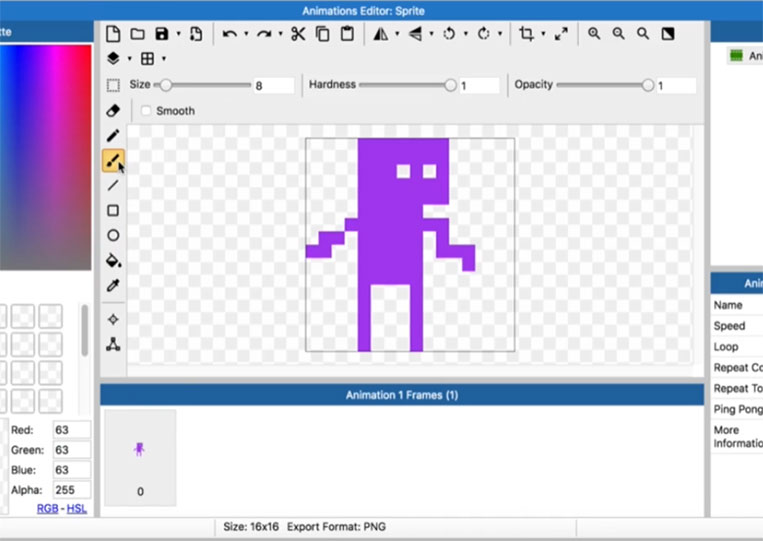

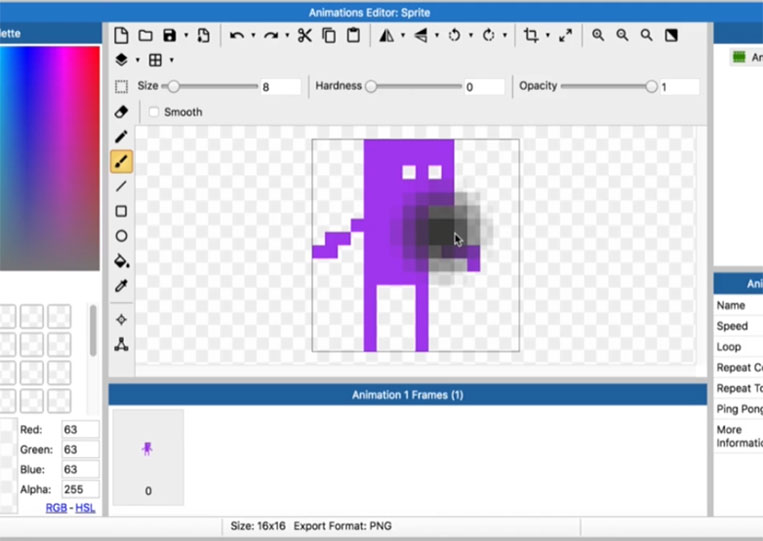


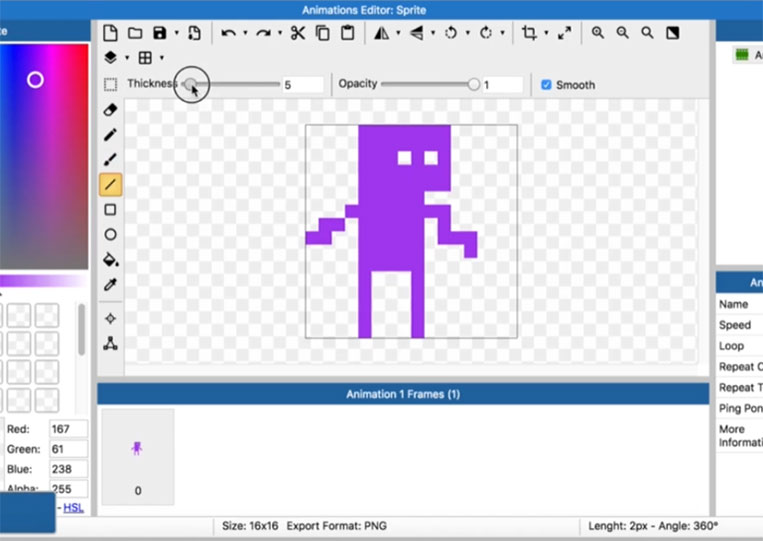
You can change the Opacity
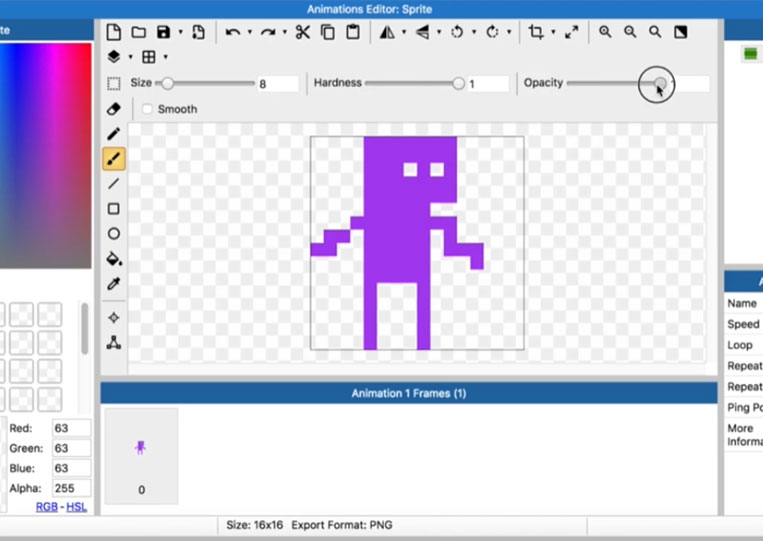
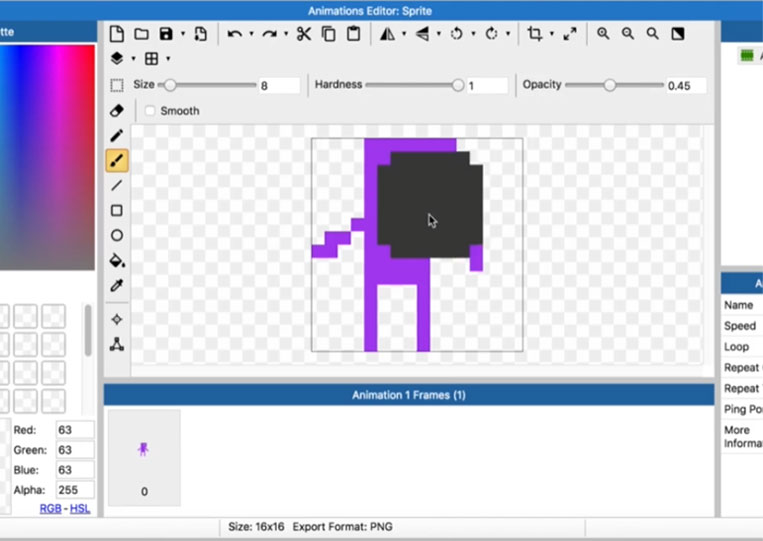

That’s kind of interesting!

You can also resize!


Make it smooth!

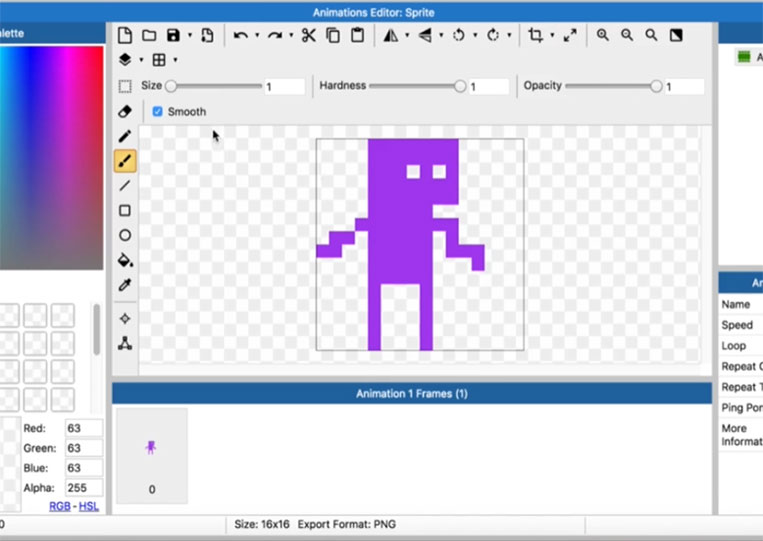

It looks good!
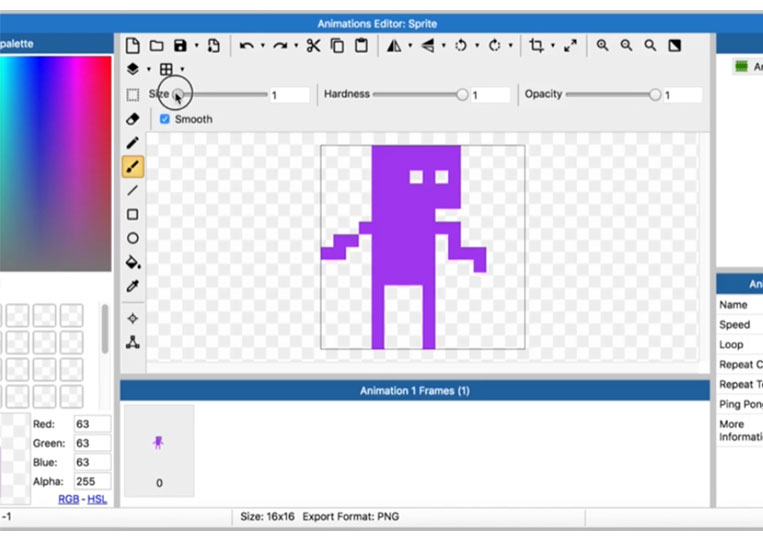


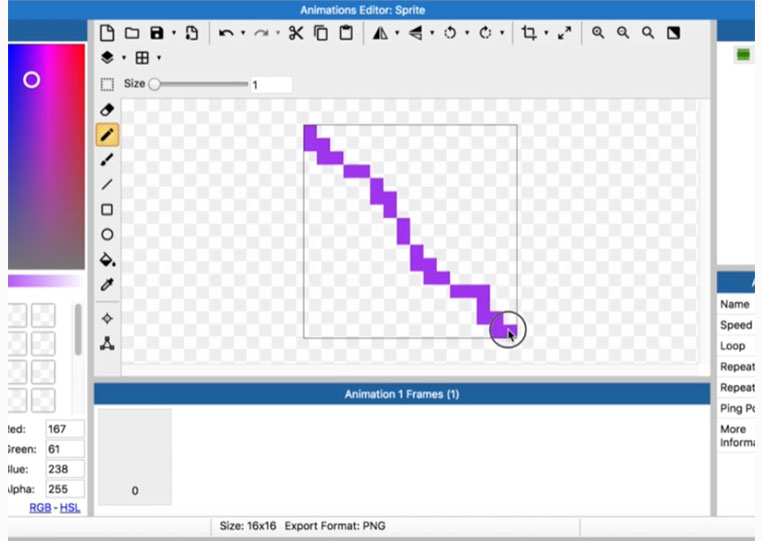
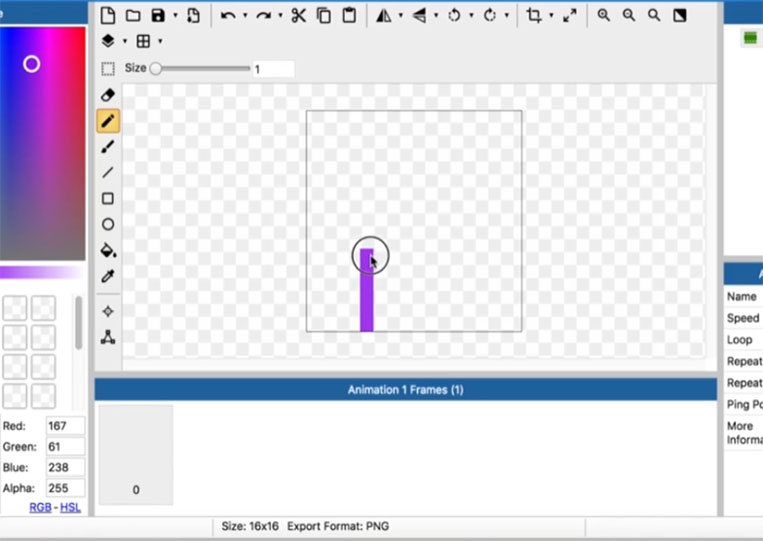
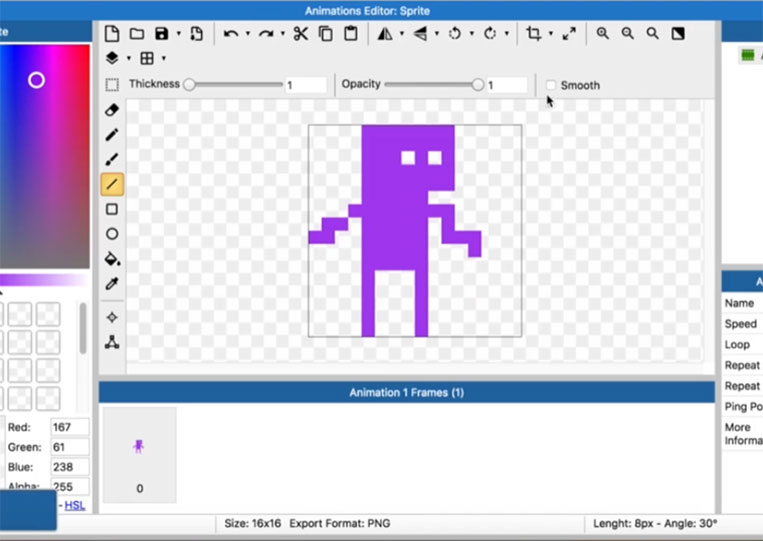
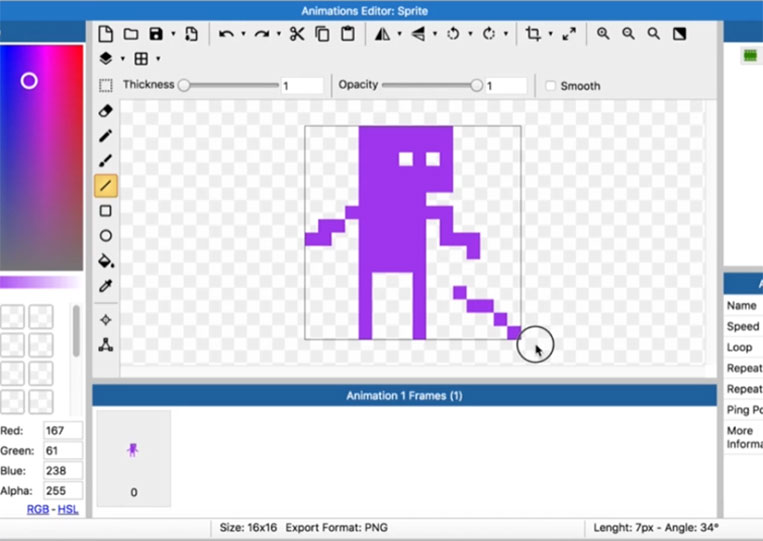
We also have a Line tool!

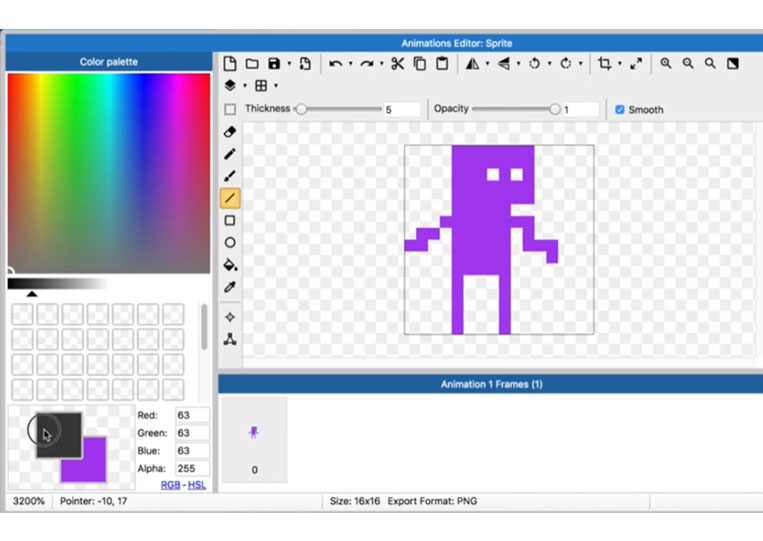
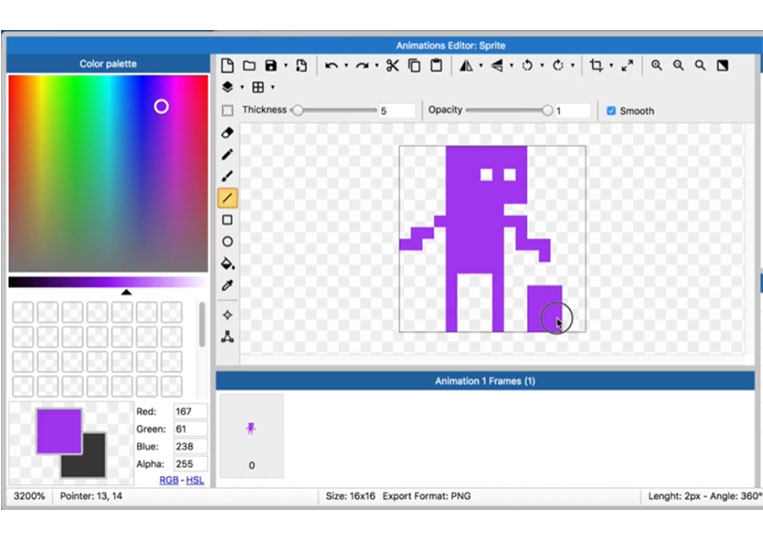
You can draw a line for the Thickness

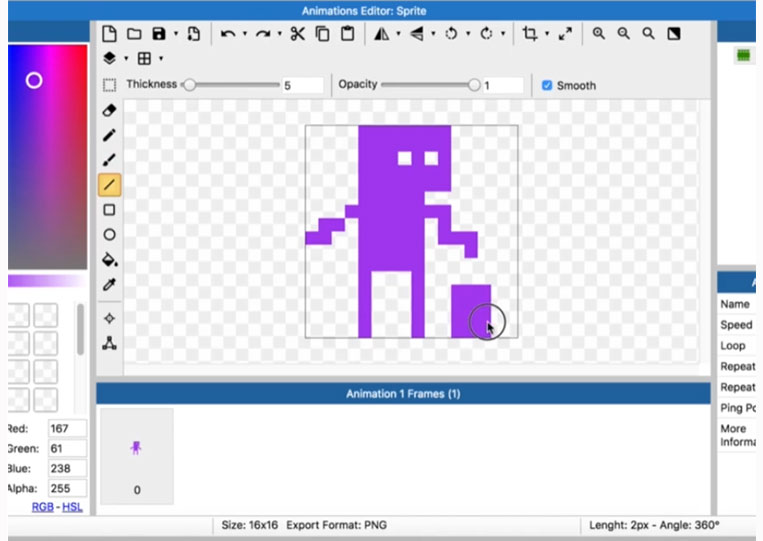


It’s not exactly opaque.
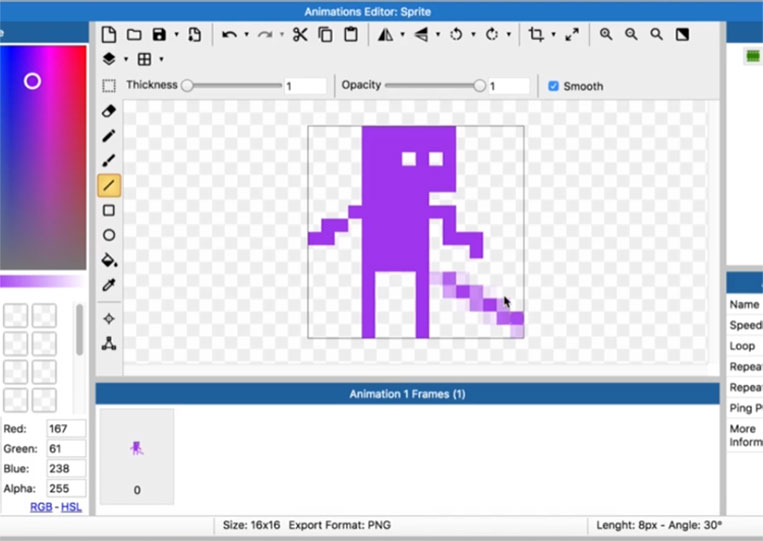
Because it has a Smooth feature.

In the pixel, you will remove that.


That’s advanced editing.


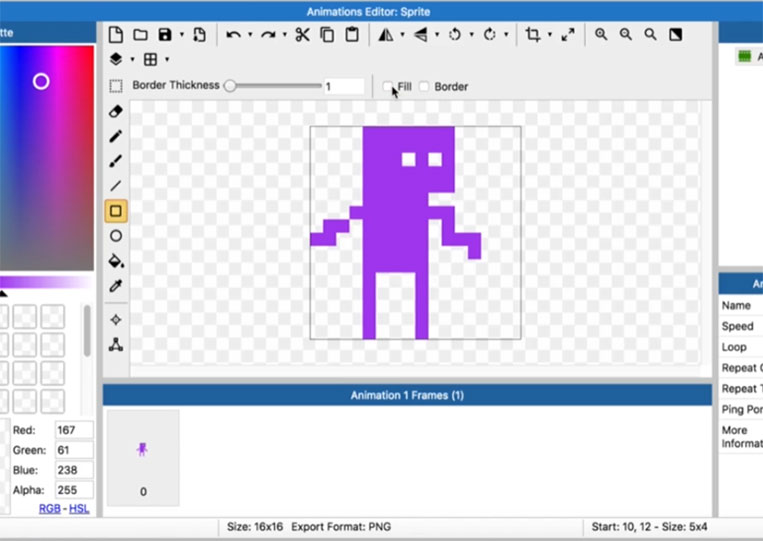
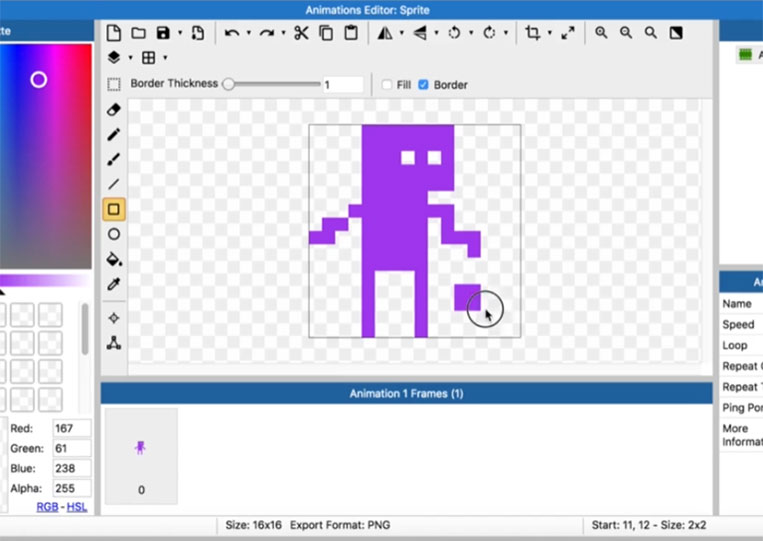
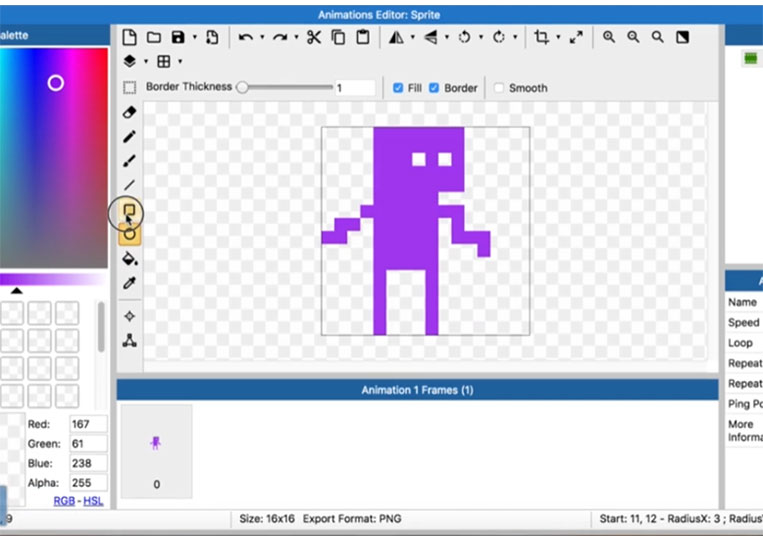
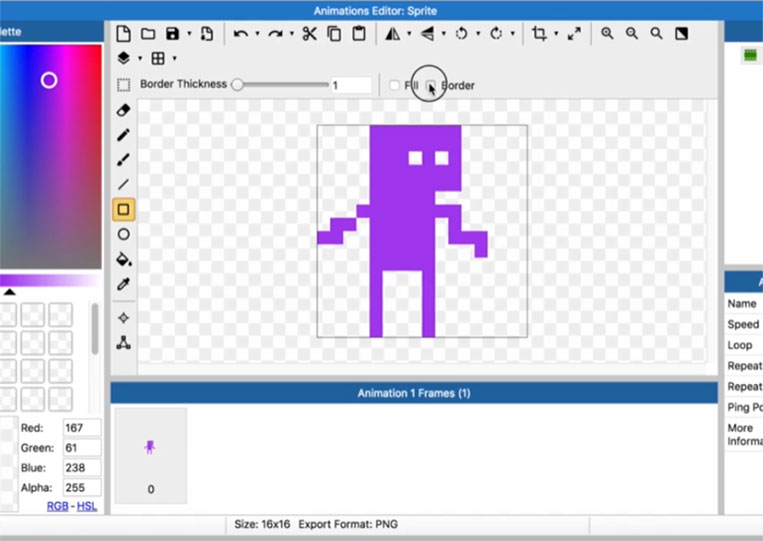
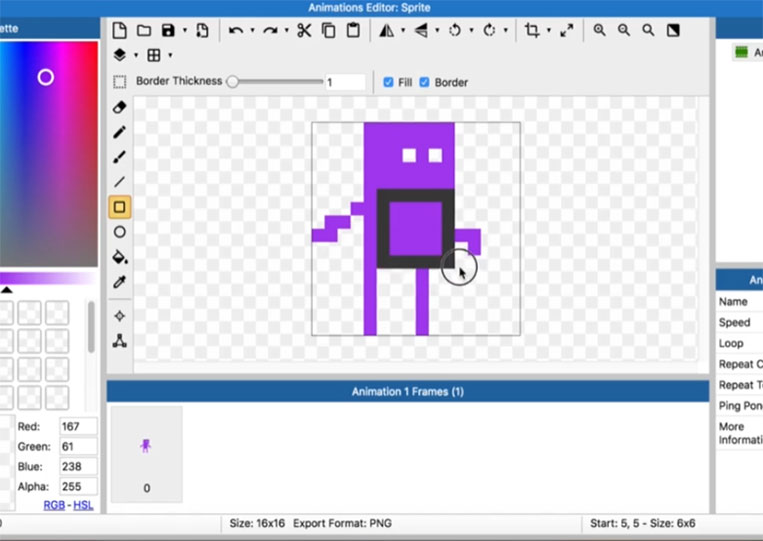
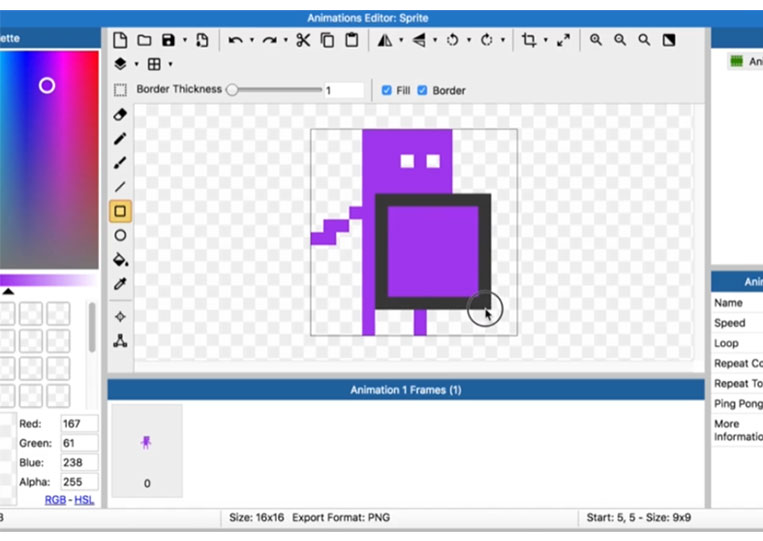
We also have a square.
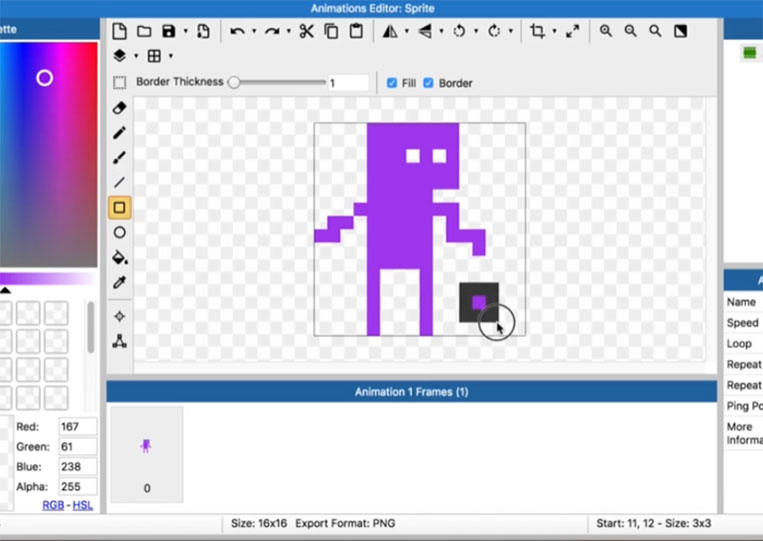
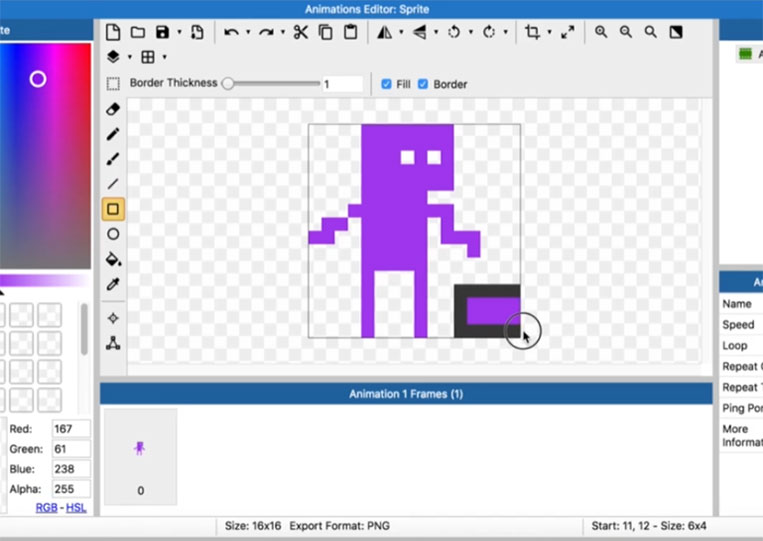
The border is there.

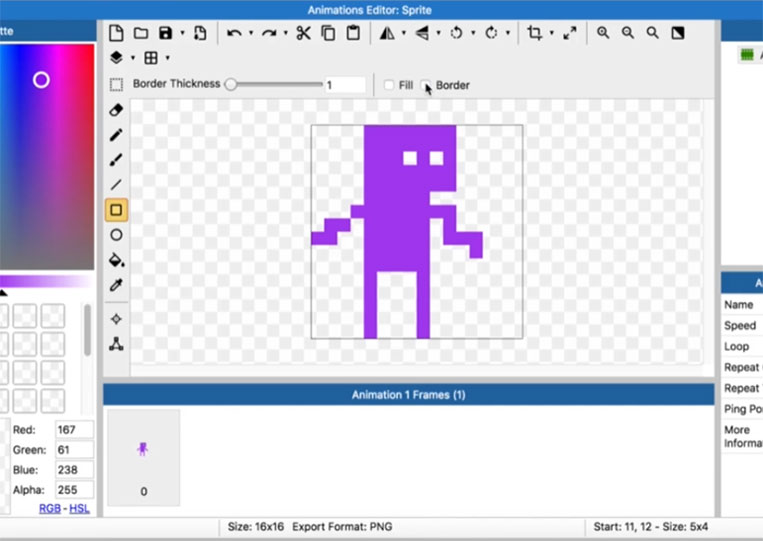
You can take out Border


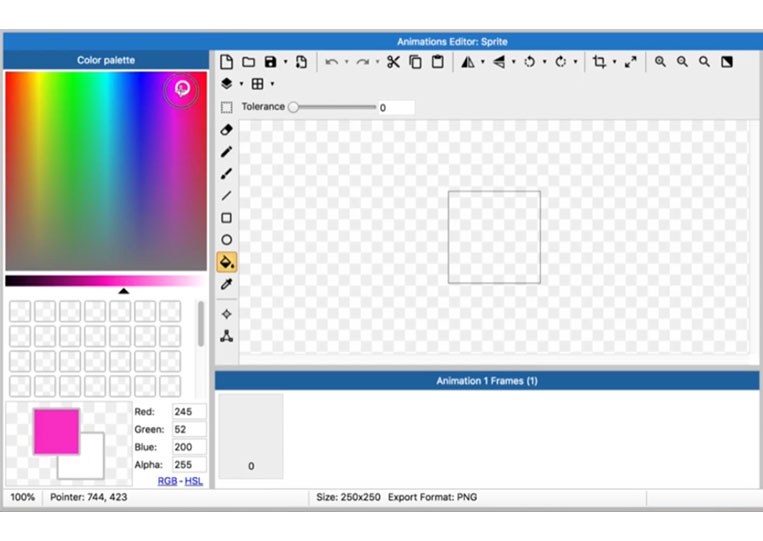
Now it is a purple square.

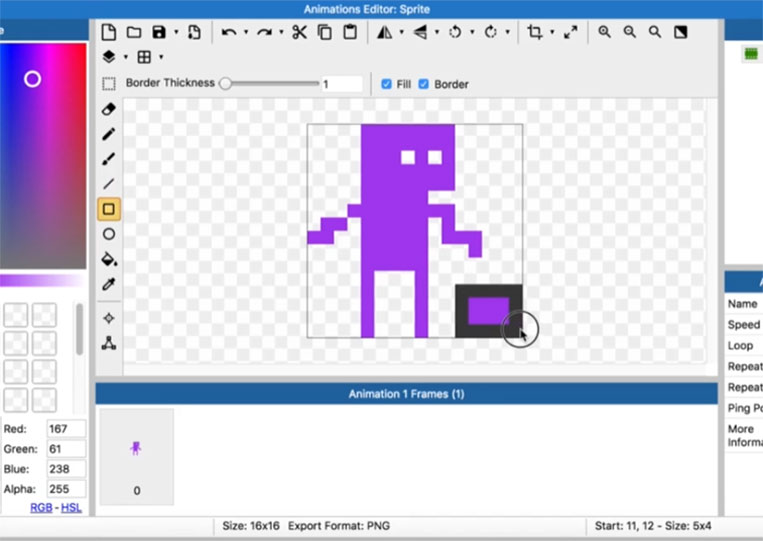
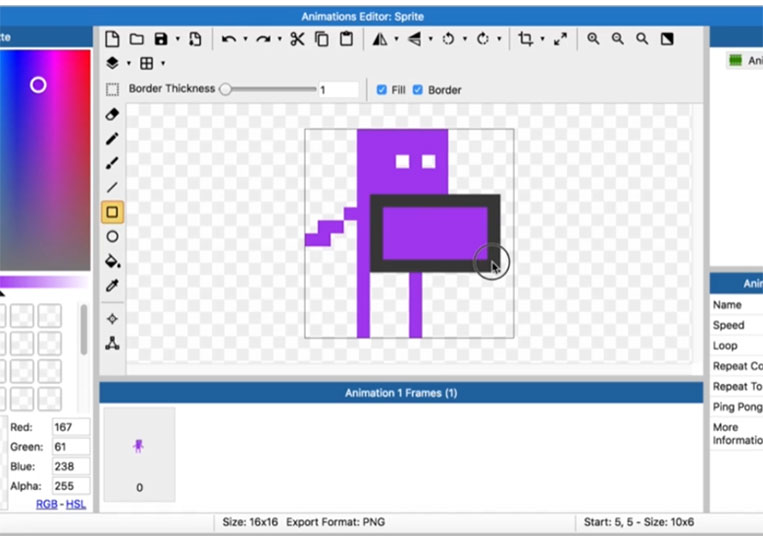
You can also take out Fill in case you have a transparent cube or square there.


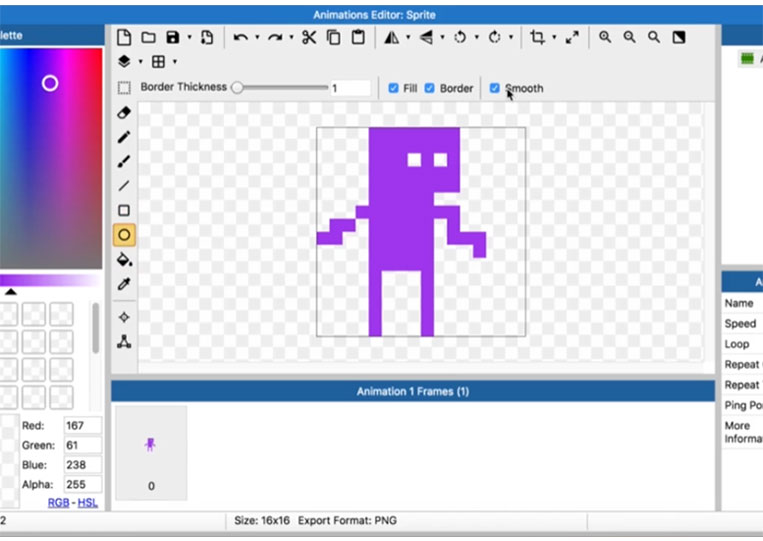
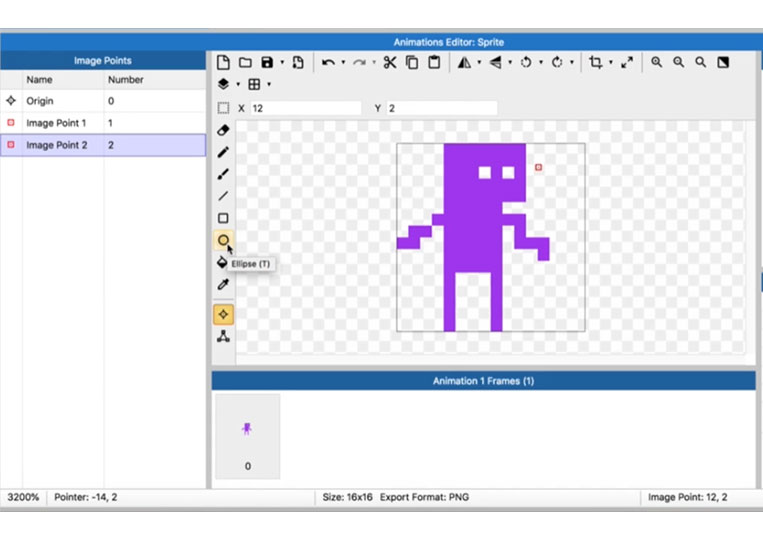
The same thing happens to the circle.
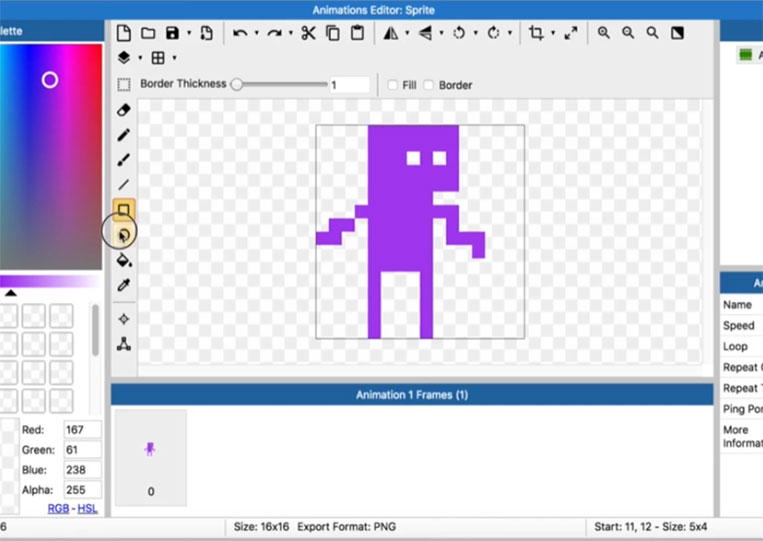
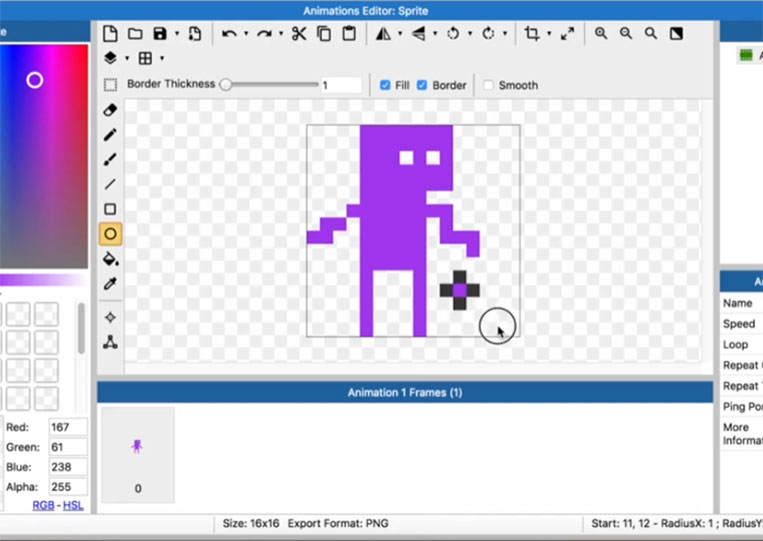
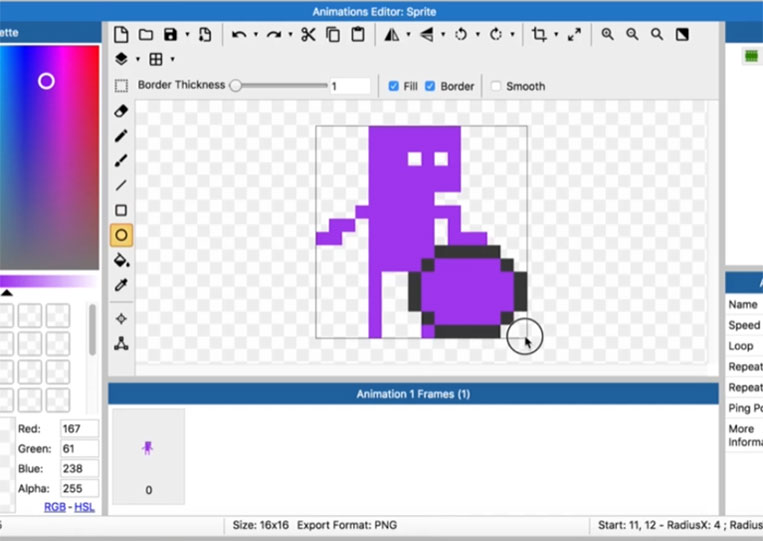
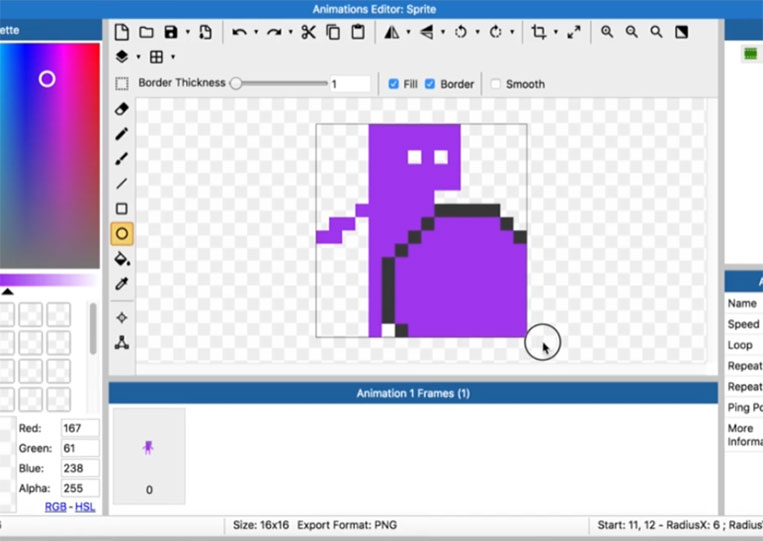
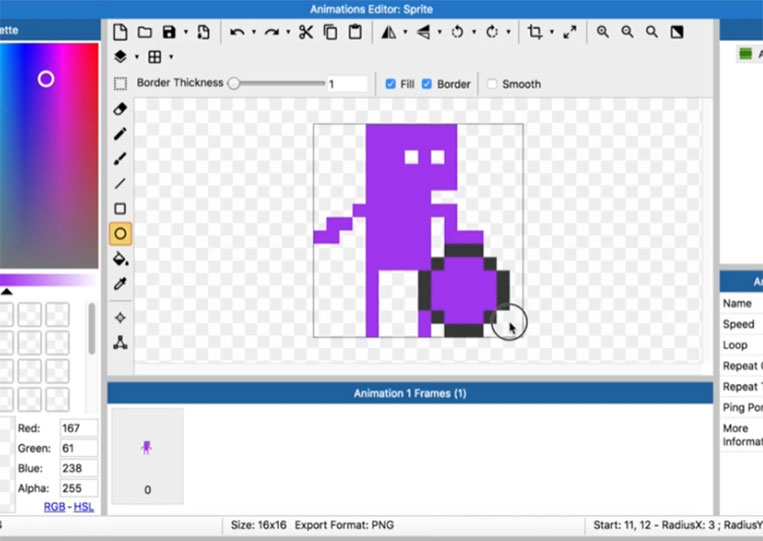
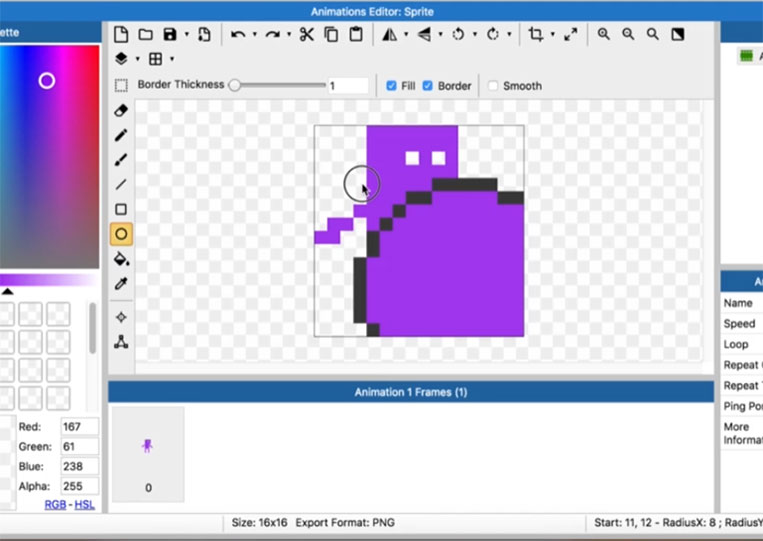
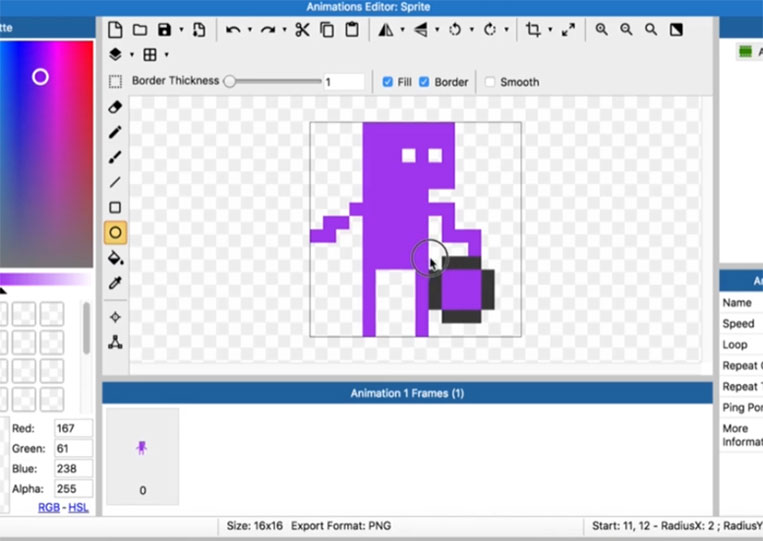
It will form a complete circle. That also works on squares. If you want an actual square compared to a rectangle, you can simply change the standard.


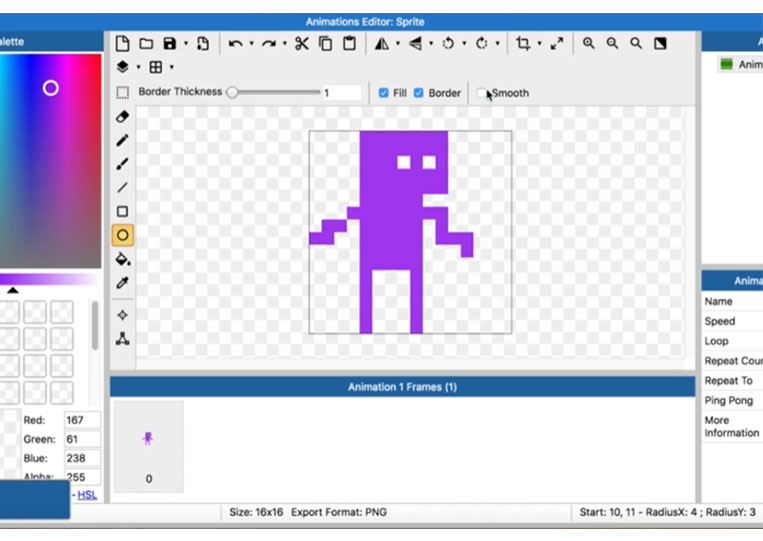
There is also a Smooth feature here.
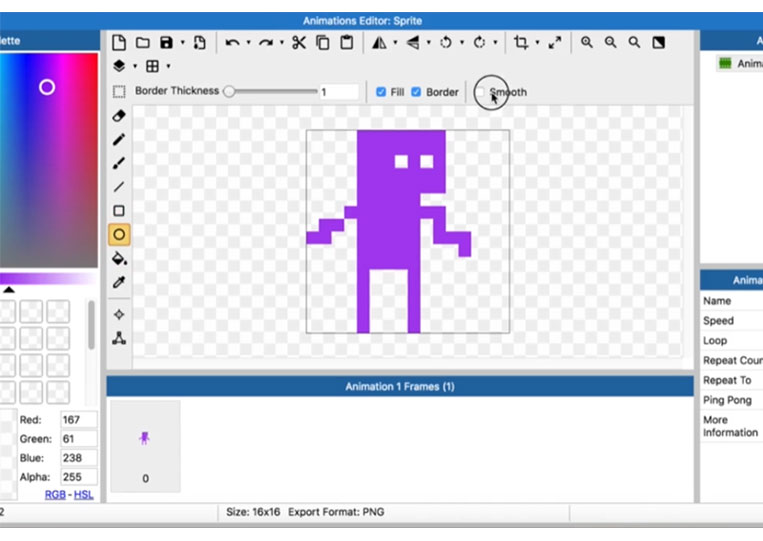
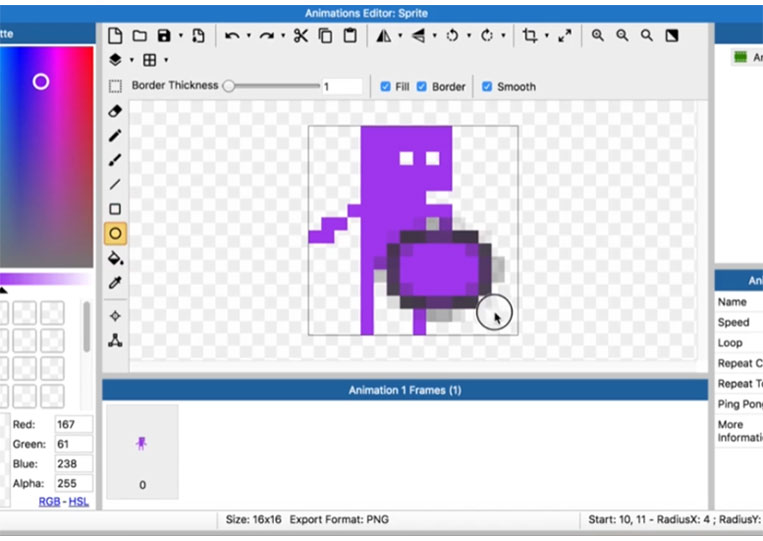
It’s best not to click on it.
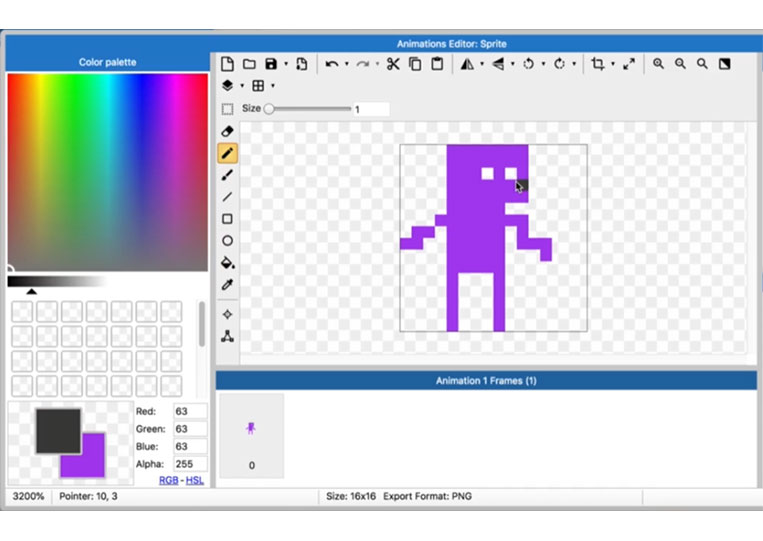
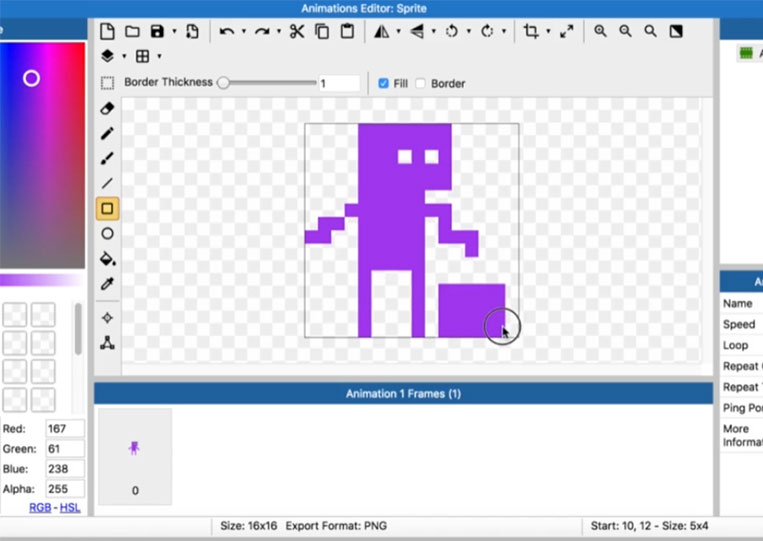
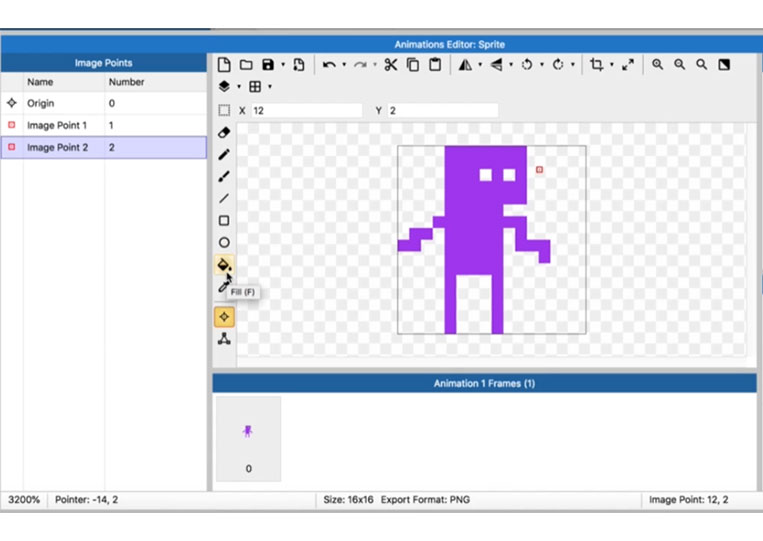
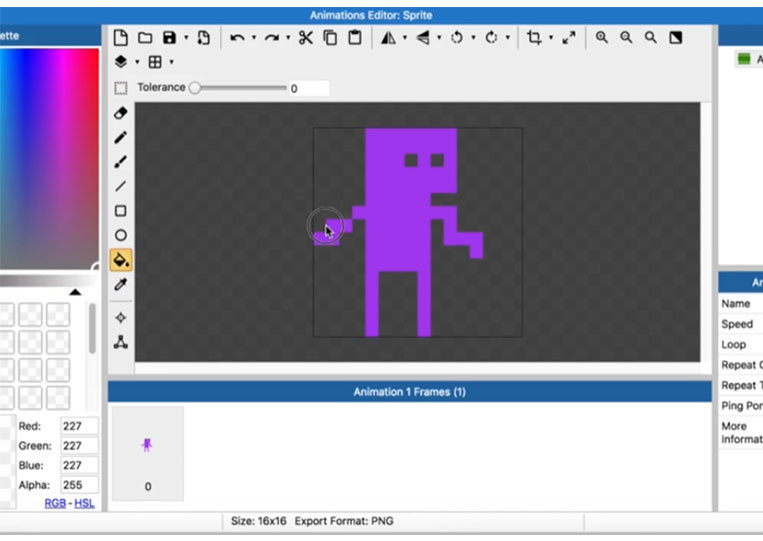
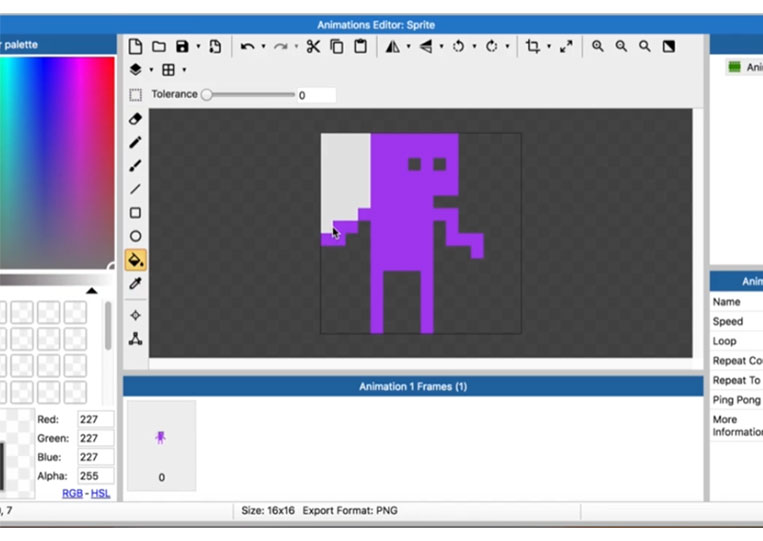
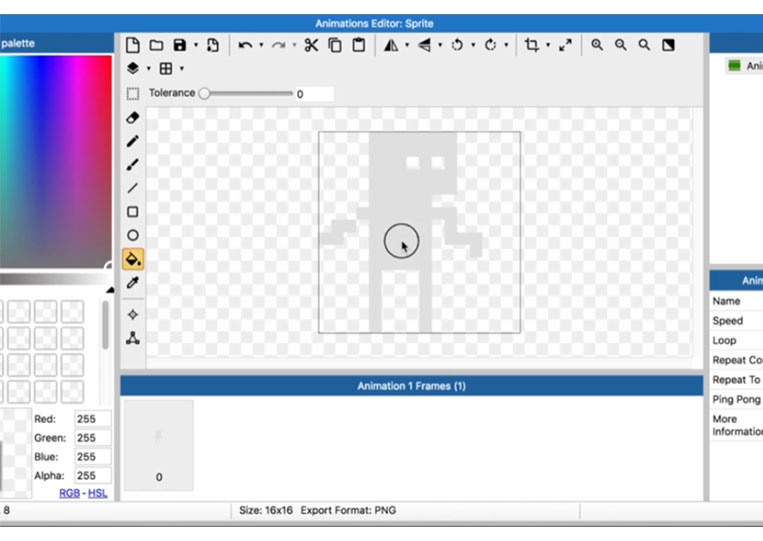
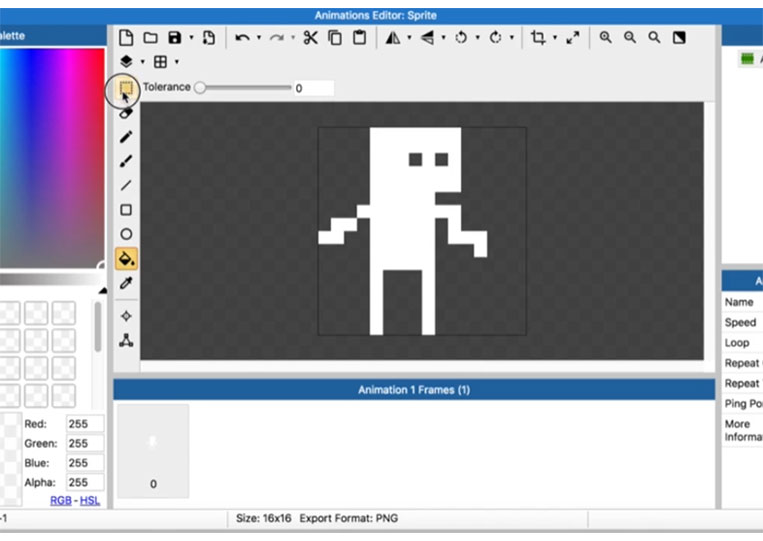
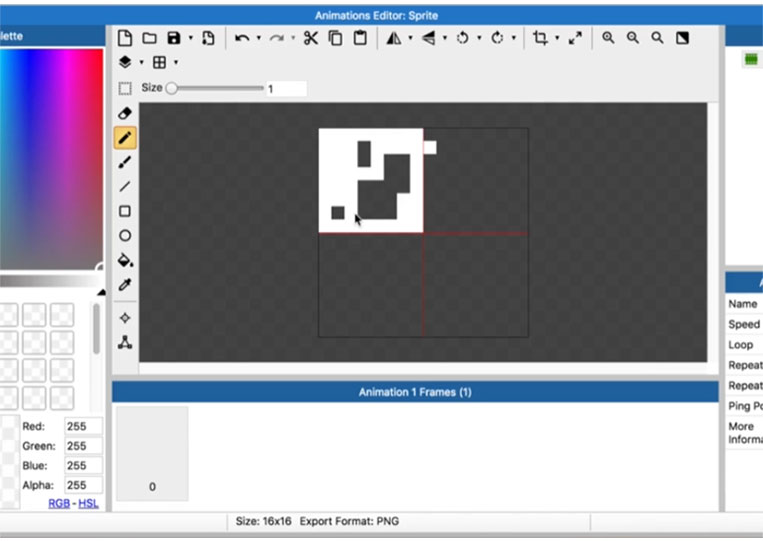
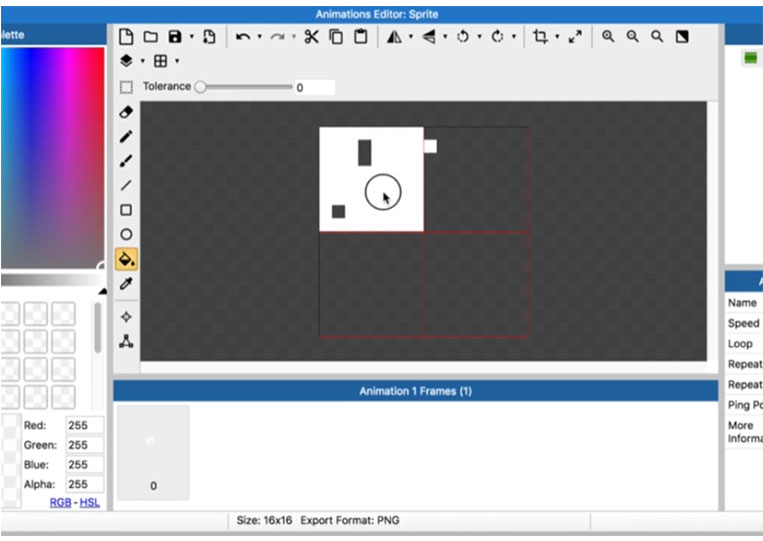
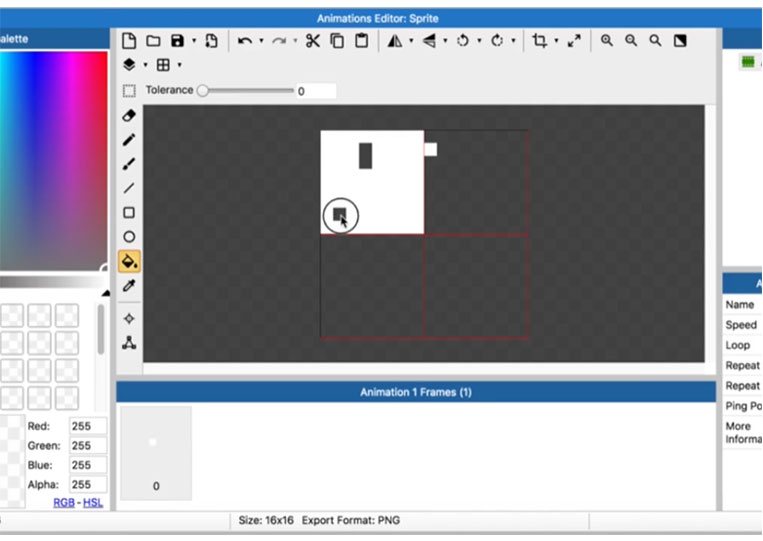
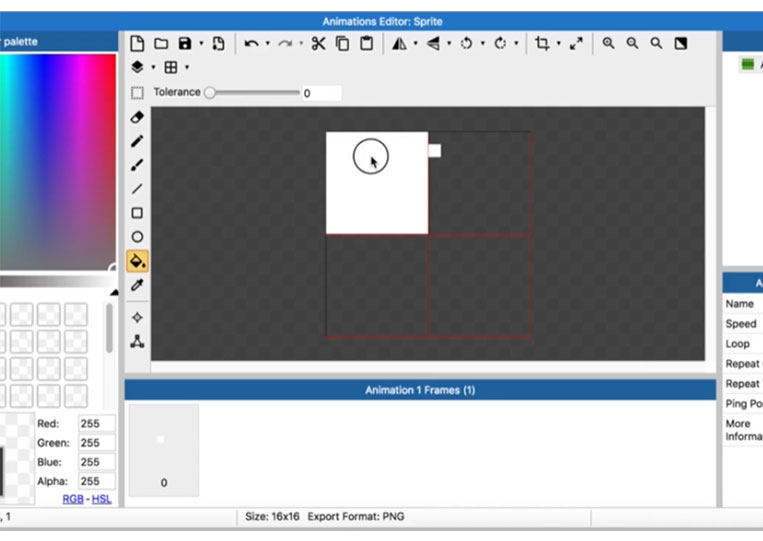
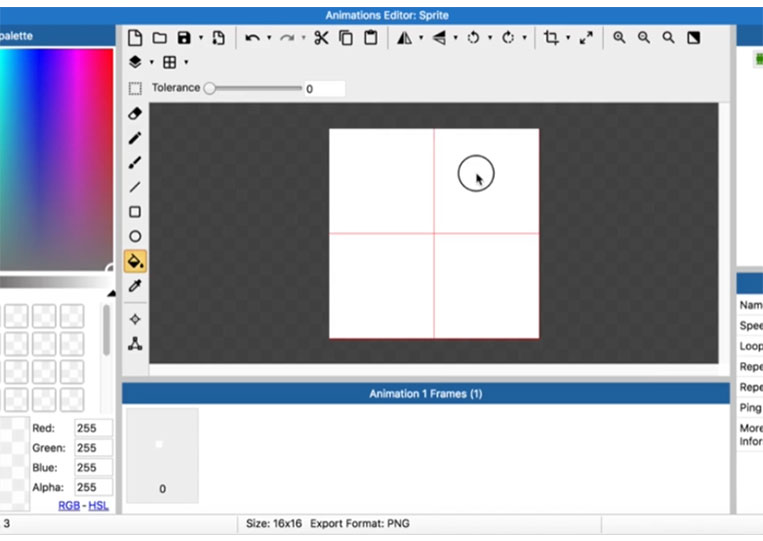
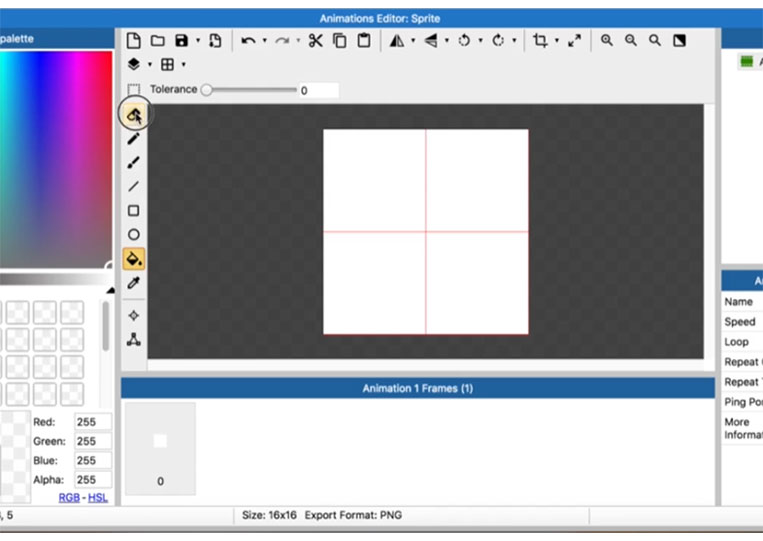
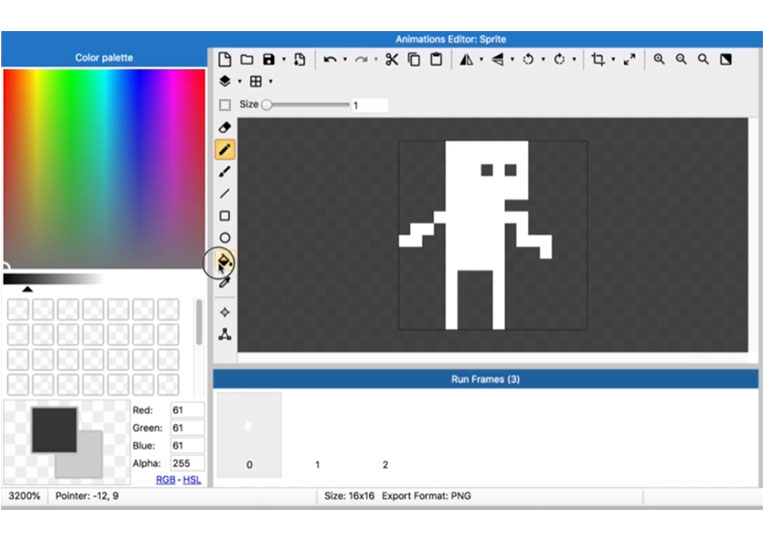
The next thing is Fill

You can fill in everything if you want.


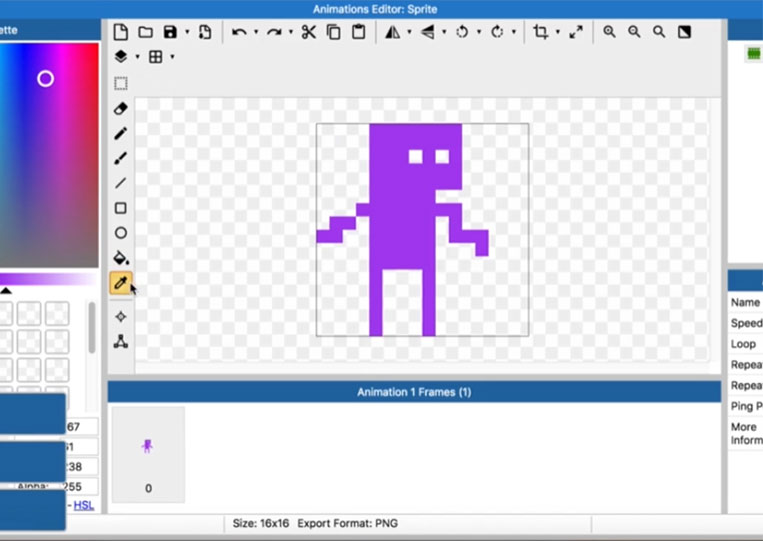
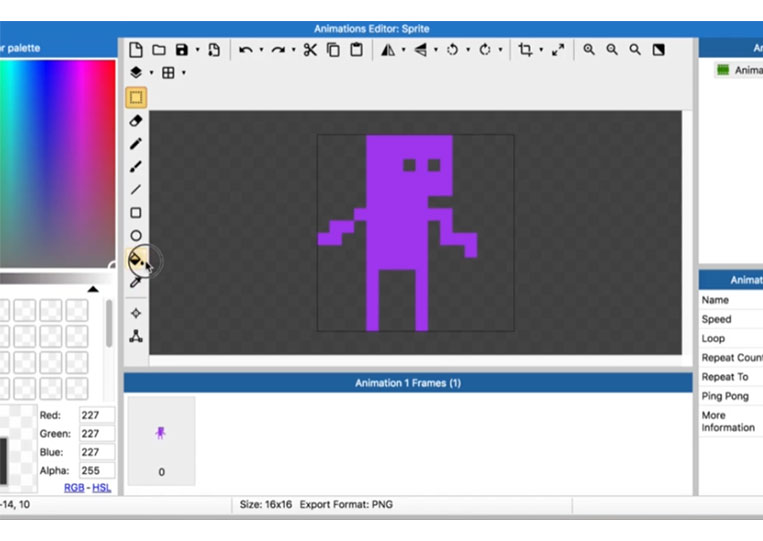
You can also use the Eyedropper tool here.
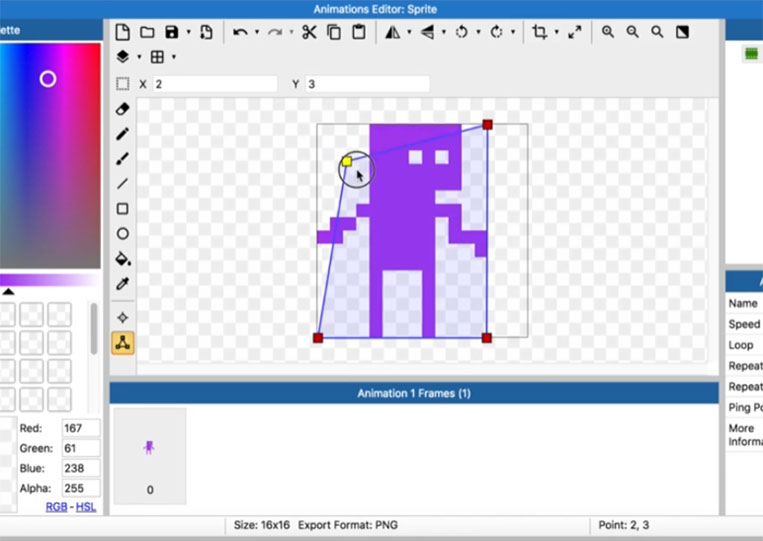
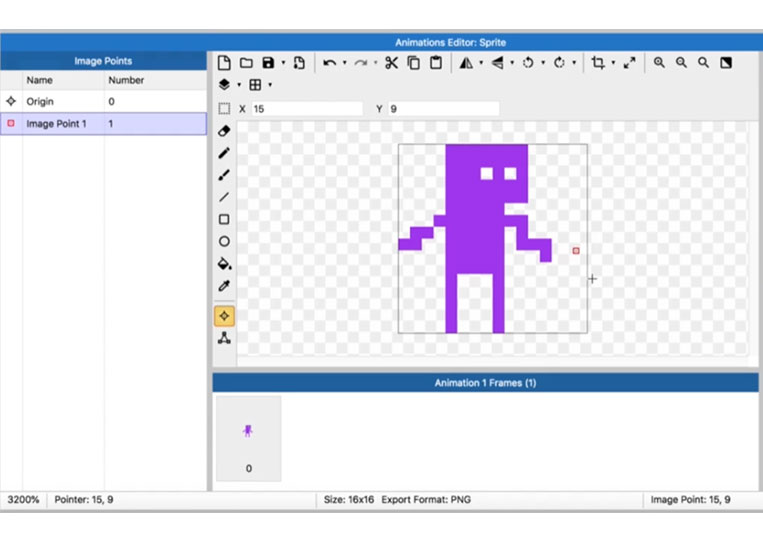
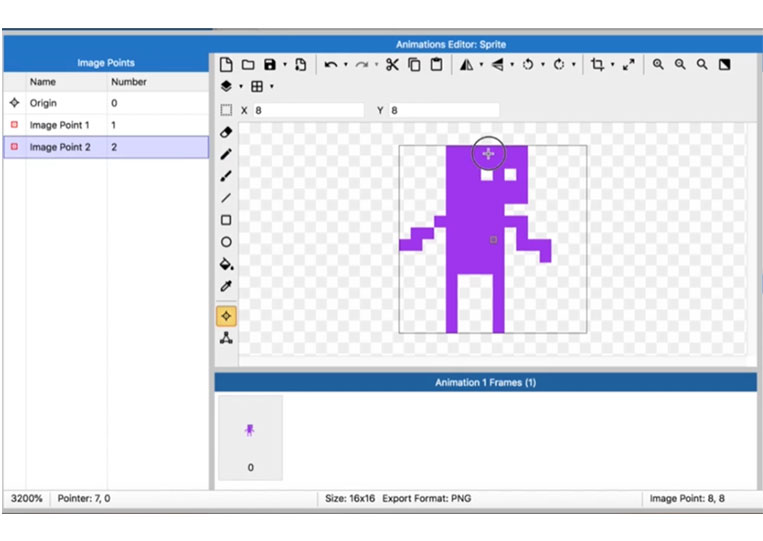
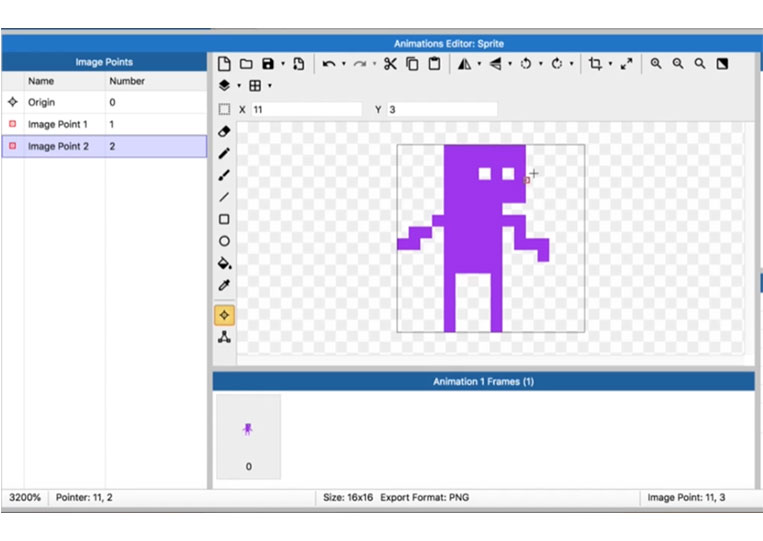
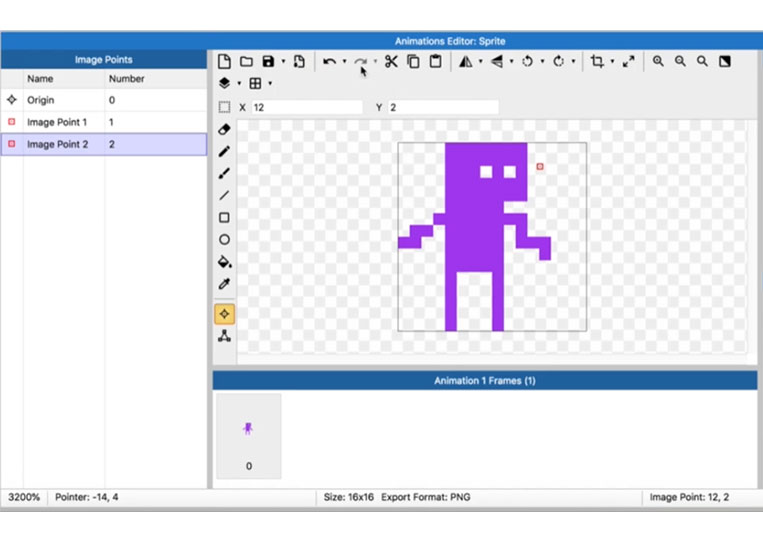
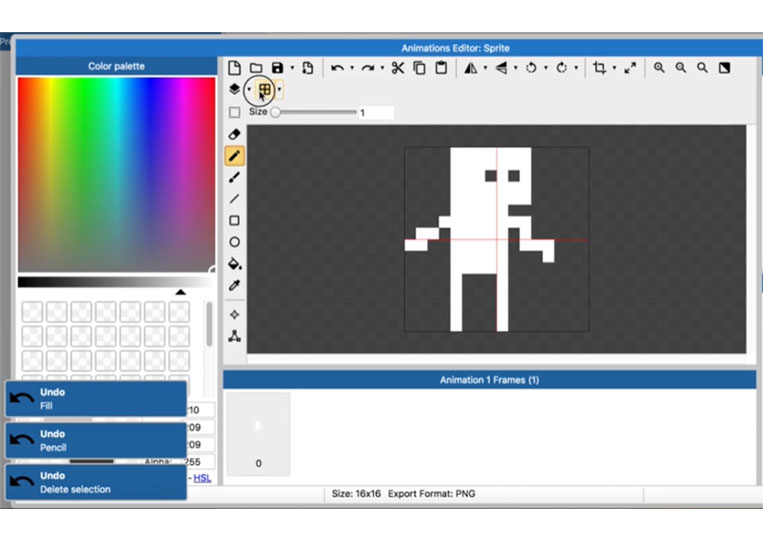
Now Origin aligns center with this Sprite
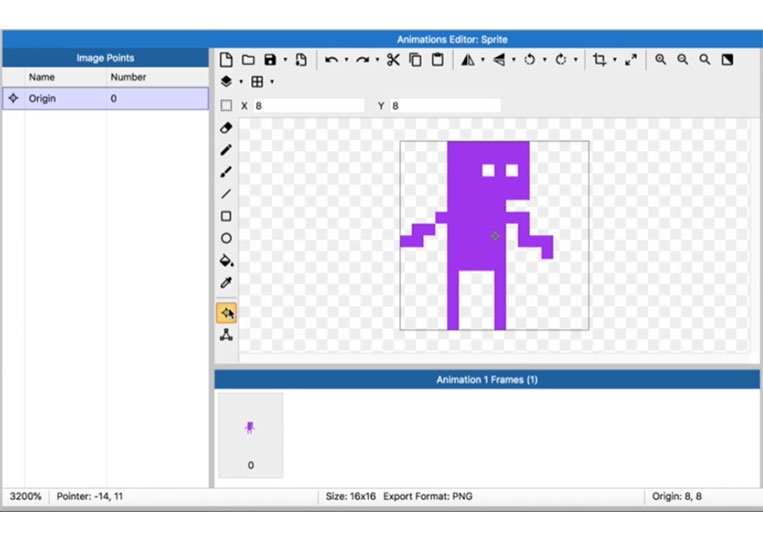

Also, you will have this here in the bounding box.

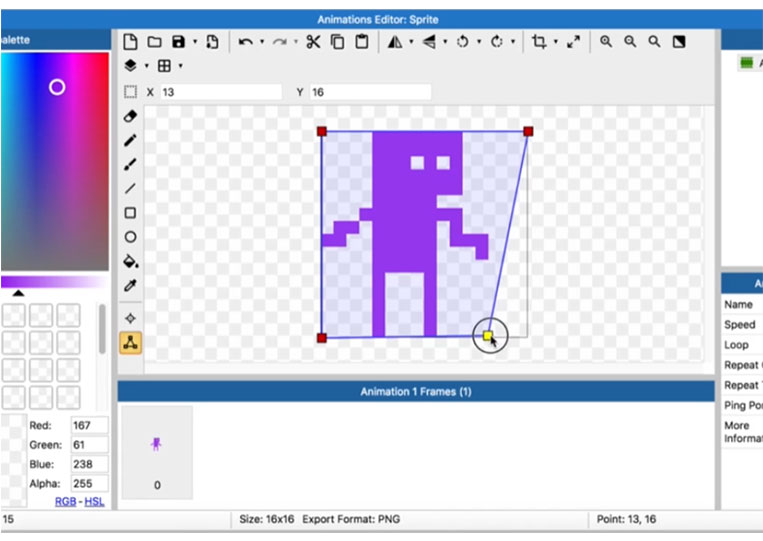
Usually, people think this must be correct.
It is up to you whether to generate your collision correctly or not.

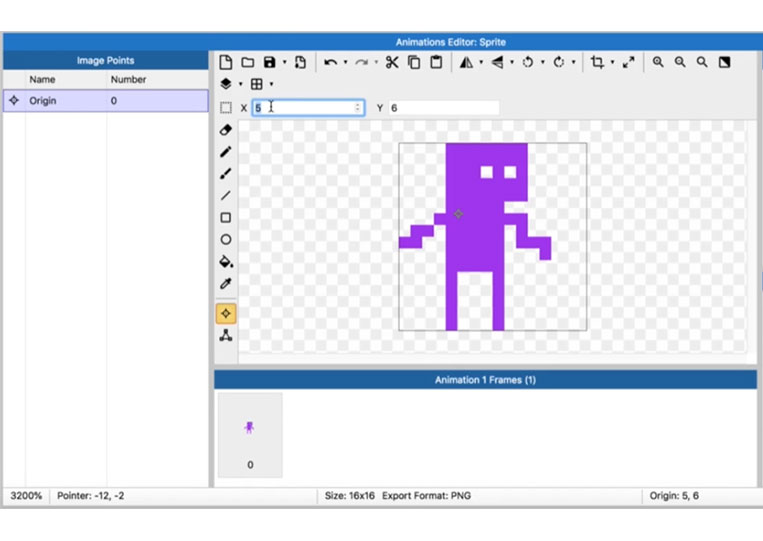
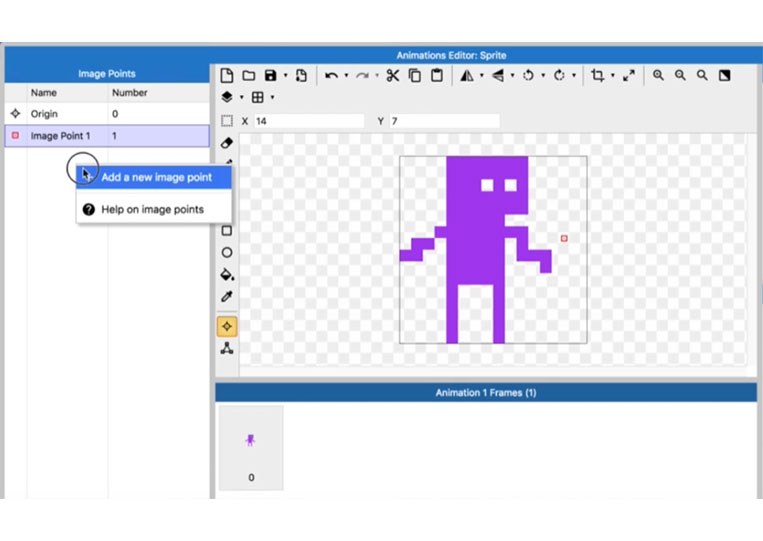
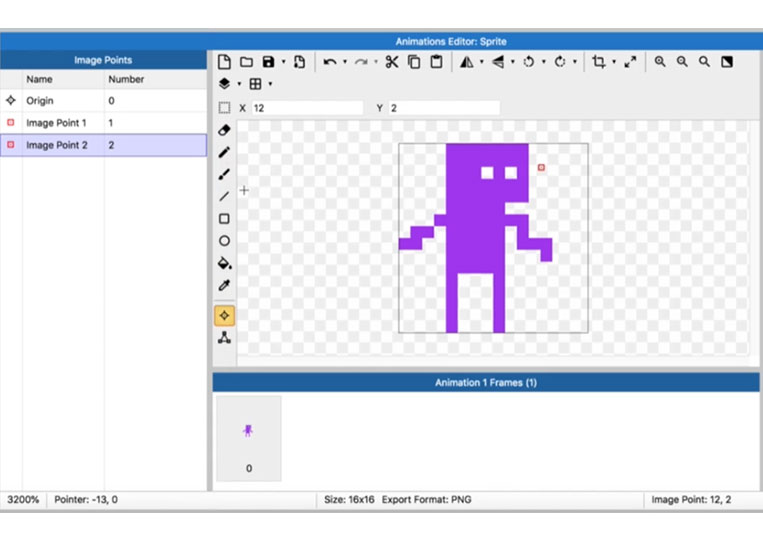
Let’s go back to Origin a bit and add a new image point.


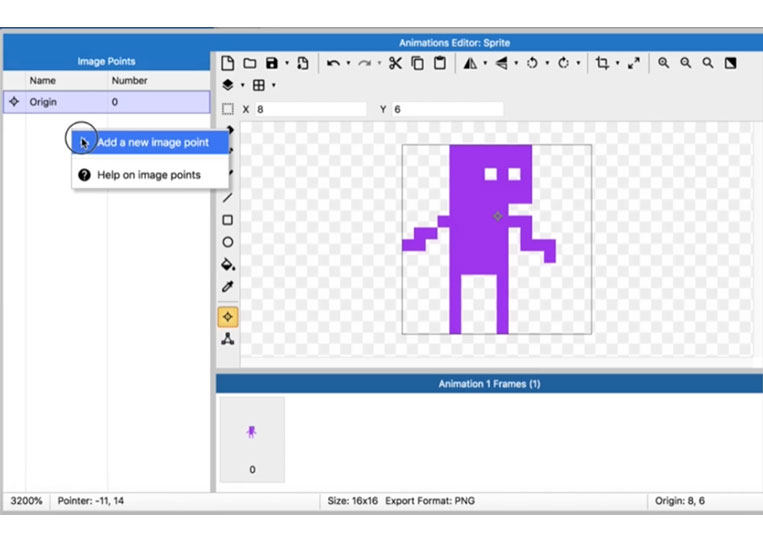
You will see this Image Point throughout the game and process.
Suppose you want to detect a bullet at the Image Point

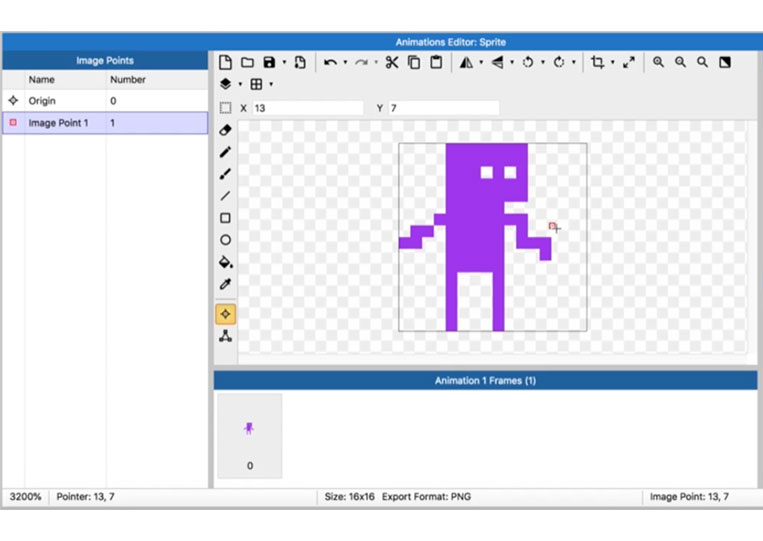

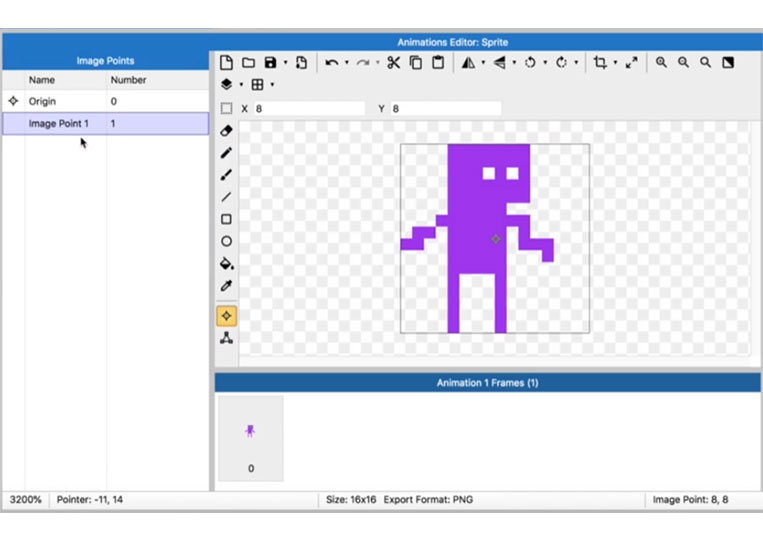
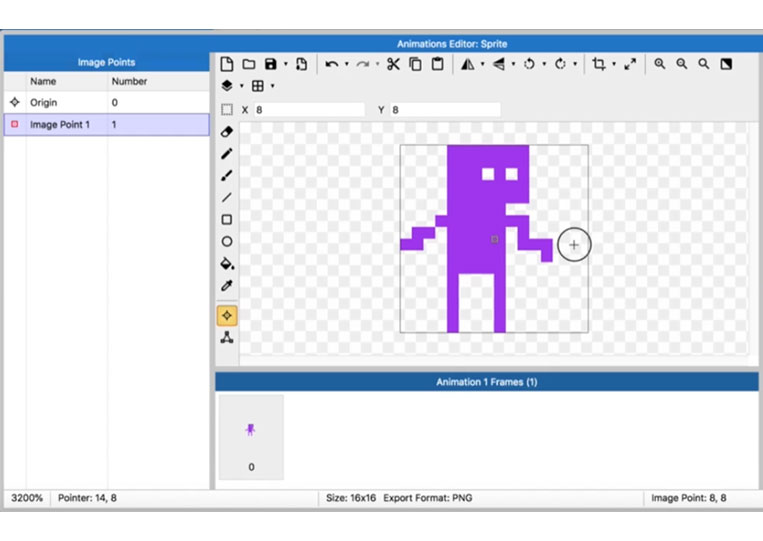
You can edit as many points of these image points as you like.
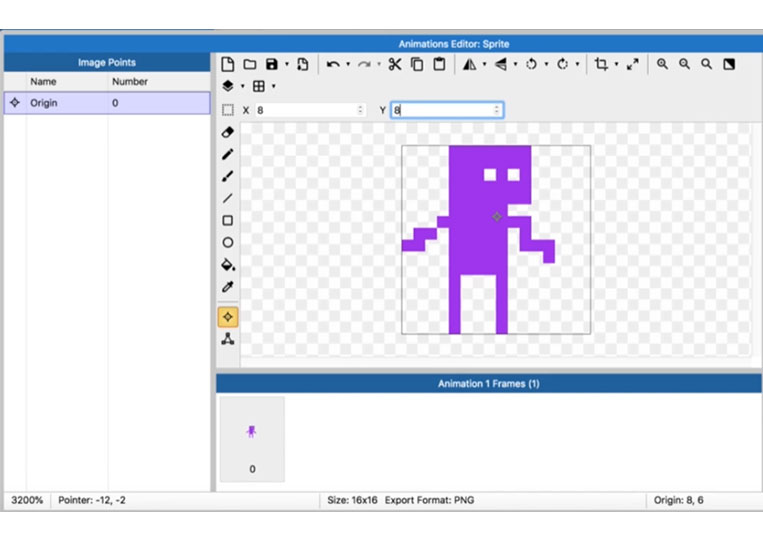
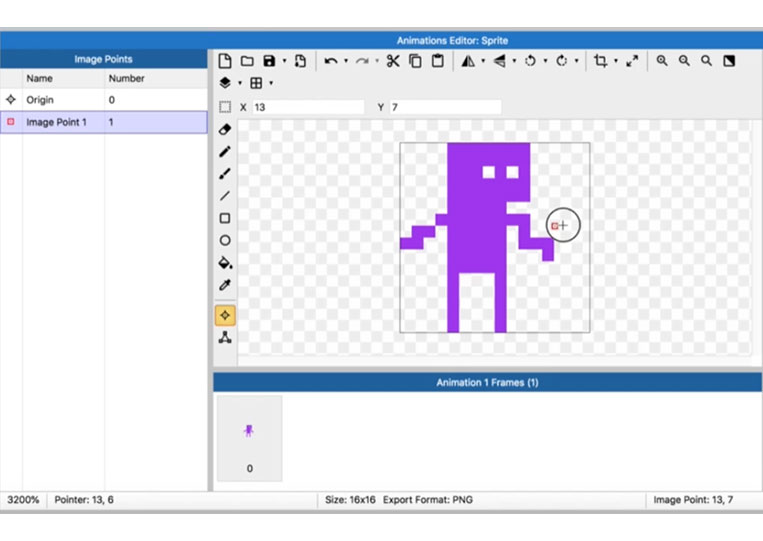
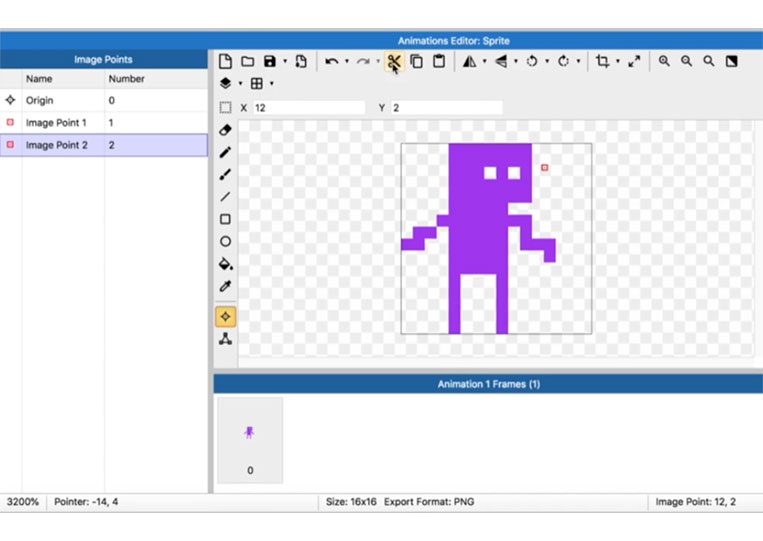
Let’s say you want to have something created to look like some kind of laser eyesight.
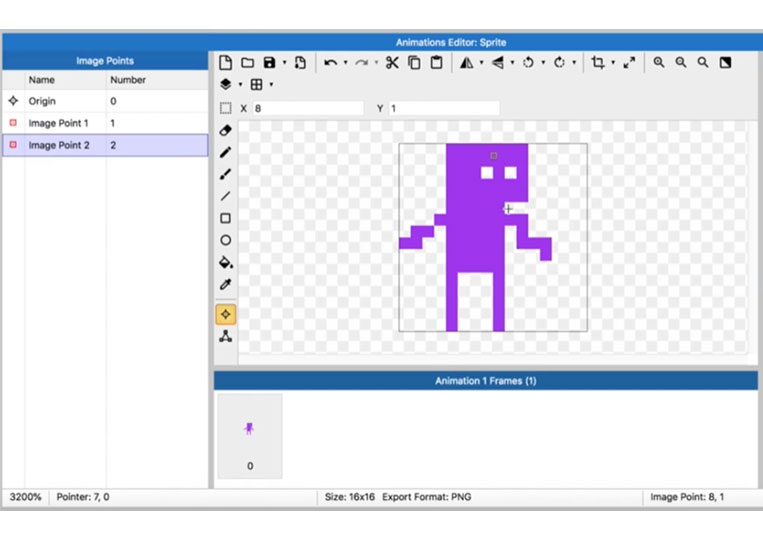
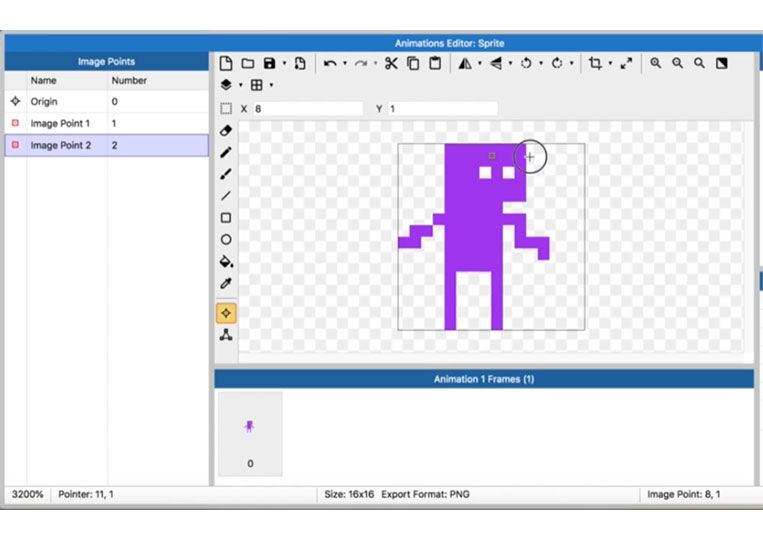


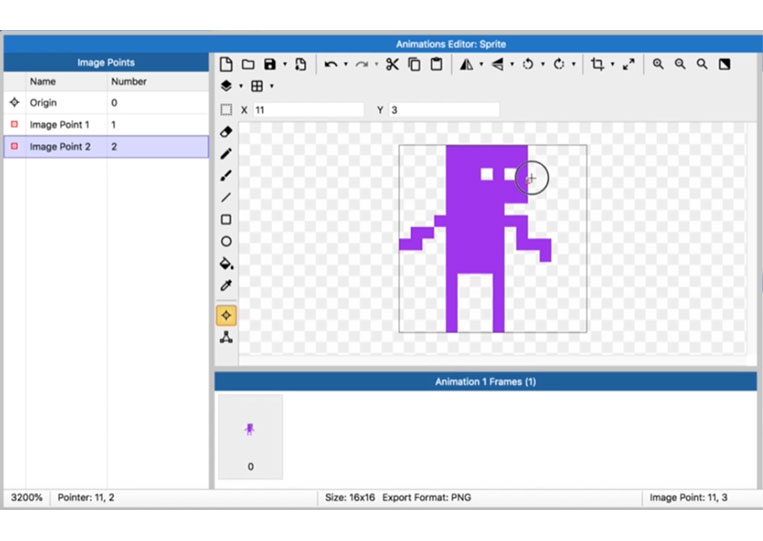
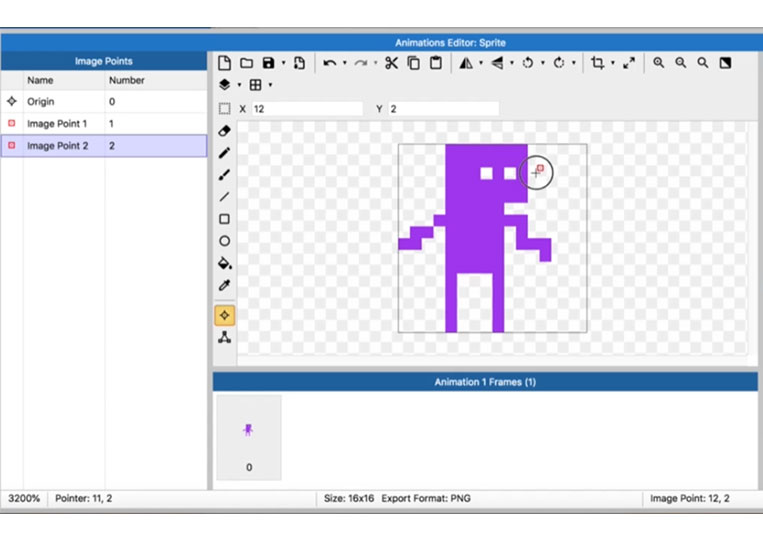
You will then use that image point so you can have as multiple image points as you want. Note that most of the time, when I use pixel art, I use the Pencil tool, maybe the Rectangle tool, the Ellipse tool, or the Fill tool. The most common is the Eraser tool.

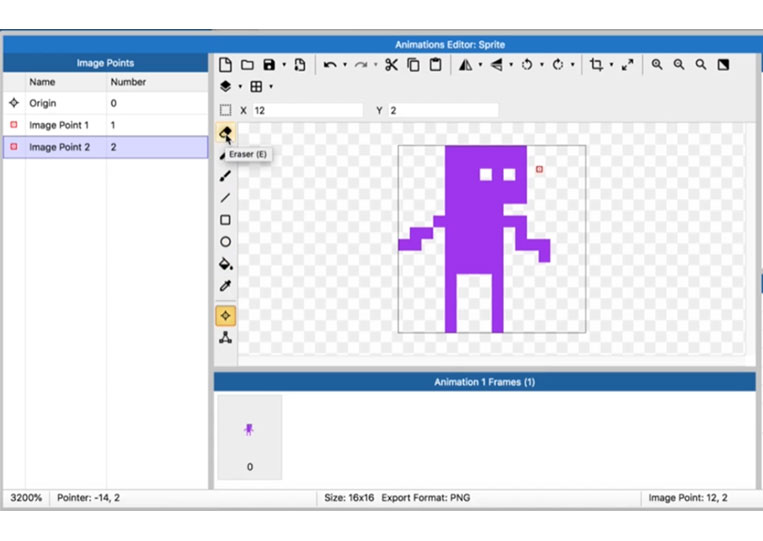
I’m not using the Brush tool or any features here.

There are multiple interesting things you can do here.

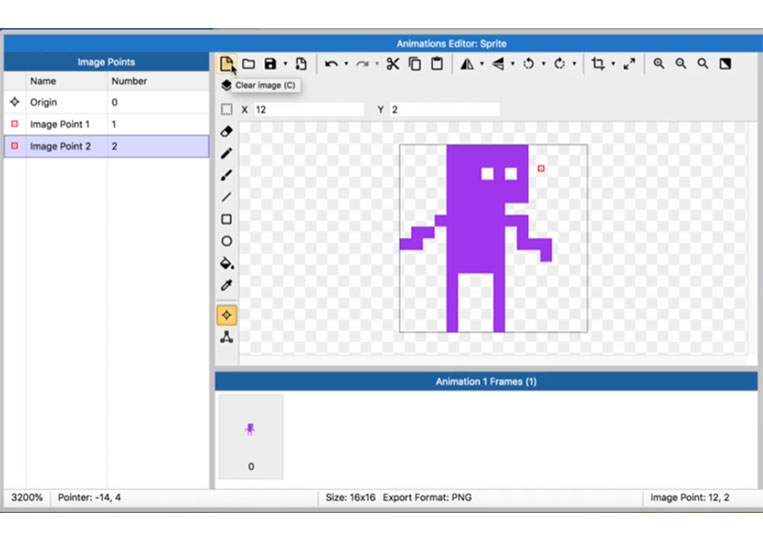
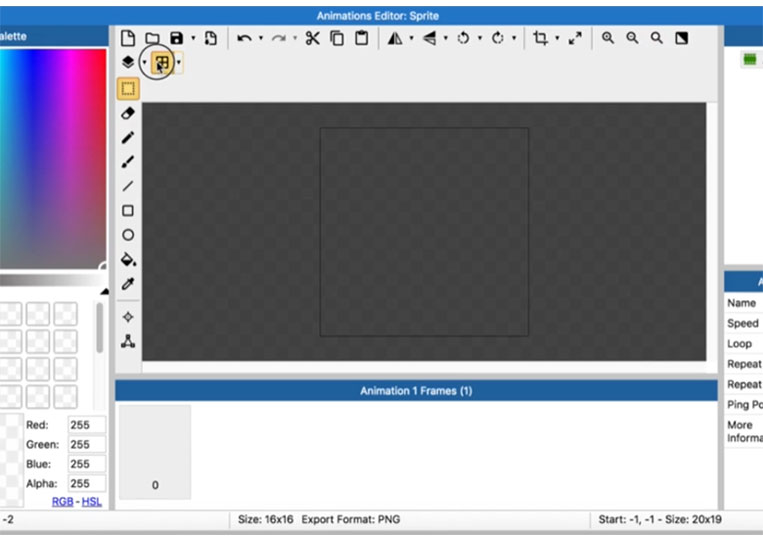
You can clear images.
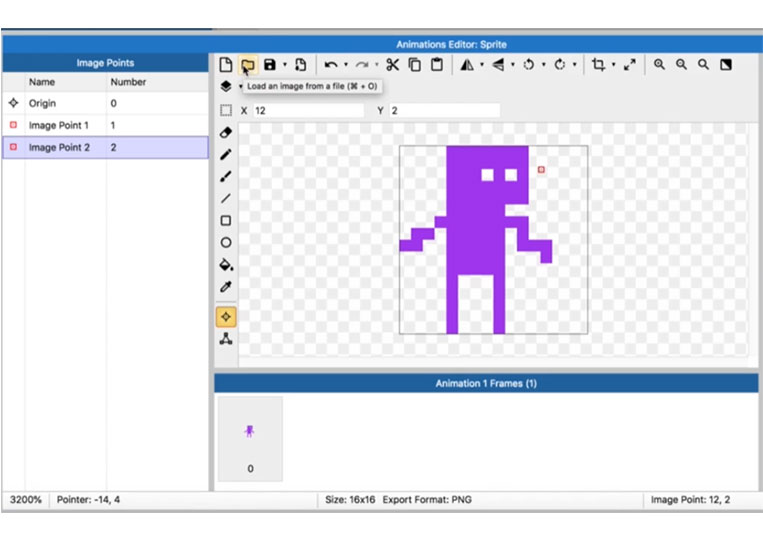
You can load an image, and then you can save the image.
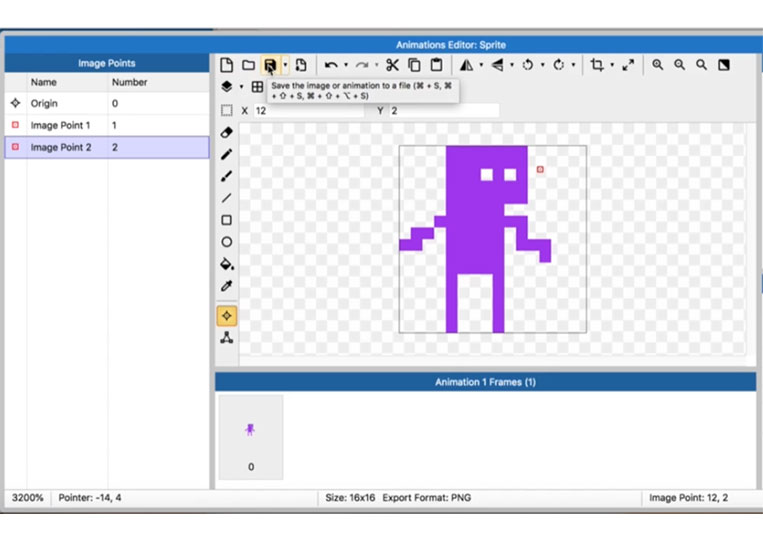
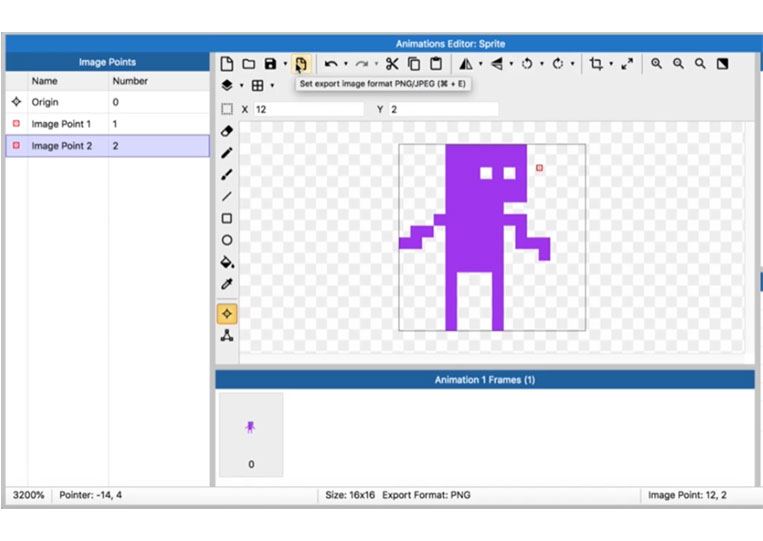
The cool thing is that it will save this image to a pink file on your hard drive, which is pretty cool! You can also export it.
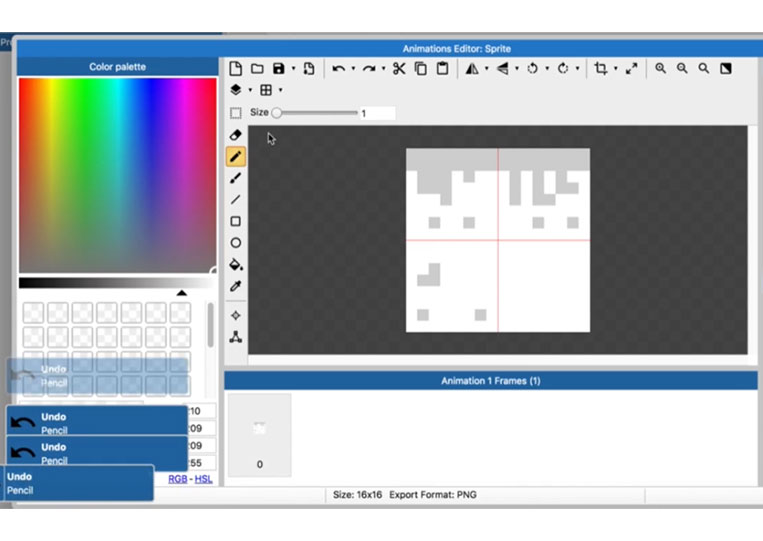
You can also undo and redo.

You can choose Cut, Copy and Paste. They are mostly used on tablet functions.
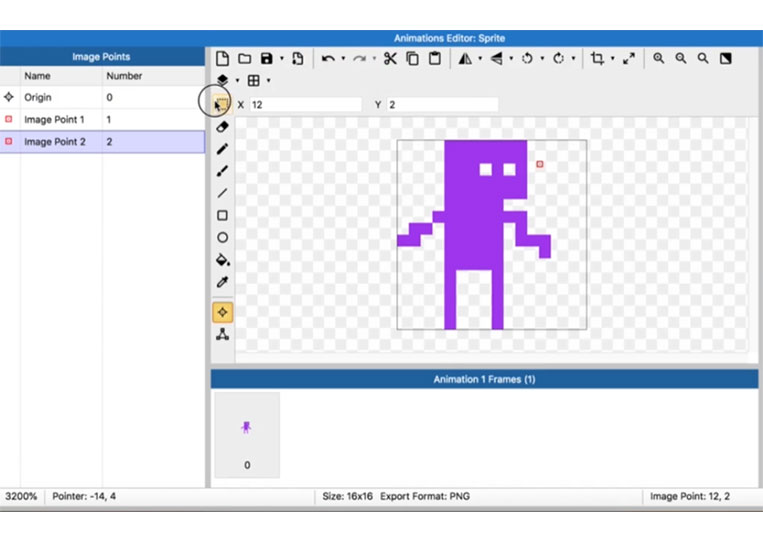

I have a keyboard and mouse, then why do I need this? Because on a tablet, you might not be able to add that information here. Now, what you will use is this.


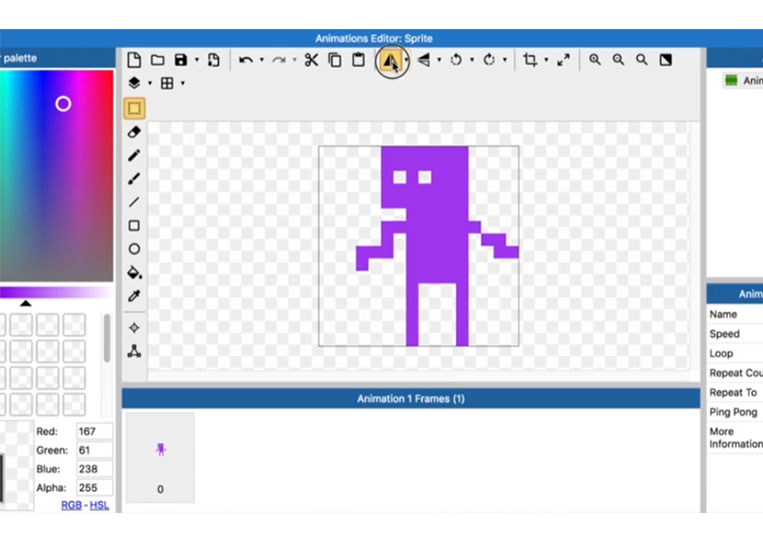
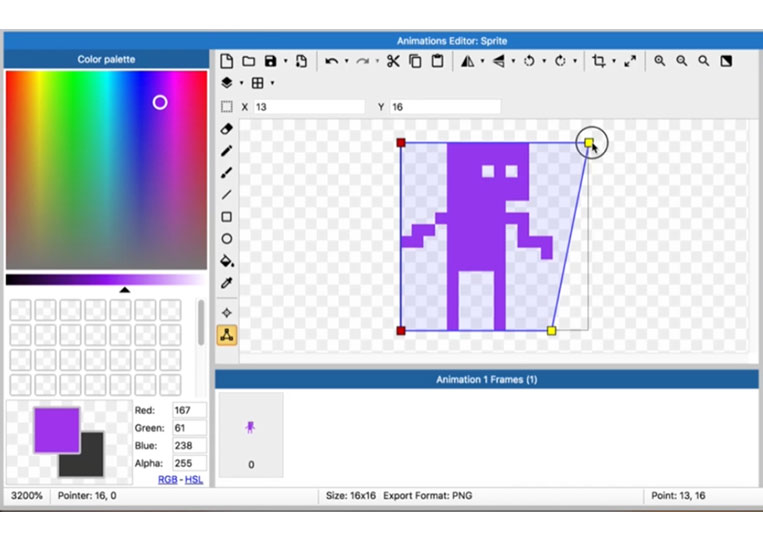
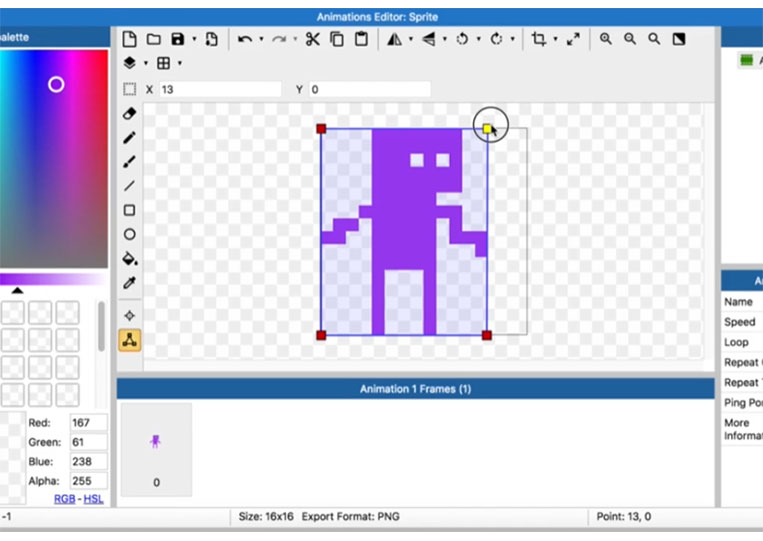
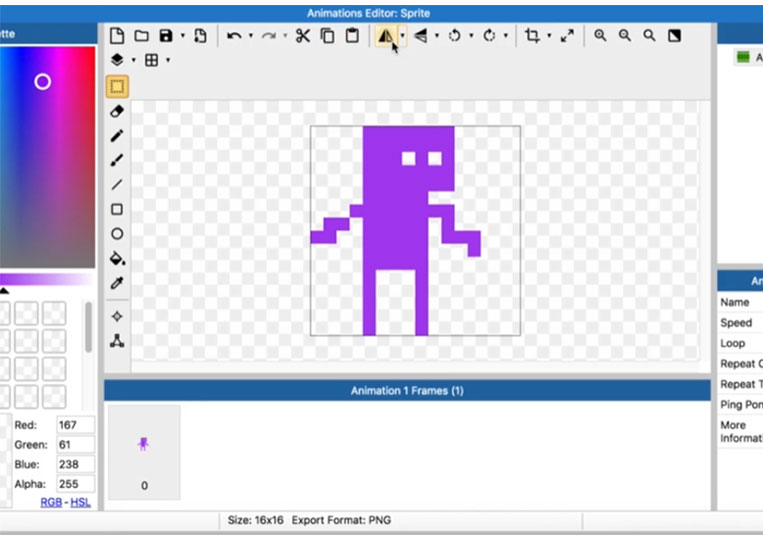
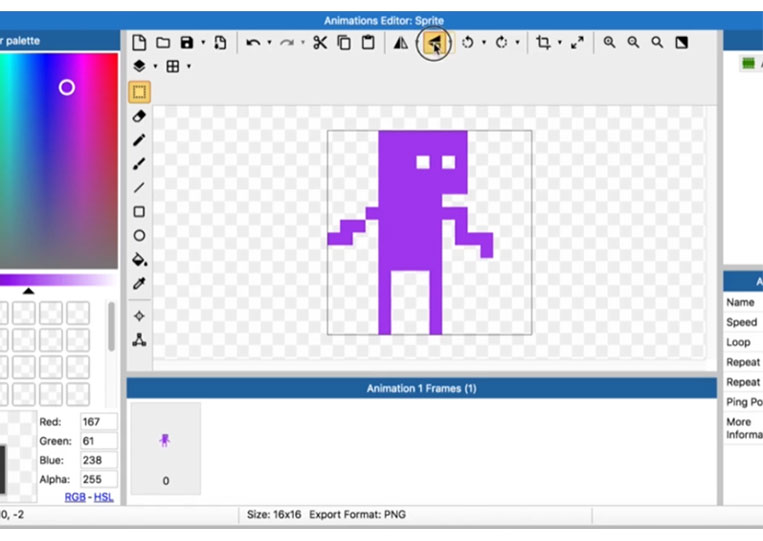
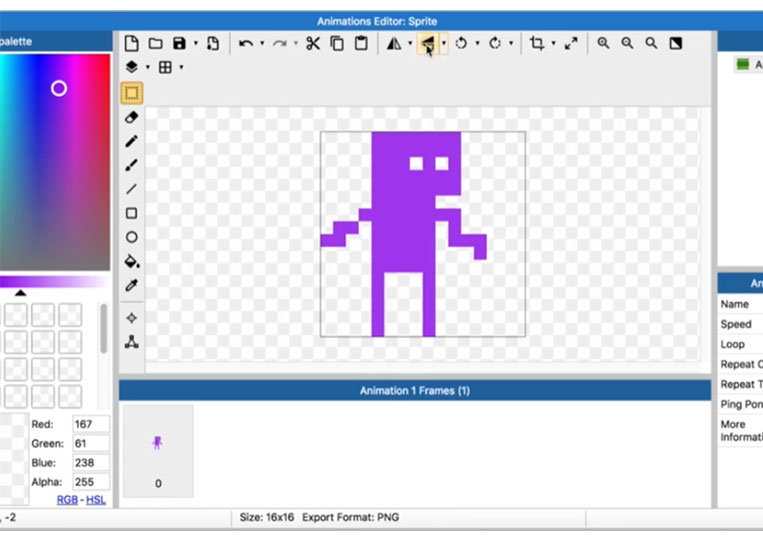
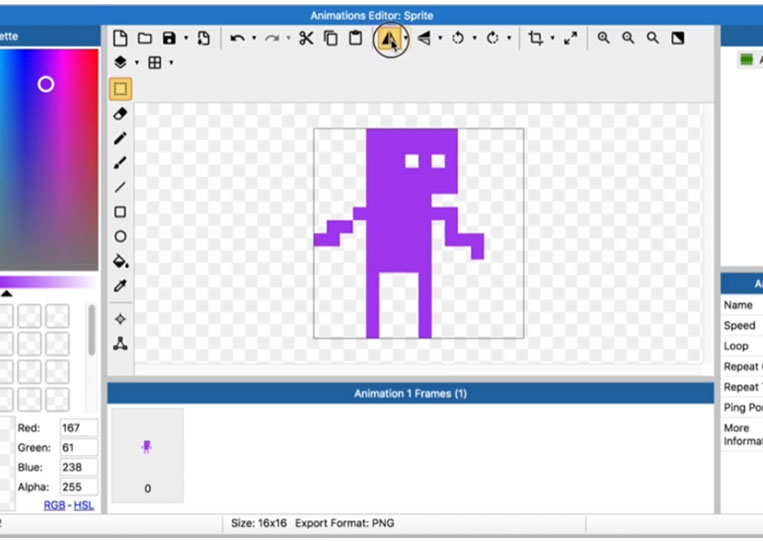
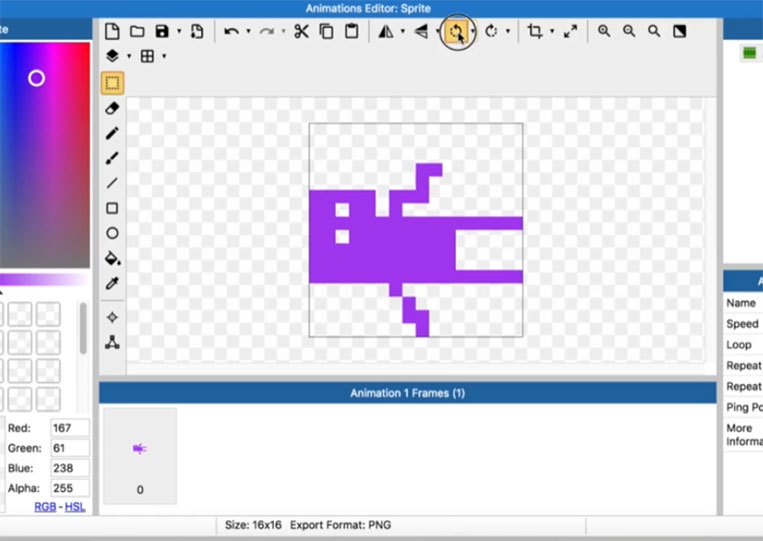
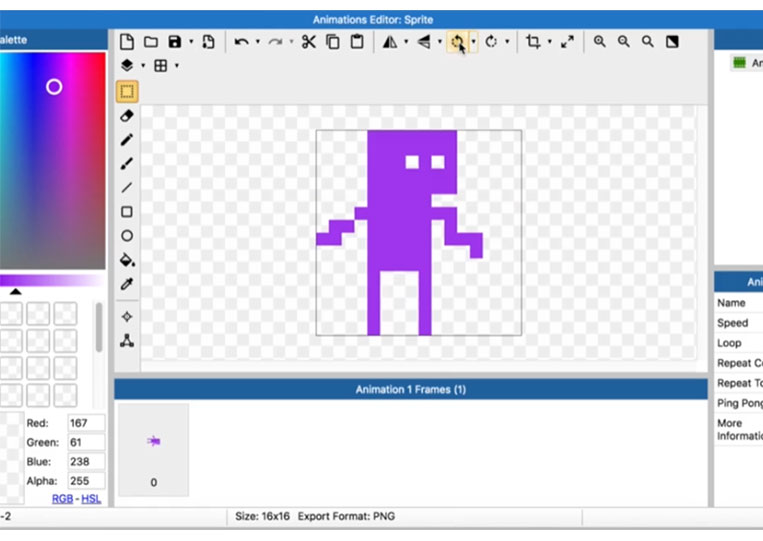
Remember that in Construct 3, you can edit these. You can flip it like this if you want as well!
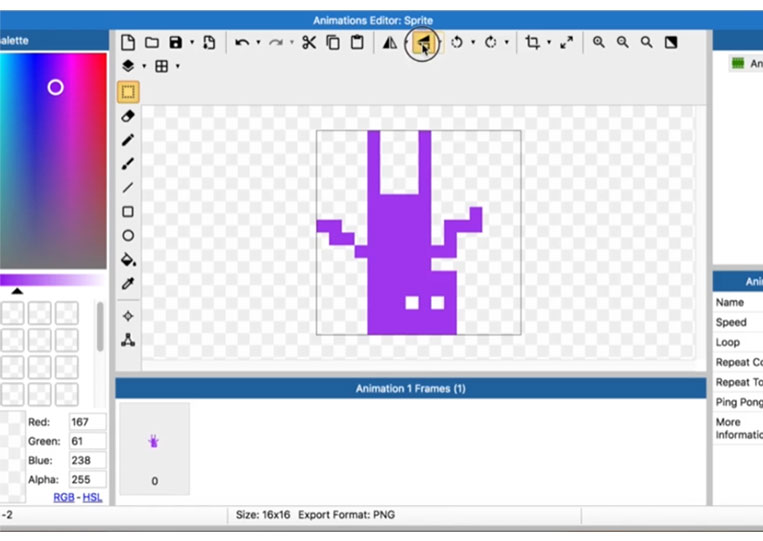
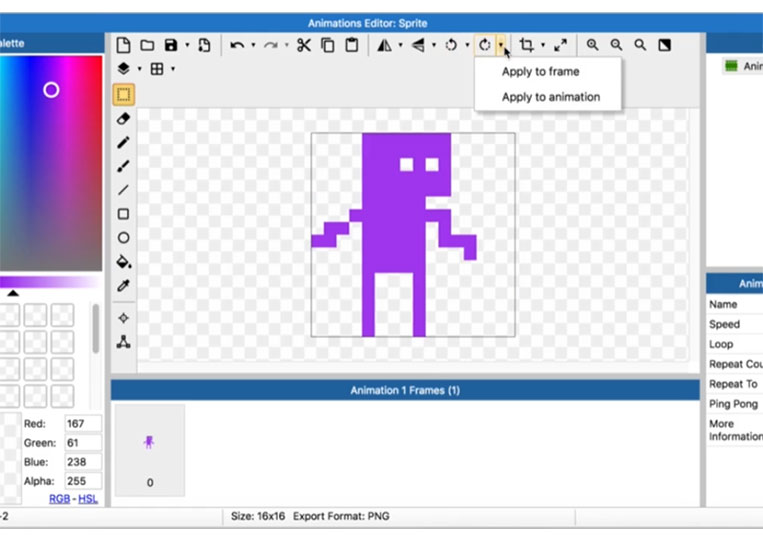
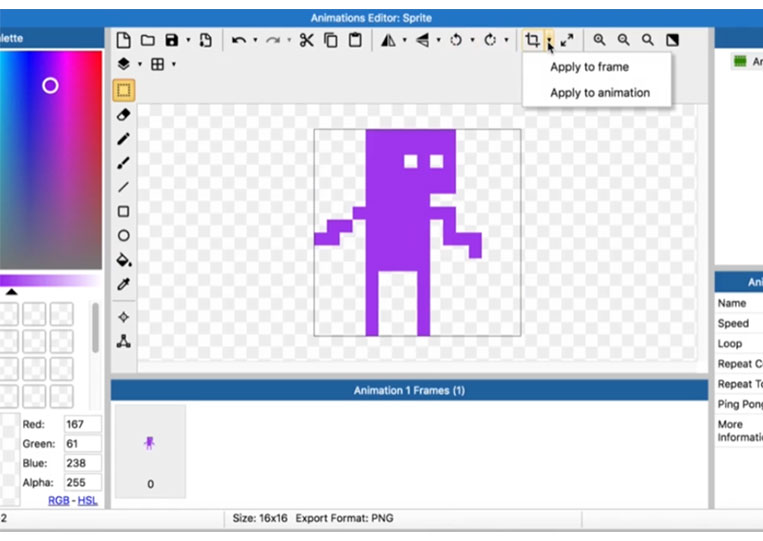
Now the other thing is when you click this button.
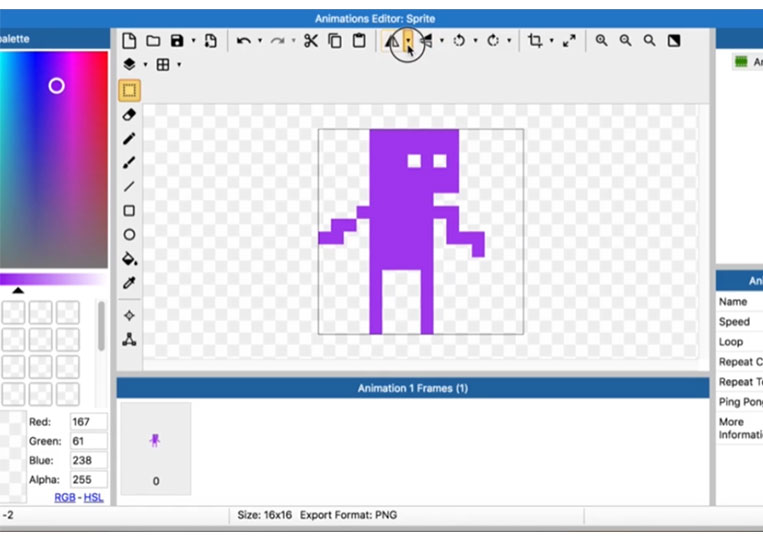
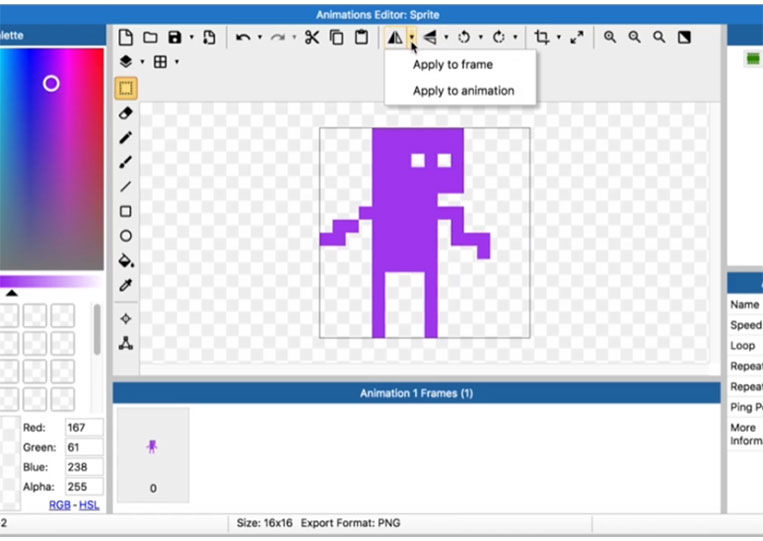
You can apply it to the whole animation. Let’s say you need to flip something that has 20 frames.
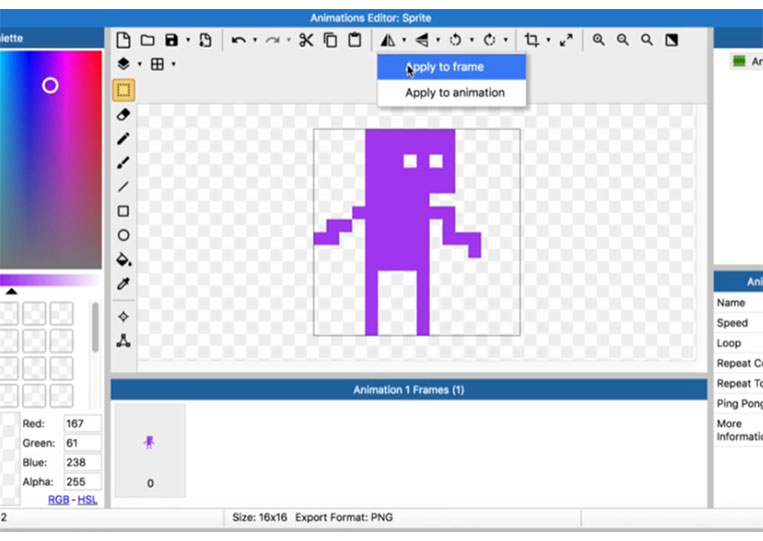


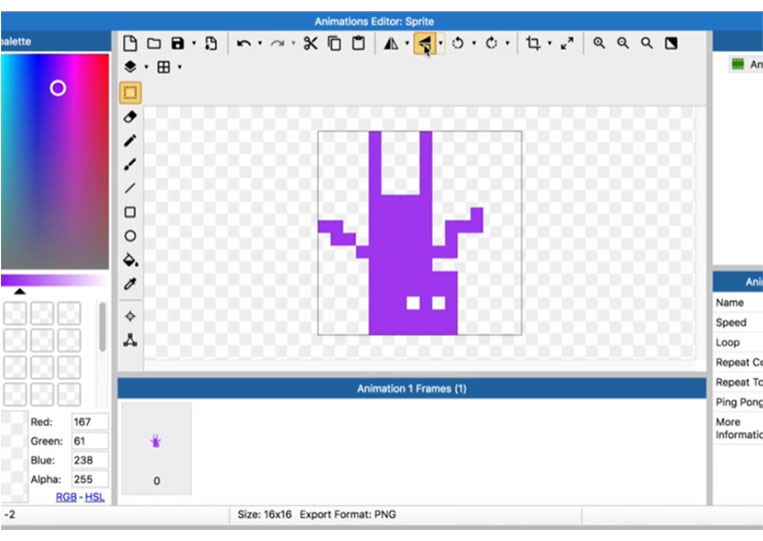
You can apply that to the whole animation if you want. You can rotate things as well!
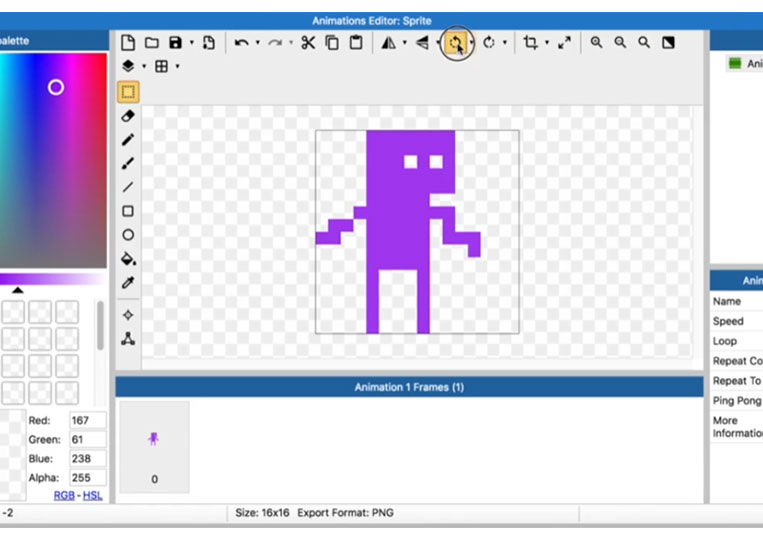
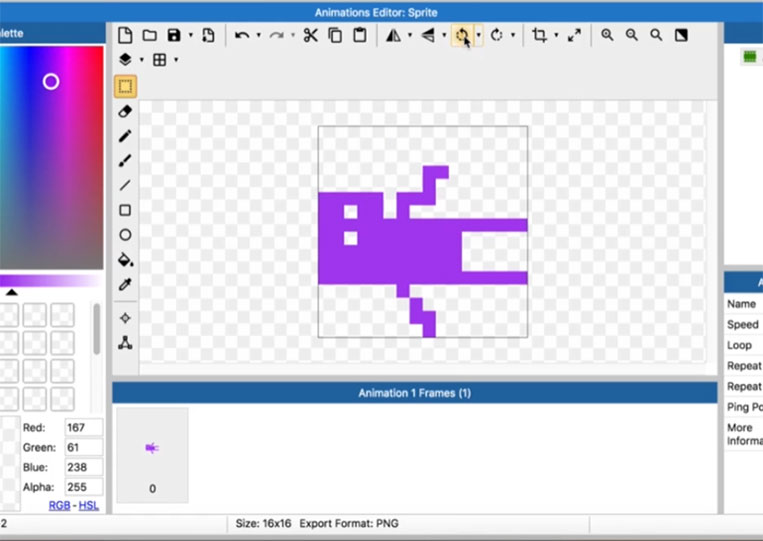
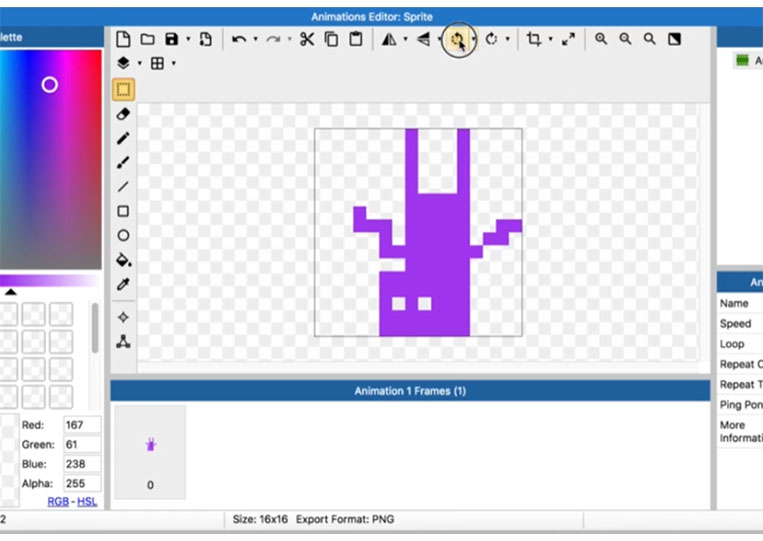

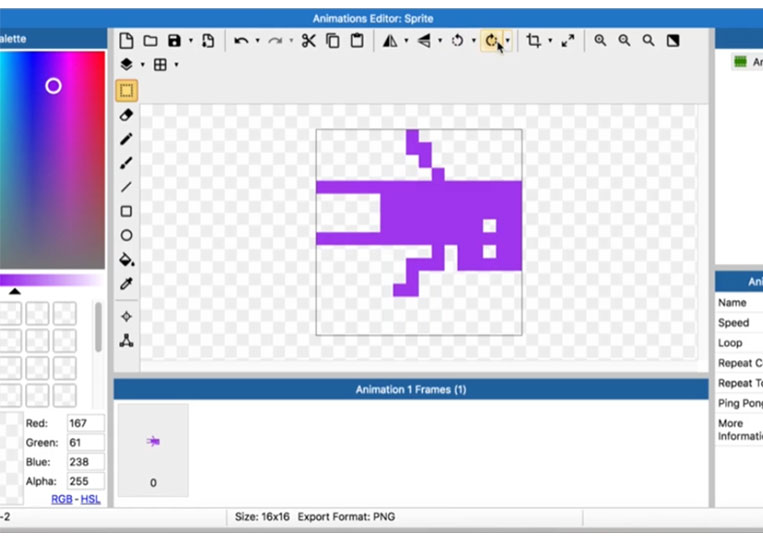
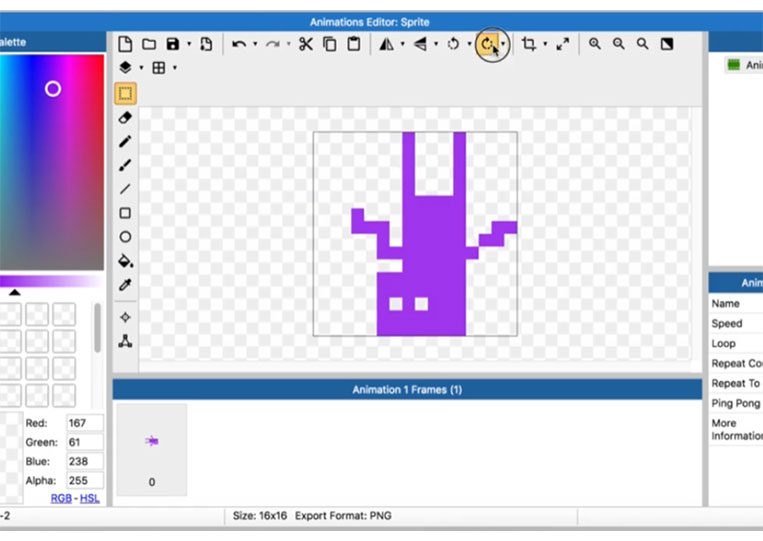
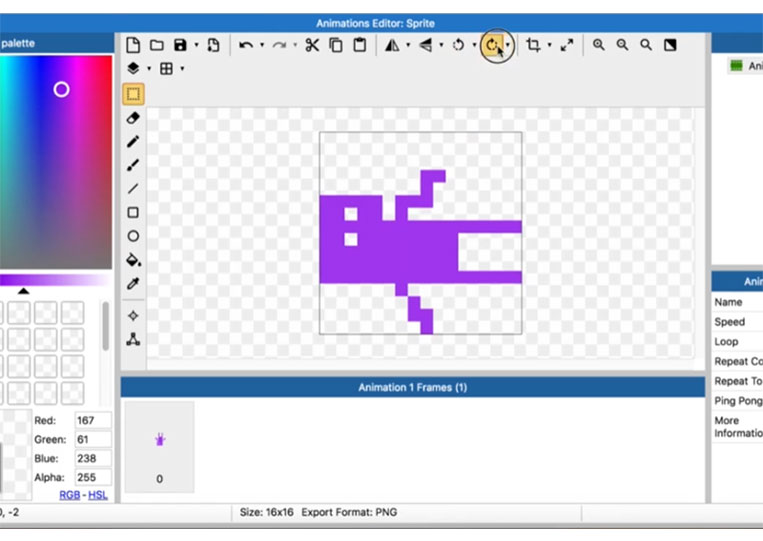

Of course, you can apply them to the entire animation as well!

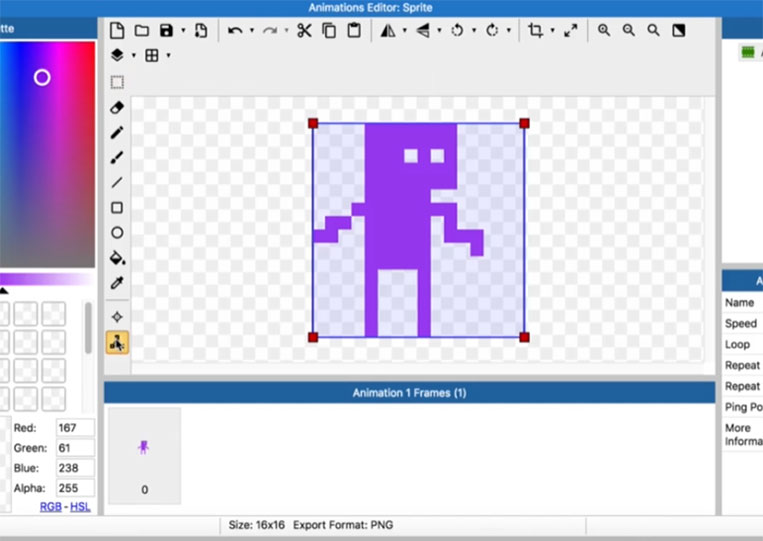
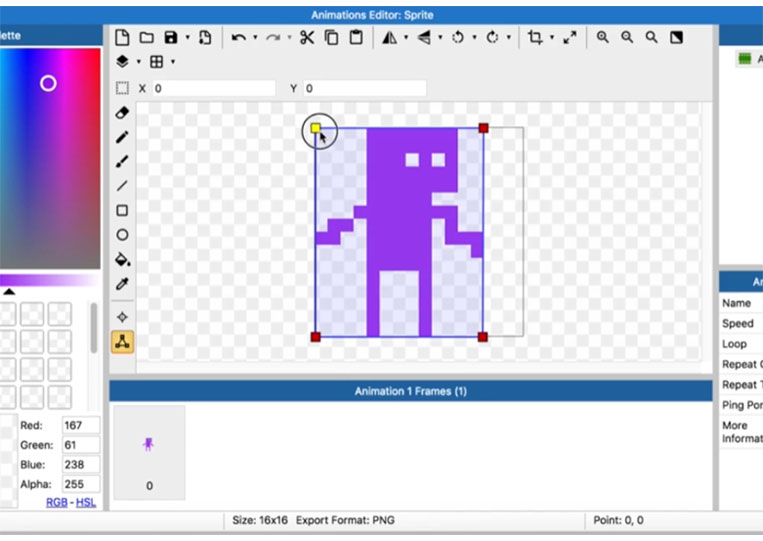
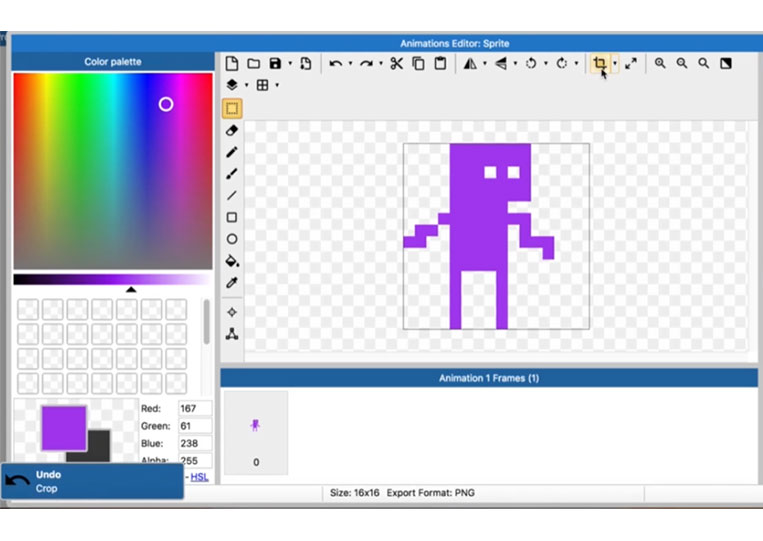
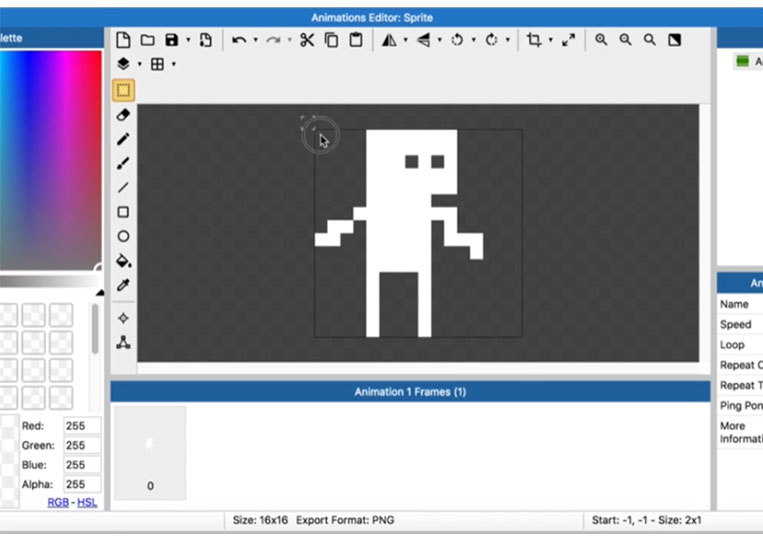
You can crop it if you want.
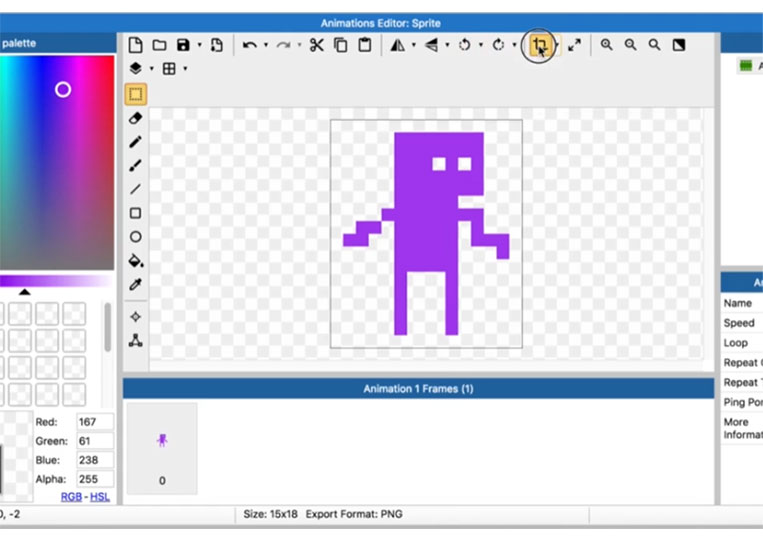
I will undo that.
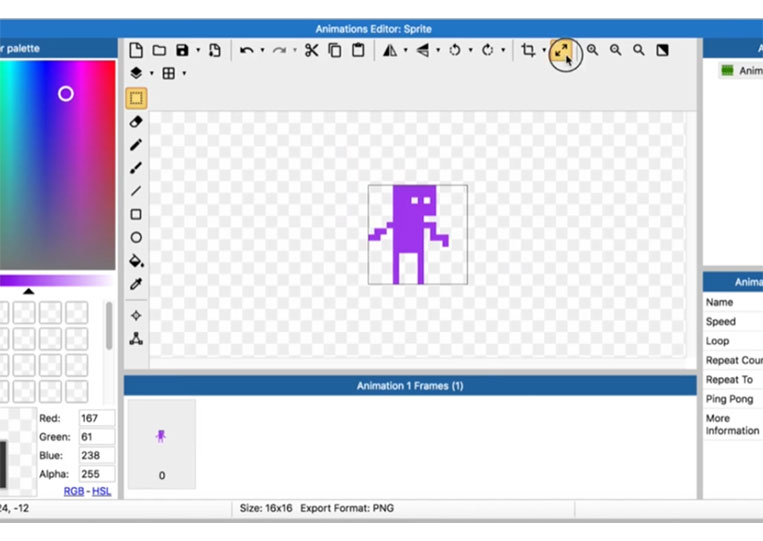
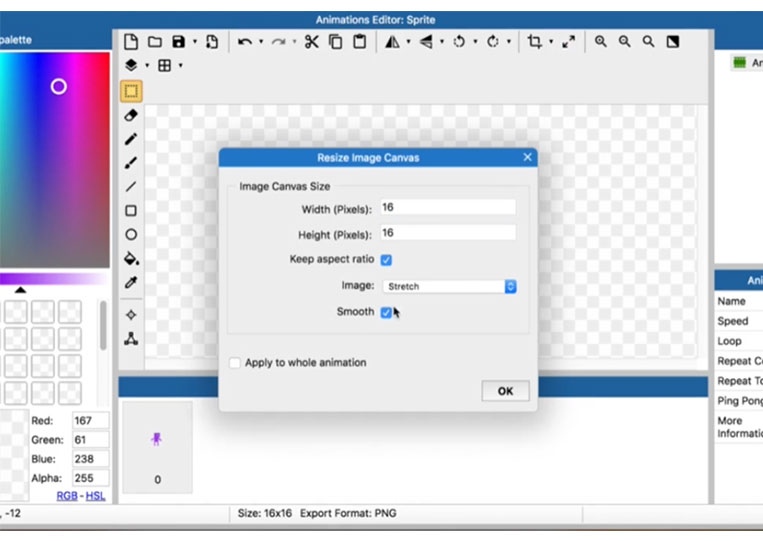
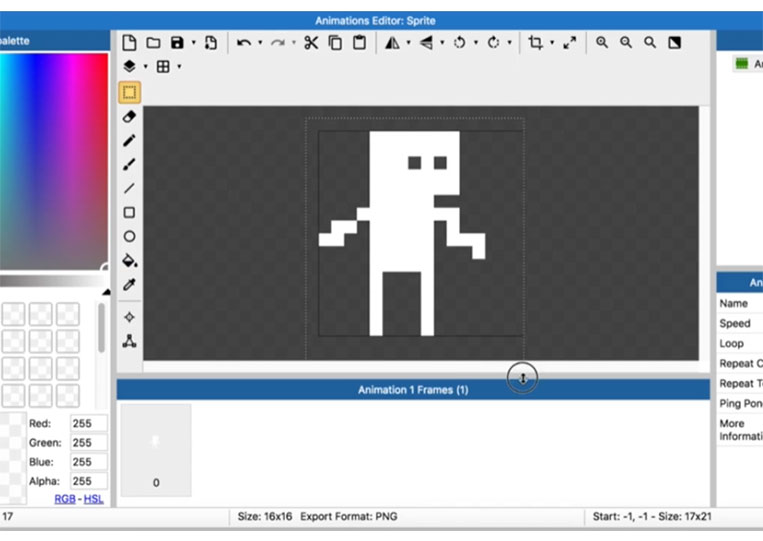
You can change the size.
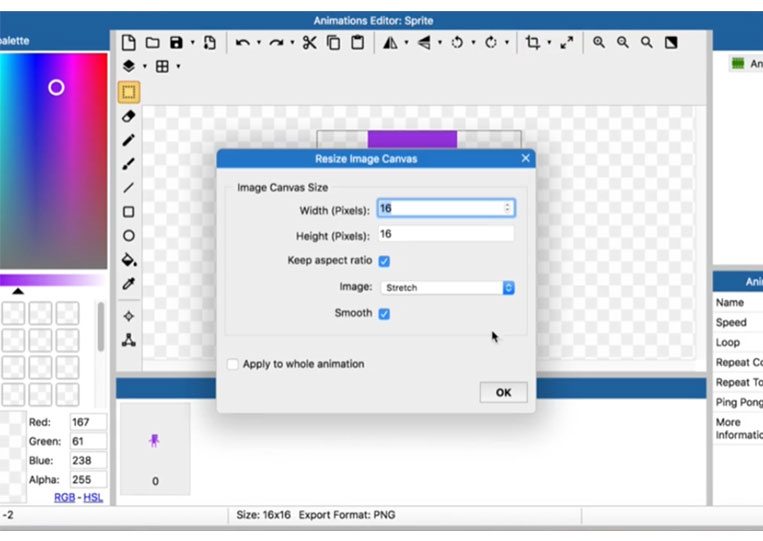
Now, look at this.
I change it to 32 x 32.
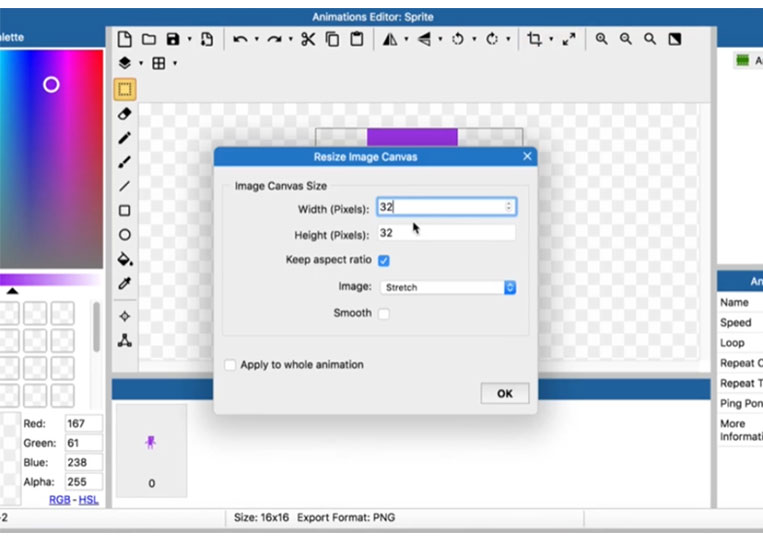
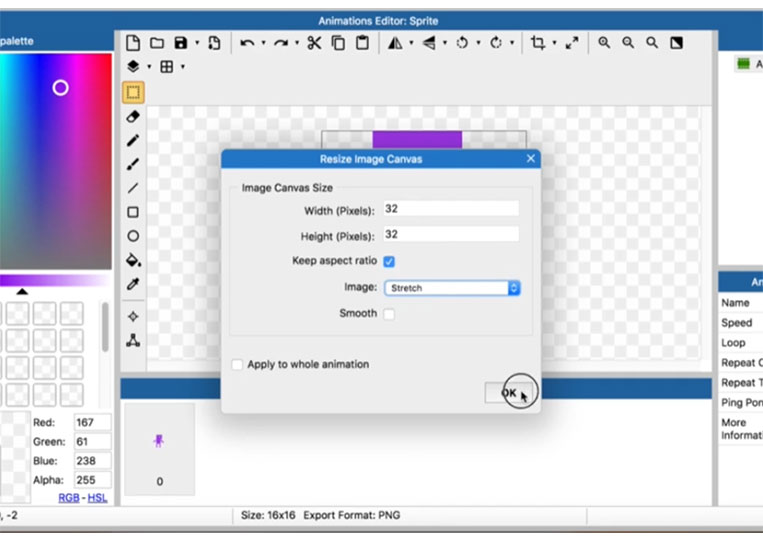
See what happens.

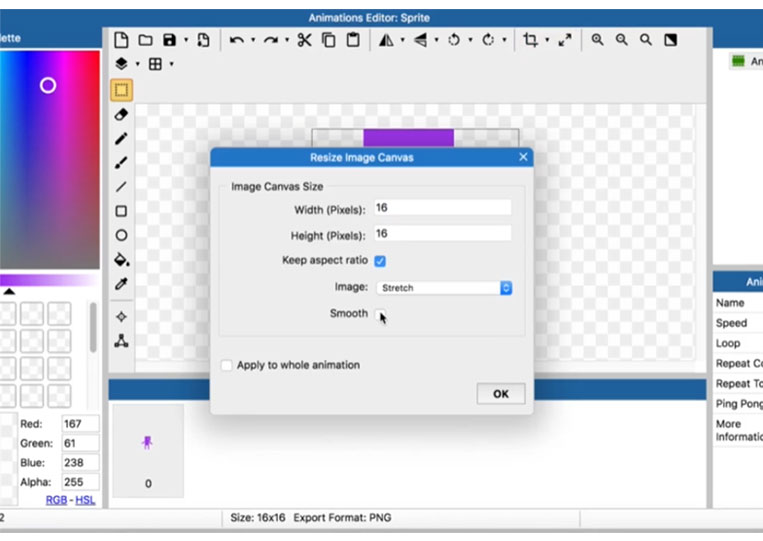
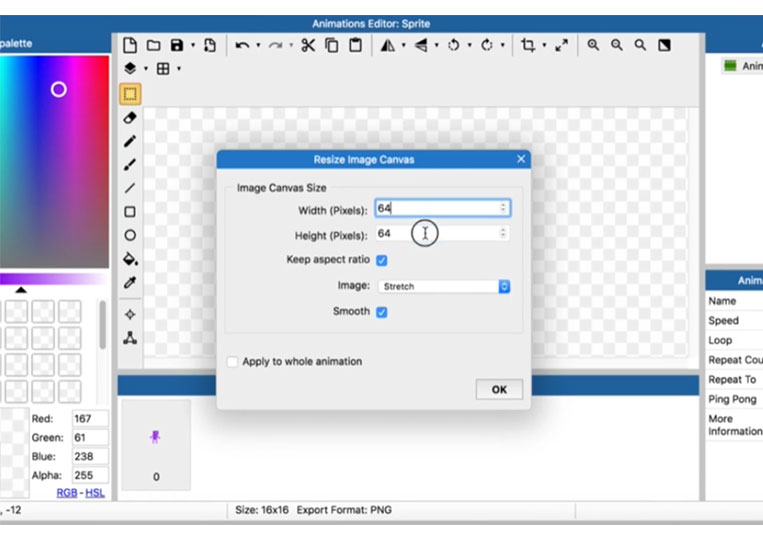
Now create 16 x 16 and expand to 32 x 32.


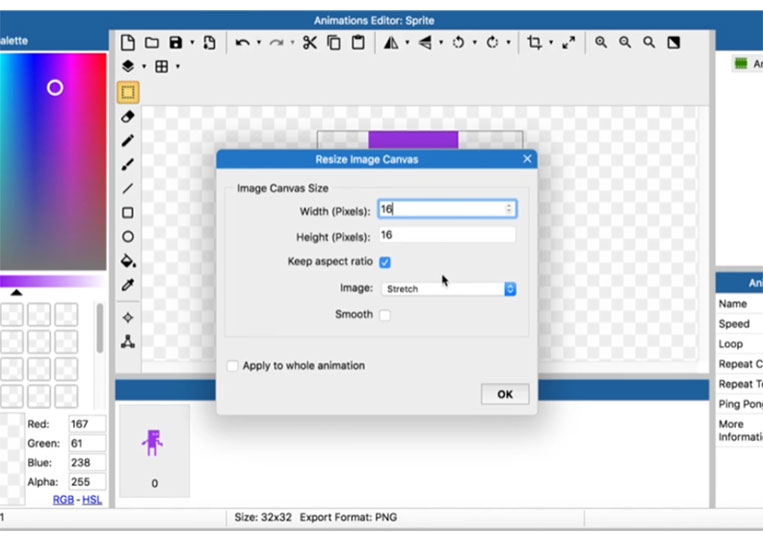
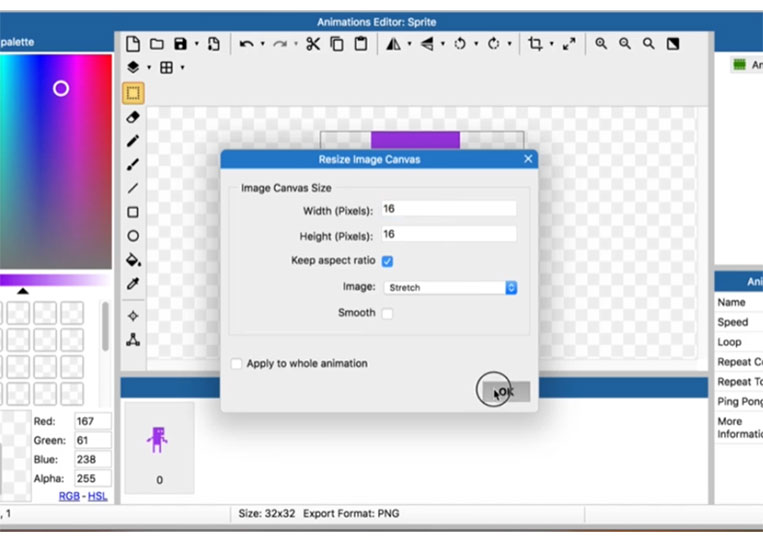
You tick Smooth and make it 64 x 64.
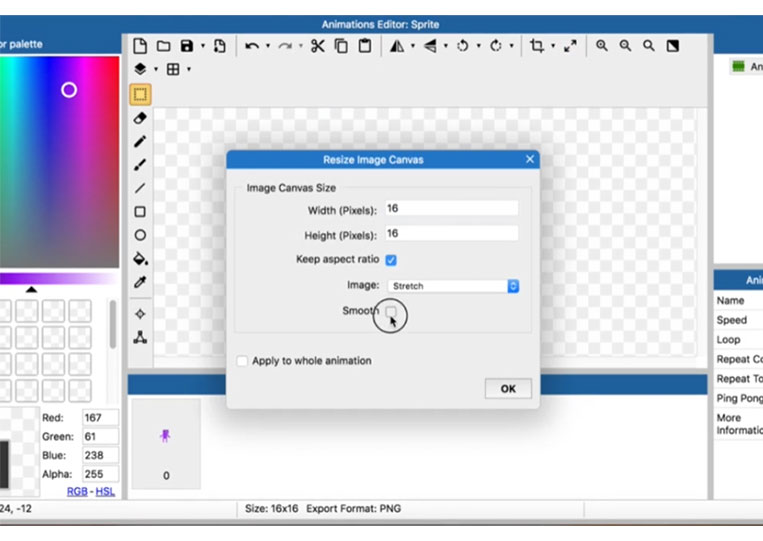
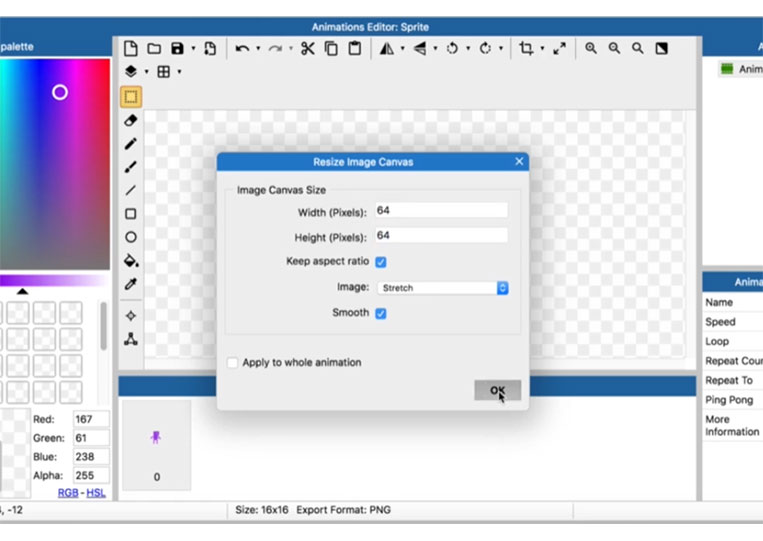
Look here.
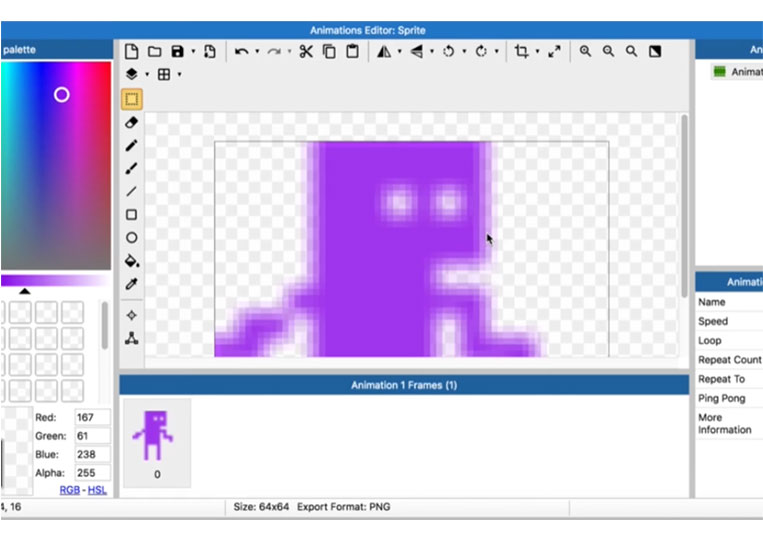
That doesn’t look good at all. Therefore make sure you don’t do it here. You can zoom in.

These features are more on mobile.
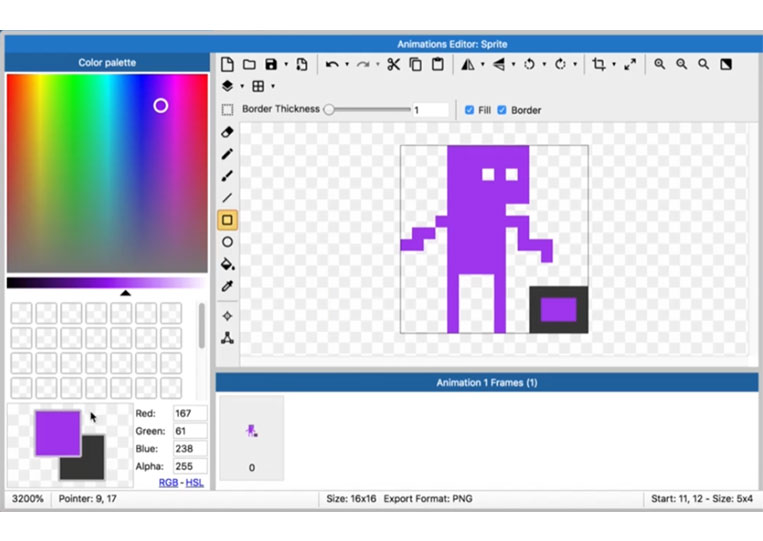
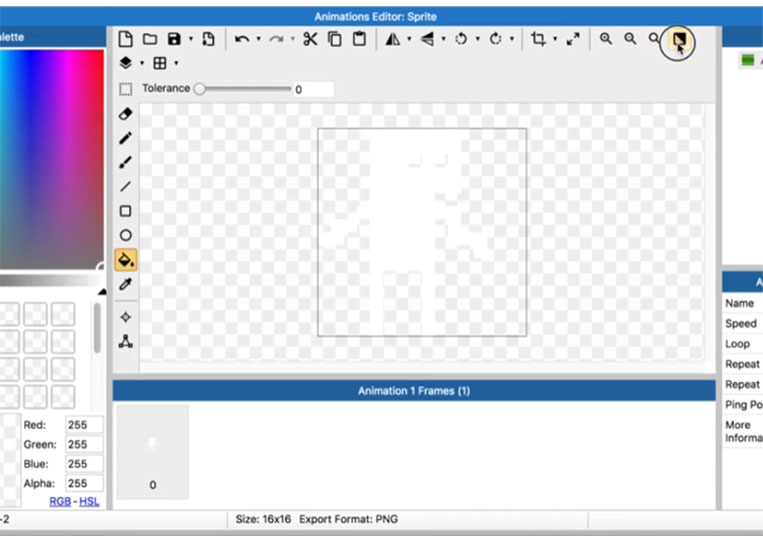
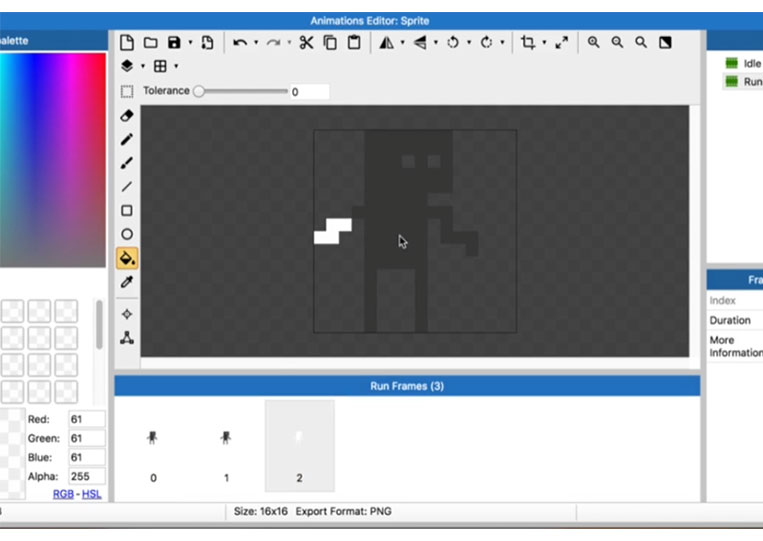
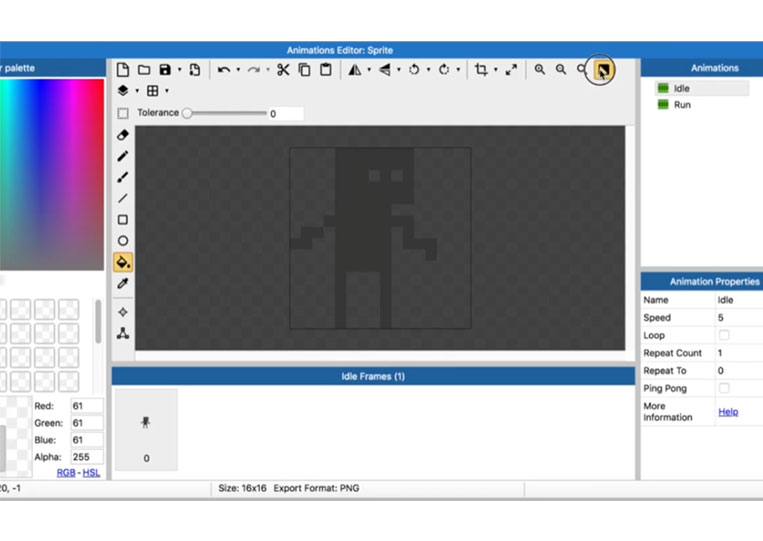
What’s interesting is that you have a black feature. Let’s say you are working on a white background. Let’s say I’m working on a white object like this.


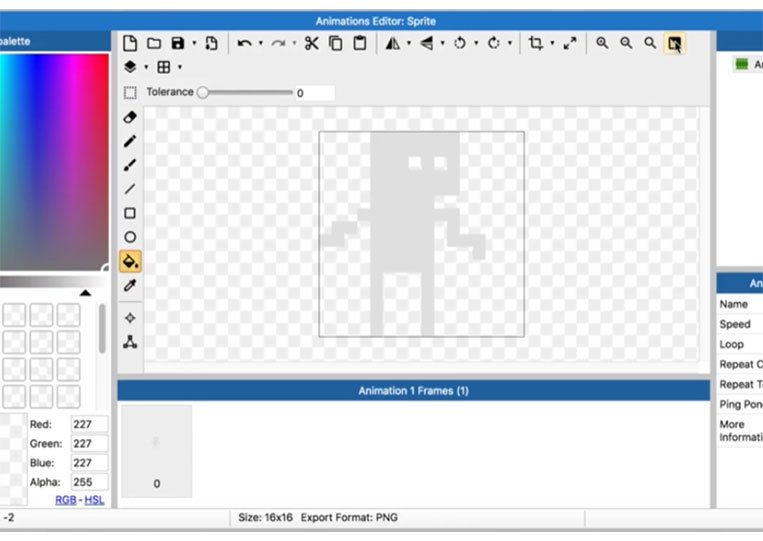
That’s hard to see if we make this all the way white. I mean, you can’t see that.

What happens if your character wants to be white like this, you can toggle it.
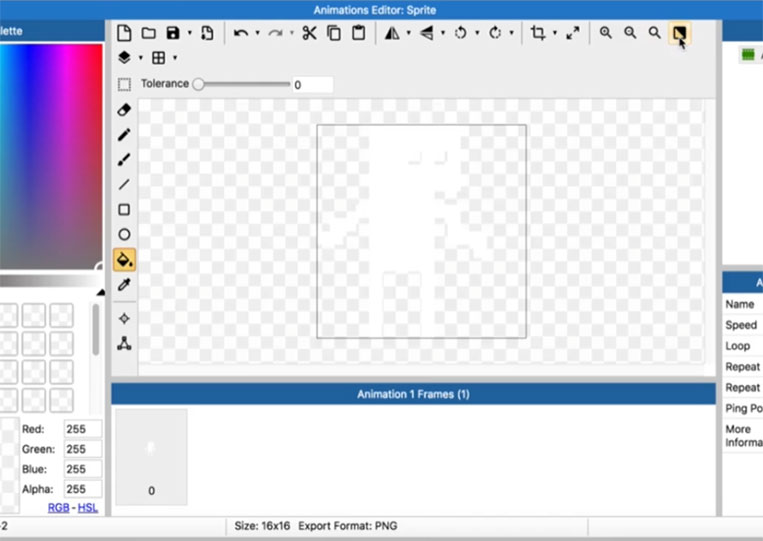

Now the other thing you can do is a toggle.
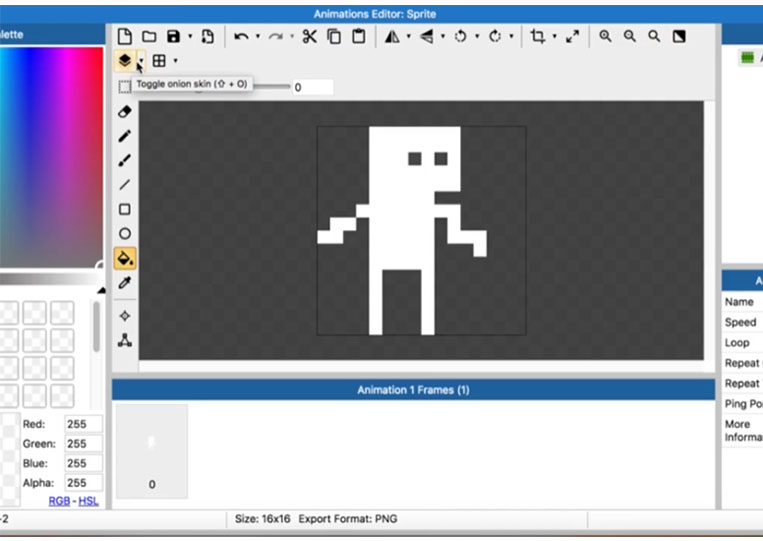

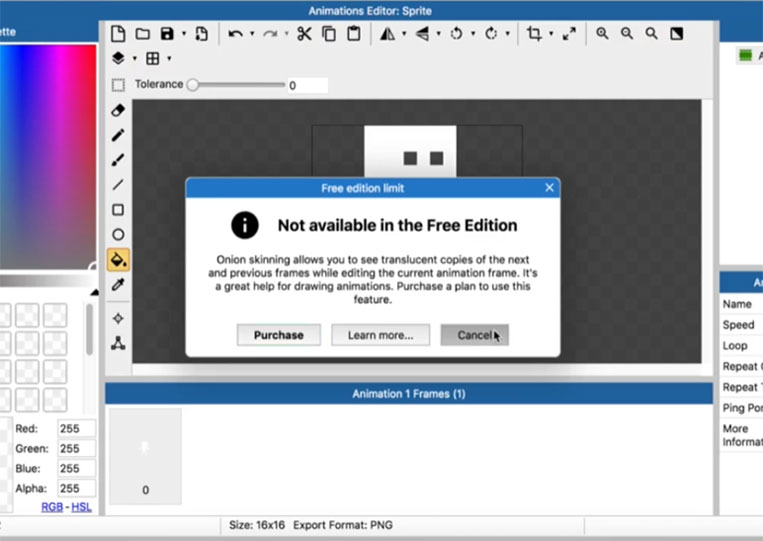
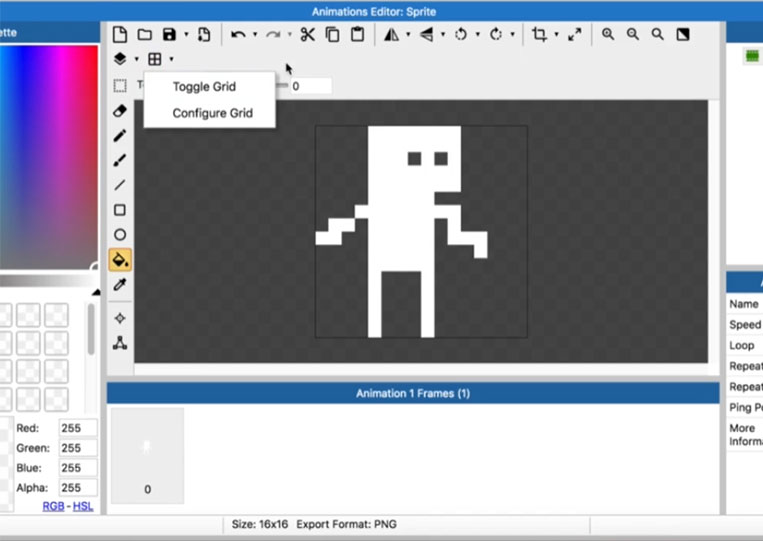
That’s not saleable in the free version. Nevertheless, I don’t use that. The other thing that I will use a lot is the grid.
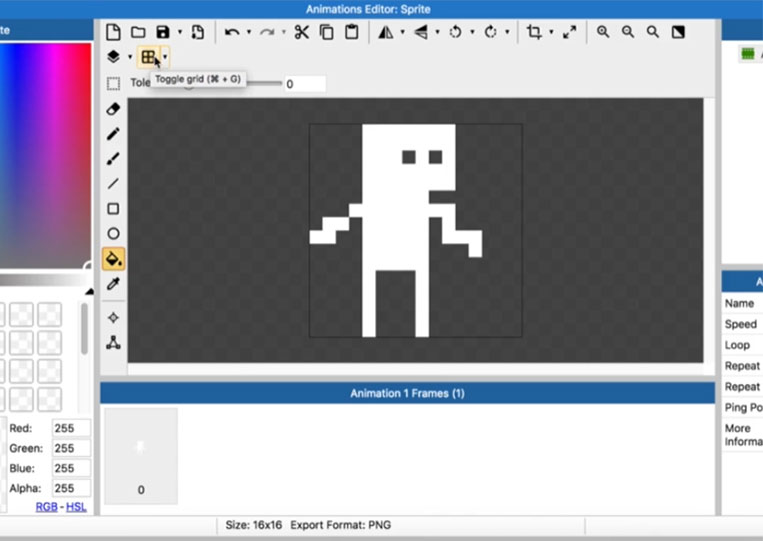

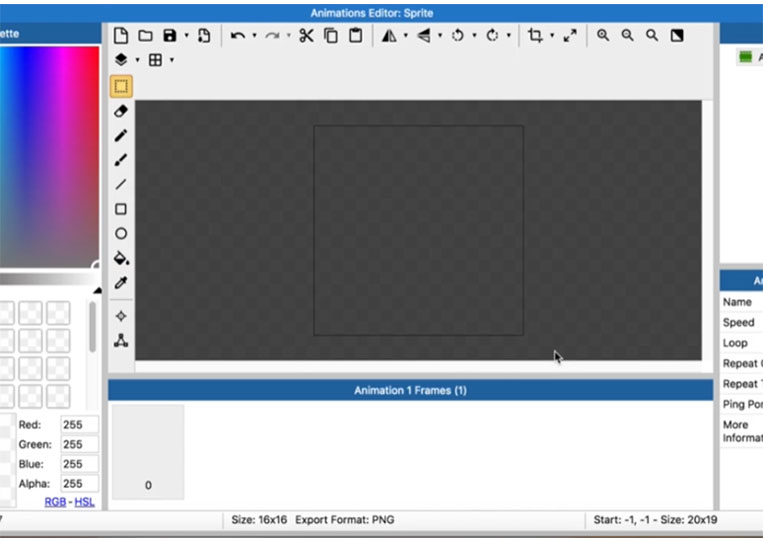
I erase this whole thing here.
Let’s see what you can do if you create a tile map. If you create a tile map, you can add a grid game. I click on it.
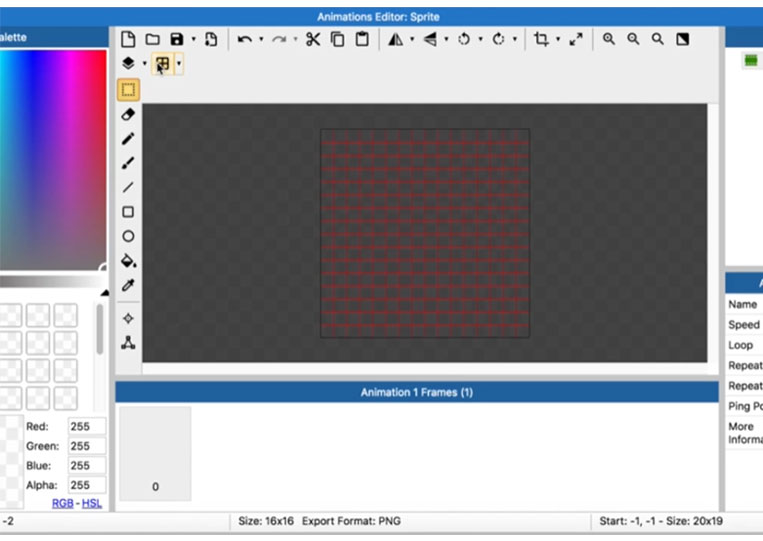
You see the grids and edit them if you want.
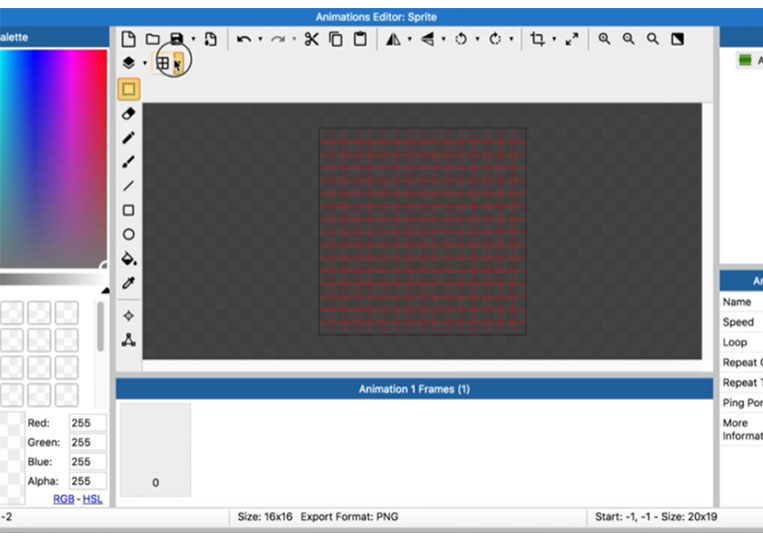
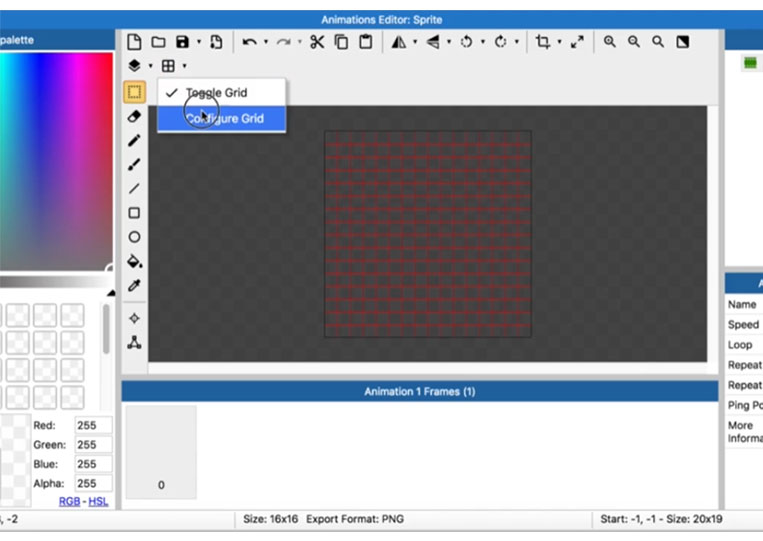
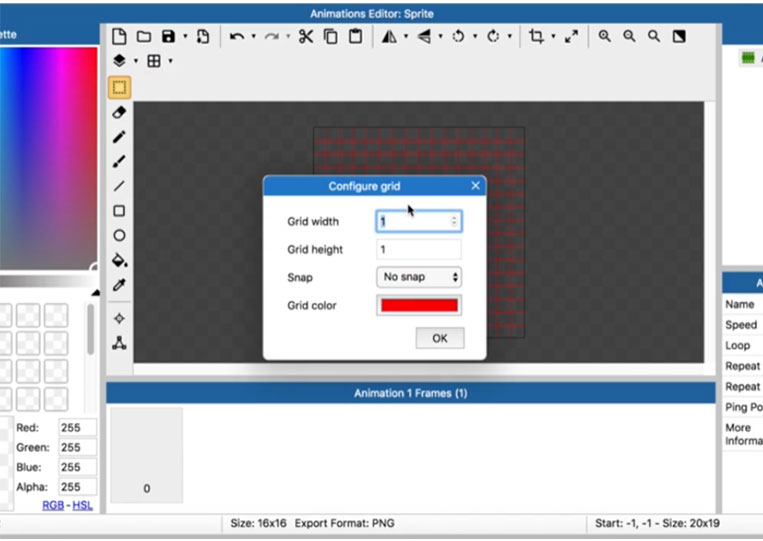
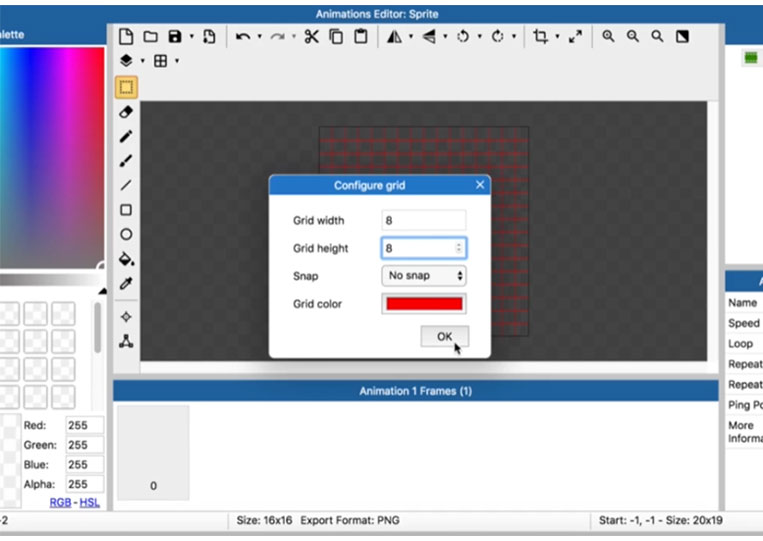
Now you can also configure the grid, and let’s say I want to create an 8 x 8 grid.
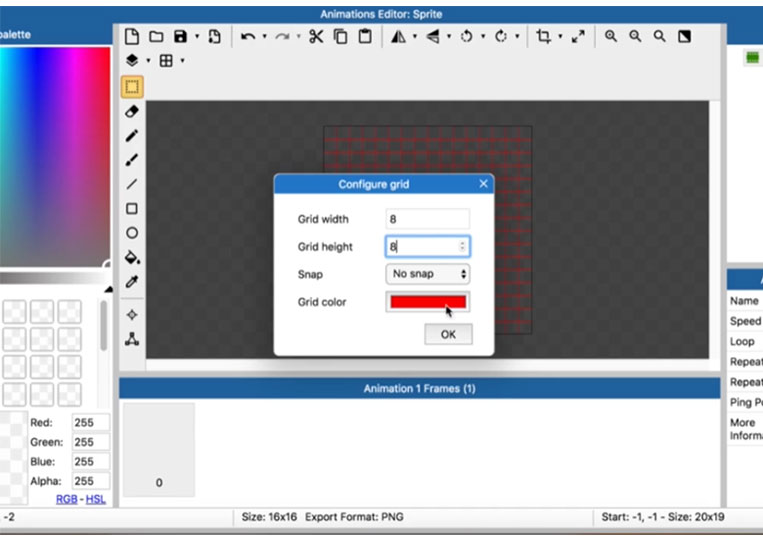
Red is a good color because it pops. If you’re using red as your primary color, you may want to try a different color.
We have four quadrants here.
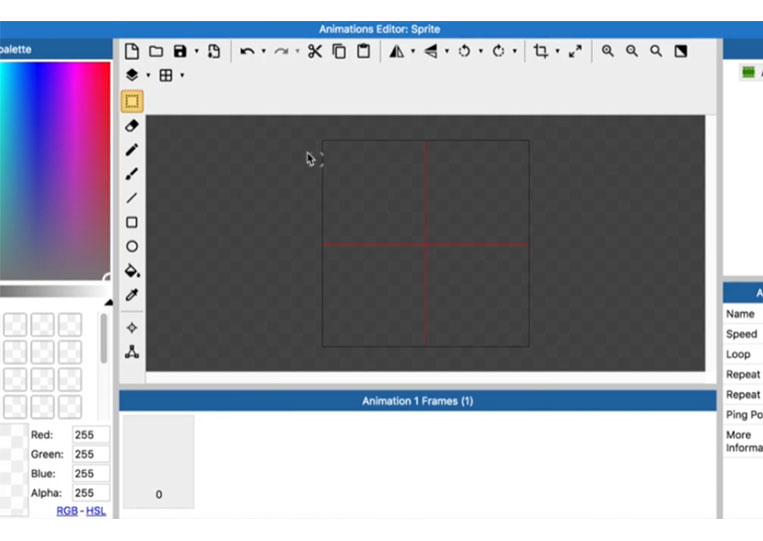
Let’s say we’re doing something basic.
Let’s make a platformer here.
I can do it here and cut everything out. If we make a simple platformer, I would make it grayscale.


I do this quickly.

Therefore, you can do a little better job with this one. You can add a few to this one. You can use this in a tile map. That’s why you use a grid.
We’ll talk more about that in the tile map. For the most part, that’s where I use personal grids. I undo all that because I don’t need anything here and I go back to the character I created.
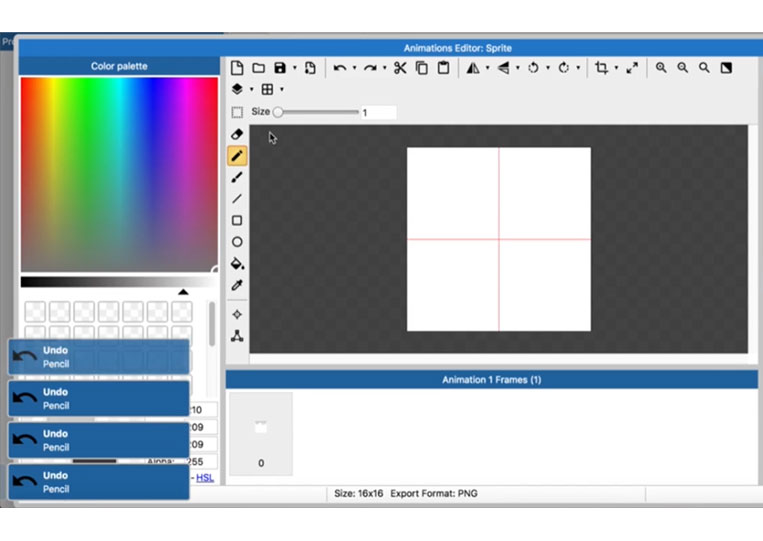

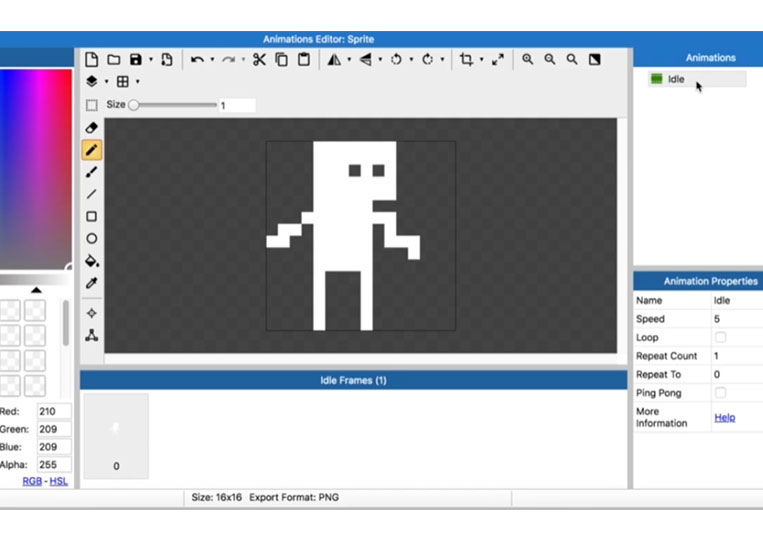
Begin! I turn off the grid.
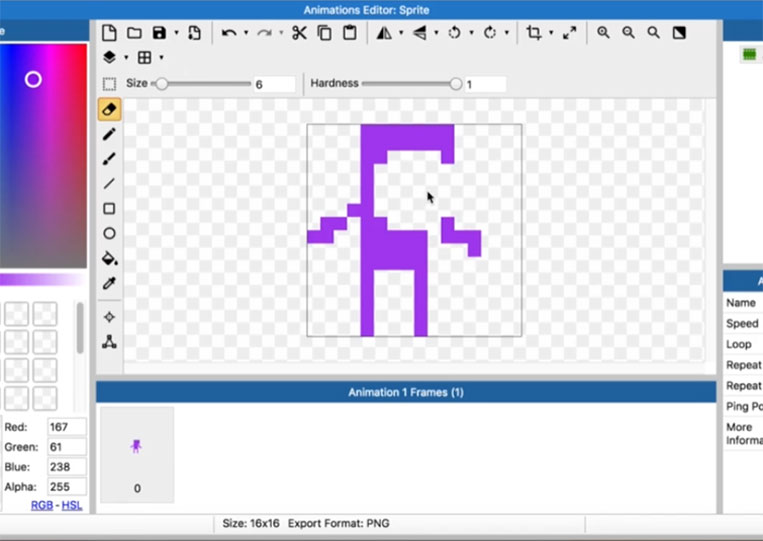
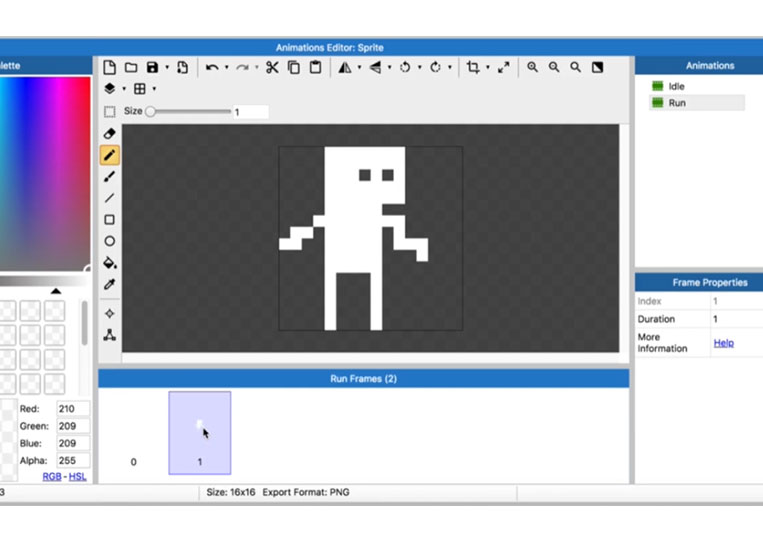
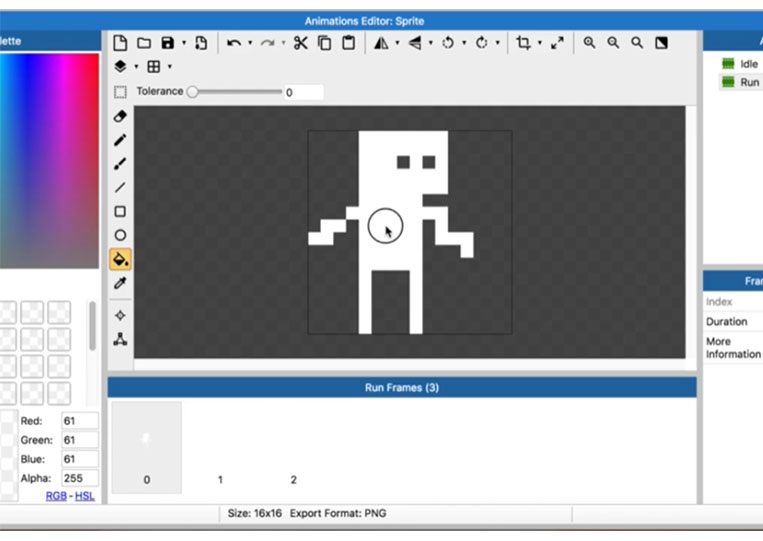
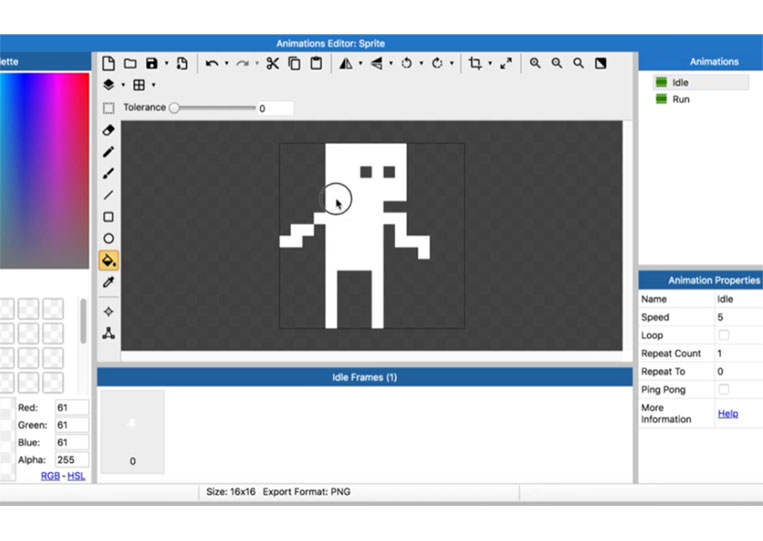
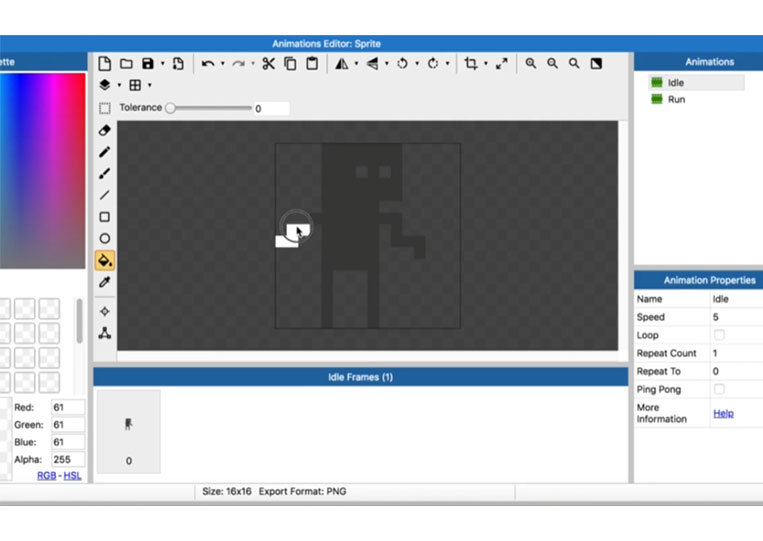
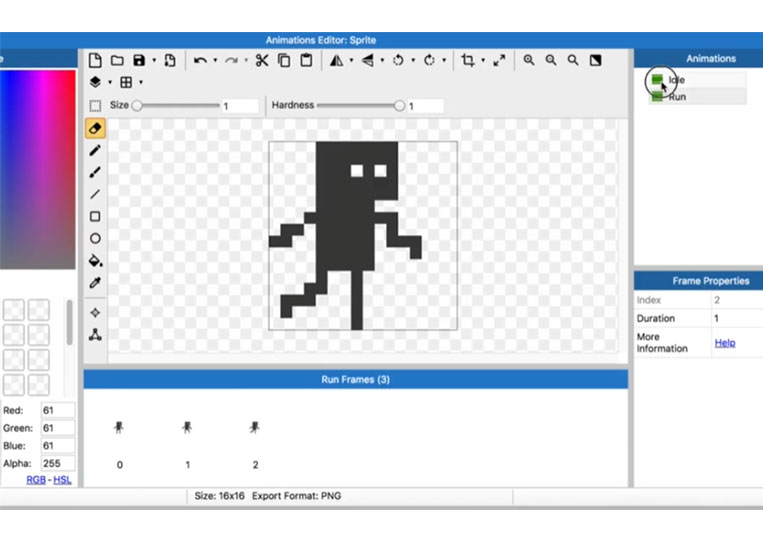
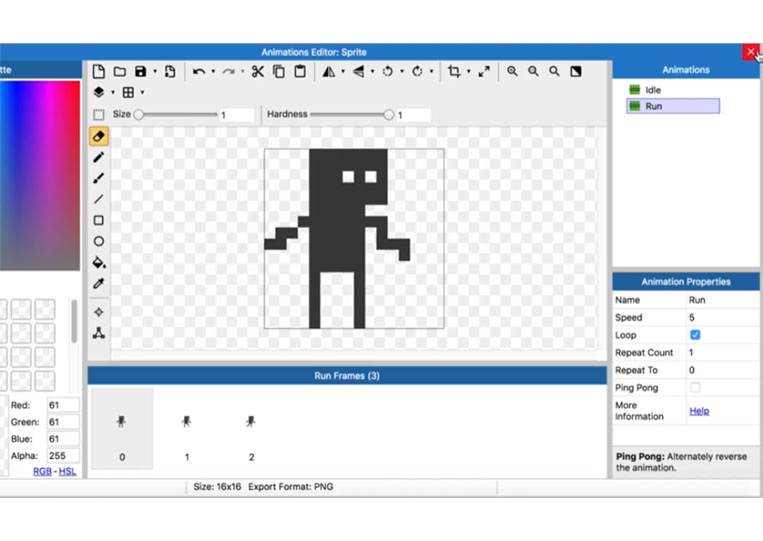
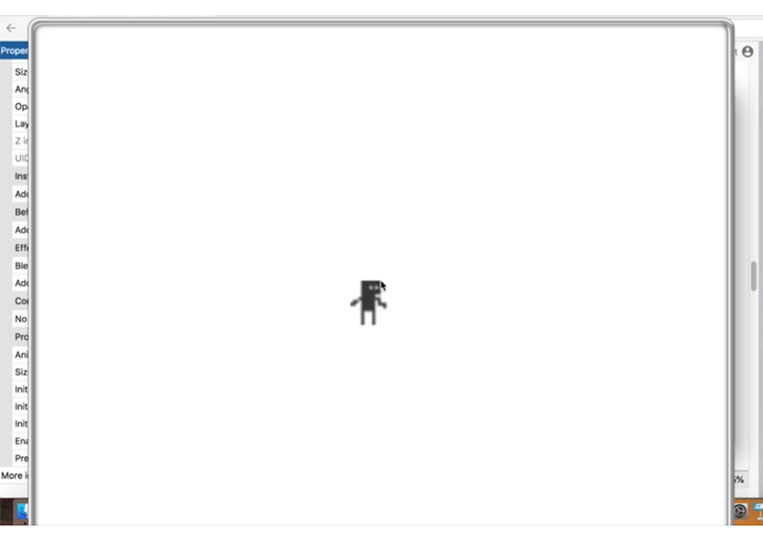
We have an Animations, let’s call this title Idle


Usually, when you have a character, you get an animation that doesn’t work. It is just the standing character.
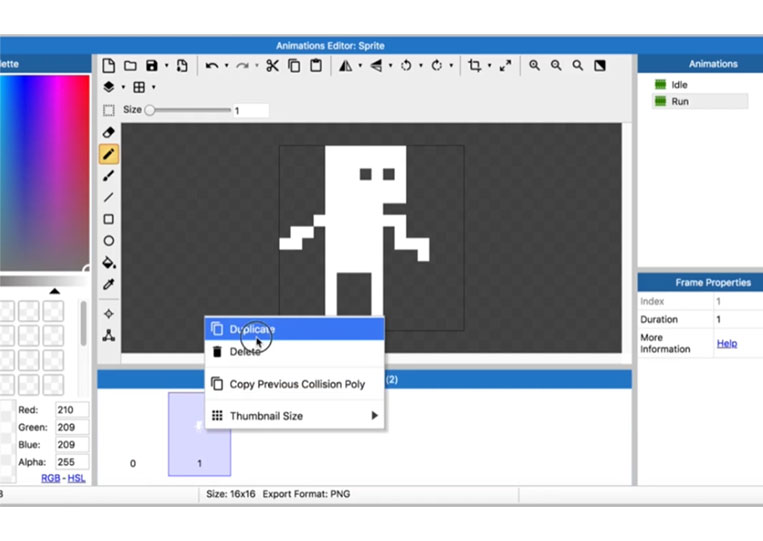
Let’s duplicate it.

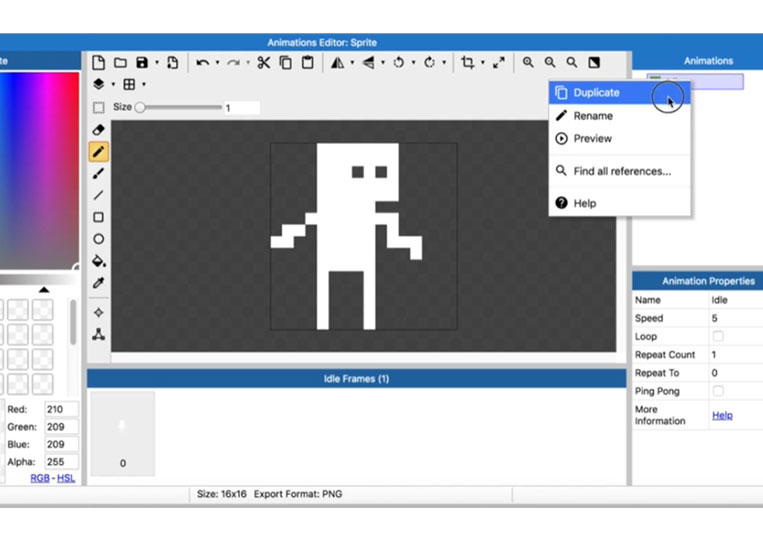

I copy it here.
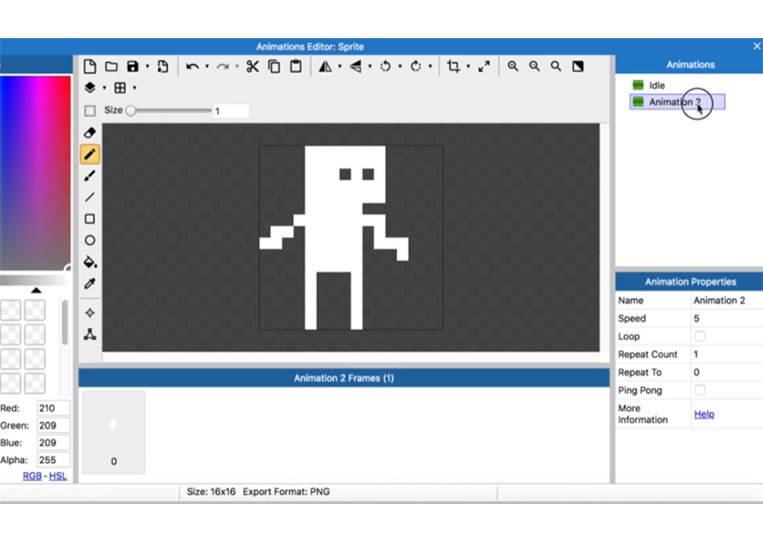
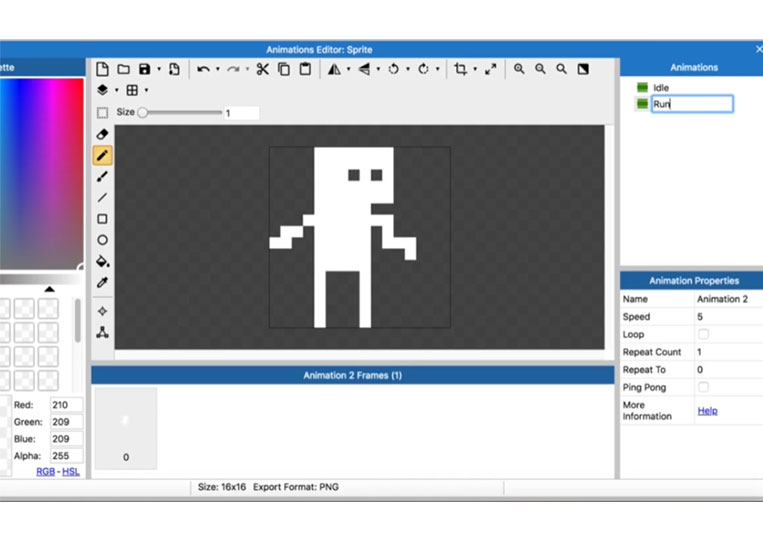
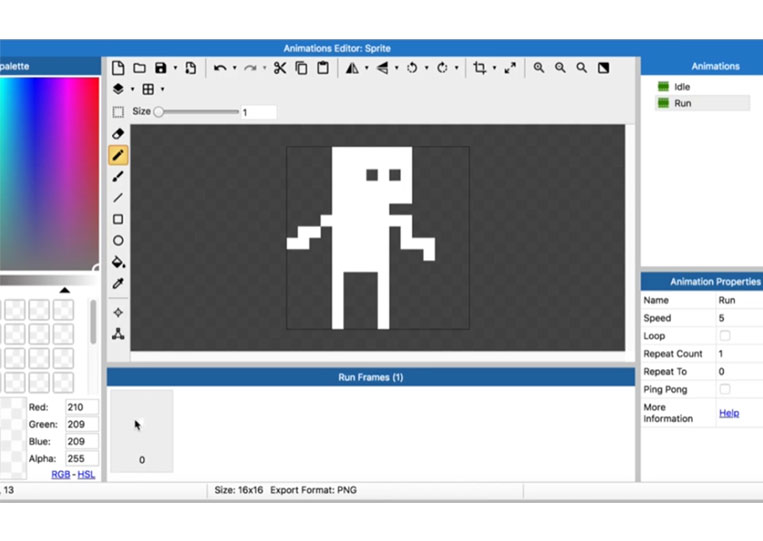
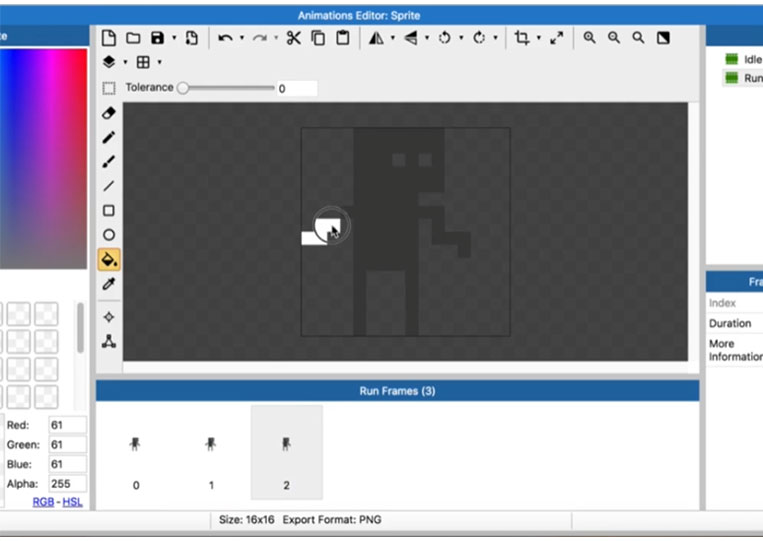
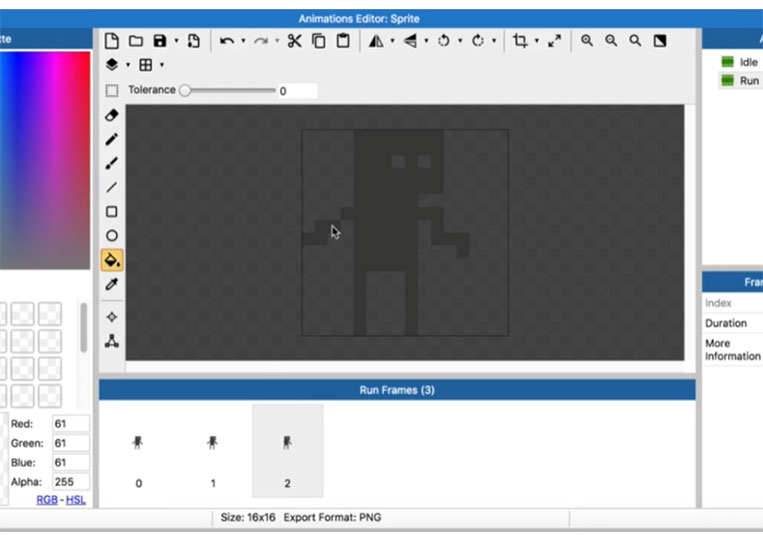
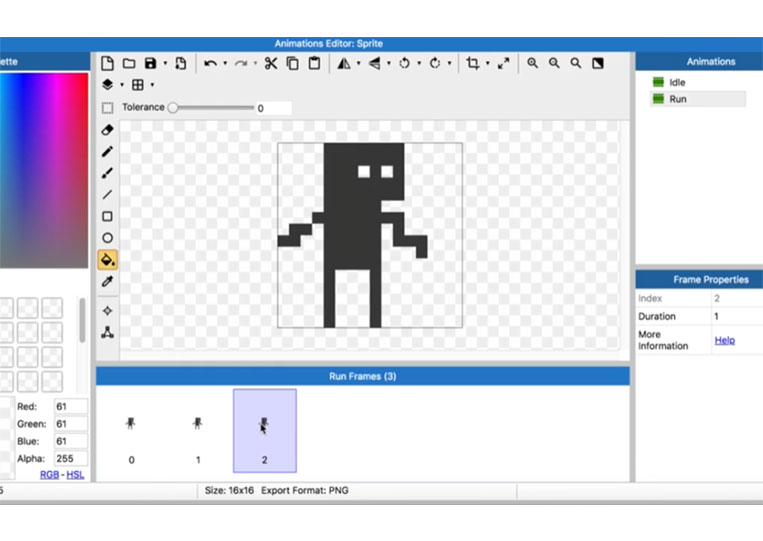
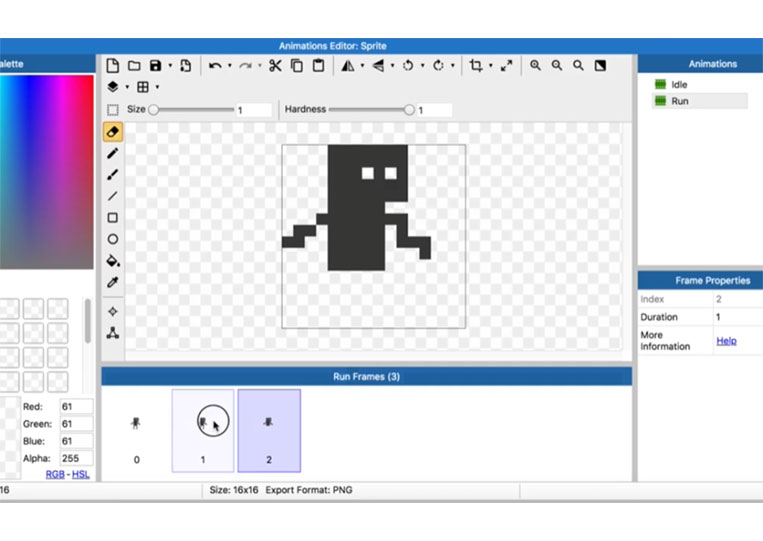
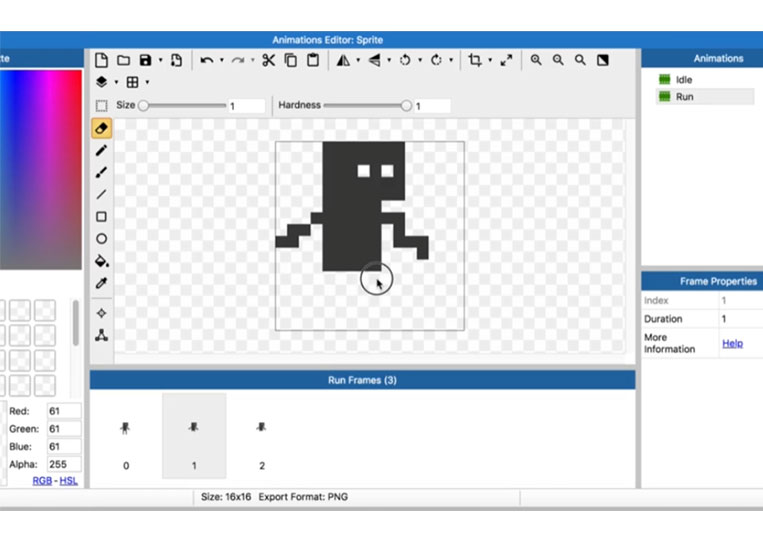
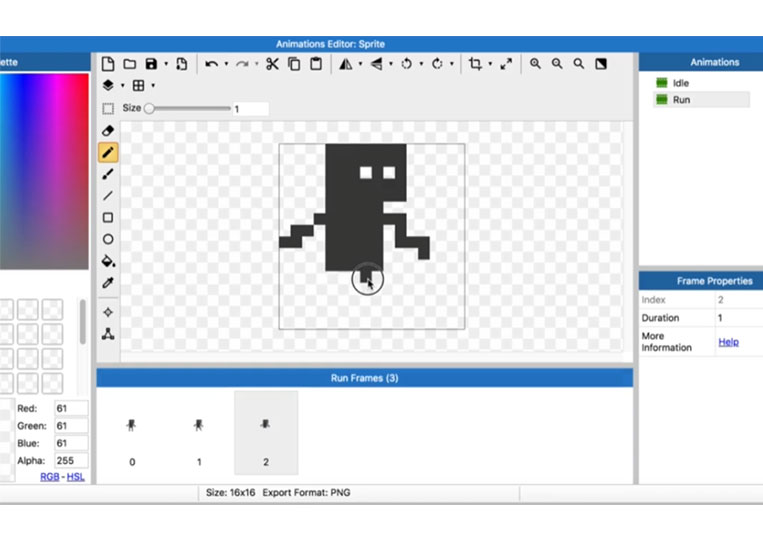
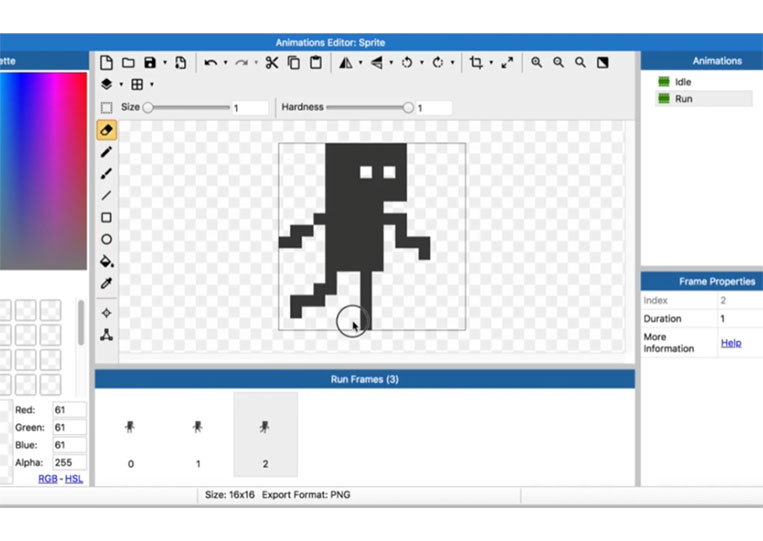
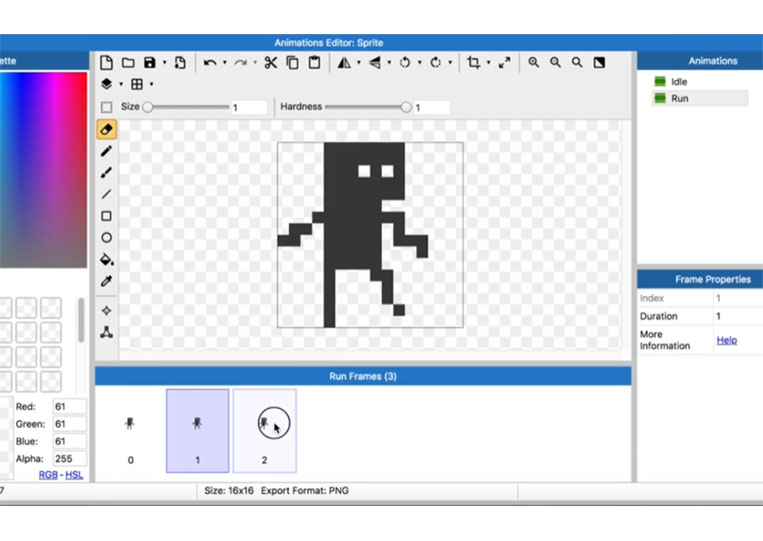
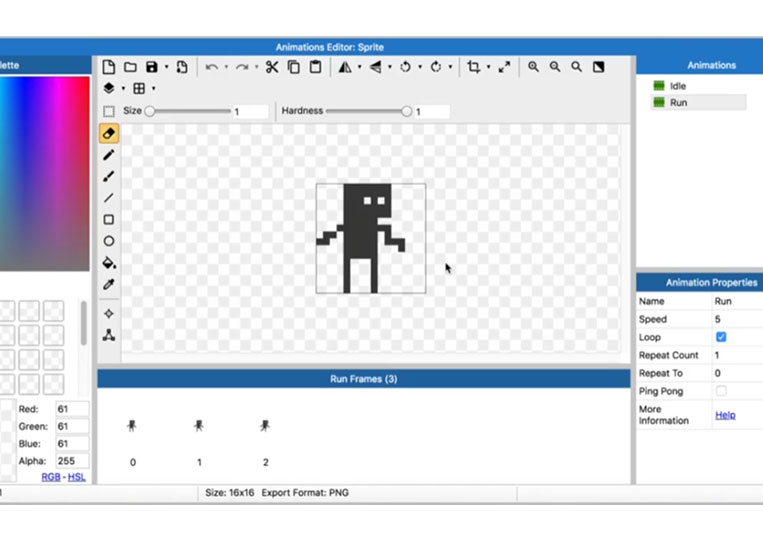
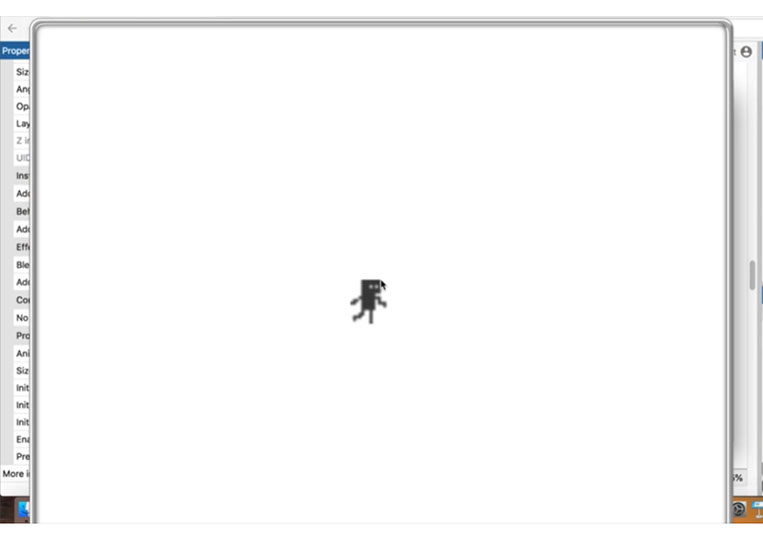
I call this Run
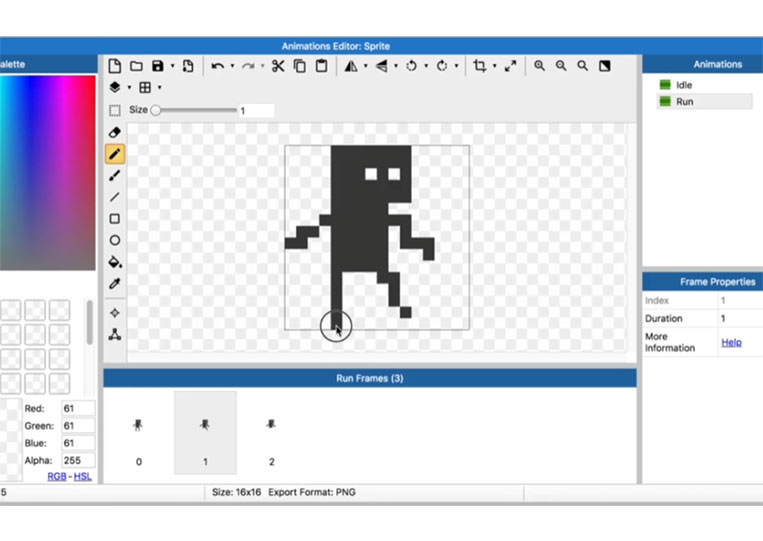
We’ll do a simple three-run lap here.

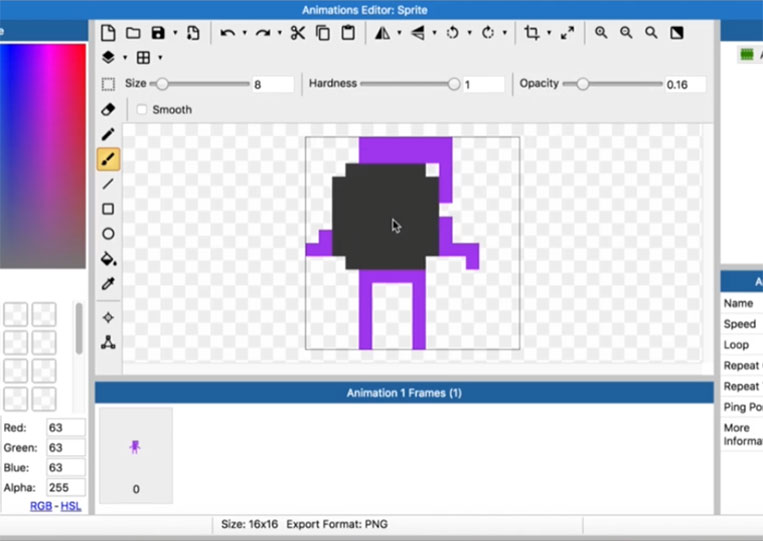
I make this character black or dark gray.
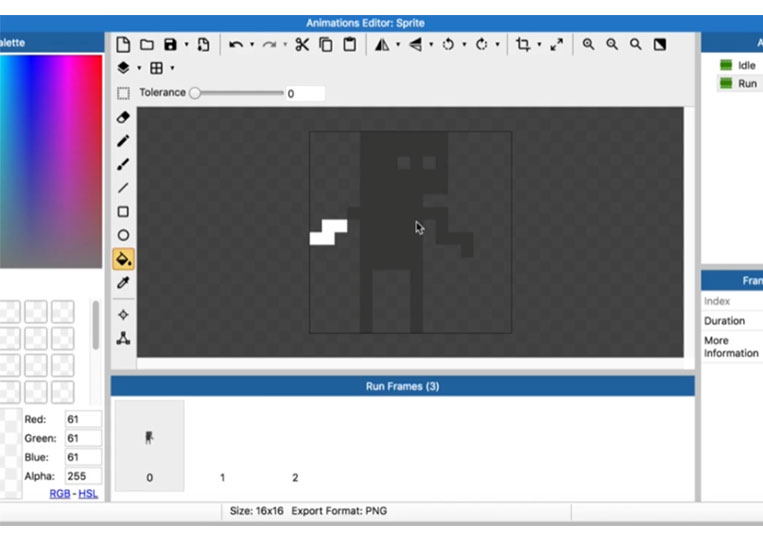
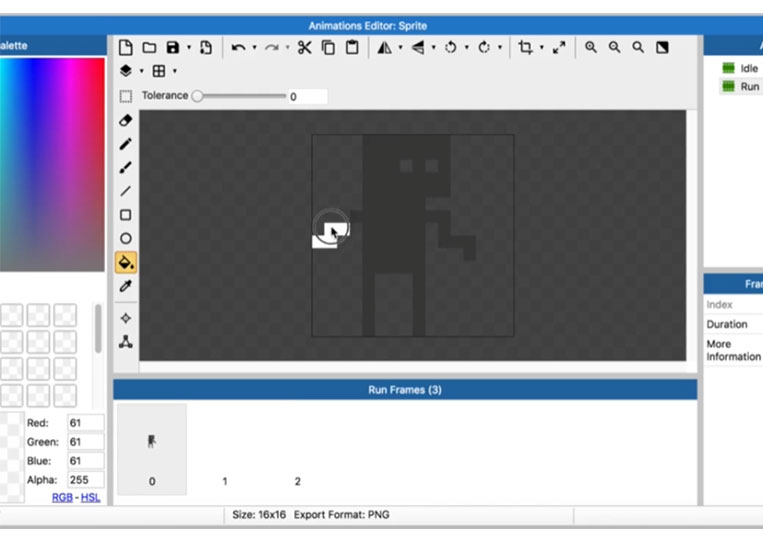
I have to do it for each one.

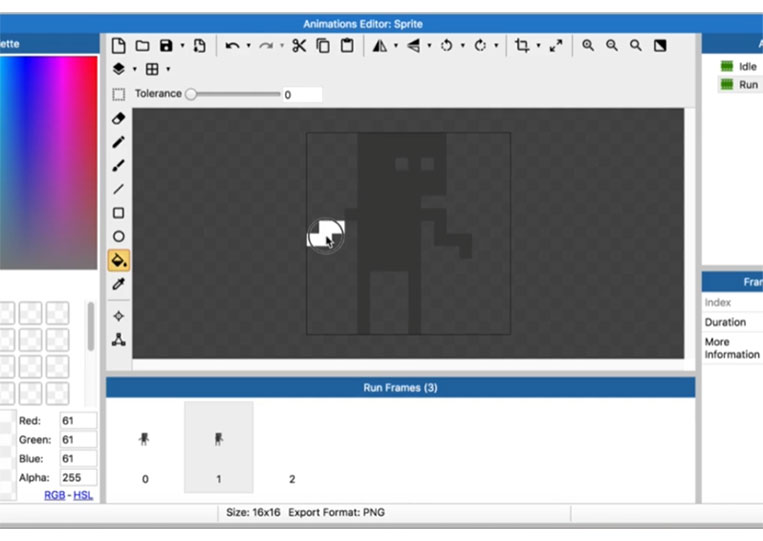
I do this to show you how long it takes to do each one by one.

That took quite a while.


Let’s undo that here.
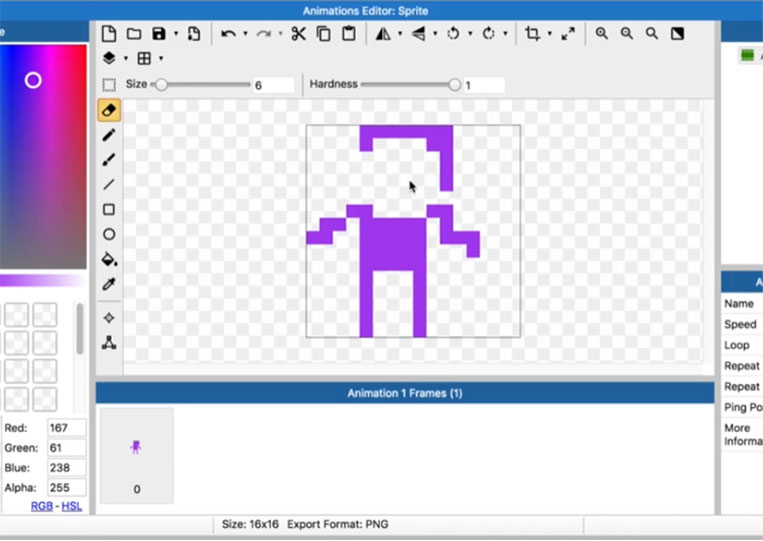
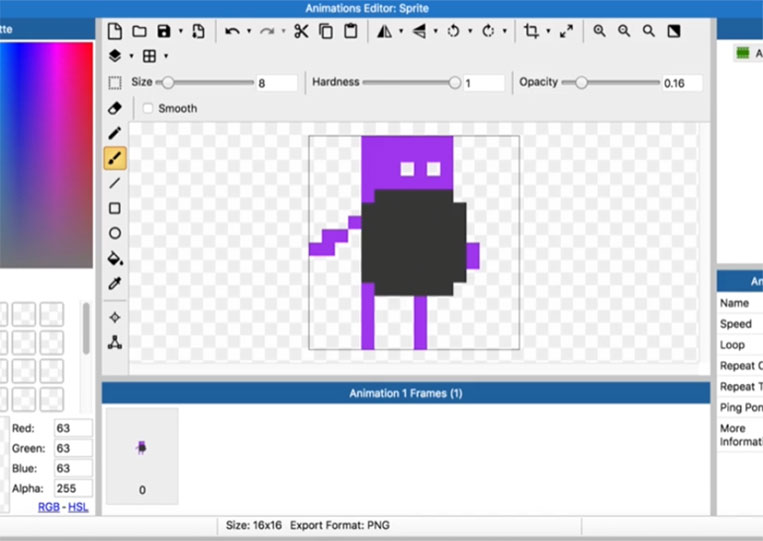
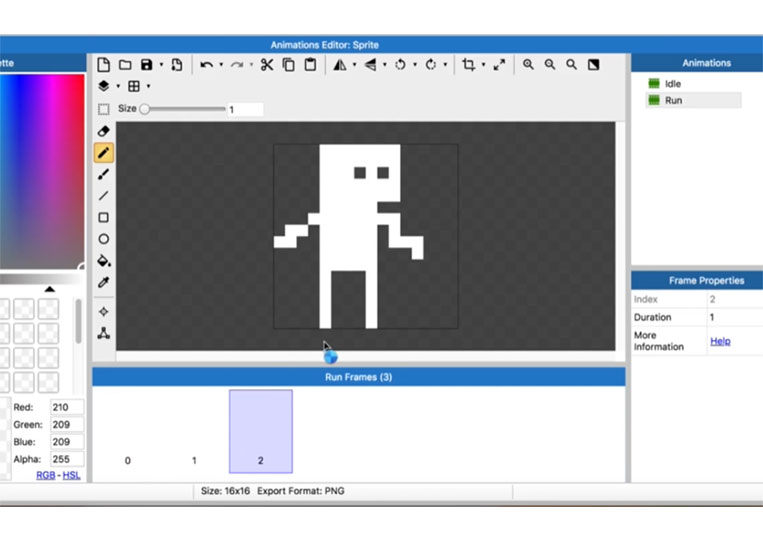
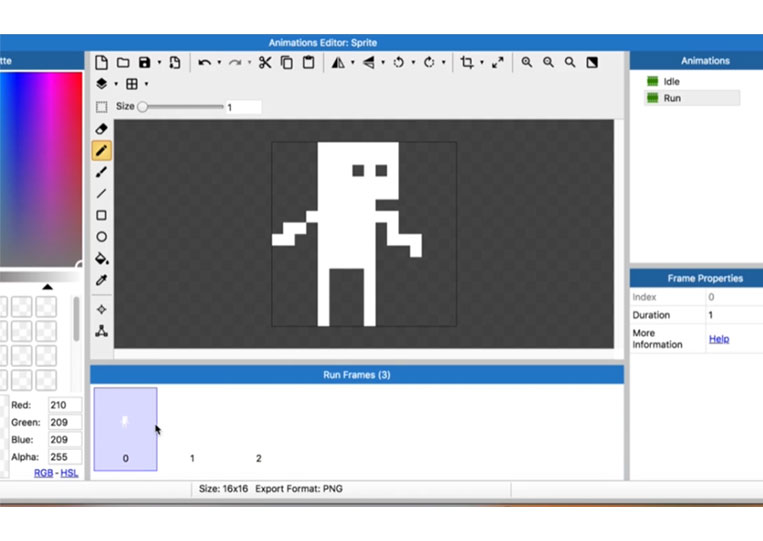
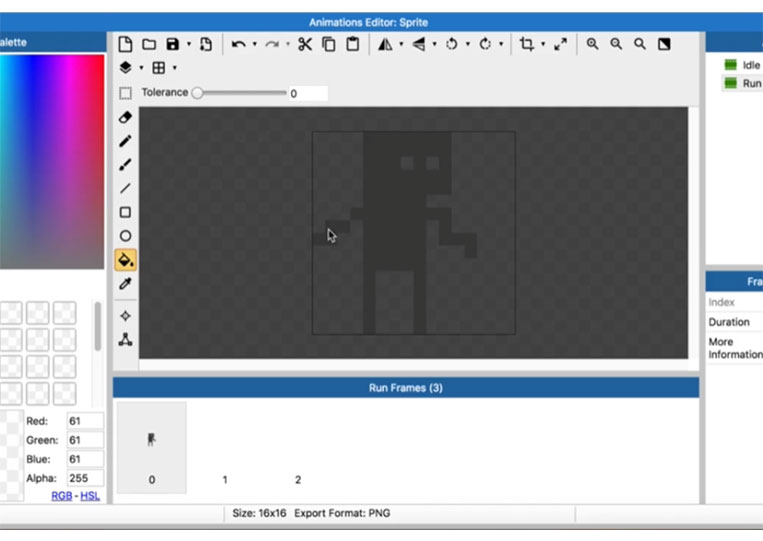
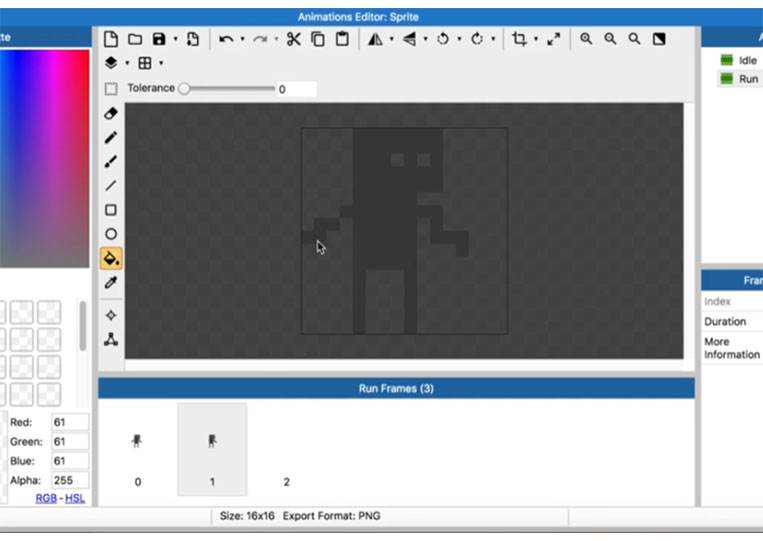
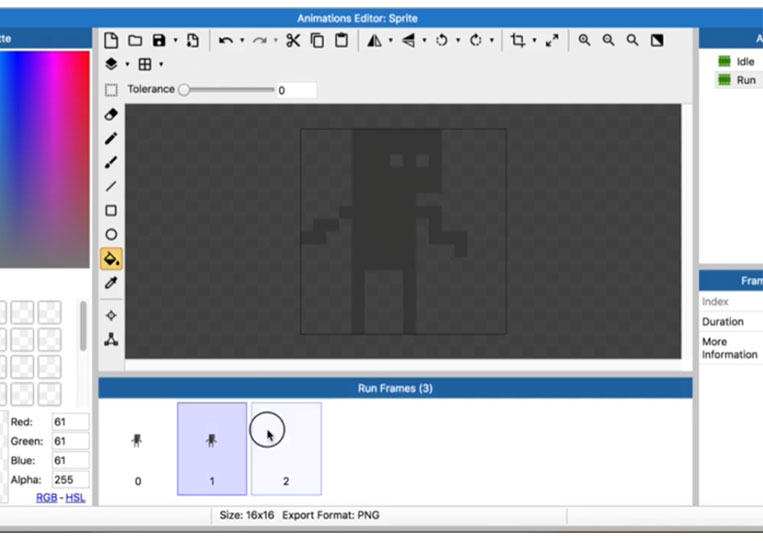
We will have three frames.
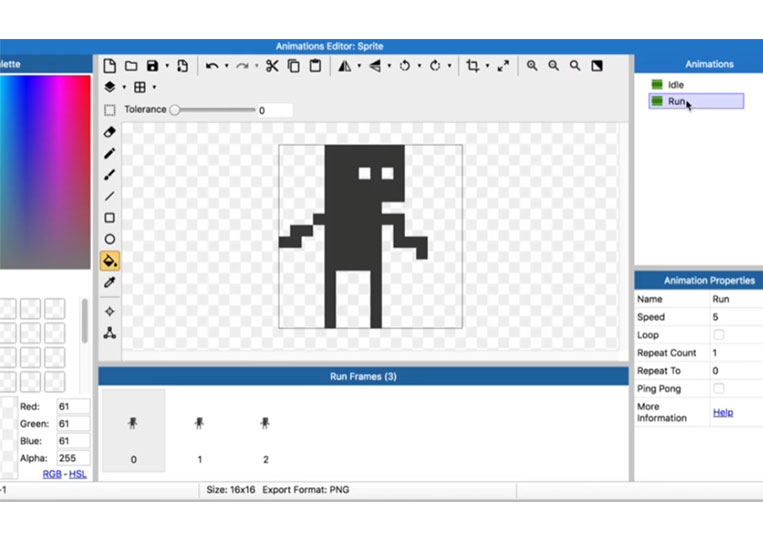


I take out its legs.
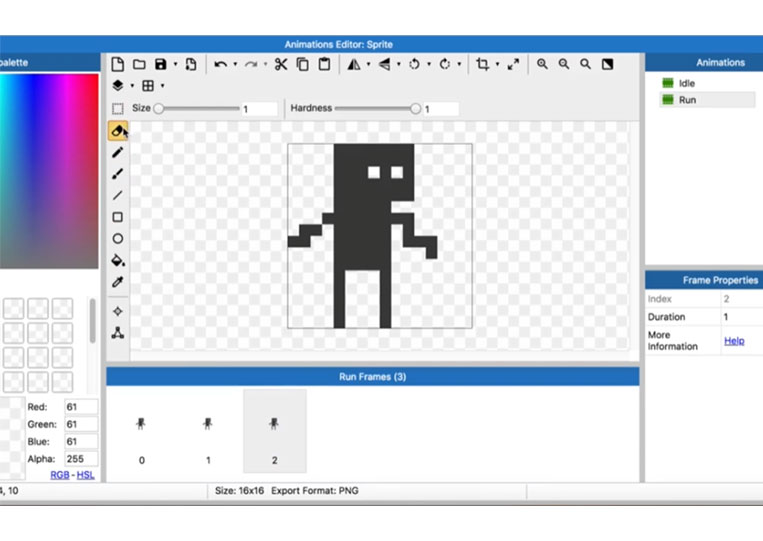
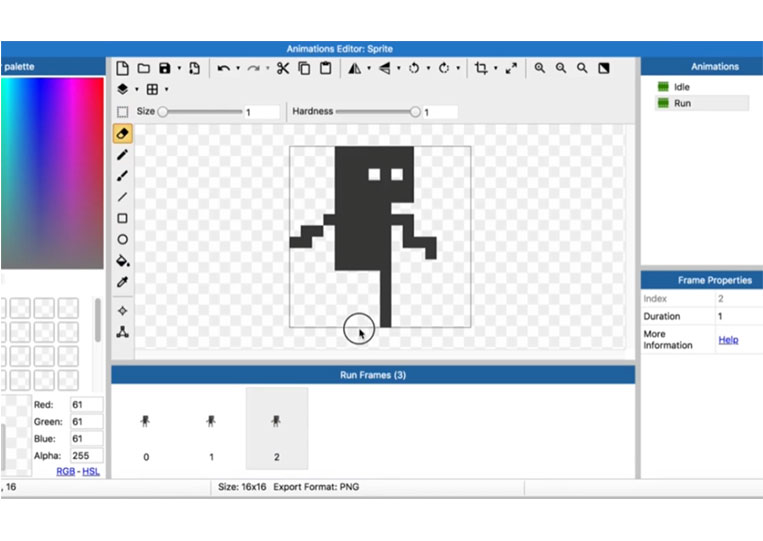


Essentially, it will be easy.
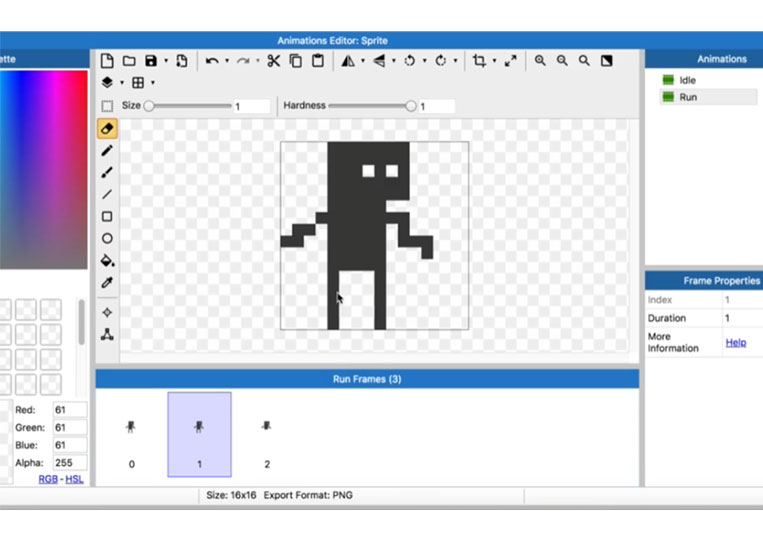

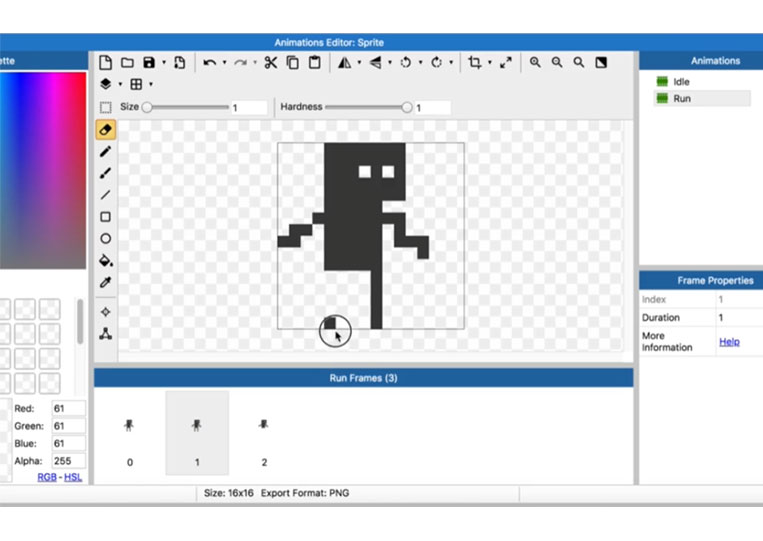


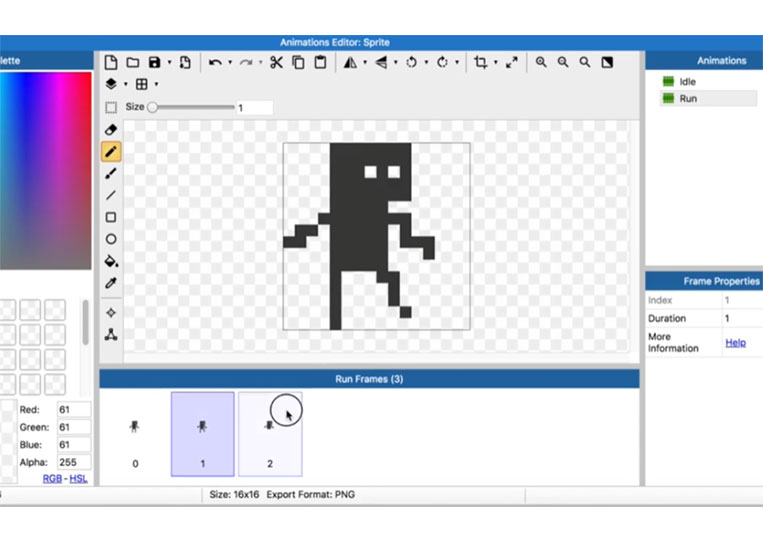
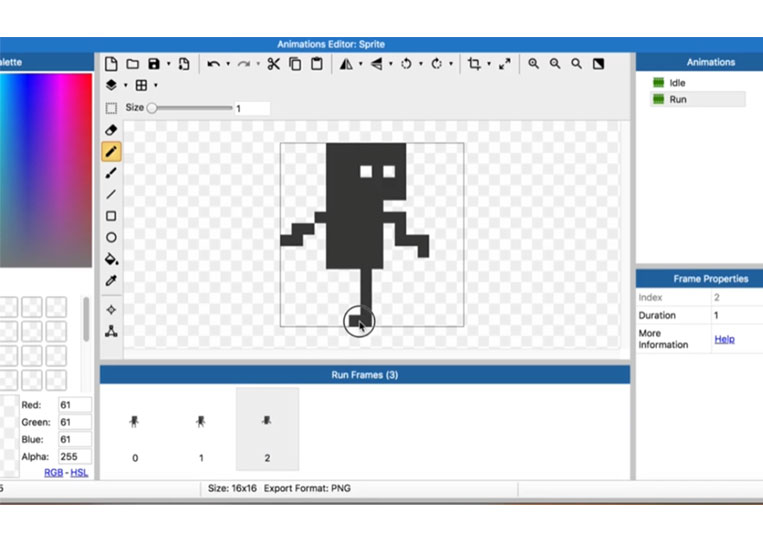

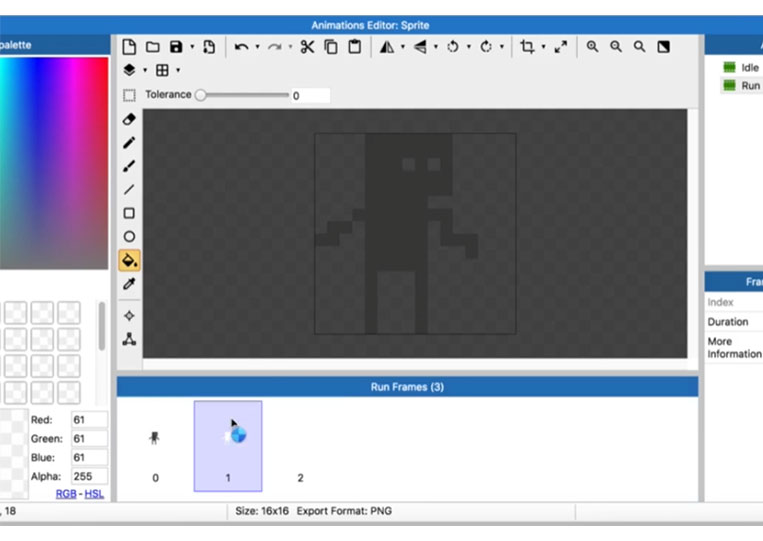
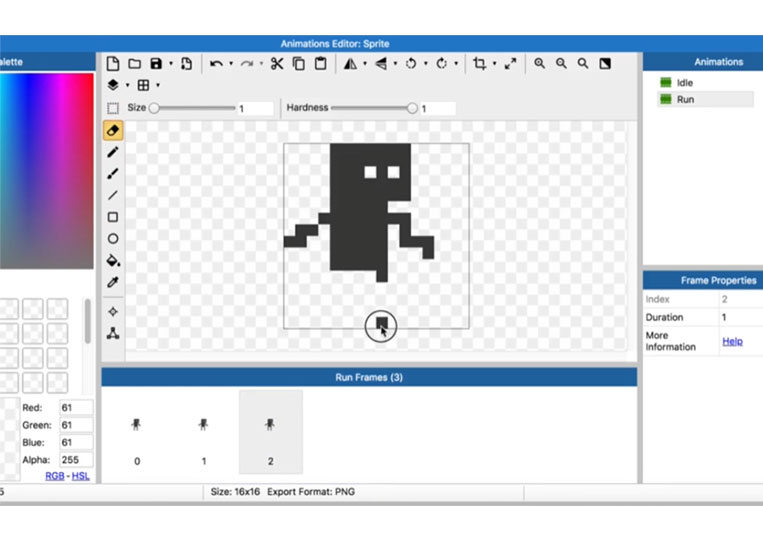
Take a look at the copies.
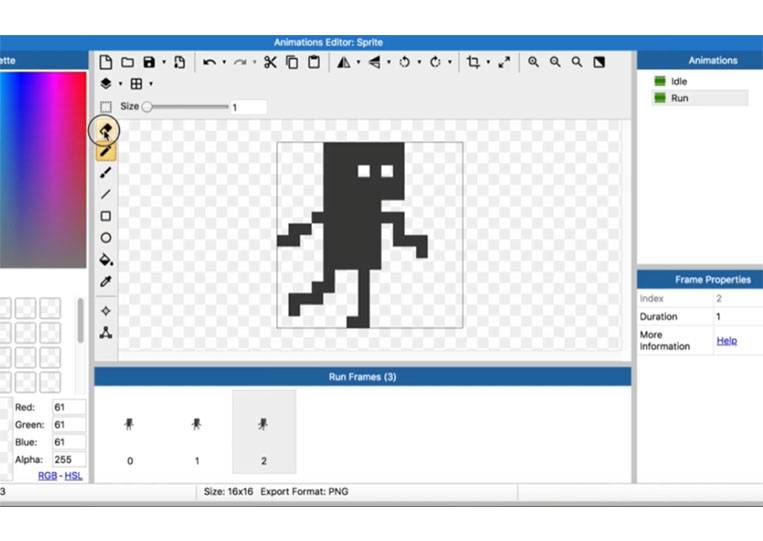
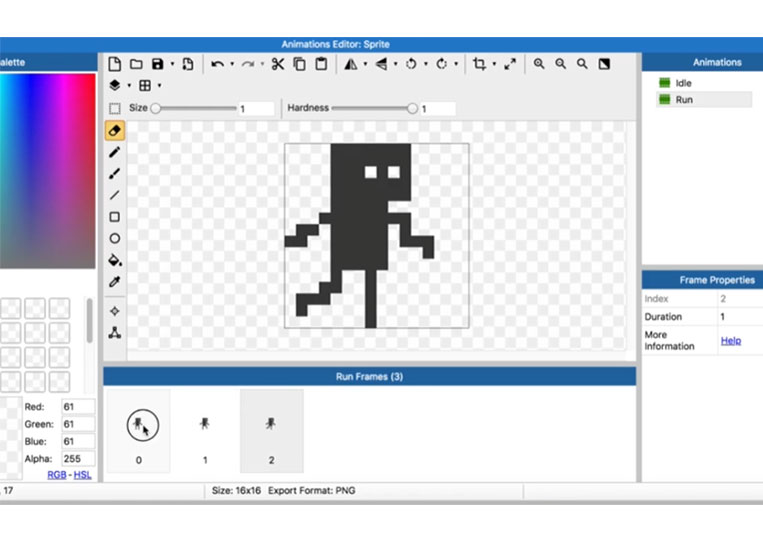
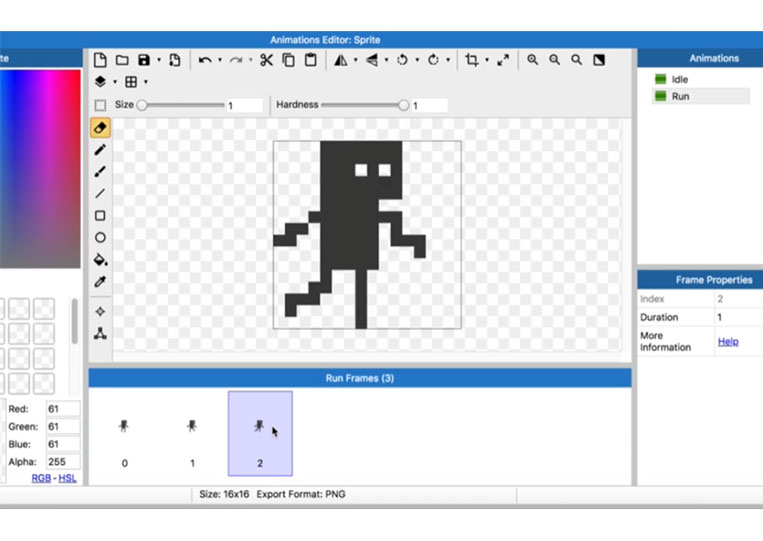
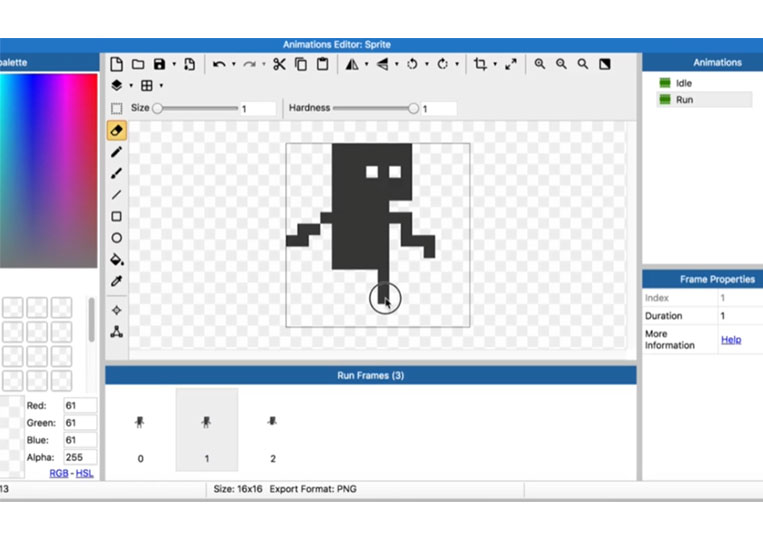
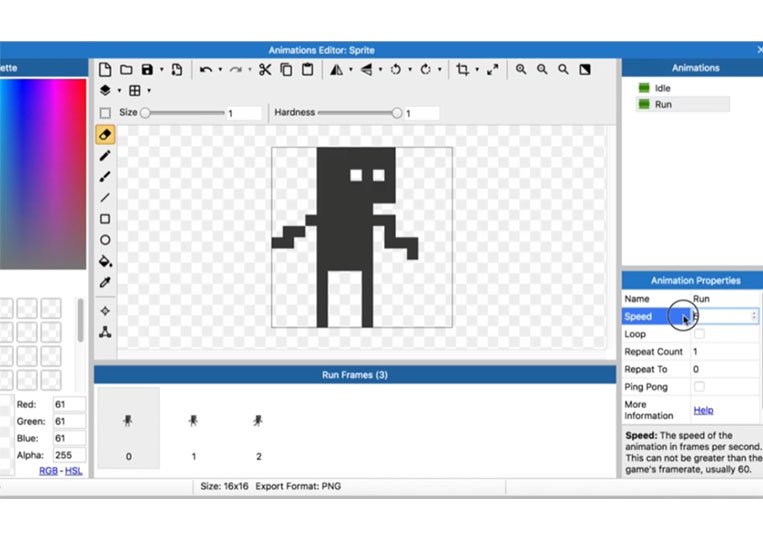
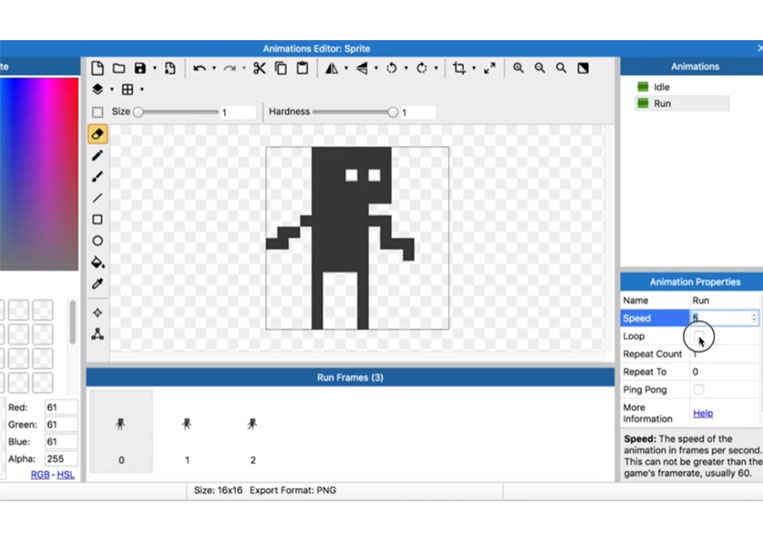
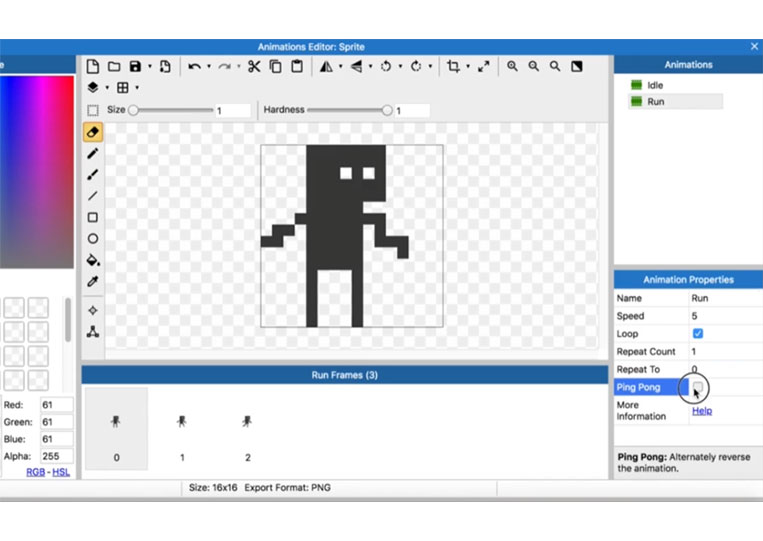
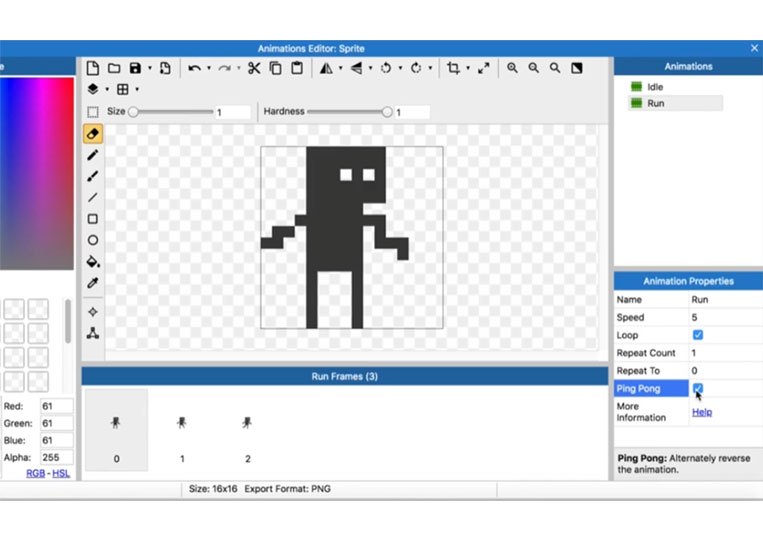
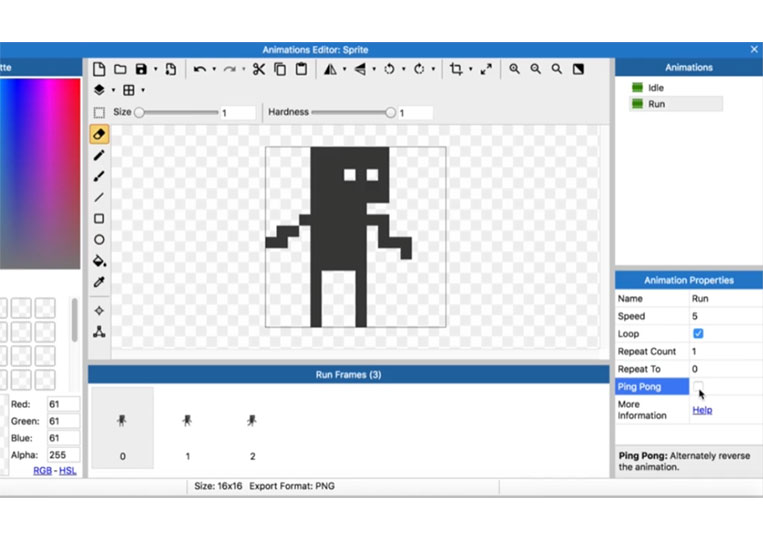
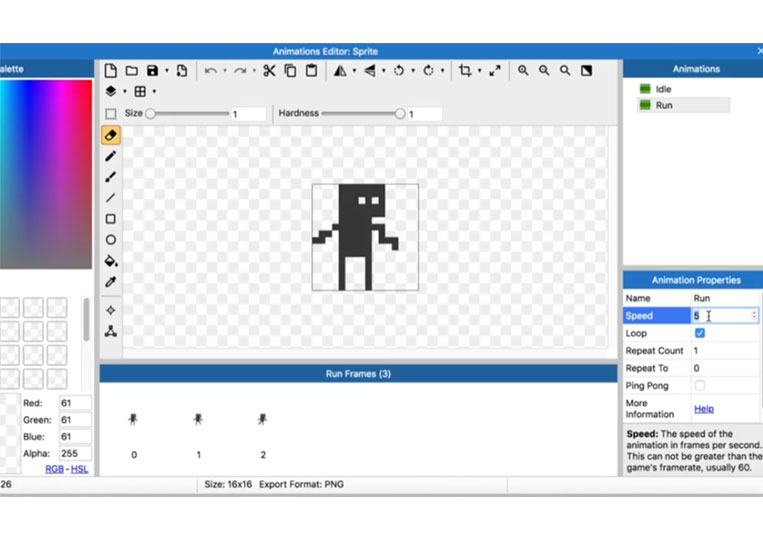
It works. You can change the speed.

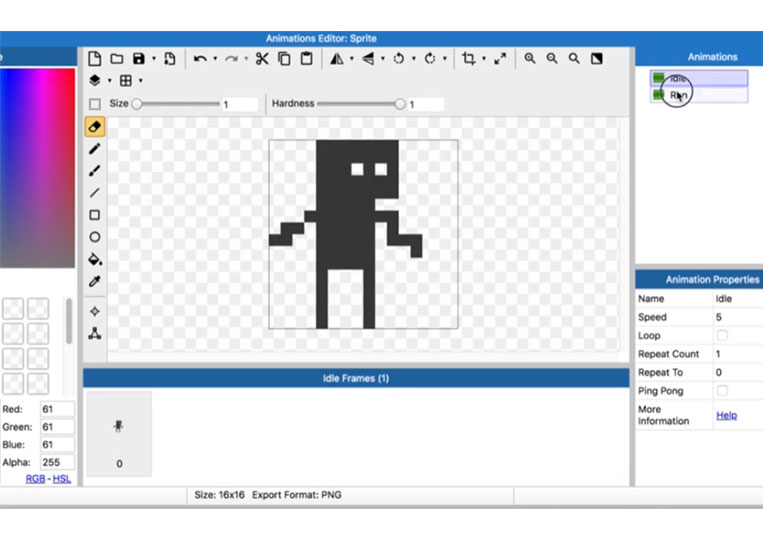

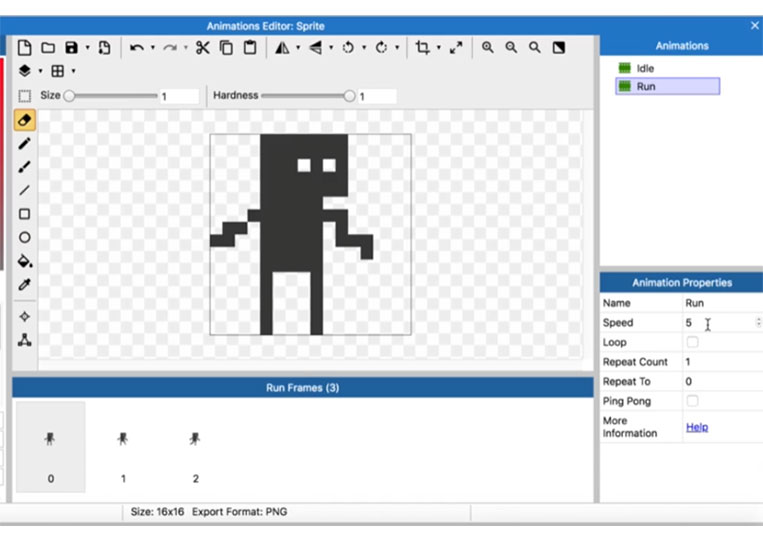
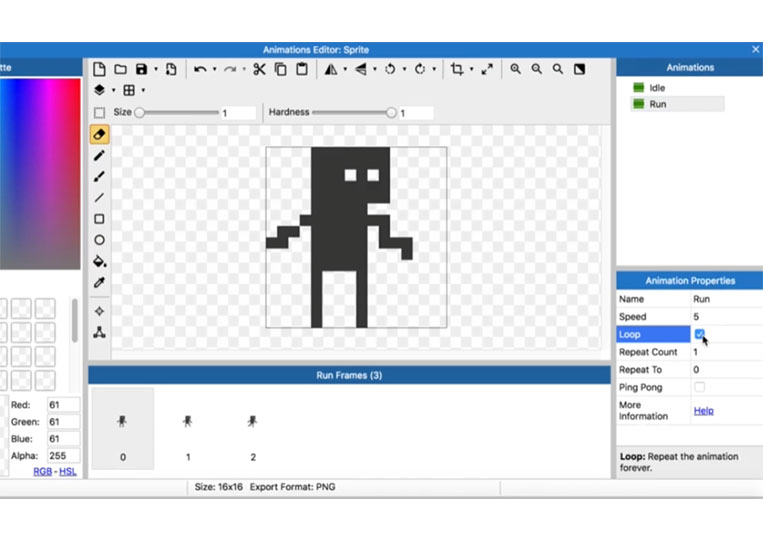
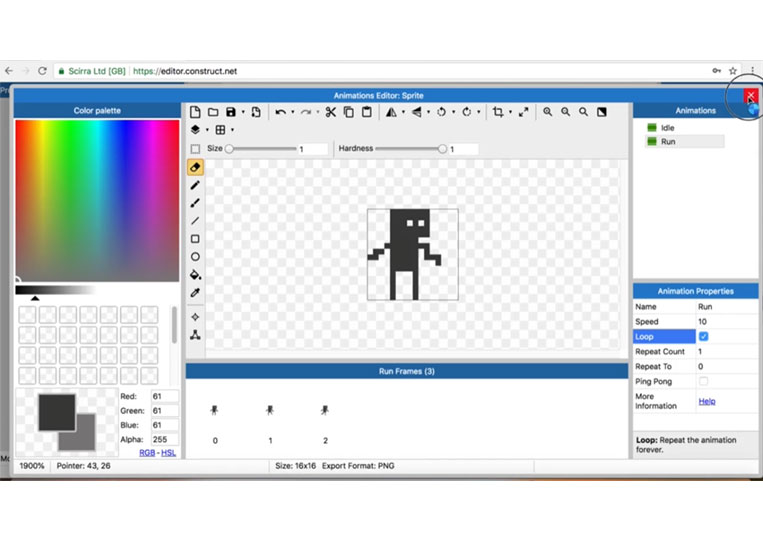
You can loop it for the run cycle.
You can set the repeat count.
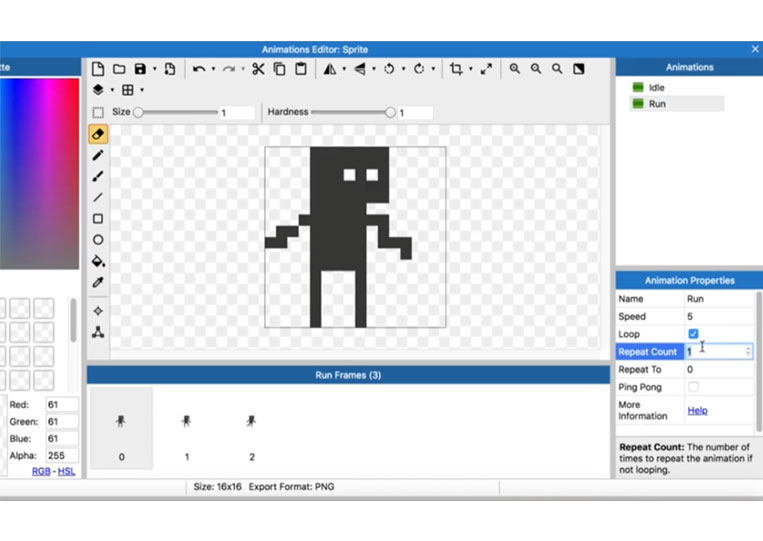
That’s all about a pixel art editor.
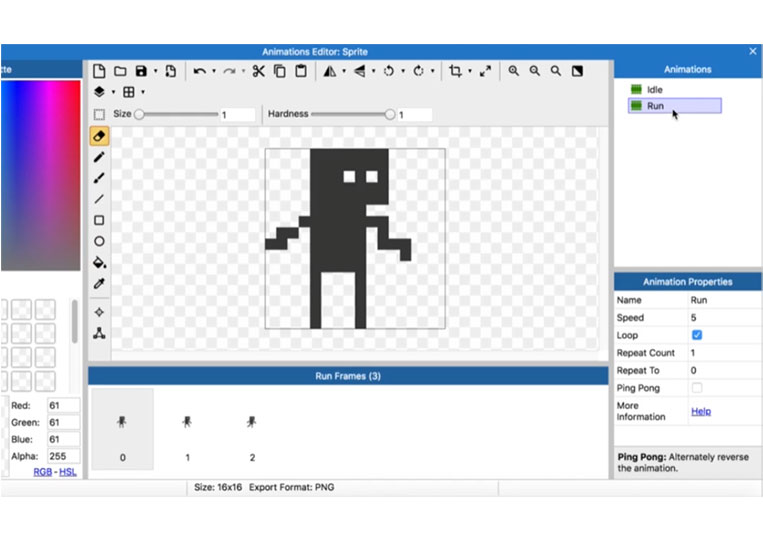
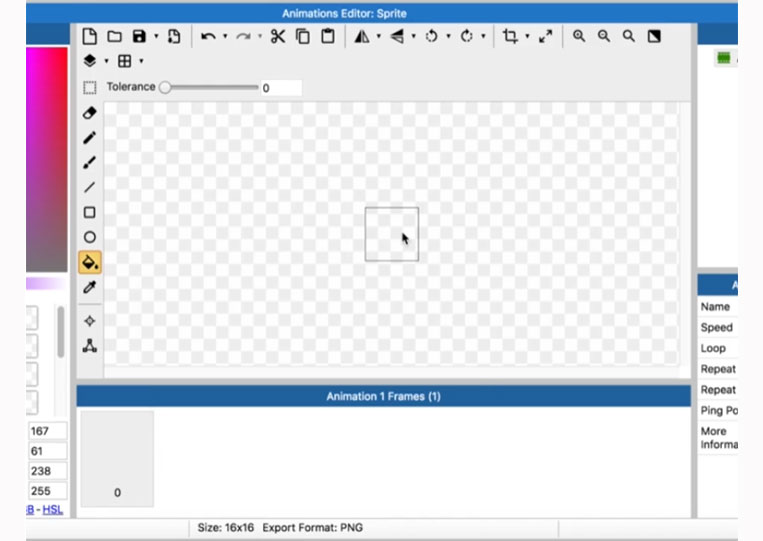
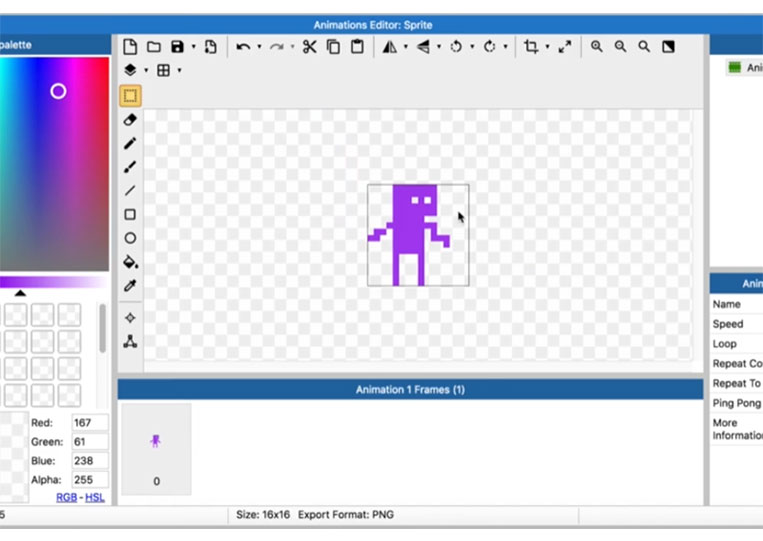
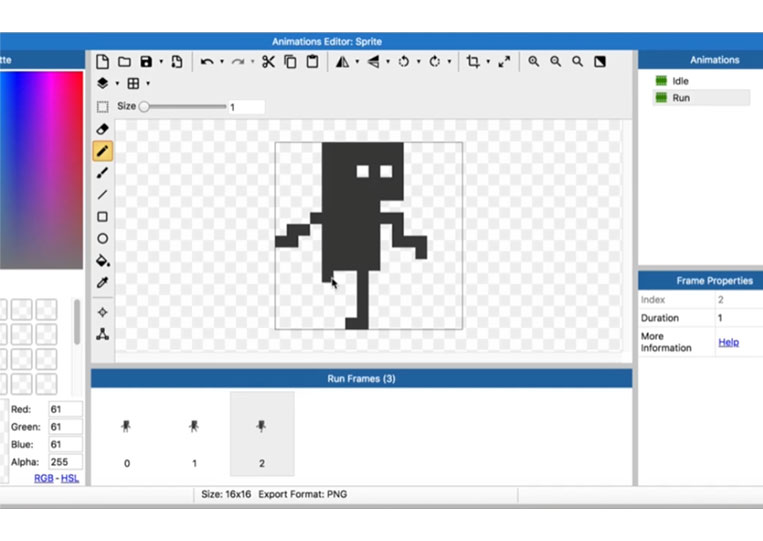
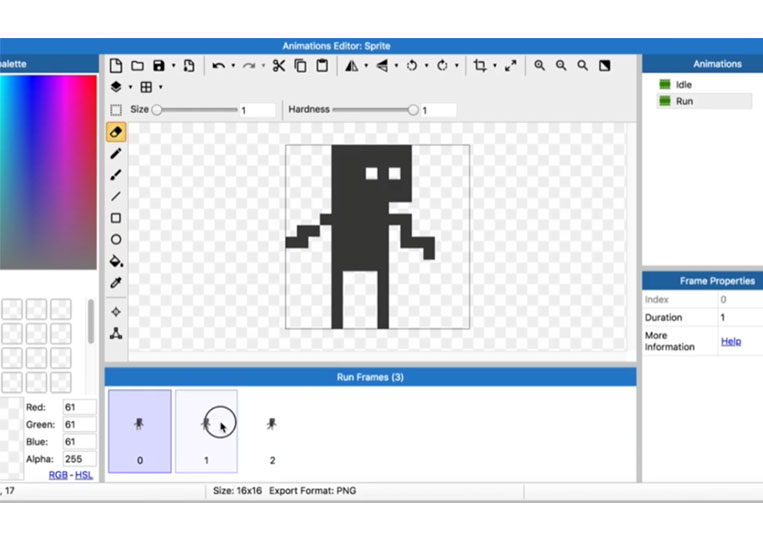
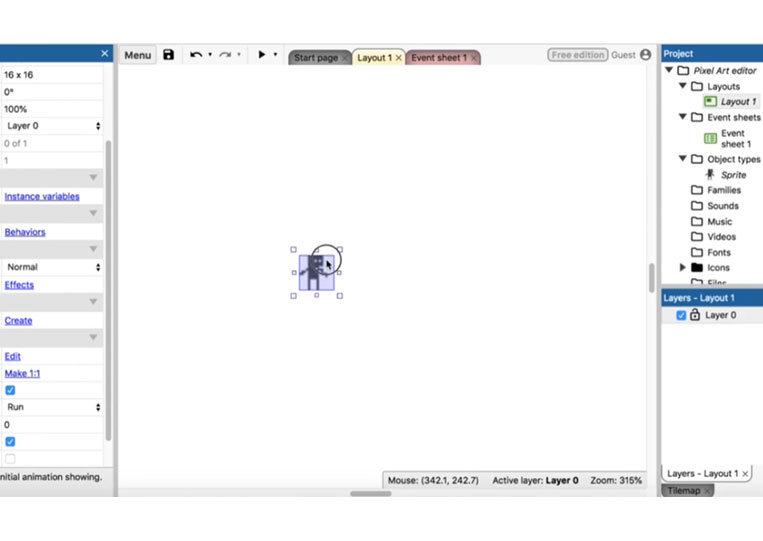
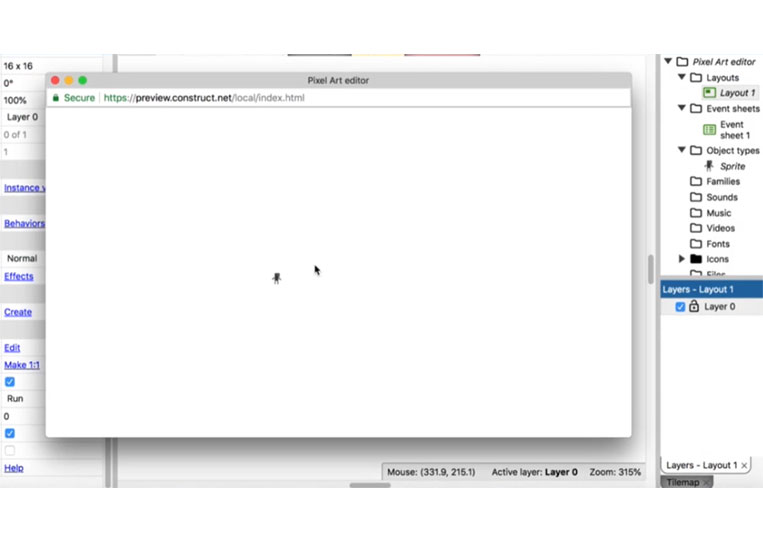
You can see that it is quite small.
Take a look at the size here.
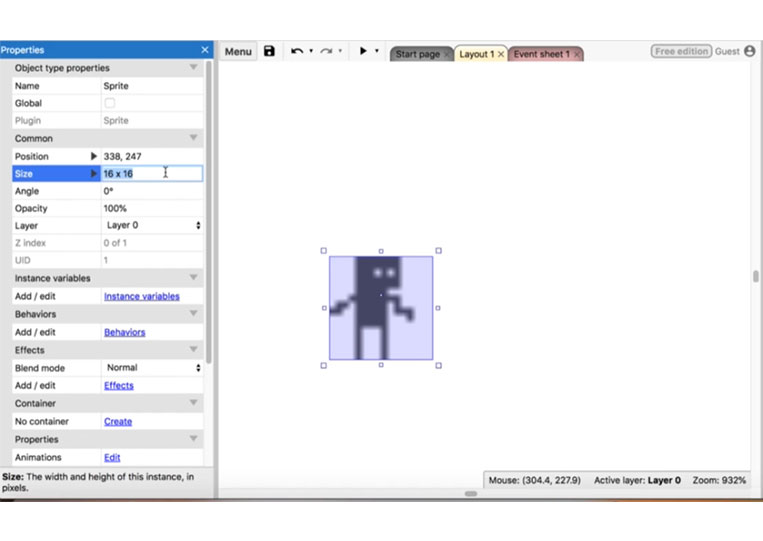
16×16.

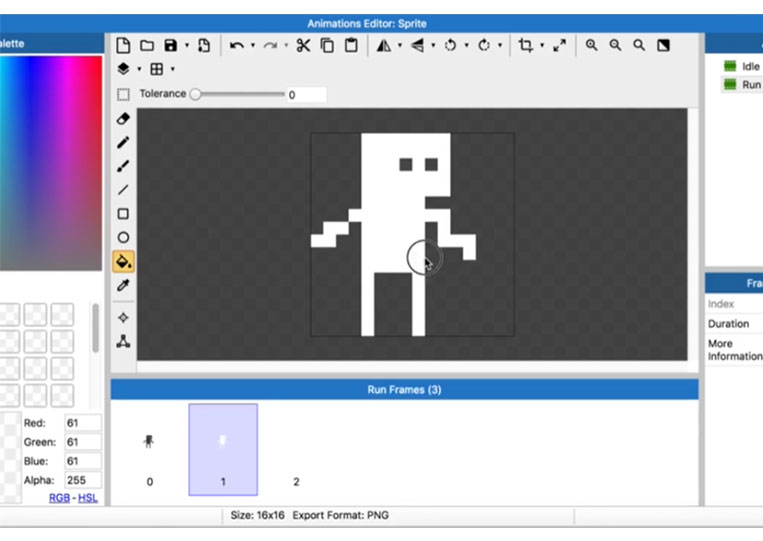
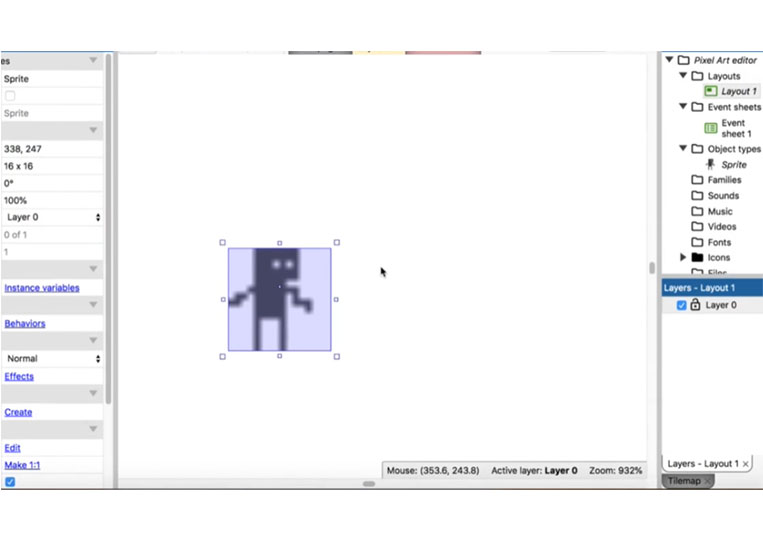
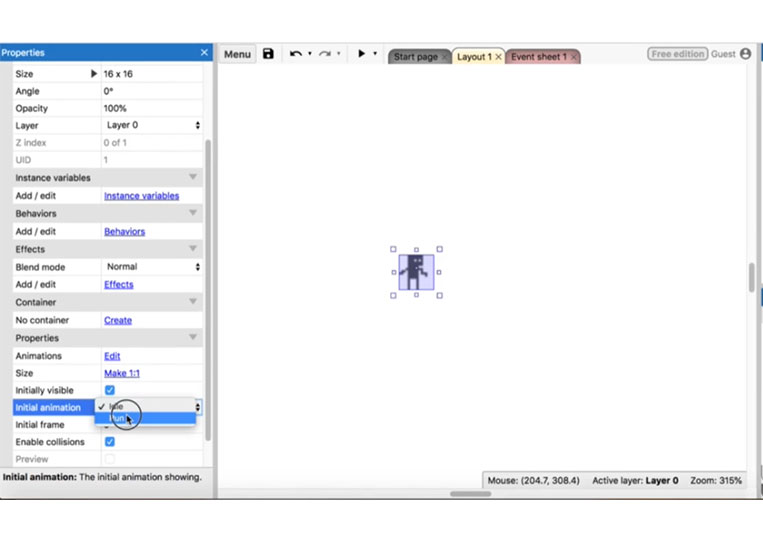
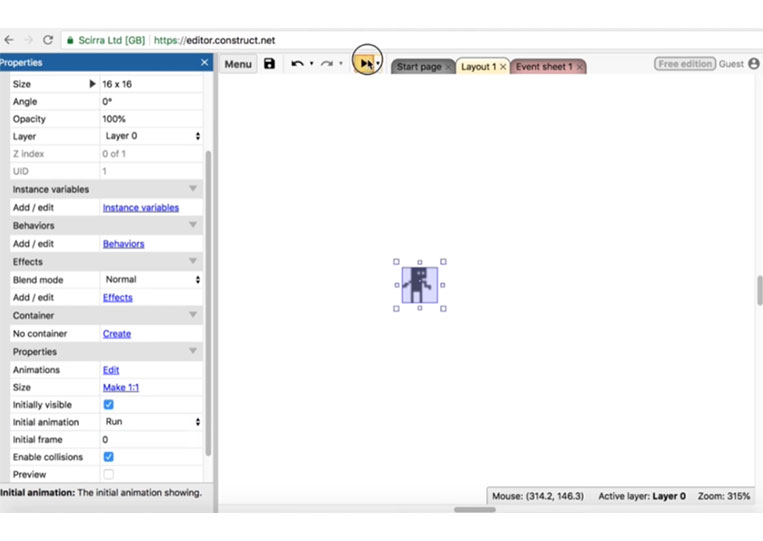
If we click Initial animation
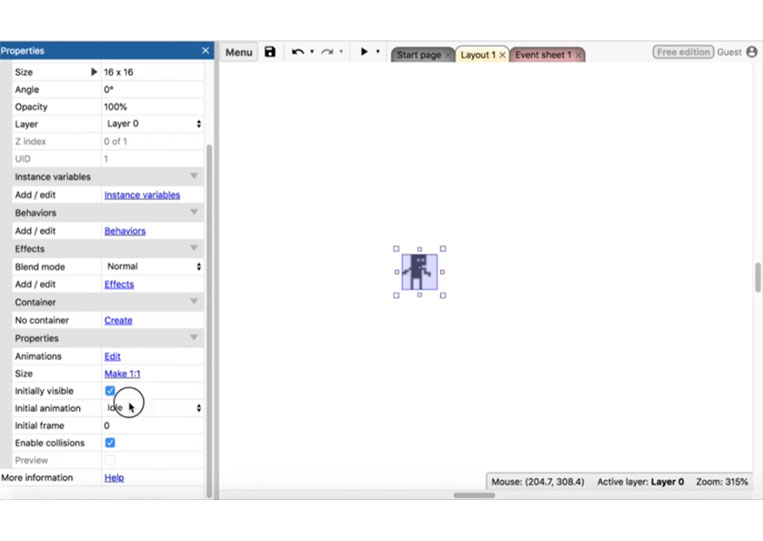
You can change it to Run. It will automatically do that.
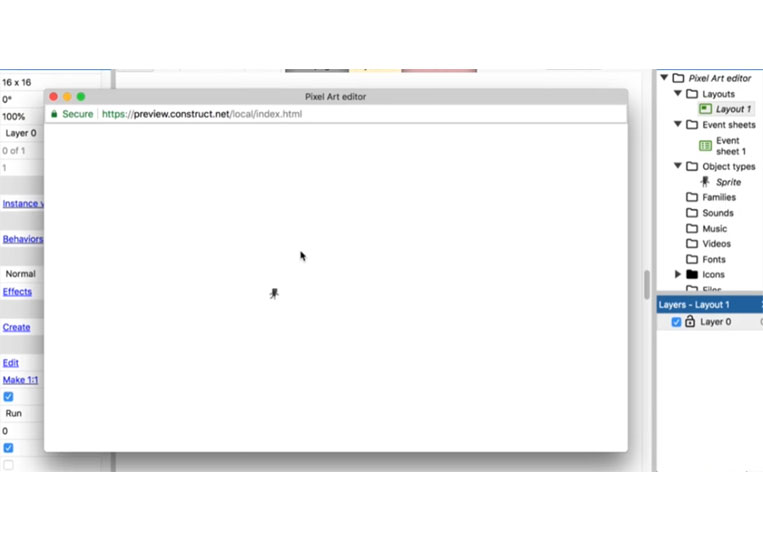
Begin!
Very very small but that’s it.
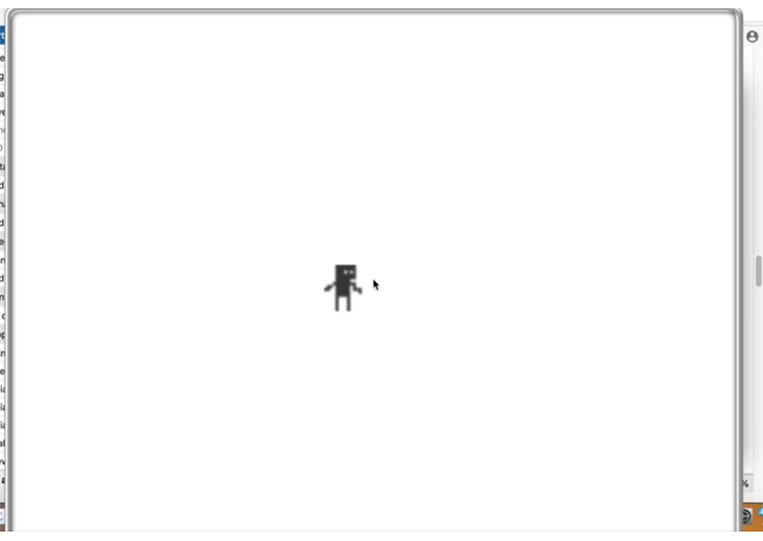
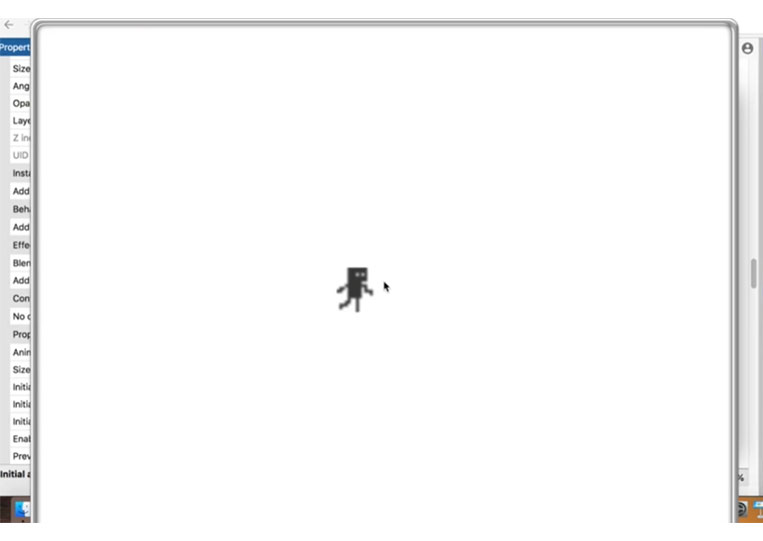
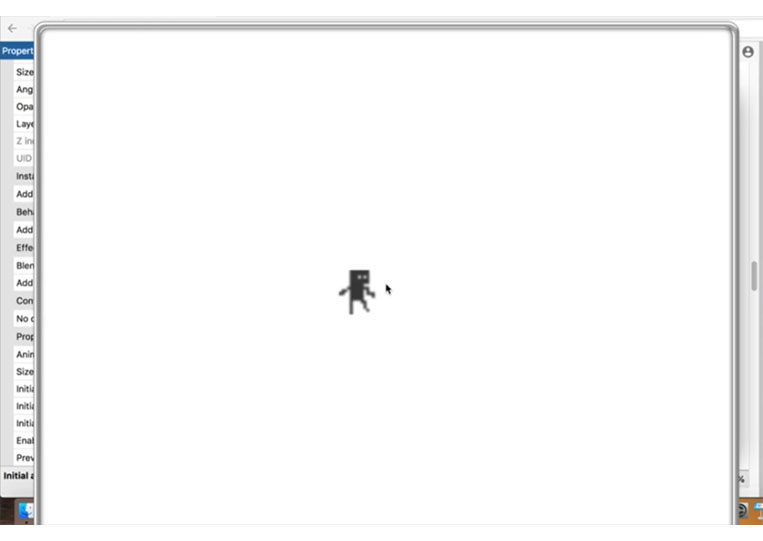


It’s a running cycle. Now, you want to change that.
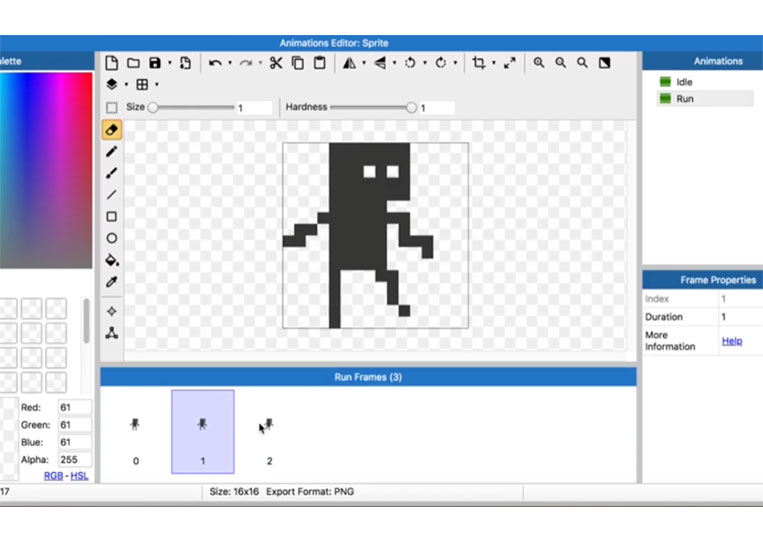
You want to change the speed to 10.
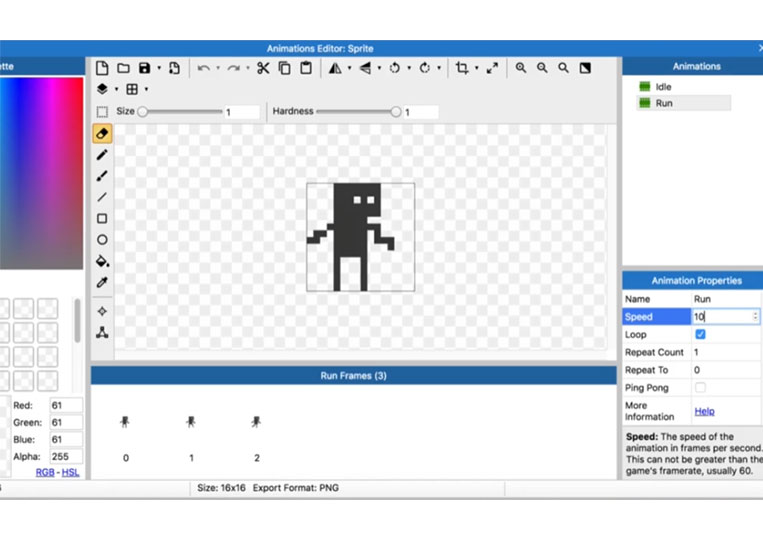
Begin!


It is a three-frame animation. Perhaps better to do six. We will talk more about this topic in the next few instructions.


